
Burly Slammer Kit installed
#1
 12-27-2010, 03:58 PM


Join Date: Sep 2009
Posts: 46
Likes: 0
Received 0 Likes
on
0 Posts
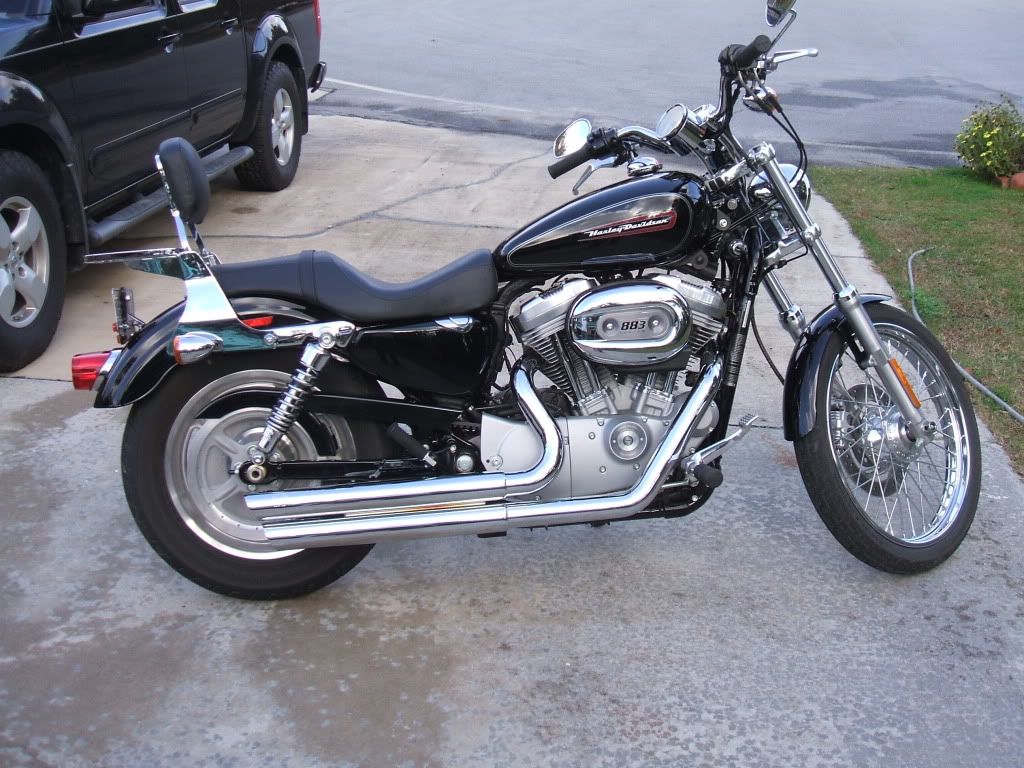
Santa dropped off my new Burly Slammer Kit for Christmas. I installed the kit in about 5 hours and I figured I would post a quick line if anyone was interested in the install or see to see a few pictures.
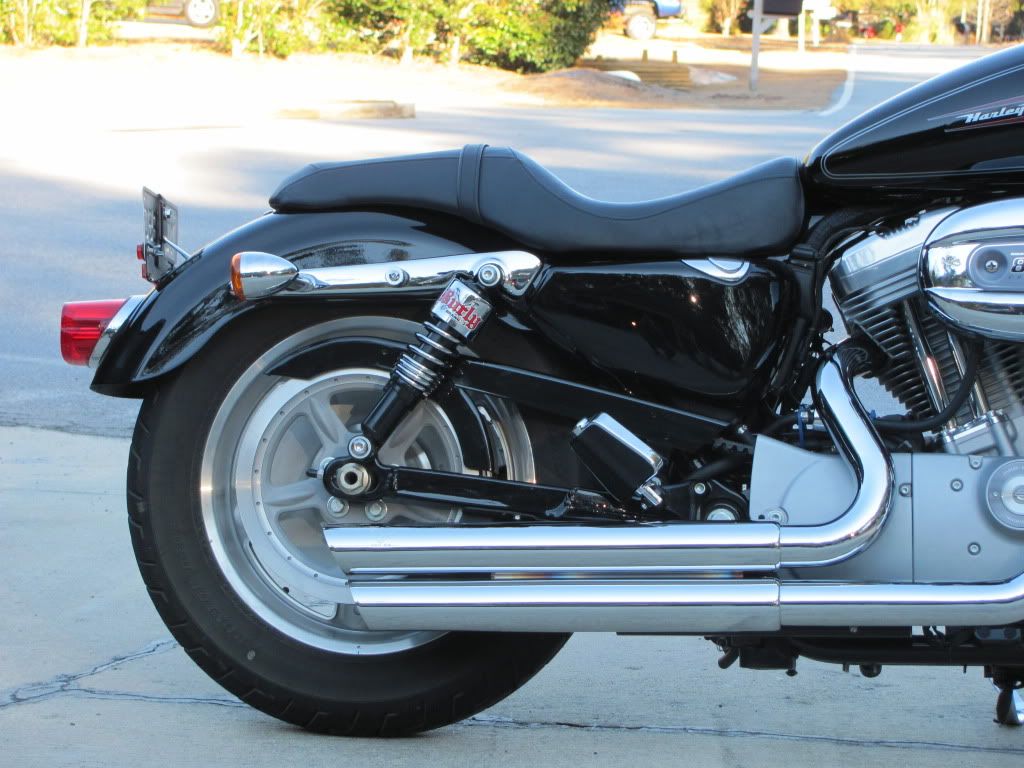
I started off with the rear because it looked easier to tackle than the forks. I jacked up the bike just enough to get the back tire off the ground. I began loosening the upper and lower bolts on each side. The left side came off easy but the right lower shock bolt was a PITA. I ended up boogering up the head and had to cut the bolt off with a cutting wheel (which added some time to the total install). I had to drive 30 miles one way to HD to buy the $4 bolt since the kit doesn't come with hardware. The installation went well for the rest of the rear shocks.
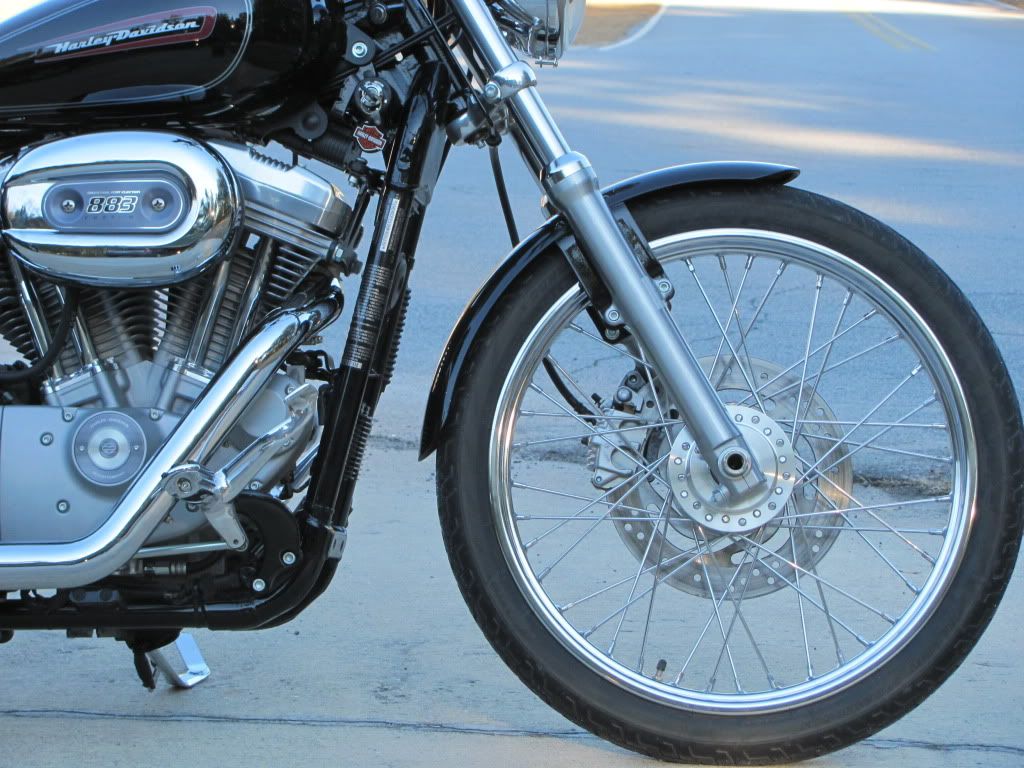
I started with the front as soon as I could find a socket big enough to remove the front fork cap. The socket needed is an 1" 3/8", which I had to go and find. No where around here carries sockets larger than 1" 1/4" except Tractor Supply Co. Once I had all the front end jacked up, I found it difficult to hold the triple trees in place and to loosen the fork nut at the same time. An extra set of hands could be of use here. I got my Dad to sit on the bike and hold the bars in place while I wrench away. Keep in mind that even though the front tire is off the ground there is still some pressure from the springs. Keep a downforce on the ratchet while loosening the nut and expect it to pop up at the very end. I pulled the old stuff out and put all the new stuff in as per the directions. Put the fork nuts back on and tightened the upper triple tree clamps. Straight foward and easy.
I looked at the lean angle and was not comfortable with how vertical the bike sat. Luckily Santa also delivered Lick's shorter jiffy stand. An extra person is real helpful for replacing the jiffy. I placed a bunch of coins in between the coils of the springs while the old jiffy was extended. With my Dad on the bike, I pulled the jiffy back to release the tension of the spring. It came off rather easy. I pulled the pin out of the old jiffy, the jiffy fell out, and put the new one in place and replaced the pin. The spring was a cinch to get back on because it was longer due to the coins being in place. I tested out the new shorter jiffy and saw that it was hitting the side of the case when up. I took a grinder and took off maybe 1/4" off the contacting edge. It now sits firmly against the bump-stop. The shorter jiffy is harder to get down but I imagine with a little muscle memory it shouldn't be a problem after while.
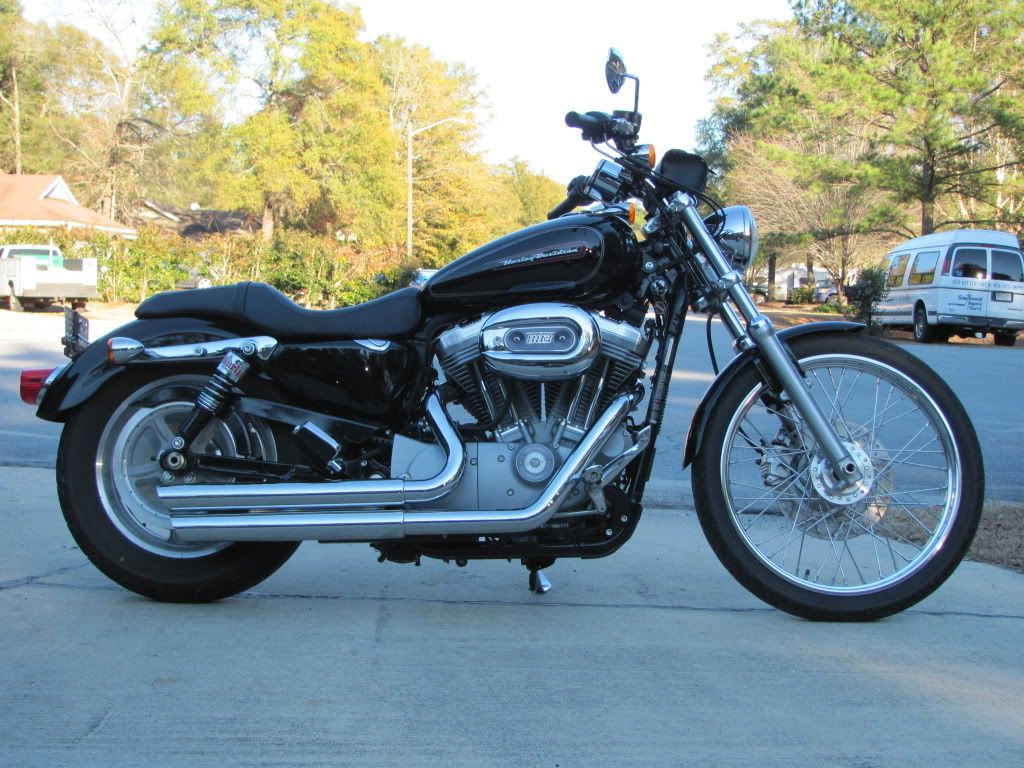
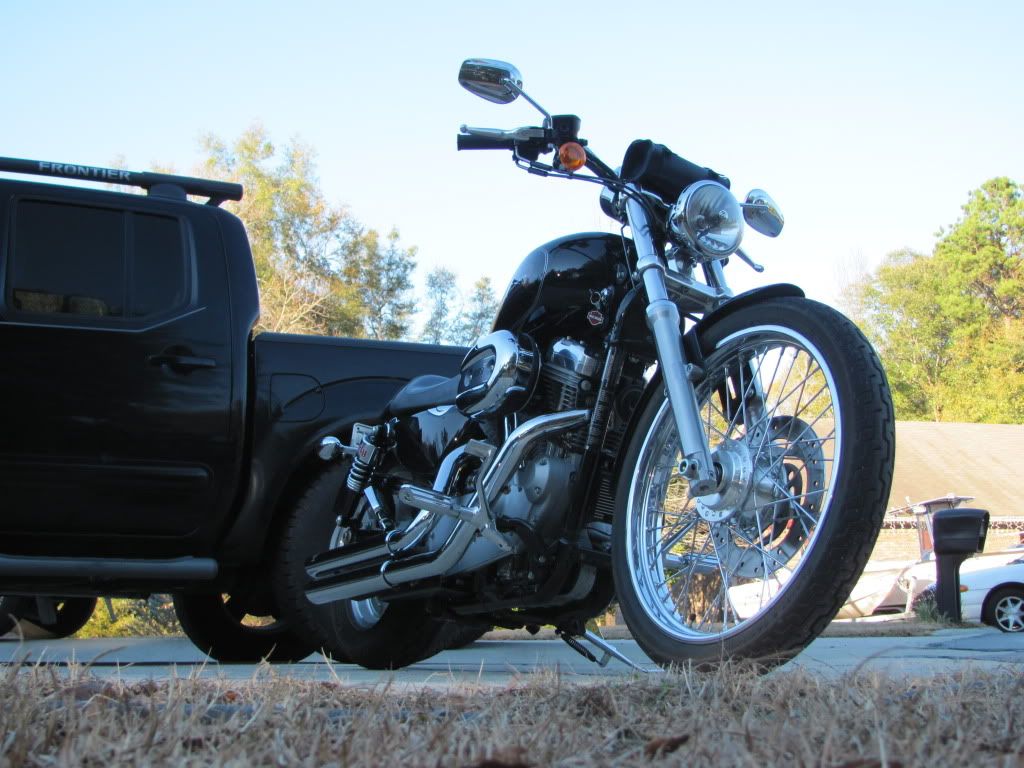
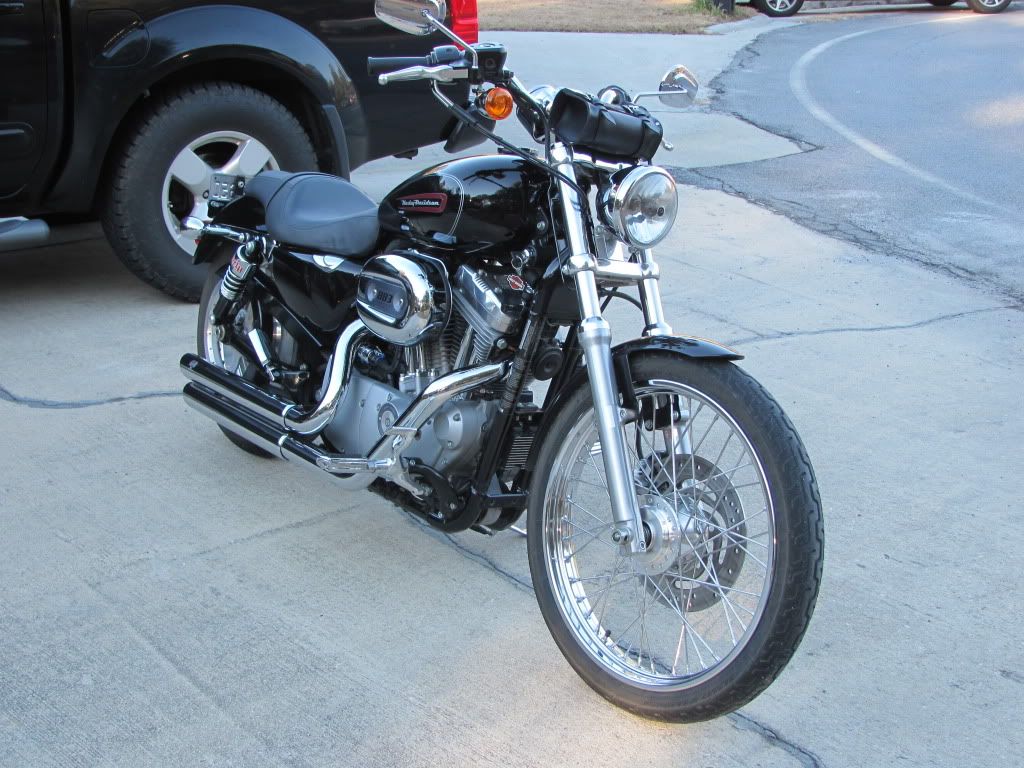
Here's the pics. I also remove the reflectors and added a tool bag
Stock
Burly Slammer
I started off with the rear because it looked easier to tackle than the forks. I jacked up the bike just enough to get the back tire off the ground. I began loosening the upper and lower bolts on each side. The left side came off easy but the right lower shock bolt was a PITA. I ended up boogering up the head and had to cut the bolt off with a cutting wheel (which added some time to the total install). I had to drive 30 miles one way to HD to buy the $4 bolt since the kit doesn't come with hardware. The installation went well for the rest of the rear shocks.
I started with the front as soon as I could find a socket big enough to remove the front fork cap. The socket needed is an 1" 3/8", which I had to go and find. No where around here carries sockets larger than 1" 1/4" except Tractor Supply Co. Once I had all the front end jacked up, I found it difficult to hold the triple trees in place and to loosen the fork nut at the same time. An extra set of hands could be of use here. I got my Dad to sit on the bike and hold the bars in place while I wrench away. Keep in mind that even though the front tire is off the ground there is still some pressure from the springs. Keep a downforce on the ratchet while loosening the nut and expect it to pop up at the very end. I pulled the old stuff out and put all the new stuff in as per the directions. Put the fork nuts back on and tightened the upper triple tree clamps. Straight foward and easy.
I looked at the lean angle and was not comfortable with how vertical the bike sat. Luckily Santa also delivered Lick's shorter jiffy stand. An extra person is real helpful for replacing the jiffy. I placed a bunch of coins in between the coils of the springs while the old jiffy was extended. With my Dad on the bike, I pulled the jiffy back to release the tension of the spring. It came off rather easy. I pulled the pin out of the old jiffy, the jiffy fell out, and put the new one in place and replaced the pin. The spring was a cinch to get back on because it was longer due to the coins being in place. I tested out the new shorter jiffy and saw that it was hitting the side of the case when up. I took a grinder and took off maybe 1/4" off the contacting edge. It now sits firmly against the bump-stop. The shorter jiffy is harder to get down but I imagine with a little muscle memory it shouldn't be a problem after while.
Here's the pics. I also remove the reflectors and added a tool bag
Stock
Burly Slammer
#2
12-27-2010, 04:02 PM
Join Date: Sep 2009
Posts: 46
Likes: 0
Received 0 Likes
on
0 Posts
#3
12-27-2010, 05:06 PM

Intermediate
Join Date: Oct 2010
Location: Honolulu, HI
Posts: 37
Likes: 0
Received 0 Likes
on
0 Posts
#4
12-27-2010, 05:29 PM
I did the same kit on my ol ladies 1200L. Took about 1 1/2 hours and went as easy as could be. The fork socket is available at your local HD dealer for like $8, it is a low profile socket and worth its weight in gold. I do however, wrap the caps in tape first to keep it from buggering the chrome.
My only question about your install is the lean angle after the install. Mine is nearly vertical with the front tire straight like yours. I have to keep reminding her to turn the wheel to the left or it will fall. Did you modify your kickstand?

And riding two up is about as good as it was before. The seat sucks anyway so it really isn't going to be a good ride.
My only question about your install is the lean angle after the install. Mine is nearly vertical with the front tire straight like yours. I have to keep reminding her to turn the wheel to the left or it will fall. Did you modify your kickstand?
And riding two up is about as good as it was before. The seat sucks anyway so it really isn't going to be a good ride.
#5
12-27-2010, 05:33 PM
Join Date: Sep 2009
Posts: 46
Likes: 0
Received 0 Likes
on
0 Posts
#6
12-27-2010, 05:37 PM
Join Date: Sep 2009
Posts: 46
Likes: 0
Received 0 Likes
on
0 Posts
I installed a Lick's shorter jiffy stand. Before I changed my stock one out, I was worried that it would tip over if the ground was not perfectly level. The swap took 15 minutes and well worth the $60 and peace of mind.
check this out
http://www.lickscycles.com/catalog/p...oducts_id=1614
check this out
http://www.lickscycles.com/catalog/p...oducts_id=1614
Last edited by spraynbuckshot; 12-27-2010 at 05:40 PM.
#7
12-27-2010, 05:44 PM
Trending Topics
#8
12-27-2010, 05:59 PM
#9
12-27-2010, 07:27 PM
I too just installed the kit on my wife's 2007 883 R. It has put her feet flat on the ground when she is at a stop.
I rode it a little and the shocks did bottom out alot, but I have the shocks set on the softest preload setting. I weigh 210lbs, so I think they will work with her 120lbs. much better. To fix the lean angle and save 40 dollars I just heated the stand up with a torch and bent it enough to get the proper lean angle. Then I repainted the stand.
I rode it a little and the shocks did bottom out alot, but I have the shocks set on the softest preload setting. I weigh 210lbs, so I think they will work with her 120lbs. much better. To fix the lean angle and save 40 dollars I just heated the stand up with a torch and bent it enough to get the proper lean angle. Then I repainted the stand.
Last edited by rdunn22; 12-27-2010 at 07:41 PM.
#10
12-28-2010, 01:09 AM