
my pritty girl gonna get turned into a work horse...build thread
#121
 01-25-2010, 04:45 AM

and if someone could riddle me this...i sanded down the fender about a week ago and cleared it. i sanded it with some 220 grit, there were some blemish marks maybe a spot of rust in a pin hole or 3 but nothin major, i cleaned it up after sanding it and cleared it. then a few days later i put some under coating on the bottom of it and i look at it today and there is a little bit of surface rust under the clear and its growing wtf?
When you paint bare metal you need to use some king of etching primer. The primer is designed to become part of the metal (alot longer explanation, really, but unnecessary here). It's also designed soak up anything that comes in contact with it...namely, paint, but will soak up anything which is why primer only doesn't look as good after a while. Then clear is added for a final gloss coat and paint protectant.
Now...if you skip all that and go straight to clear from bare metal it doesn't really have anything to stick to. Sure it has paint ON it...but the metal is never truly protected by the clear.
I ran in to this problem a few years ago when carbon fiber body panels became popular. They need a clear to look their best and the situation is essentially the same as yours. What we did was add a shitload of adhesion promoter and it finally stayed on.
Bla bla bla...you need more adhesion promoter in your clear and be VERY meticulous around the filler neck. The fumes will eat the clear & begin rusting pretty quick.
#122
01-26-2010, 02:59 PM
Here's something you can use of the metal before the clear.
http://www.por15.com/AP120/productinfo/AP20/
Por 15 also makes a clear that is very durable but it's not quite a slick show finish.
http://www.por15.com/AP120/productinfo/AP20/
Por 15 also makes a clear that is very durable but it's not quite a slick show finish.
#123
01-26-2010, 07:05 PM

looking good man looking good! best clear in a can i have ever found is this
lays super smoooth
http://www.repaintsupply.com/pd_2_part_2k_aerosol.cfm
lays super smoooth
http://www.repaintsupply.com/pd_2_part_2k_aerosol.cfm
#124
01-26-2010, 11:07 PM
When you paint bare metal you need to use some king of etching primer. The primer is designed to become part of the metal (alot longer explanation, really, but unnecessary here). It's also designed soak up anything that comes in contact with it...namely, paint, but will soak up anything which is why primer only doesn't look as good after a while. Then clear is added for a final gloss coat and paint protectant.
Now...if you skip all that and go straight to clear from bare metal it doesn't really have anything to stick to. Sure it has paint ON it...but the metal is never truly protected by the clear.
I ran in to this problem a few years ago when carbon fiber body panels became popular. They need a clear to look their best and the situation is essentially the same as yours. What we did was add a shitload of adhesion promoter and it finally stayed on.
Bla bla bla...you need more adhesion promoter in your clear and be VERY meticulous around the filler neck. The fumes will eat the clear & begin rusting pretty quick.
looking good man looking good! best clear in a can i have ever found is this
lays super smoooth
http://www.repaintsupply.com/pd_2_part_2k_aerosol.cfm
lays super smoooth
http://www.repaintsupply.com/pd_2_part_2k_aerosol.cfm
#125
01-31-2010, 02:02 PM
alright well i was havin a rust problem with my tins (bars, sissybar, tank and fender) with the clear i was usin. (rustoleeum rim clear). i heard some people gettin good results with dupli color addhession promoter and clear but i also know from my own experience that dupli clear coat is **** when ya get gas on it. so i sandblasted everything back down and really liked the look of just sandblasted metal, so i cleaned it up and used the addhession promoter and dupli clear just to seal out the poss rust, so far so good....
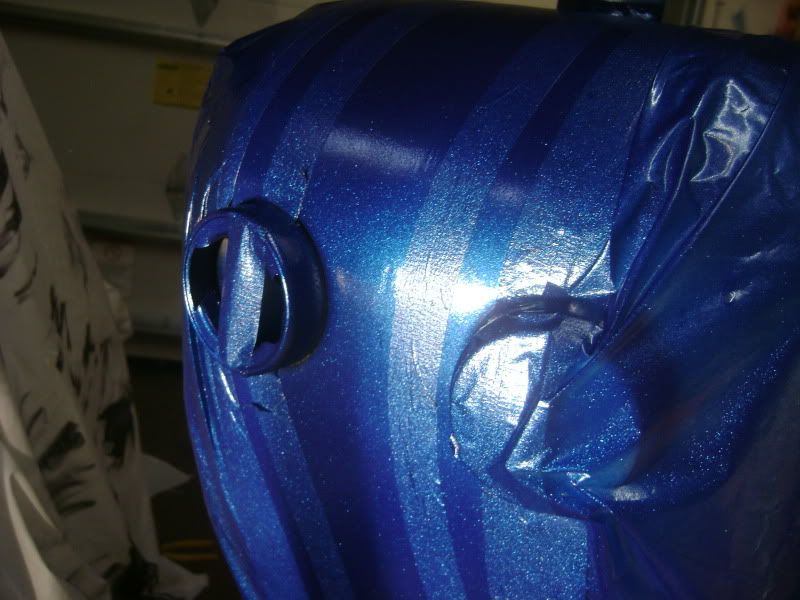
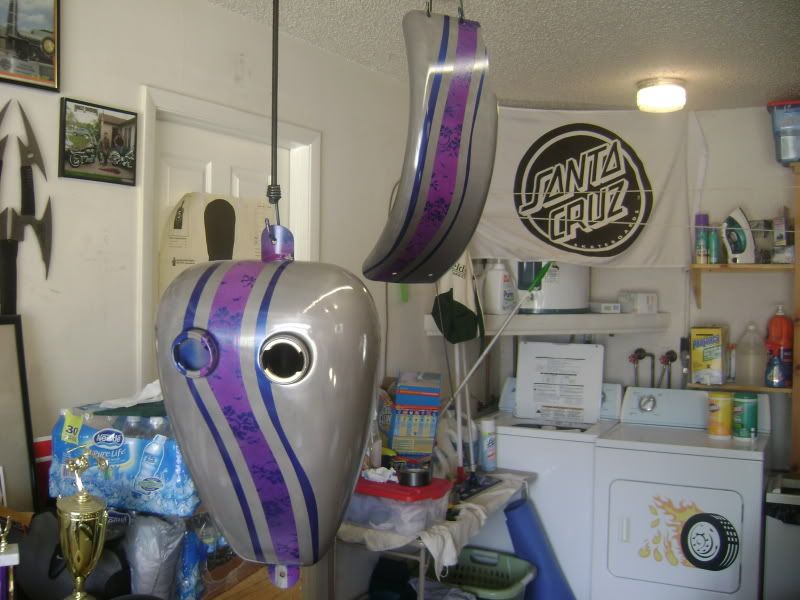
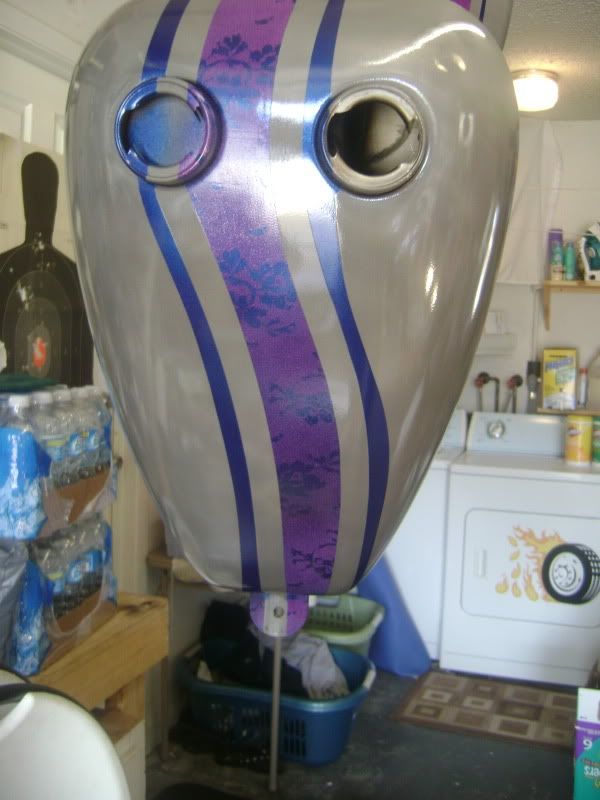
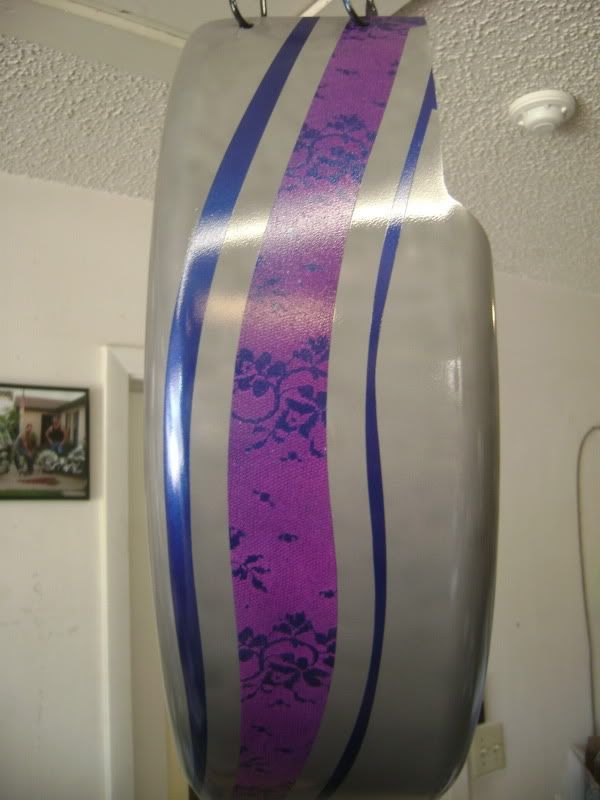
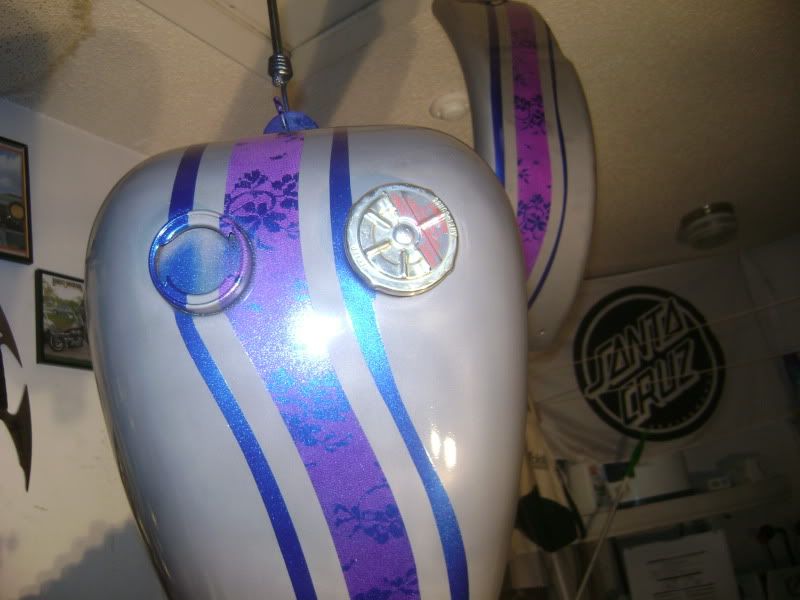
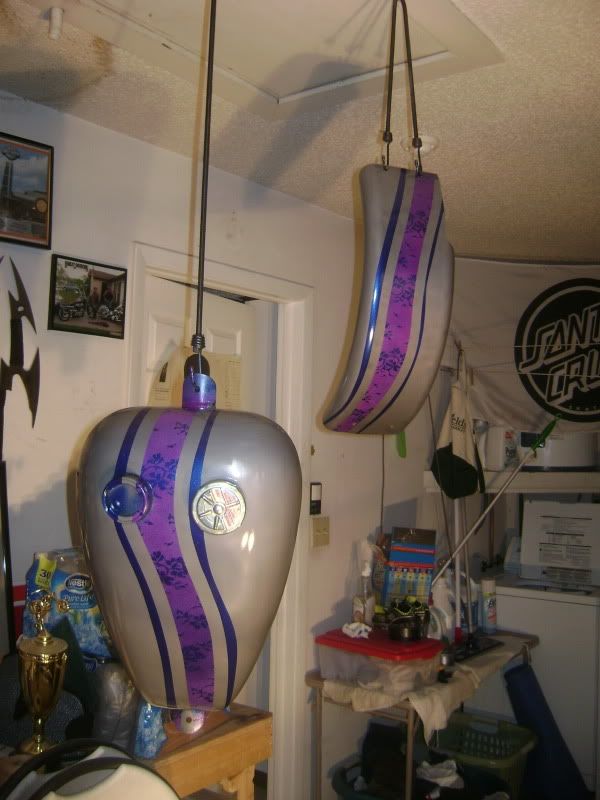
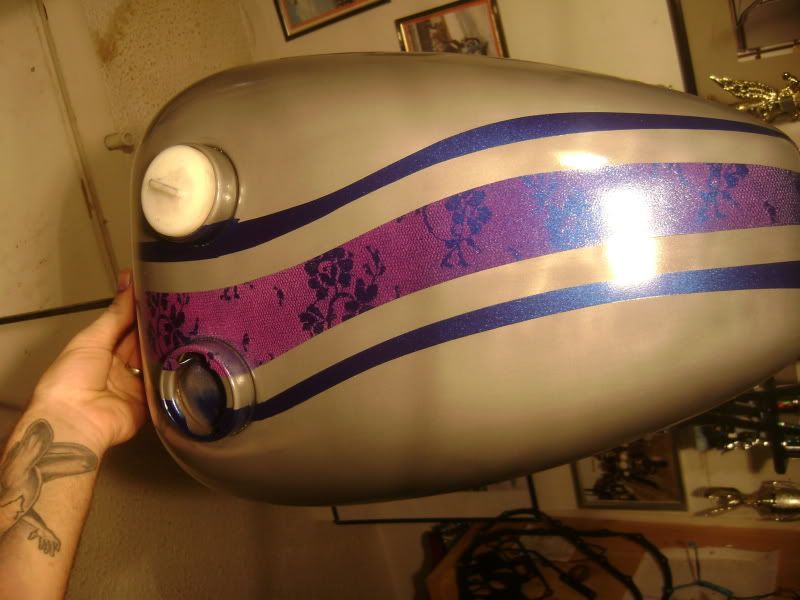
i'm totaly stoked about my paint, its exactly the way i wanted it, i didn't want crisp clean perfect lines, i wanted something that looked cool, flowed with the rest of the look of the bike and was a little rough...I GOT IT!!! if i wanted a smooth super clean paint job i woulda done one, i know i have the ability to do it (not pro i'm not claiming that at all).
in dealing with my clear coat gas problem this was my solution, i got some rustoleeum clear engine enamle, can says it resists gas which is exactly what i needed, so after my paint hardend a little i scuffed it all up and put a nice thick coat on the fender and tank and it really brought out the POP in the paint
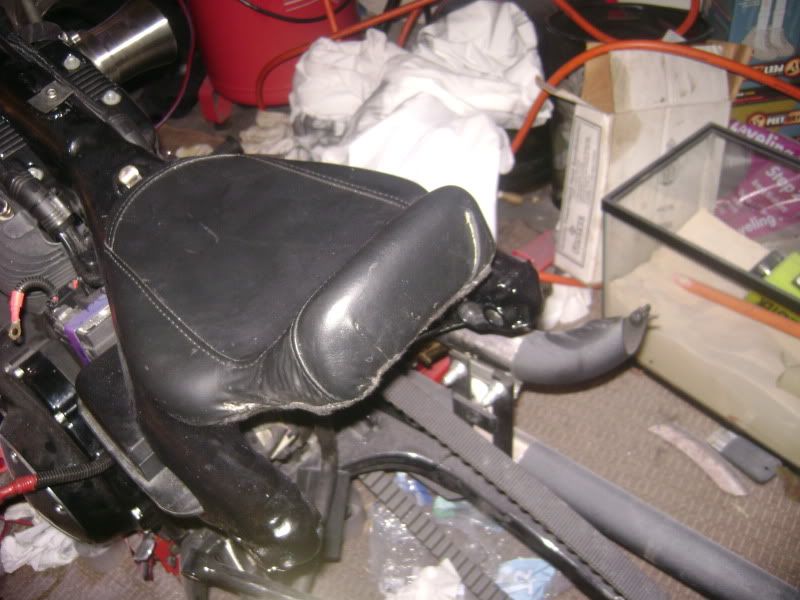
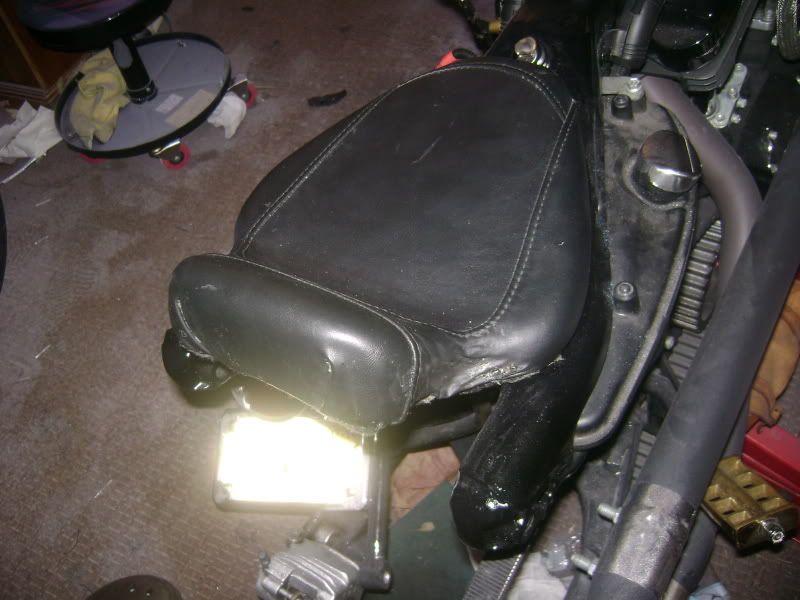
also finished up the seat, relocated the horn and lowered the headlight (not as low as some suggested but evodog had a great idea and i def went with it), the headlight sits really nice inside the top tripple tree now.
ok well hopfully i'll have everything put together my wed, not riddin till sat because the enamle says to wait 7 days to fully cure....so i won't put gas in it untill then.
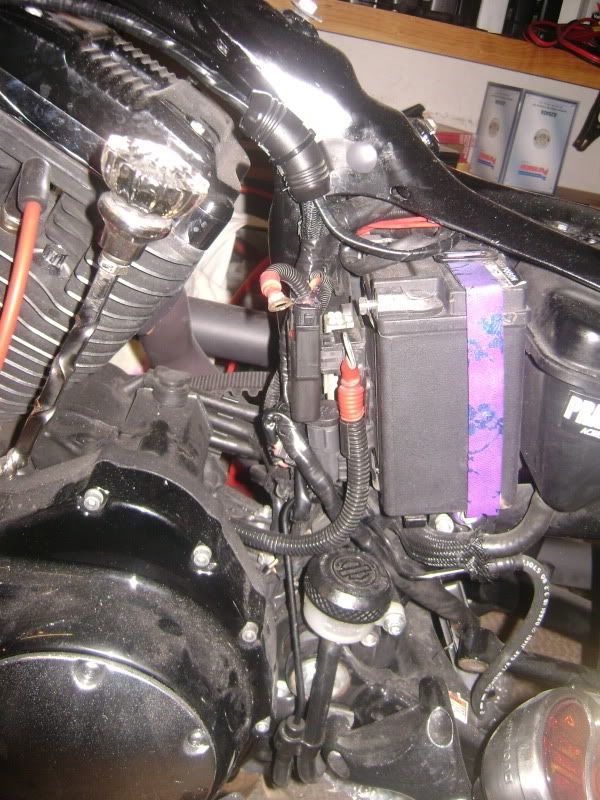
pics don't really show this well but i cleaned up all the wireing since i won't be runnin side covers, it looks really good
new headlight location, just about an inch lower than it used to be
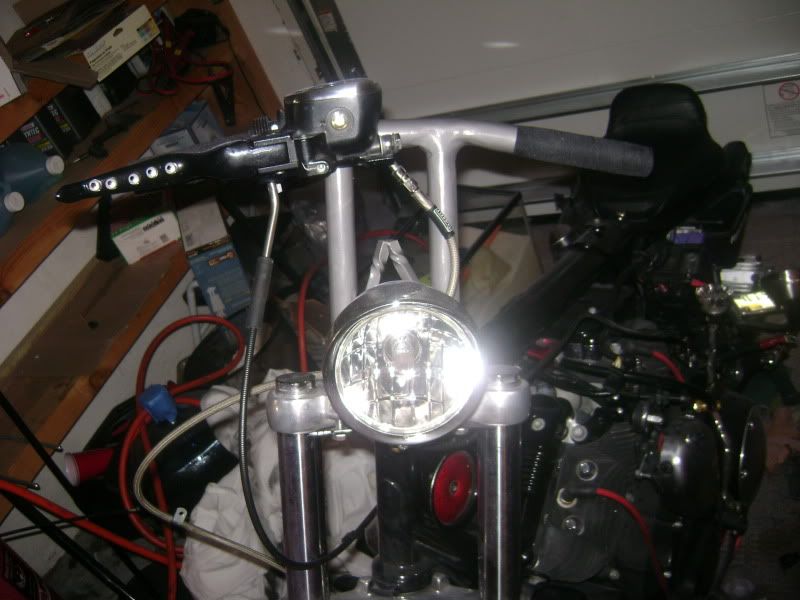
i really dig how clean my front end looks now

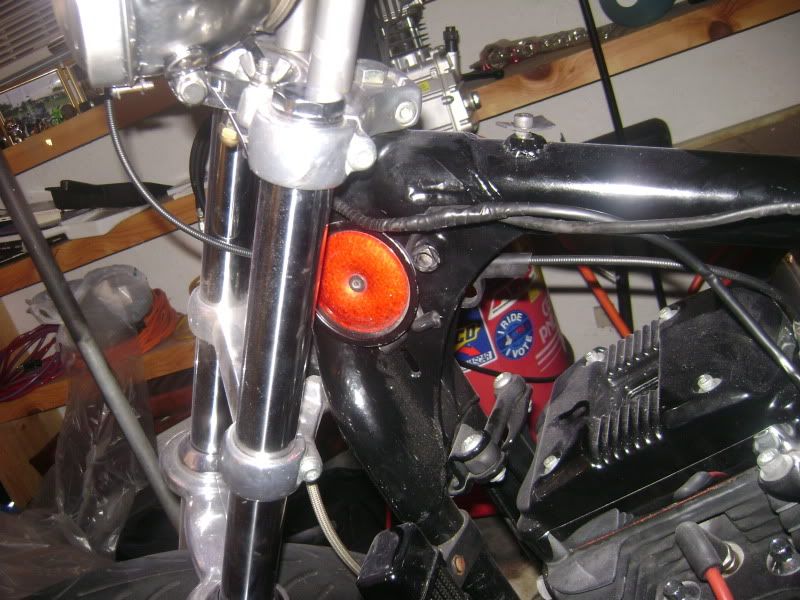
this is where i put my horn, looks cool and its outta the way and i can hide all my wires
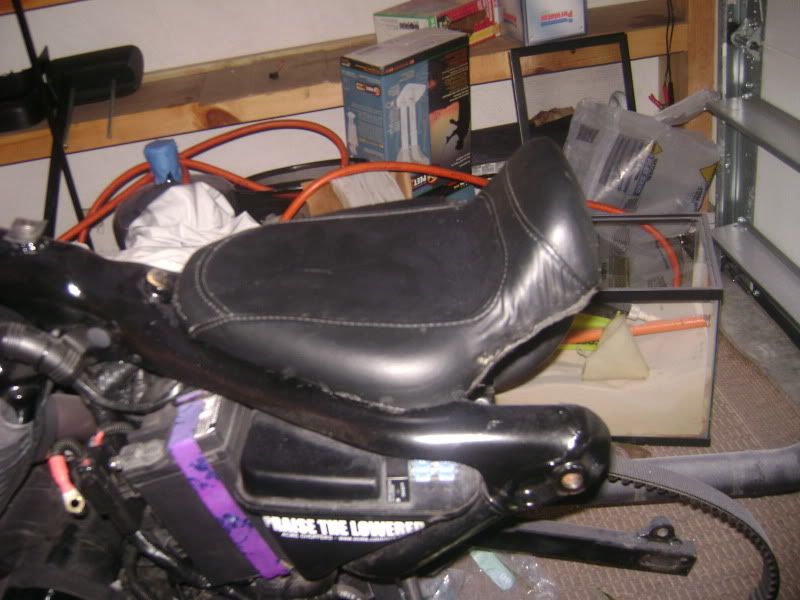
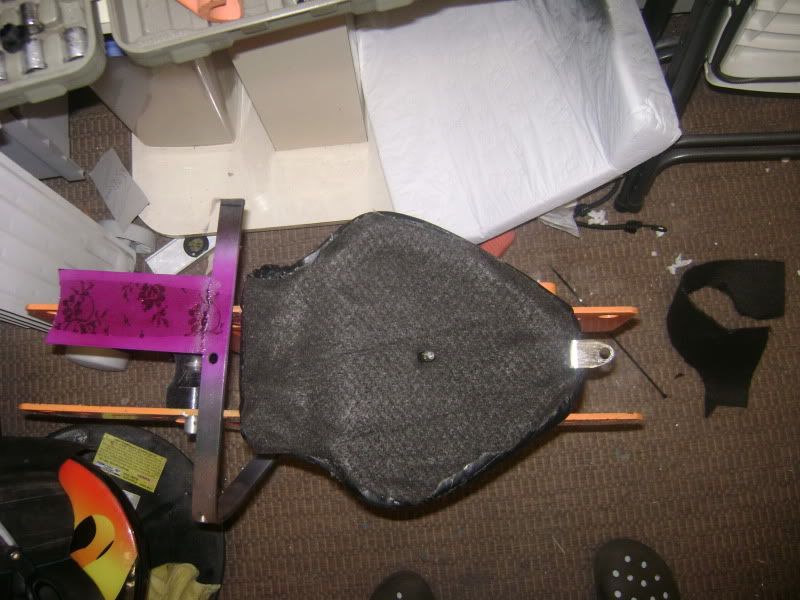
seat is done! definetly happy for my first seat ever, evodog agin helpin me out with givin me tips on riviting and folding as well as the idea of puttin a little felt under it so it cleans the bottom up and doesn't scratch my frame, its not the cleanest under there but def won't be seen and won't scratch up my frame
TINS!!!!!!!!!!!! ....next
i'm totaly stoked about my paint, its exactly the way i wanted it, i didn't want crisp clean perfect lines, i wanted something that looked cool, flowed with the rest of the look of the bike and was a little rough...I GOT IT!!! if i wanted a smooth super clean paint job i woulda done one, i know i have the ability to do it (not pro i'm not claiming that at all).
in dealing with my clear coat gas problem this was my solution, i got some rustoleeum clear engine enamle, can says it resists gas which is exactly what i needed, so after my paint hardend a little i scuffed it all up and put a nice thick coat on the fender and tank and it really brought out the POP in the paint
also finished up the seat, relocated the horn and lowered the headlight (not as low as some suggested but evodog had a great idea and i def went with it), the headlight sits really nice inside the top tripple tree now.
ok well hopfully i'll have everything put together my wed, not riddin till sat because the enamle says to wait 7 days to fully cure....so i won't put gas in it untill then.
pics don't really show this well but i cleaned up all the wireing since i won't be runnin side covers, it looks really good
new headlight location, just about an inch lower than it used to be
i really dig how clean my front end looks now
this is where i put my horn, looks cool and its outta the way and i can hide all my wires
seat is done! definetly happy for my first seat ever, evodog agin helpin me out with givin me tips on riviting and folding as well as the idea of puttin a little felt under it so it cleans the bottom up and doesn't scratch my frame, its not the cleanest under there but def won't be seen and won't scratch up my frame
TINS!!!!!!!!!!!! ....next
#126
01-31-2010, 02:07 PM
#127
01-31-2010, 02:13 PM

Road Warrior
#128
01-31-2010, 02:23 PM
Cruiser
Join Date: Oct 2009
Location: New Jersey
Posts: 226
Likes: 0
Received 0 Likes
on
0 Posts
