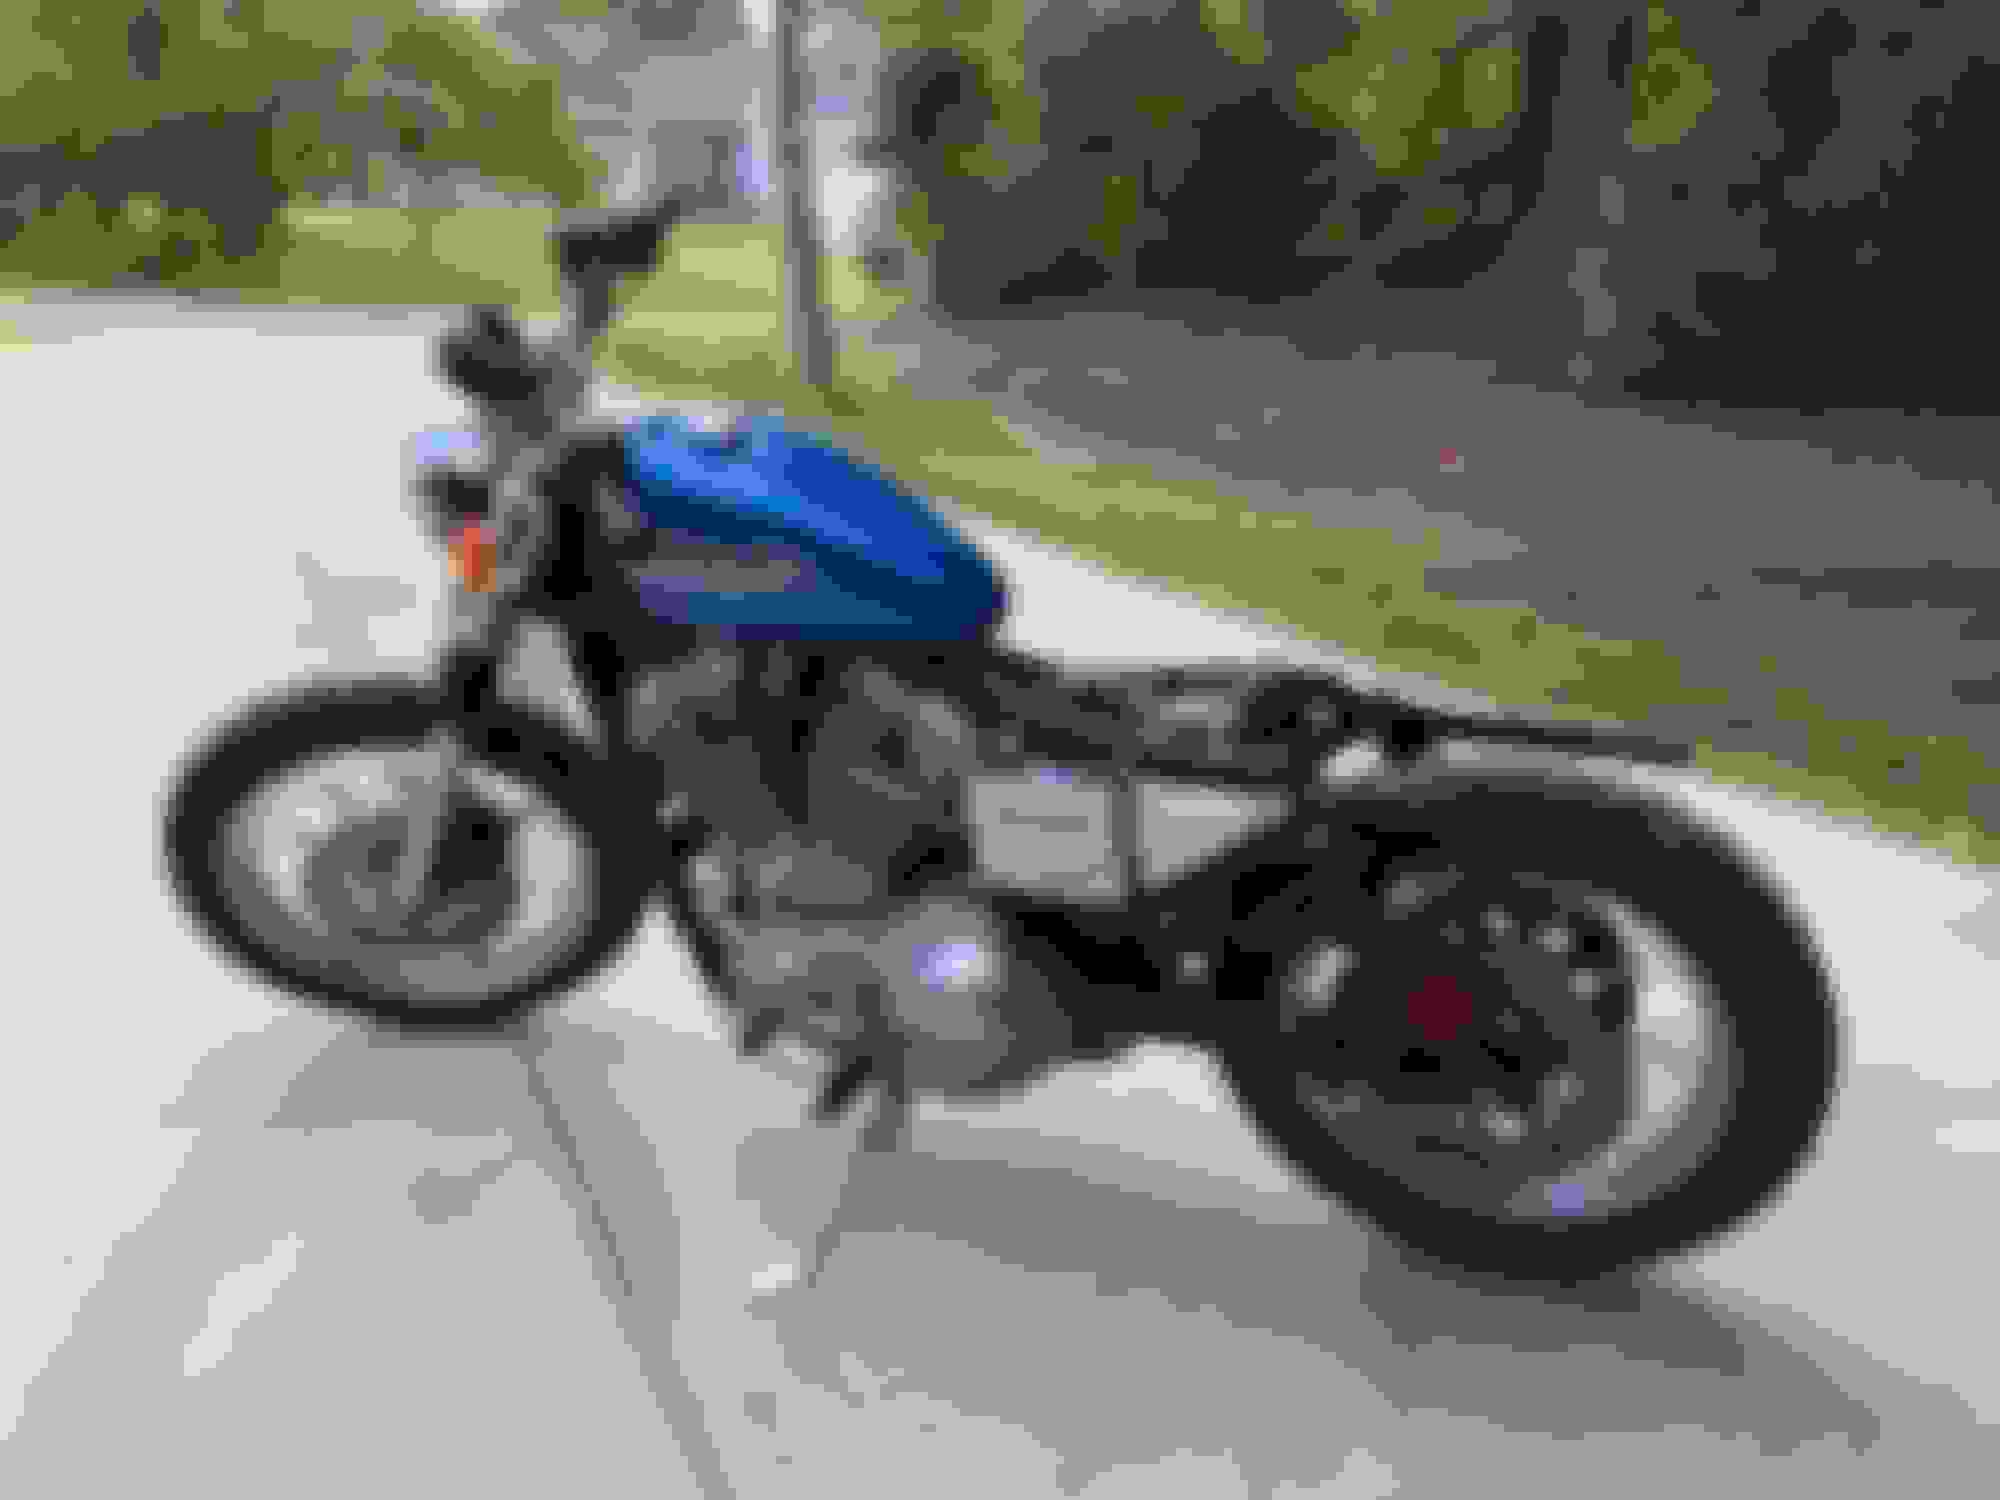
I installed the fork and the wheels last night so I could see the stance. I am pretty happy with how it sits and looks. If anything I would like to see the rear up like an 1". The Burly Stilleto rear shocks are on their lowest spring setting and are soft even for me (165 lbs) sitting on the bike. The rear might come up a little when I crank up the spring tension? I can see that I will need to mount my new rear fender as high as I can still allowing me to make a flat seat. So the next step is cutting off the rear fender mounts and welding on the seat loop. G.B.
Playing with the fit and location of the new rear fender and seat loop. These parts are going to give me the look I am after.
Having the bike out of the garage in better light, I see that I am going to have to make an idler wheel for the drive belt. The belt is touching the front muffler braket. Best I can tell, I will need the stock exhaust bracket for new Lowbrow Customs Hooligan Kerker 2 into 1 I have to go on the bike. Time to do some more research on this site to see how other guys have constructed these idlers. G.B. Top view of the exhaust brkt
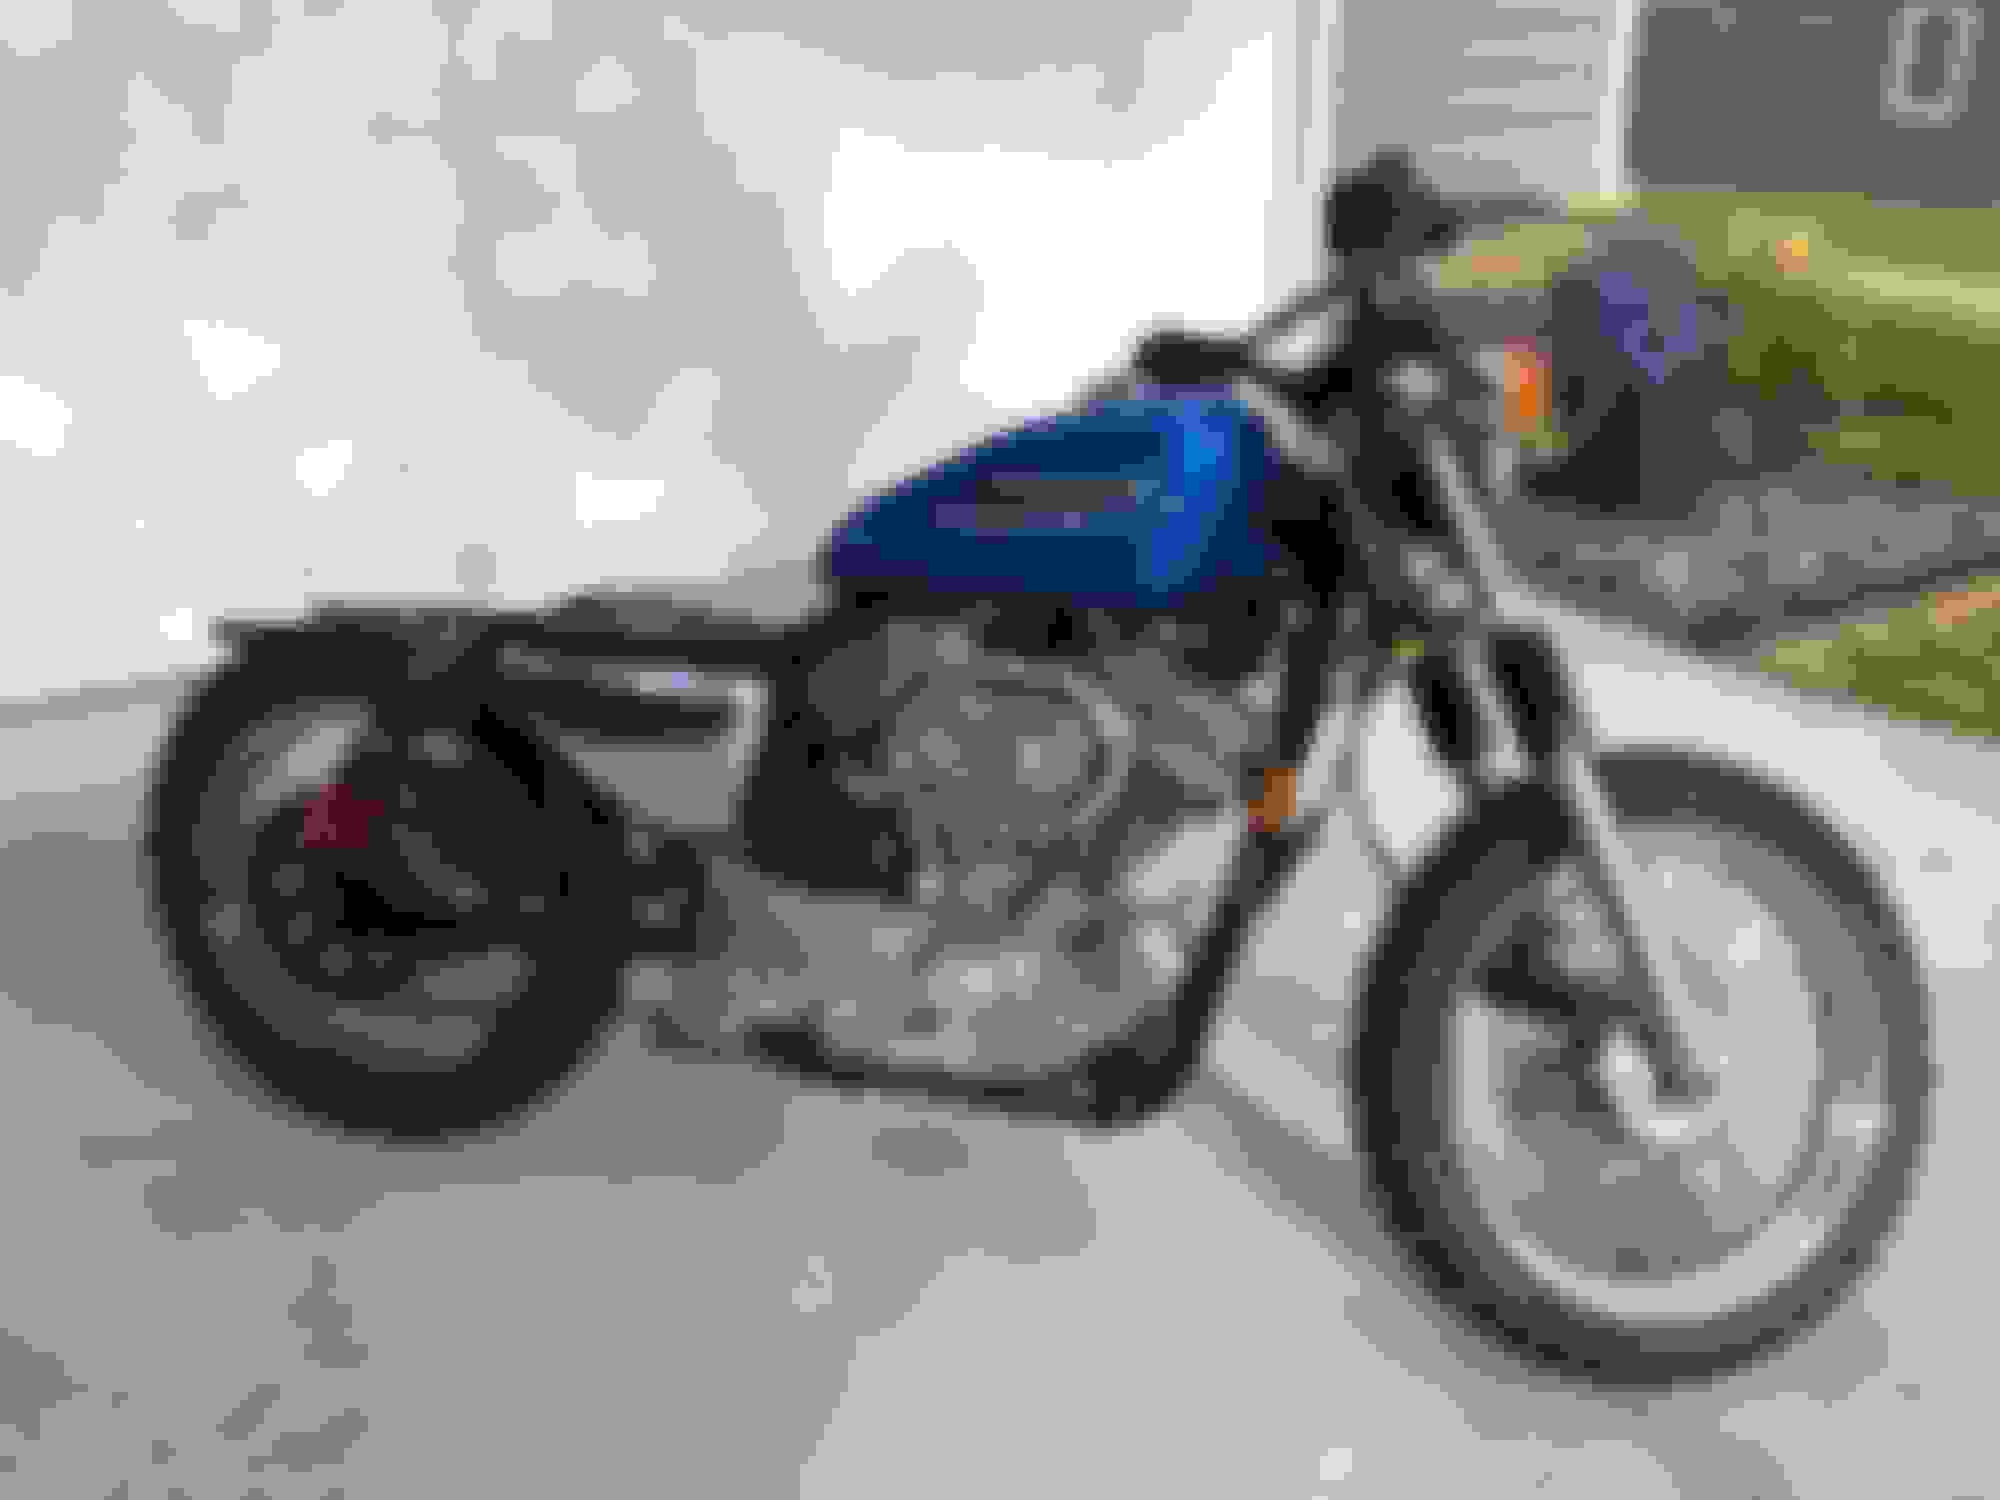
Gone blue
A couple things. One the rear fender only needs to be high enough to clear the amount of shock travel you have, plus allowing for the knobbies.
The second, on the fork damper springs, the lower spring on the damper is not a preload spring, but rather to prevent the fork lowers from slamming against the damper, in the event of a rapid unload, like a wheelie or going over a rise at speed. This is to protect the damper from damage. Someone please correct me if I have this wrong.
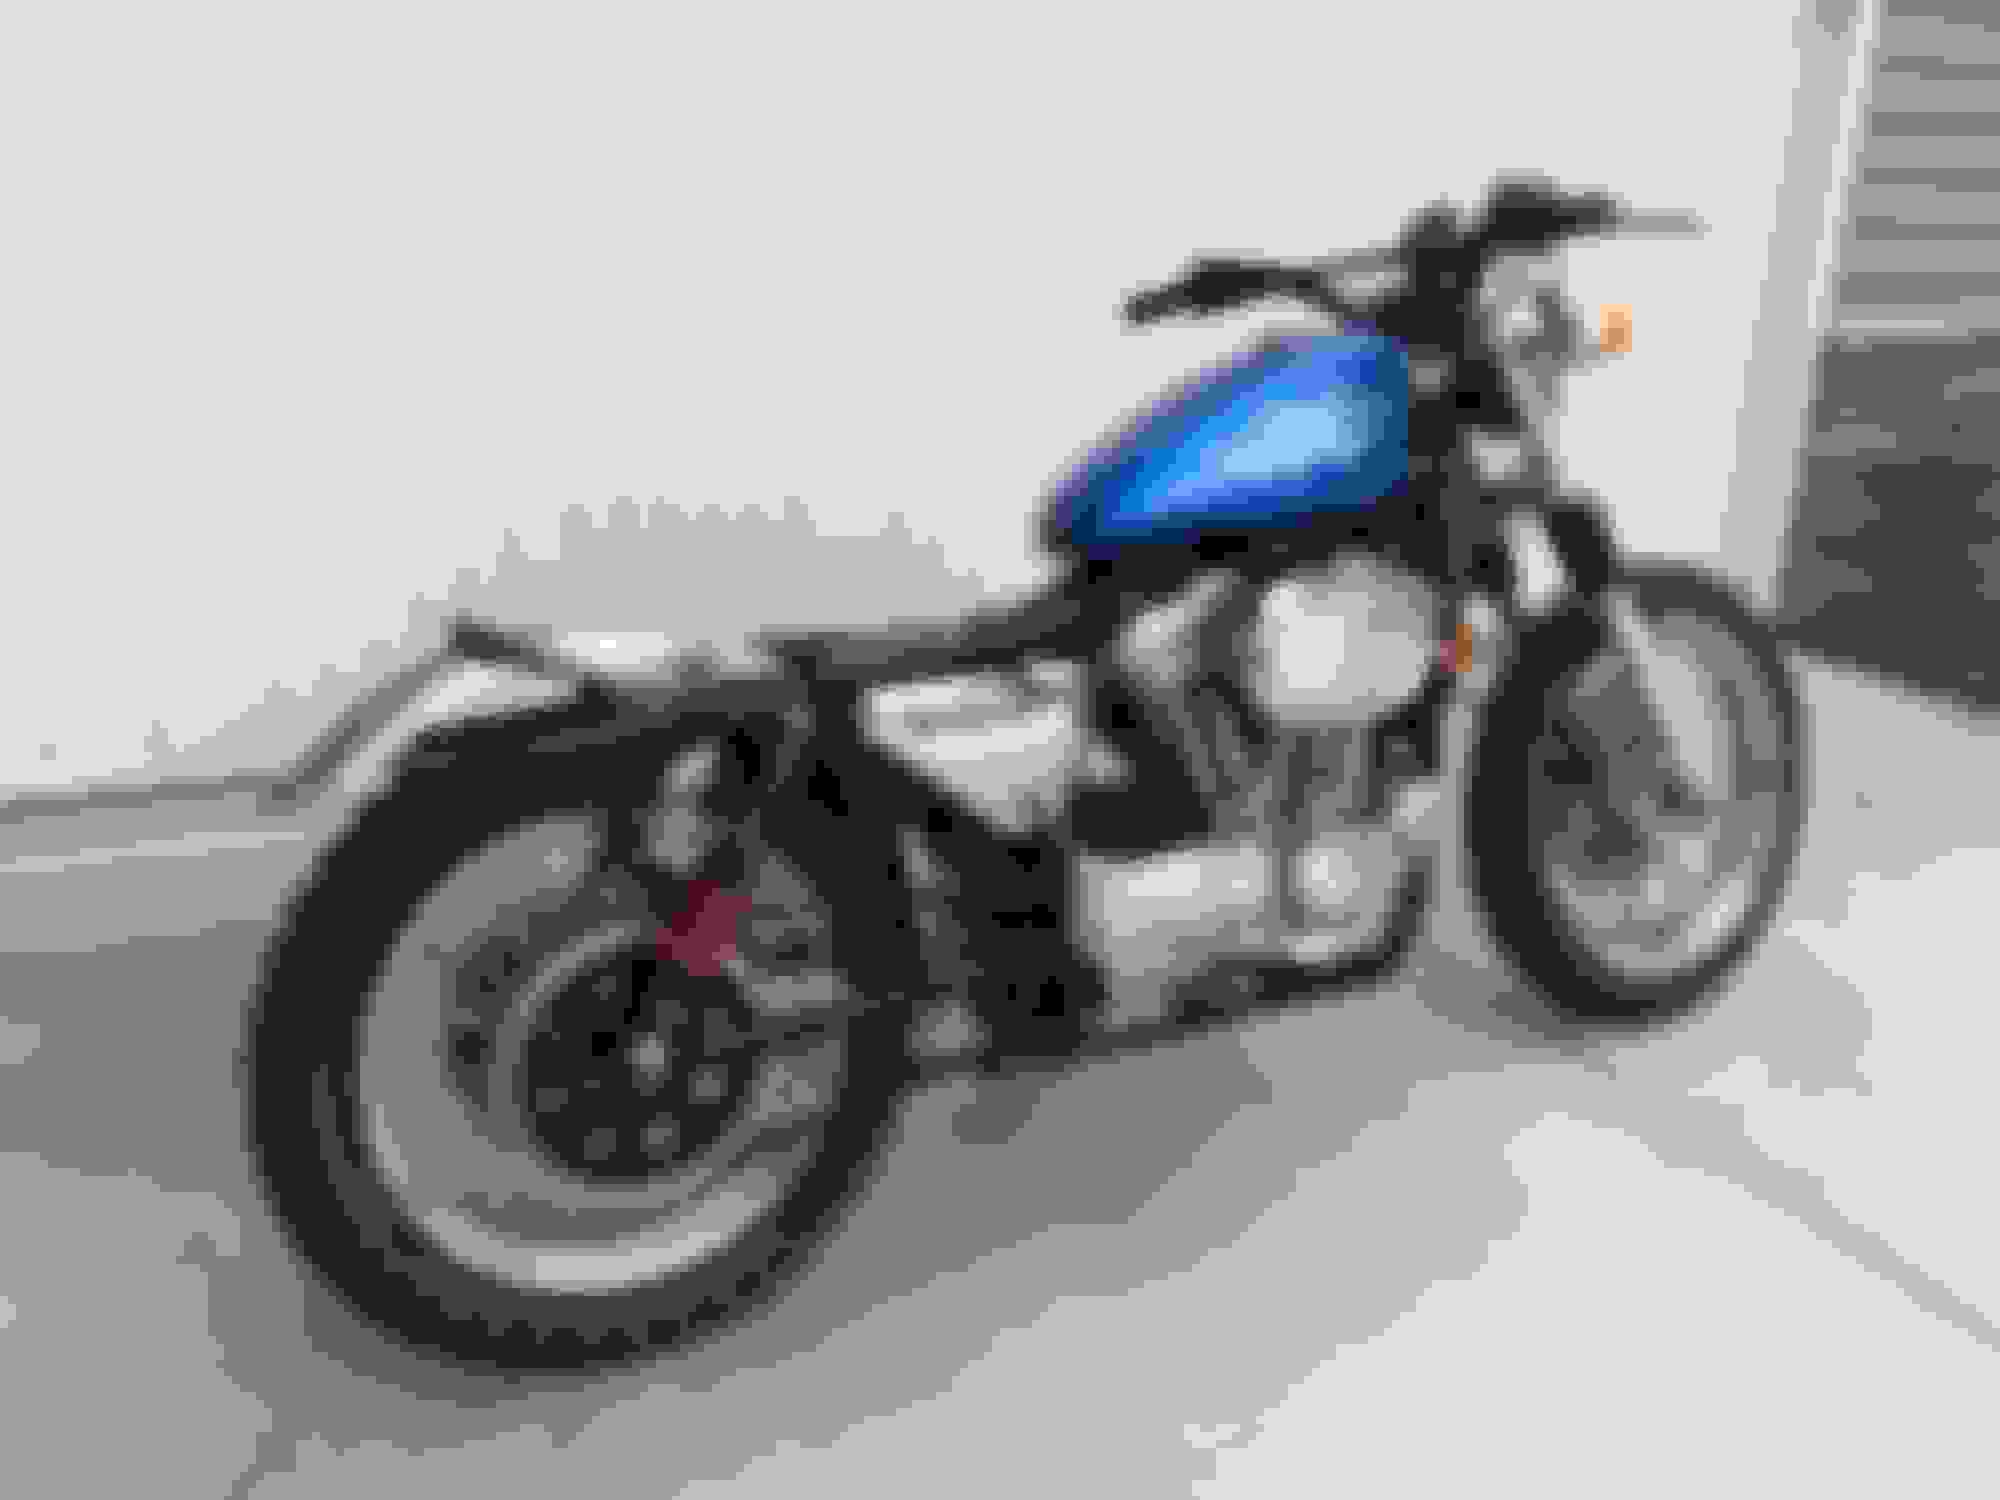
handrifle - Makes sense on the fender height. I suppose you could add a little extra clearance for mud too. Once I cut off the rear fender supports and weld in the seat loop I can finalize the fender height.
I think what I called the preload spring should have been called the rebound spring possibly? In any case they are installed correctly per the Progressive instructions. G.B.
Thanks whylee for posting your setup on the idler wheel. I remember seeing something about you working on one in your thread but didn't see any pics. I found a thread on here by Chris B Owens with a similar set up to yours. Both your and Chris's bikes are newer then mine but I think I can do something similar.
Above is an idler wheel set up using a skateboard wheel on the Burly bike that is my inspiration. As it too is a new bike than mine, I don't have that same mounting point. Thanks again, G.B.

 08-14-2019 | 08:21 AM