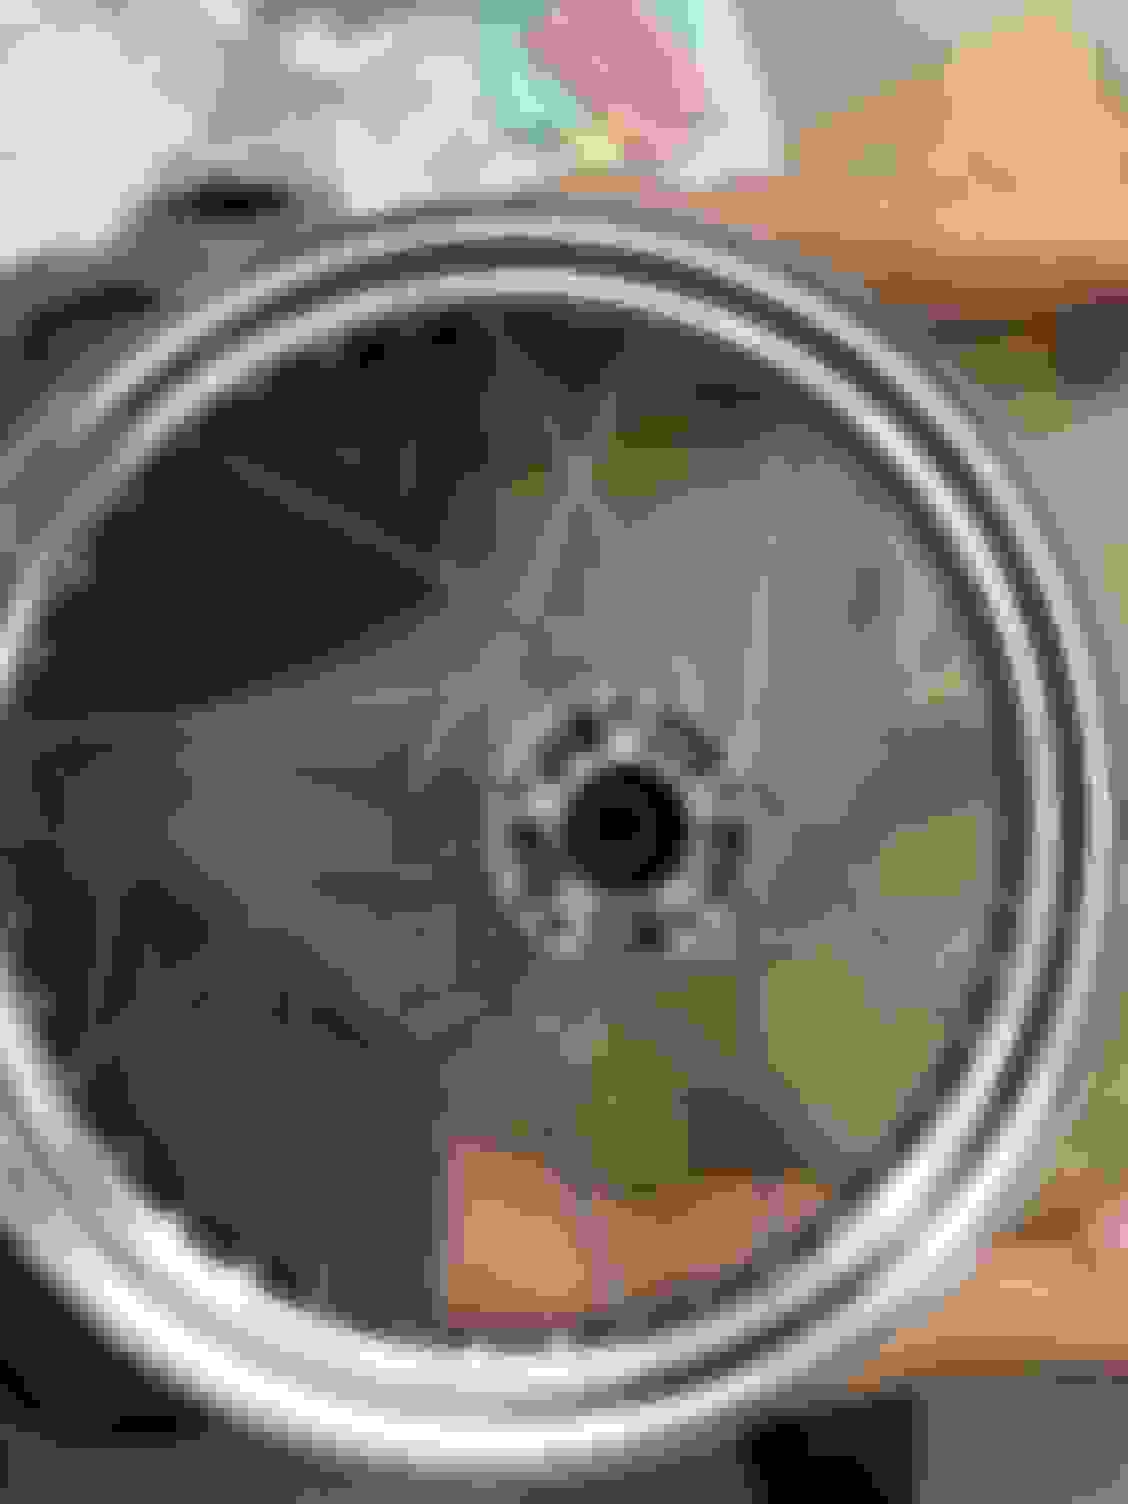
I finally received my 18 x 2.5" Borrani Moto Guzzi rim today from the Uk and it looks great! Sent some pictures and measurements off to Buchanan Spokes to make sure what I bought from them will work or if I need something different. Need to get this wheel built so I can get on cutting the frame and mounting the seat loop and rear fender. G.B.
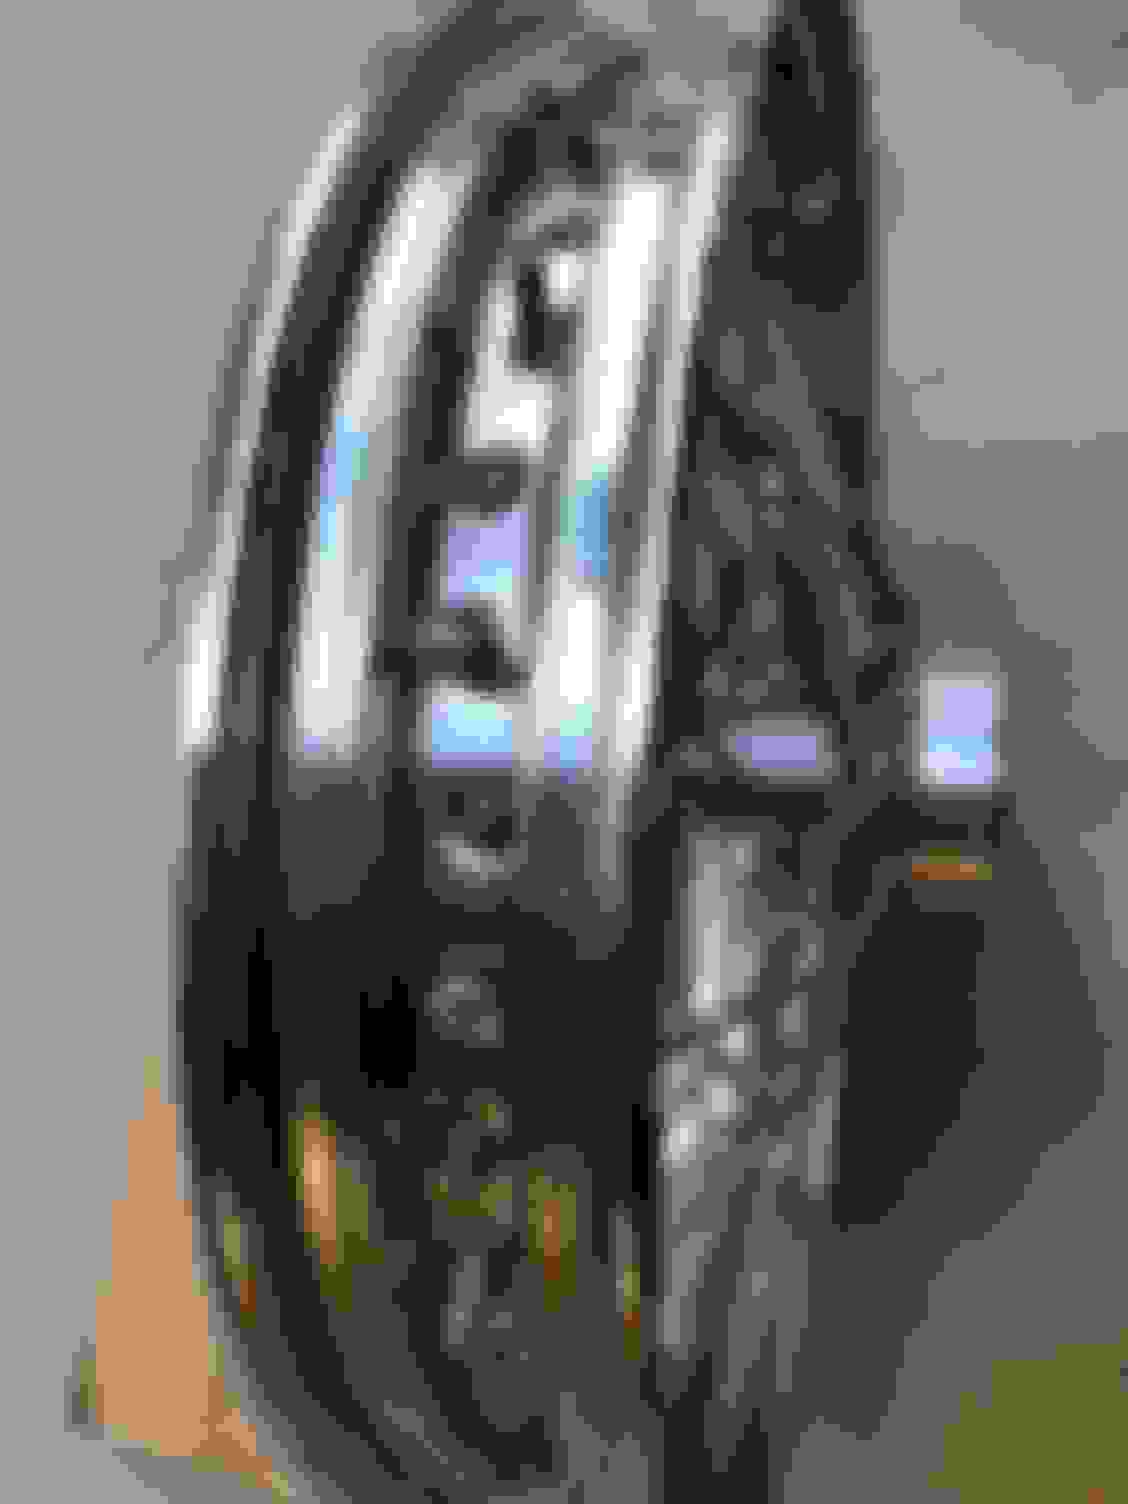
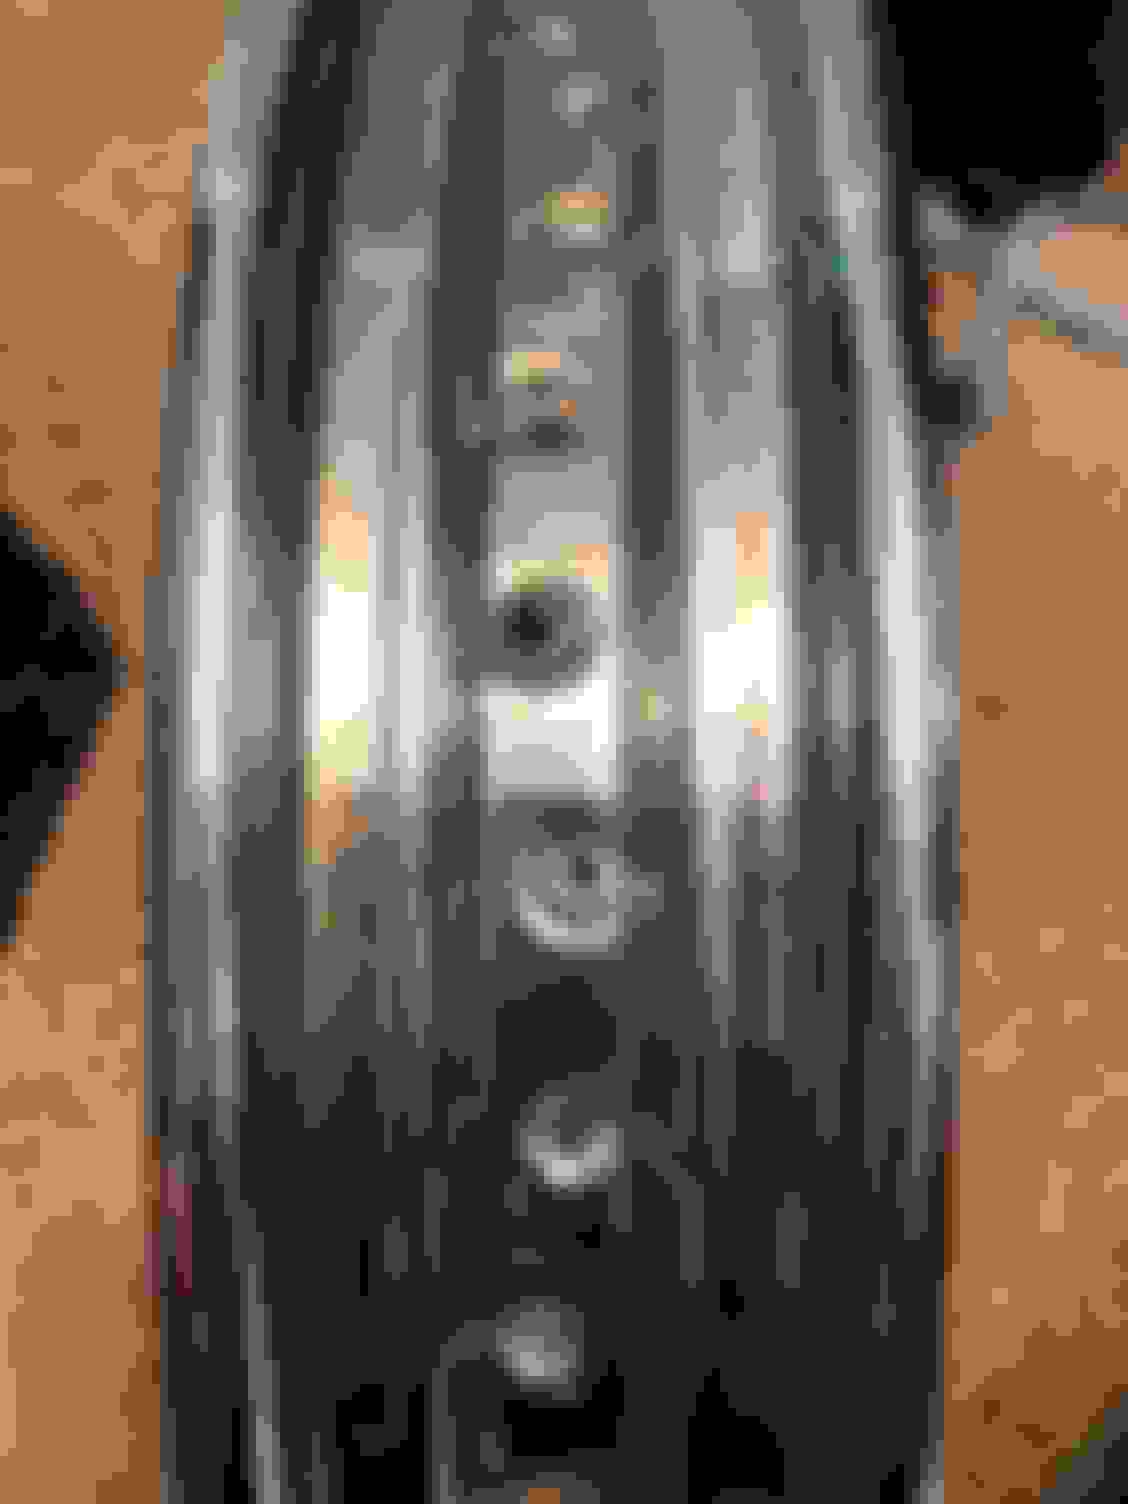
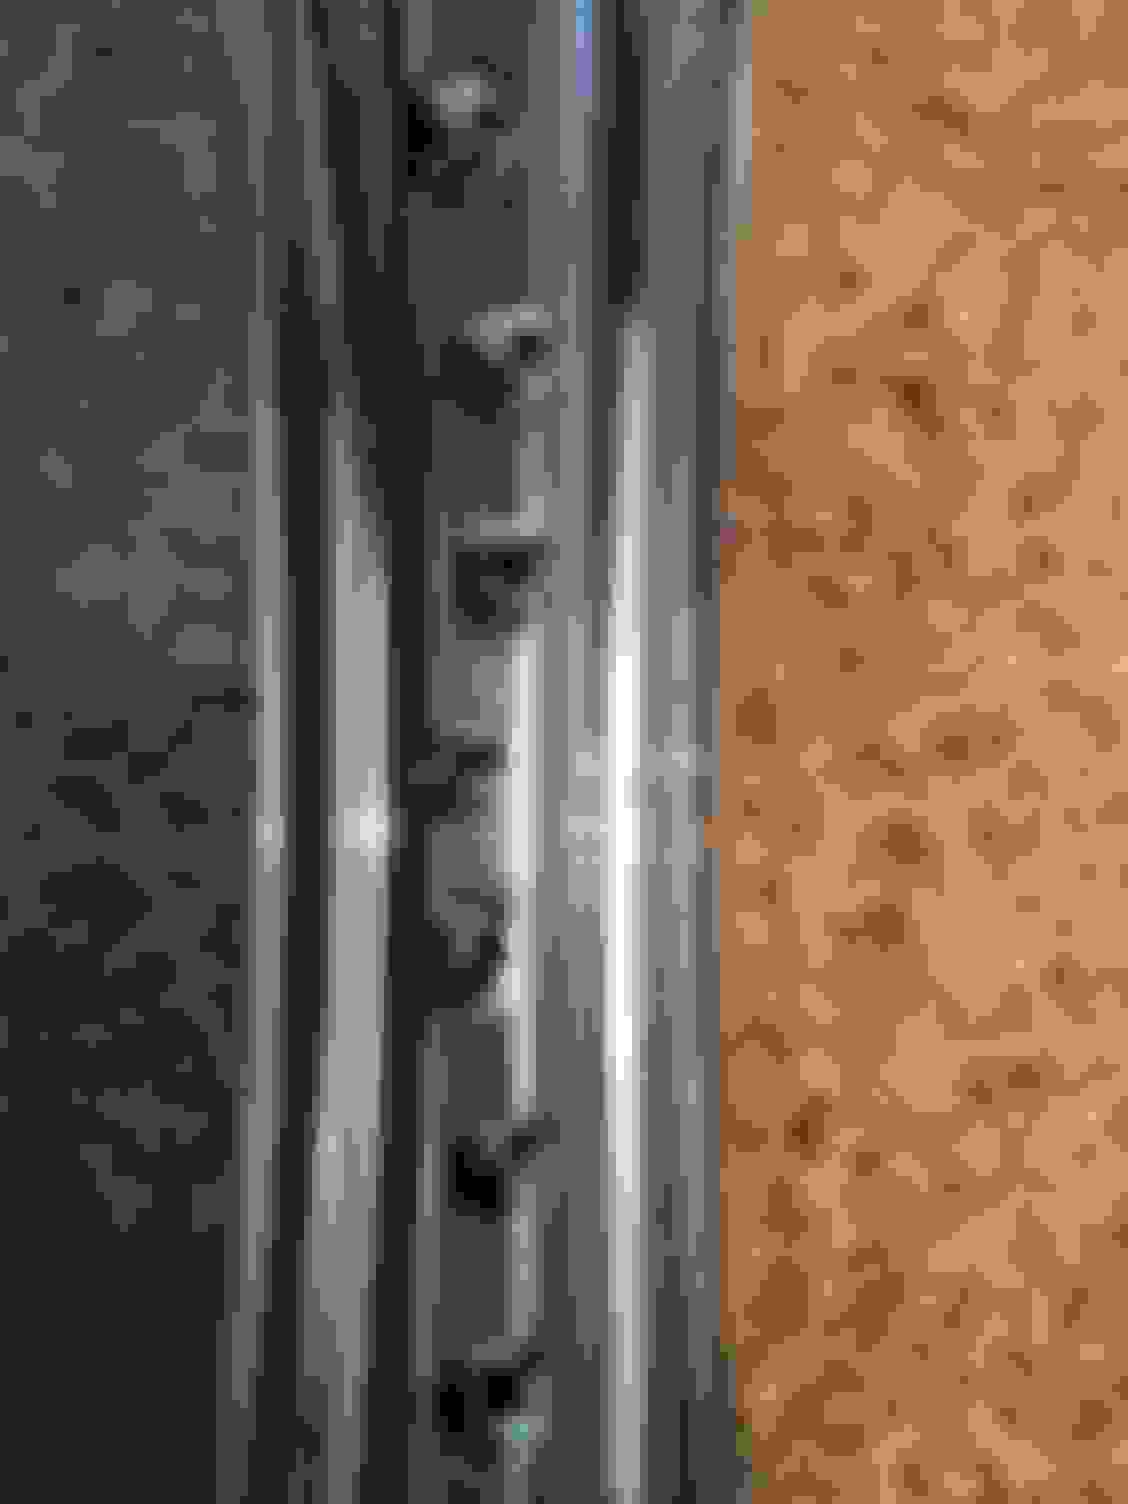
I finally got my rear wheel laced. It took me lacing it 3 times to get it what I think is right. The middle pictures was my 1st attempt and you can see every other spoke sticking out of the rim a little high. Not good for the inner tube I dropped the wheels and tires off at one of my favorite old school bike shop to have them true the rear wheel and mount the tires.
While I am waiting on the wheels, I started on installing the Progressive Low Boy fork kit. I am going for the full 2" drop and see how I like the stance. The full 2" drop uses the additional Progressive spring for rebound on the damper rod.
I have been looking at seats again. Trying to decide if I can use a seat from either Dime City Cycles or Tuffside and get the look I want? If I decide to go this route over making a custom seat, I feel I will want to have the seat before I weld the seat loop and rear fender mounts in place. Hmmmmm......G.B.
I have a lighting question for you guys. I ordered a full complement of LED lamps, head lamp, tail lamp, and turn signals along with a Badlands load equalizer for the bike. My question is, will I need any other ballast to run all of these LED lamps? Thanks G.B.
I don't think u need a ballast, but the blinkers I believe require a compensator or what ever it is called, to adjust for the much lighter current load. Otherwise they blink crazy fast. Am sure others will chime in on this.
You are LOWERING the front end on a scrambler? Seem counter intuitive to me.
Thanks handrifle. I am thinking I should only need the Badlands load equalizer but wasn't sure about the lighter load on the stator changing out all of the lamps to LED?
As I think I mentioned before, this white Burly bike is kind of the look I am going for. Old school scrambler like the original Honda's. The Burly bike used a 19" wheel in the front and 17" in the rear with the 15" Stiletto shocks. Everything I read it also used a 2" drop in the fork. I am going with a 19" front wheel, 18" rear and the 13" Stiletto shocks. Until I get the wheels on it and the fork together, I wont know if I will get the look I want. I can always go to a 1" drop if I need to change it up. In addition to getting the look I want, I don't plan to take this bike trail riding. I am looking to bomb around the area I live in and not avoid the 1,000's of miles of dirt roads we have in Michigan. G.B.
Got it, more like a Cafe Scrambler. NOW I get the picture. Now you can do your canyon carving on dirt roads. Didn't get the drift before, but now that I do, its a cool concept. Not how I would do it, but ITS NOT MY BIKE. Thats why we use Harleys for these projects. Because we can.
i want to see it running thru the mud, like it should be.............still waiting on those pics, needs to be dirty and wet nasty muddy (a hint to whylee )
Starting to make some progress on the bike. Installed the Progressive Low-Boy spring kit in the forks over the weekend. Pretty simple install.
First time I have ever taken a fork leg apart. Pretty easy.
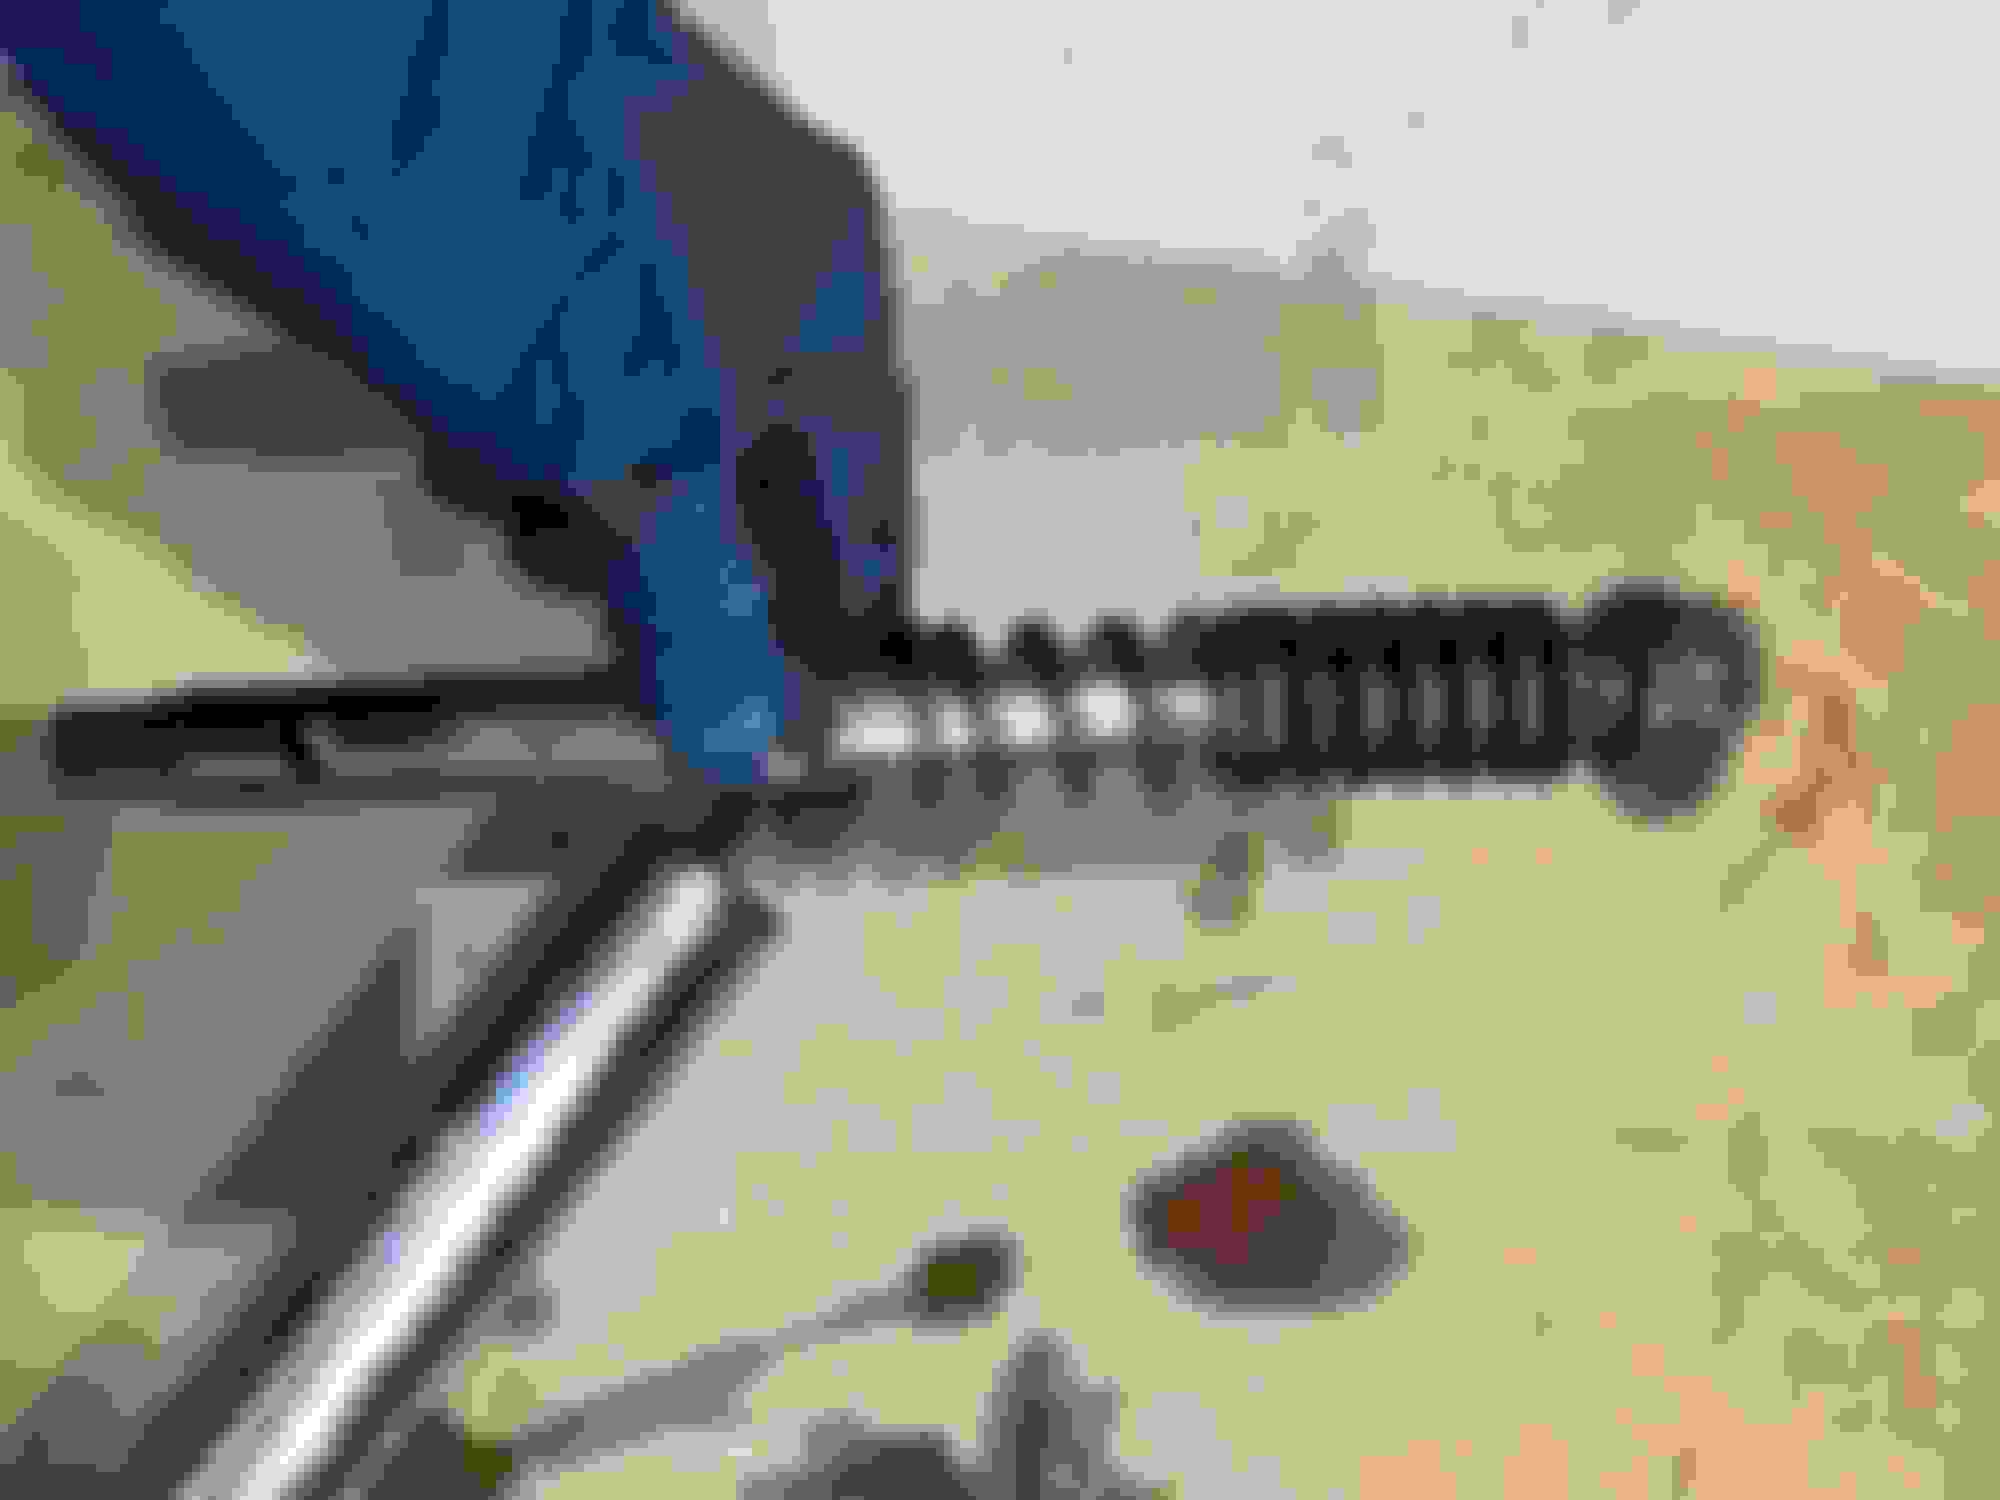
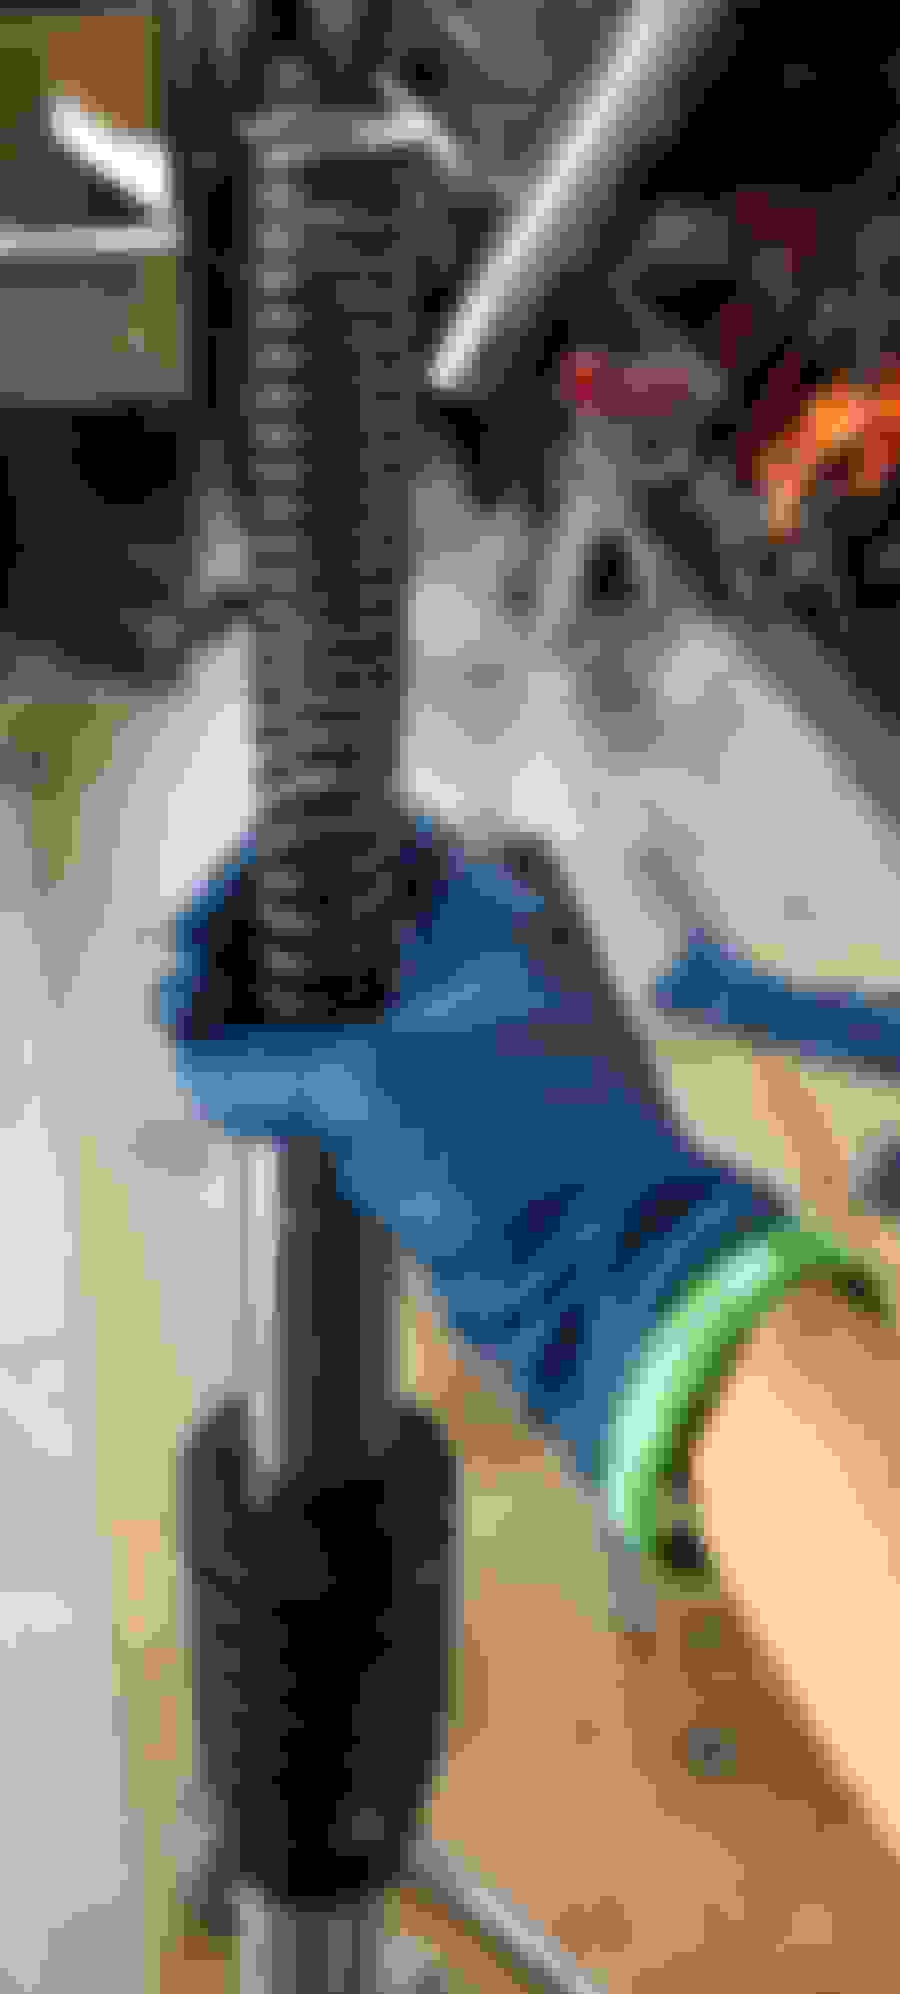
Going with the full 2" drop so you add the Progressive preload spring to the damper tube below the stock spring. The stock prelaod spring has the tighter coils
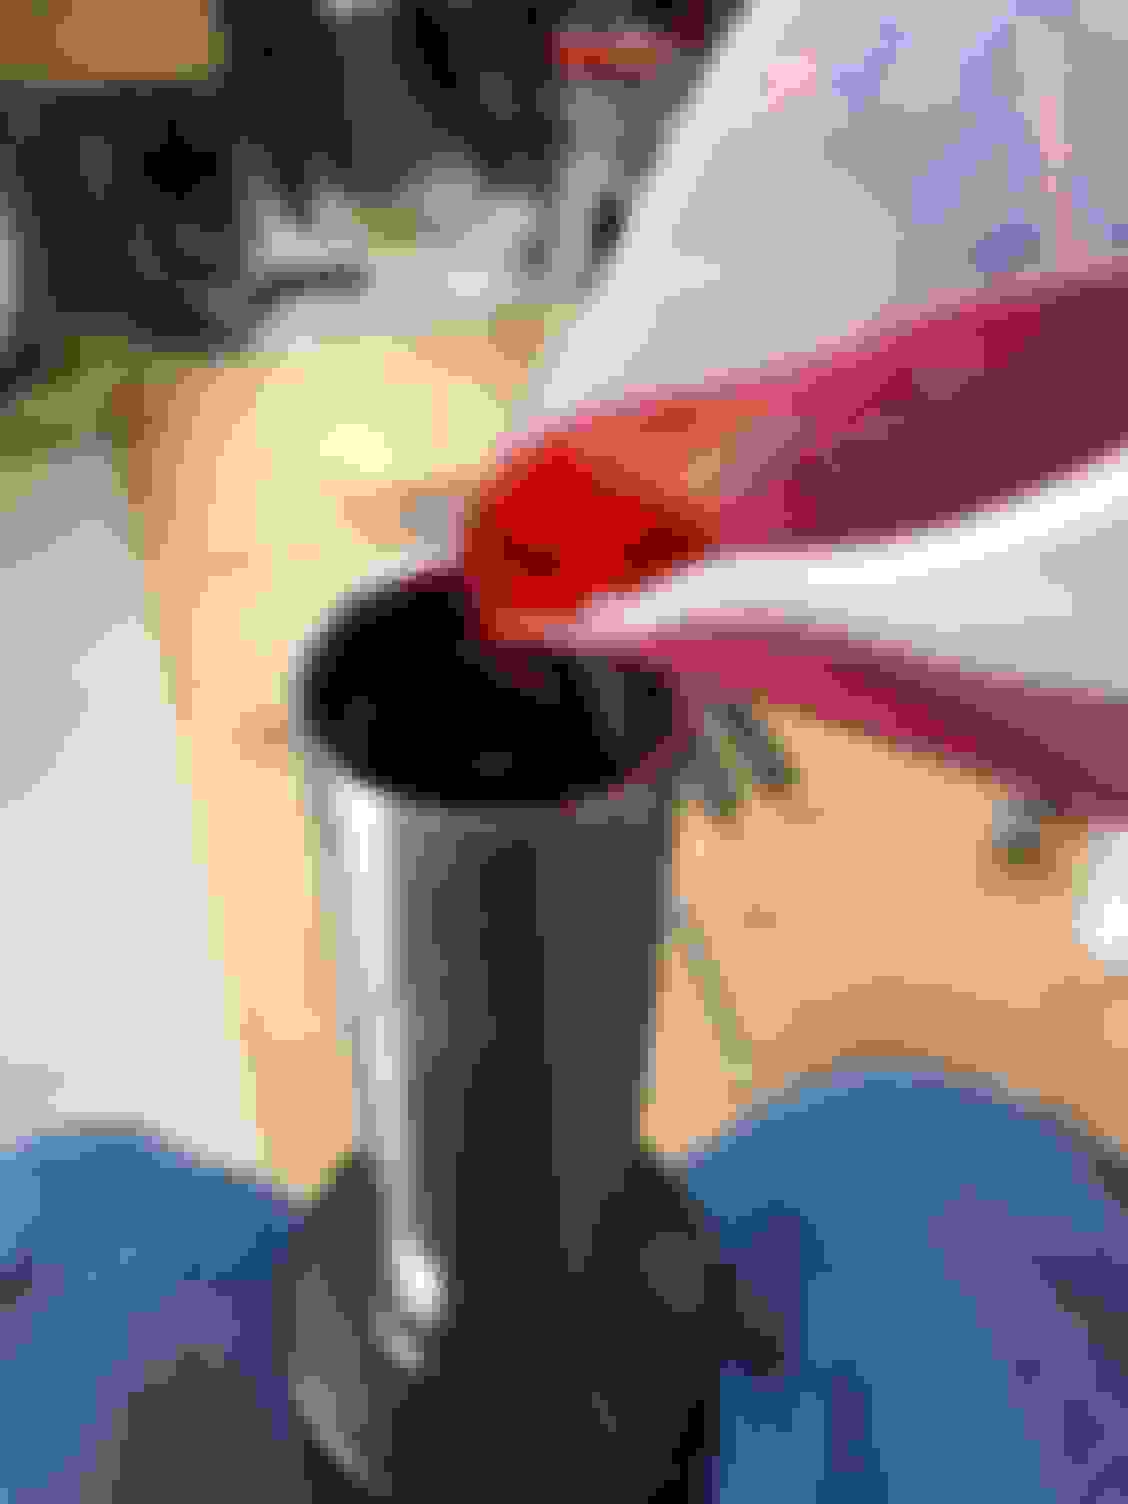
Filling the fork leg with 12.1 oz of HD type E fork oil
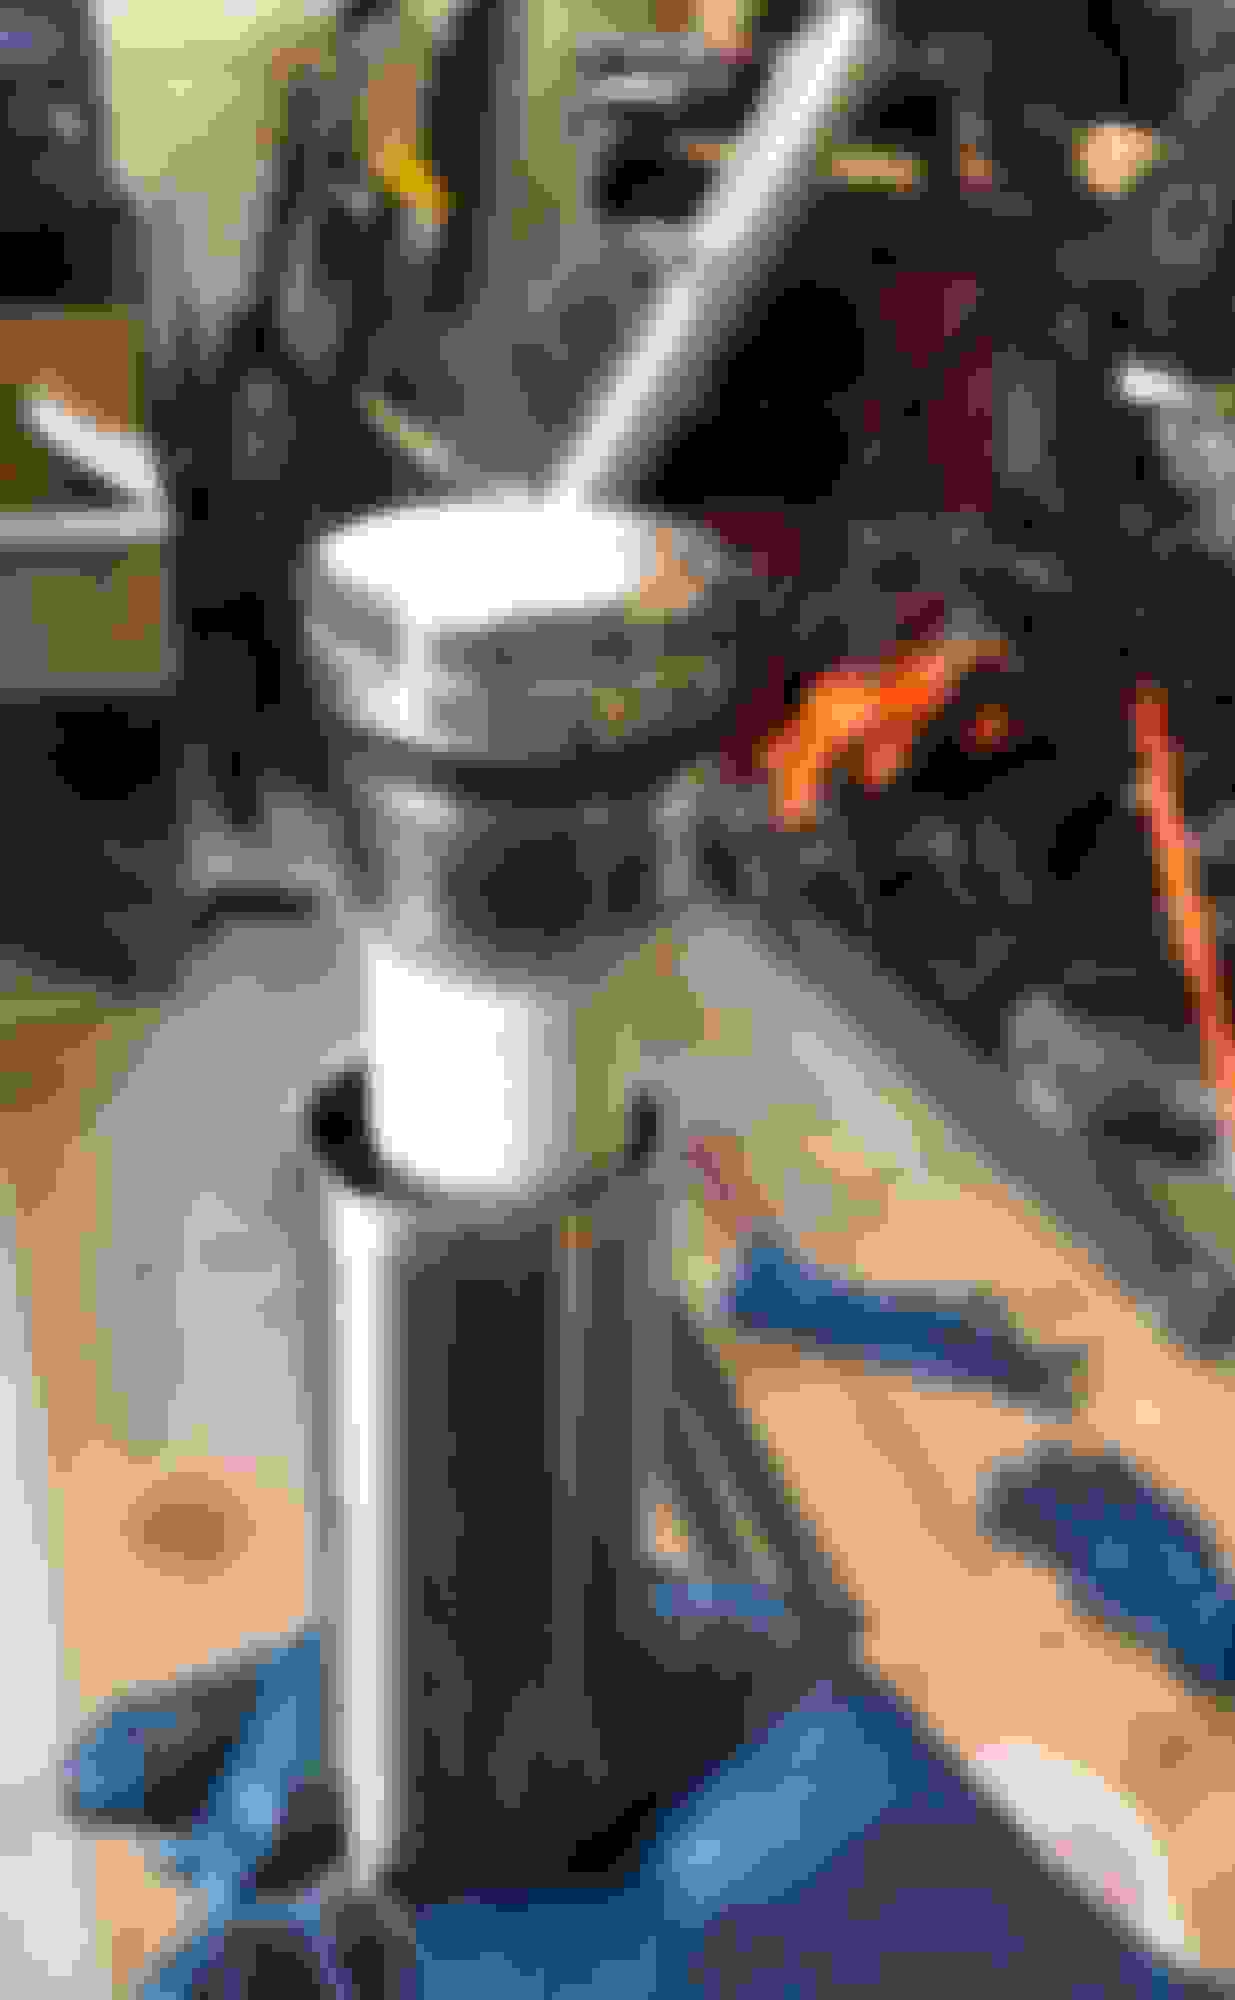
Dropping in the Progressive main spring and installing the new fork boots.
I cut the preload spacer to the middle of the Progressive recomendation. So from the top of the fork tube to the contact flage just above the o-ring on the top cap, I cut the spacer so it gives me a dimension of 1 1/2". The range for this 1 1/4" for light riders and 1 3/4" for heavier riders.
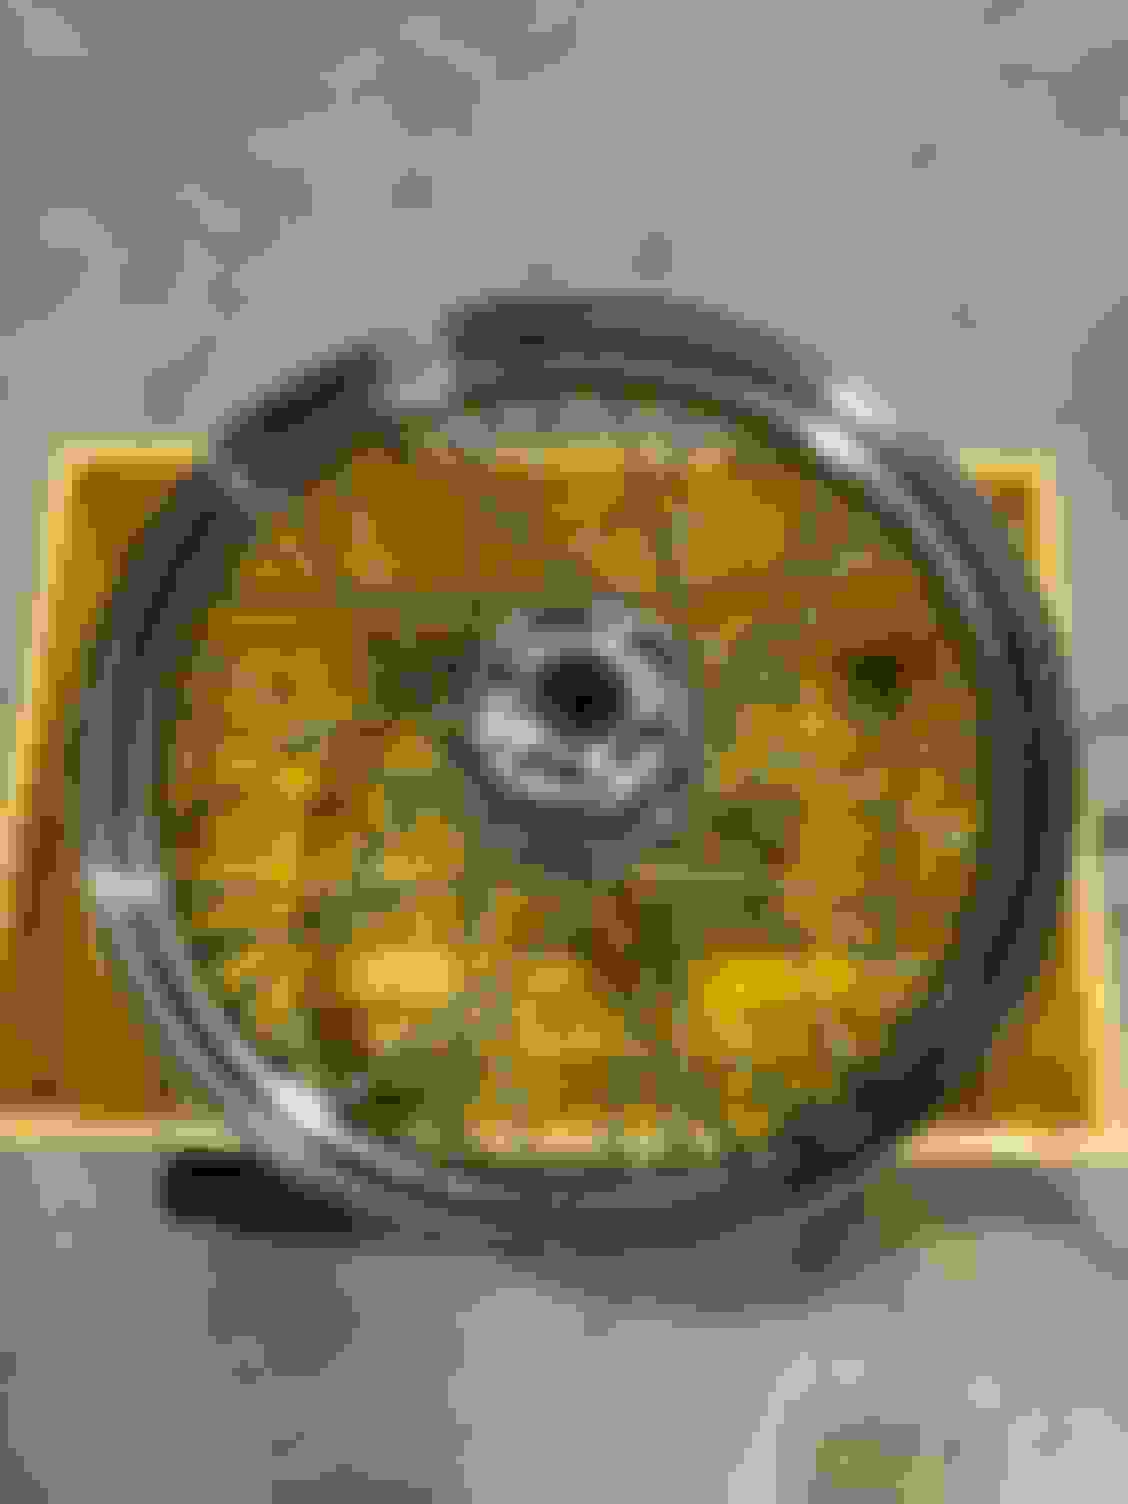
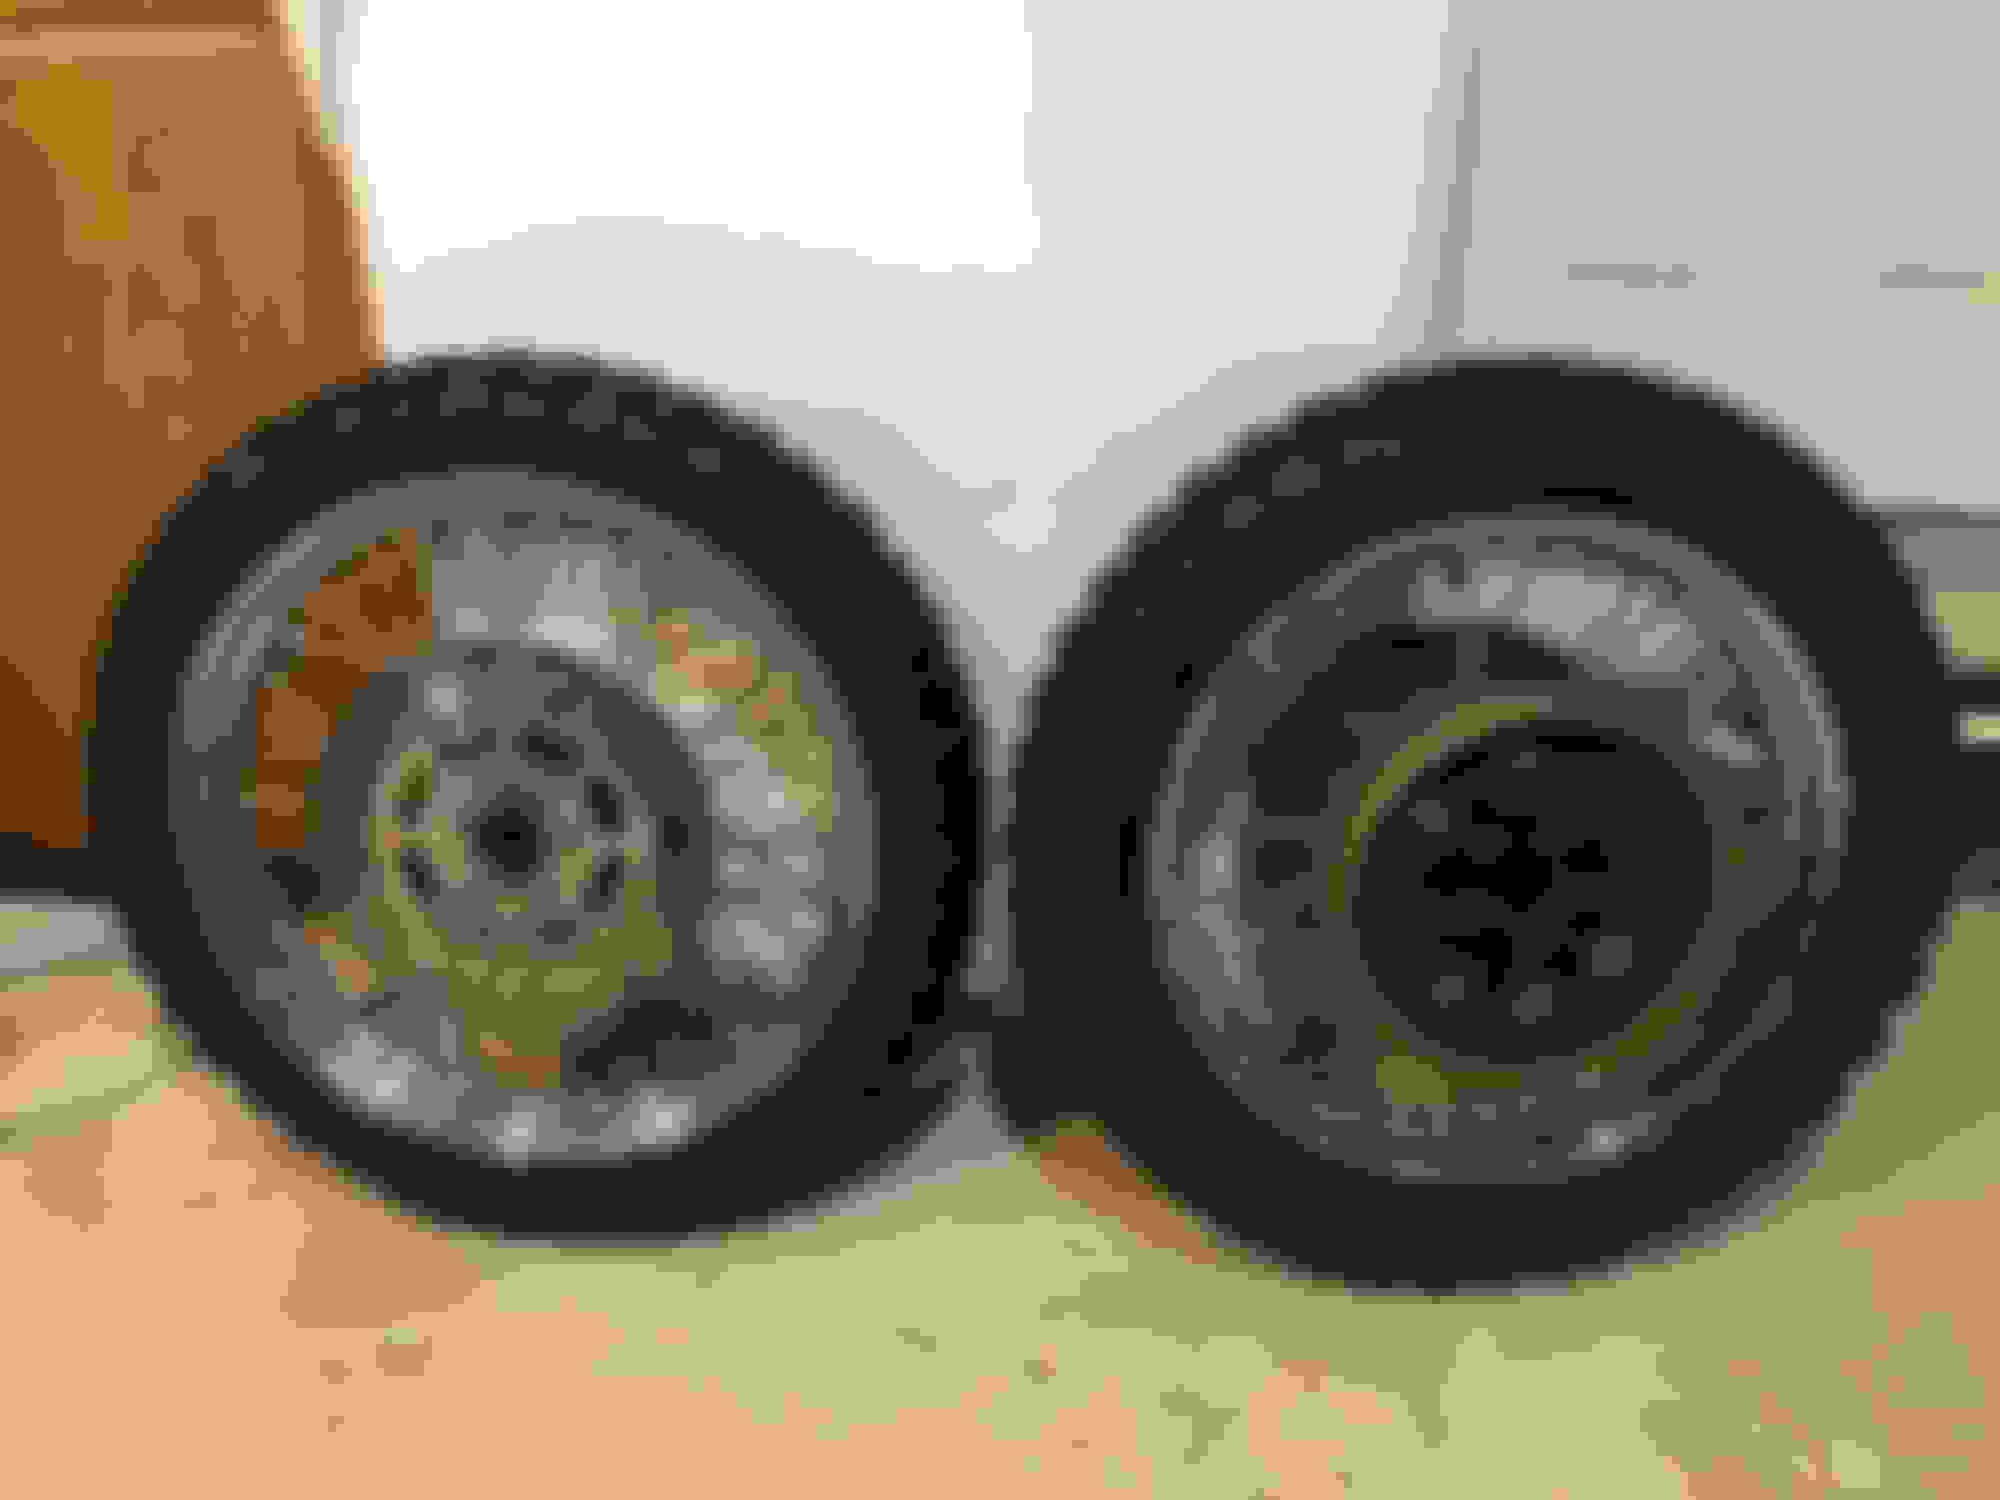
The rear wheel is trued and the Shinko tires with new tubes are installed and balanced. Real happy with how the rear wheel came out after all the trouble trying to find an 18" x 2.5" rim.
Waiting on a Drag Specialties front turn signal relocation kit to mount the Arlen Ness LED turn signals I picked out with the fork pinch bolt. Once this comes in I can install the fork legs and the rear wheel to see how the bike sits. Then on to cutting off the rear fender frame mounts and weld on the seat loop. Cant wait! G.B.

 07-19-2019 | 10:27 AM
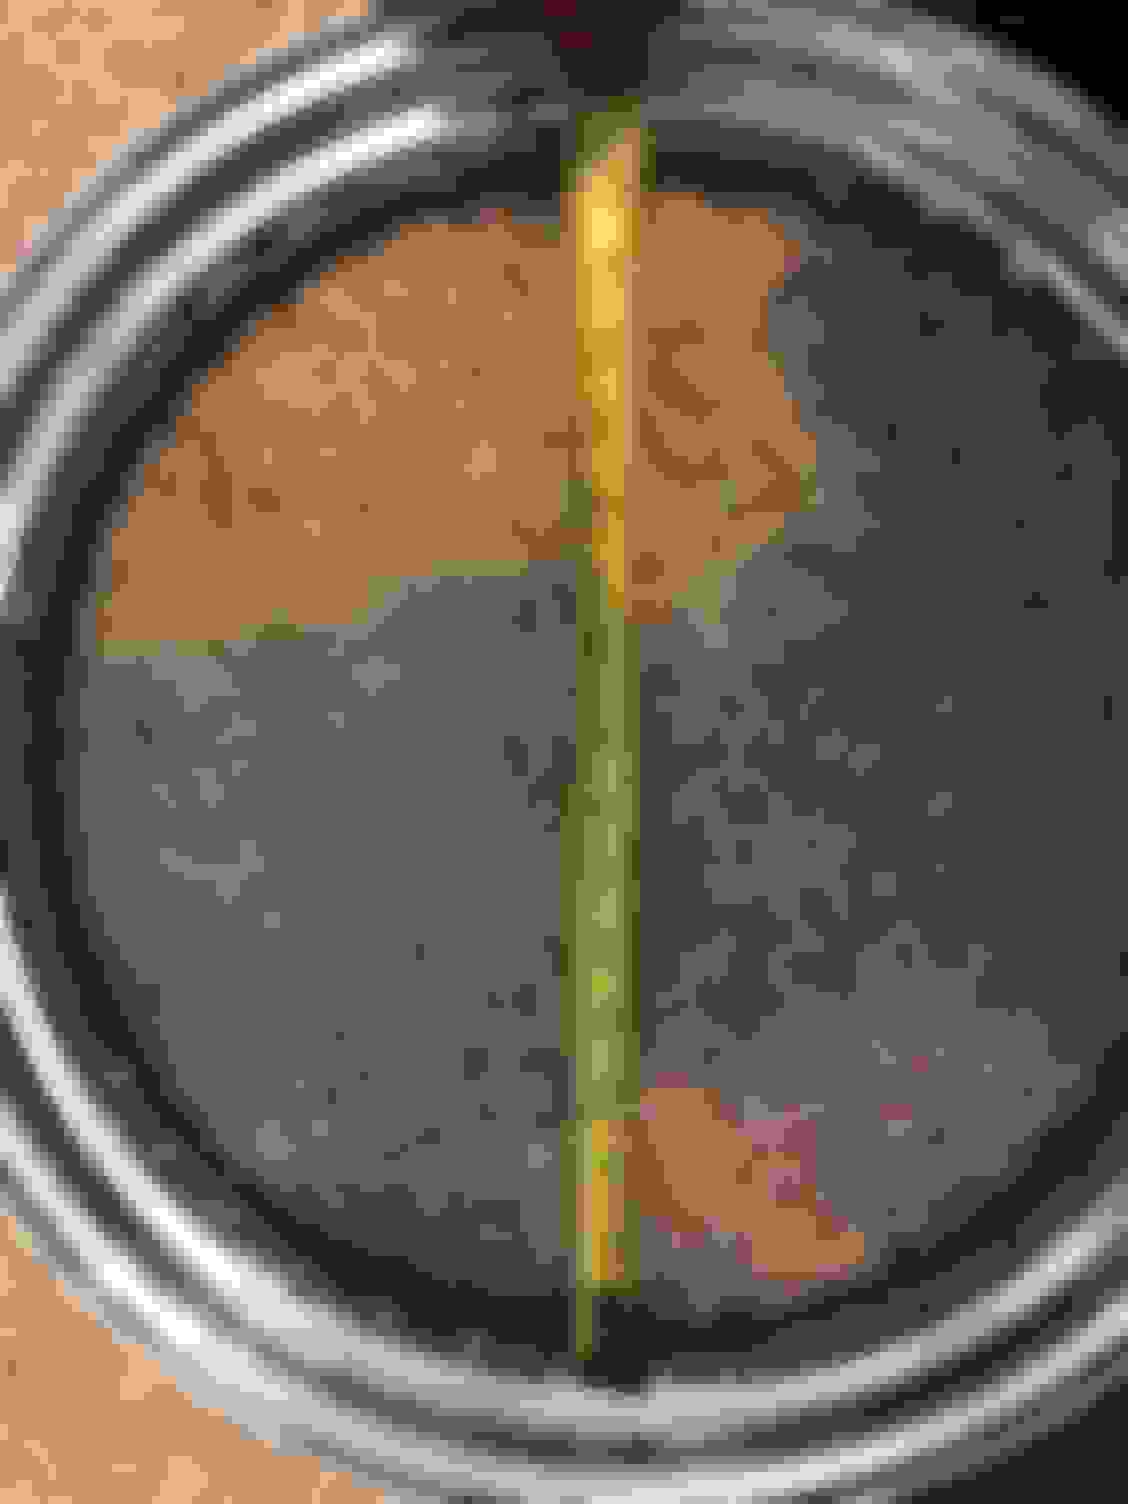


 I dropped the wheels and tires off at one of my favorite old school bike shop to have them true the rear wheel and mount the tires.