Hello, I decided to do some big changes on my bike that I have been wanting to do since I first bought it and started looking to custom. So currently I have done a few things but its mostly stock. I have planned to do a 2" tank lift, coil & ignition relocation, 12" narrow apes and speedo side relocation.
So time for an update, I can only work on my bike on the weekends because of work and weather has not been the best when I had time. With every project there are always some hiccups, in my case usually not doing something right. First thing to cause a stall in progress was the ignition relocation bracket, I couldn't find where to install it. After I had some time away and came back I figured that out.
Now at this point I started to put things together and just make sure everything works and it starts up. Second issue pops up, it doesn't start and the LED indicator for the right turn signal doesn't work. Another thing I decided to do while I was doing all this was change out my spark plugs. So after walking away and coming back again, I narrowed it down. I checked the gap on the new spark plugs. For the turn signal it could be two issues, one the wires for neutral and right turn signal on the Joker kit was very sketch in colors and instructions and the other I had something wrong in the male plug when I did the wire extension. Turned out to be both
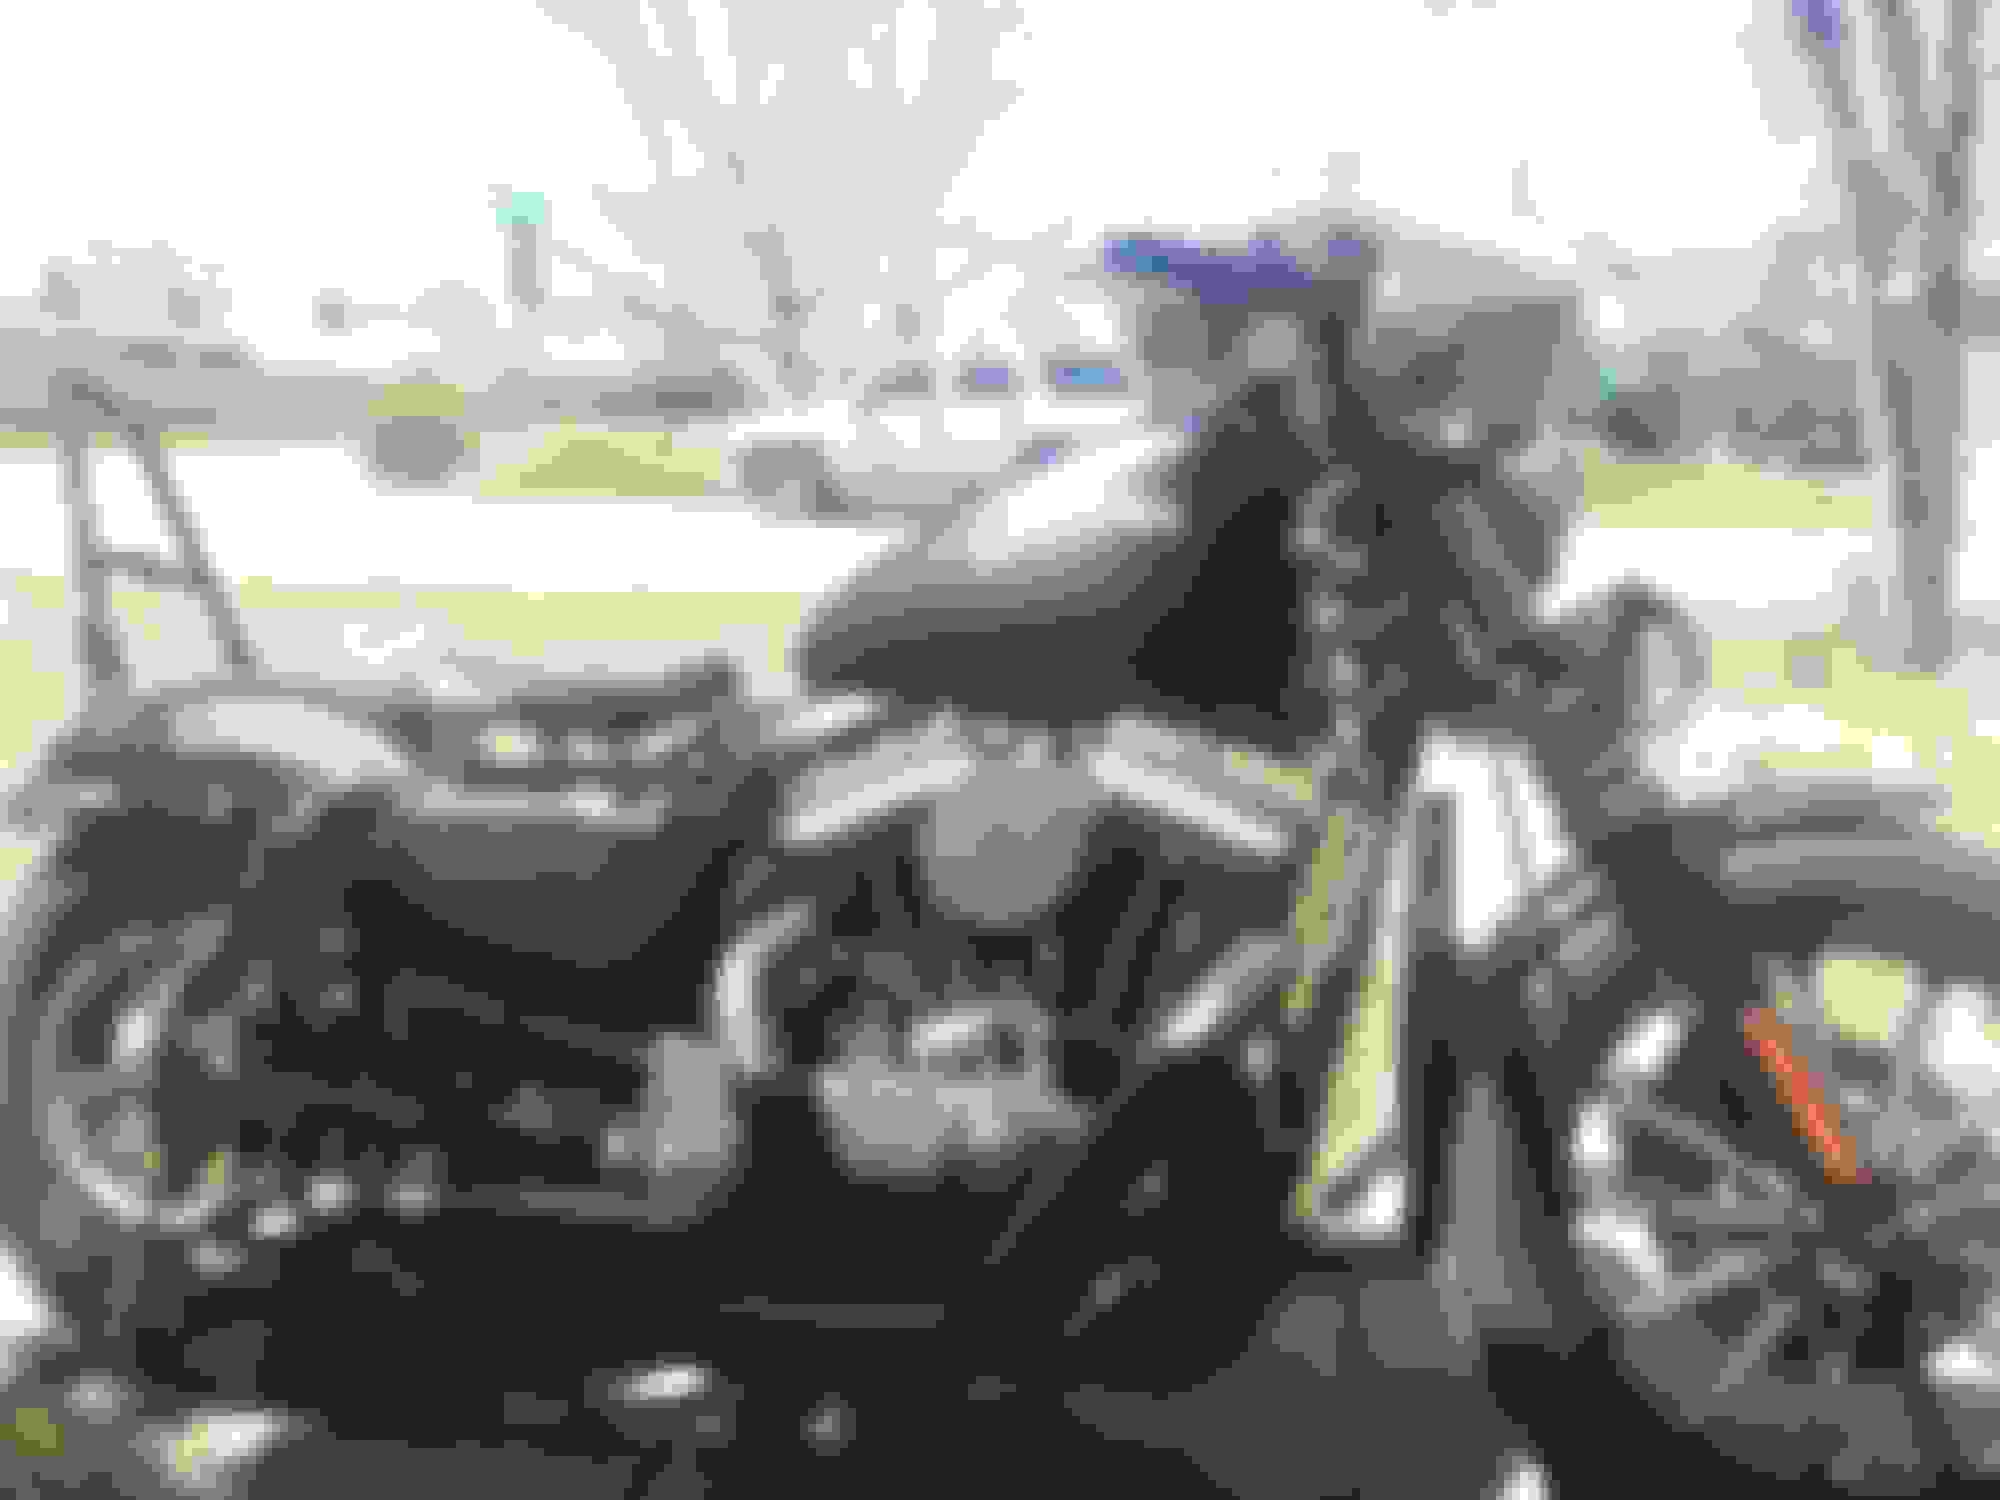
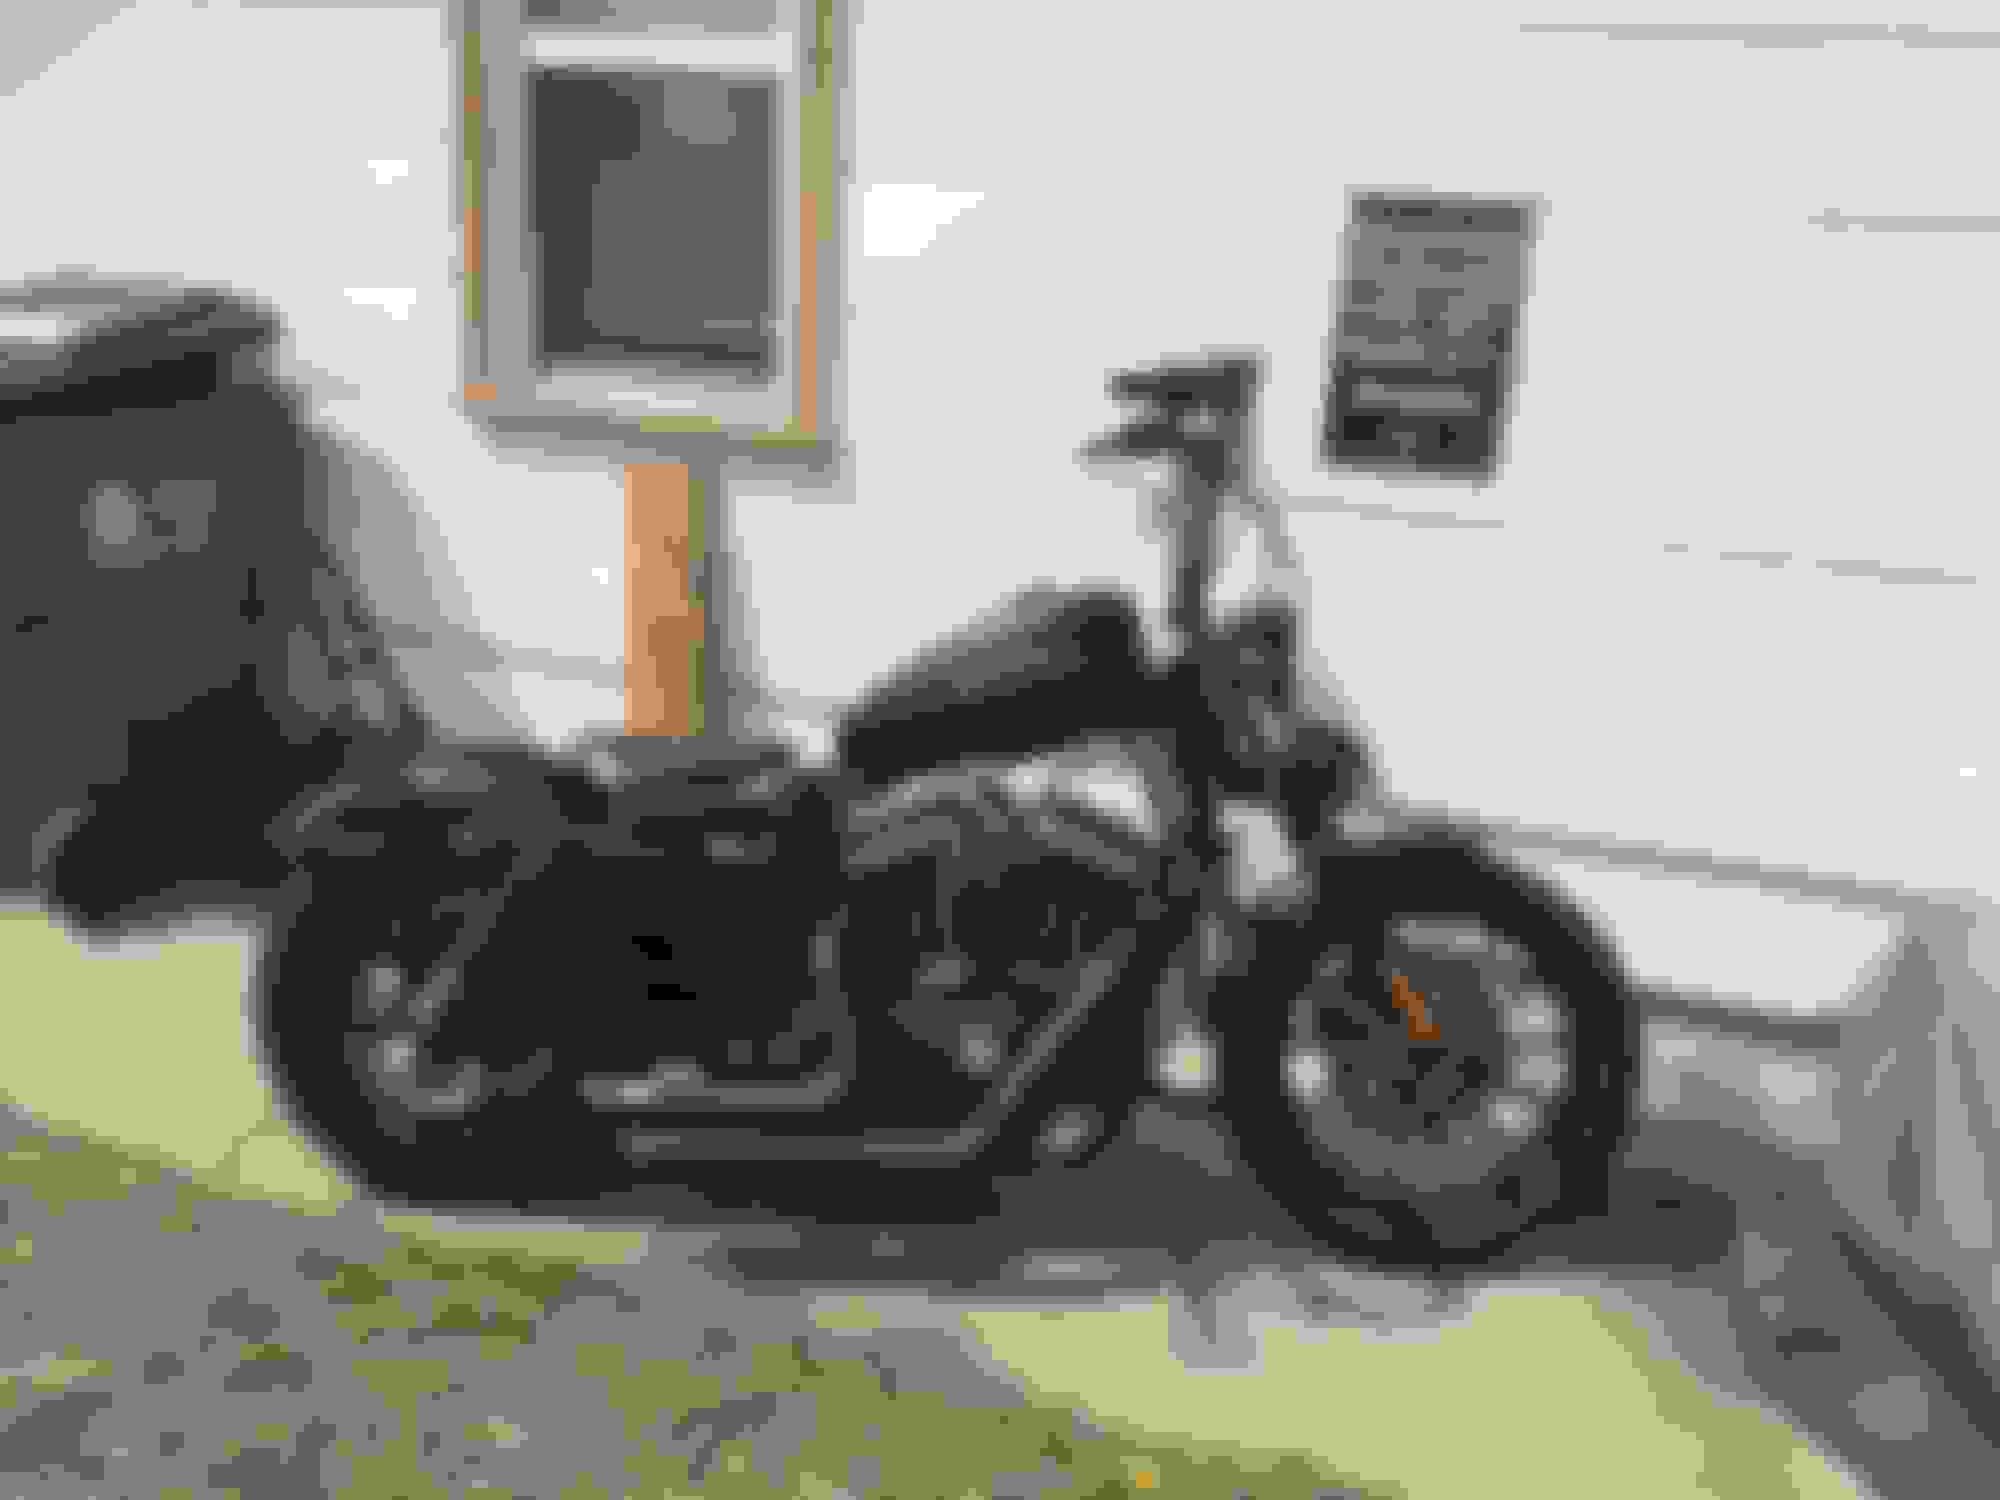
So now I fixed all the issues it was time to get it ready for a test ride!! So on the list, tidy up all the wires, adjust both throttle cables and clutch cable, flush front brakes and fix the leak on derby cover. All that is done except run the wires a little better because it will drive me crazy, but here are some pics of the all the mods. Don't judge I haven't washed and polished the bike yet so not in top form.
So a side view so you can see the tank lift and the 12" burly bars.
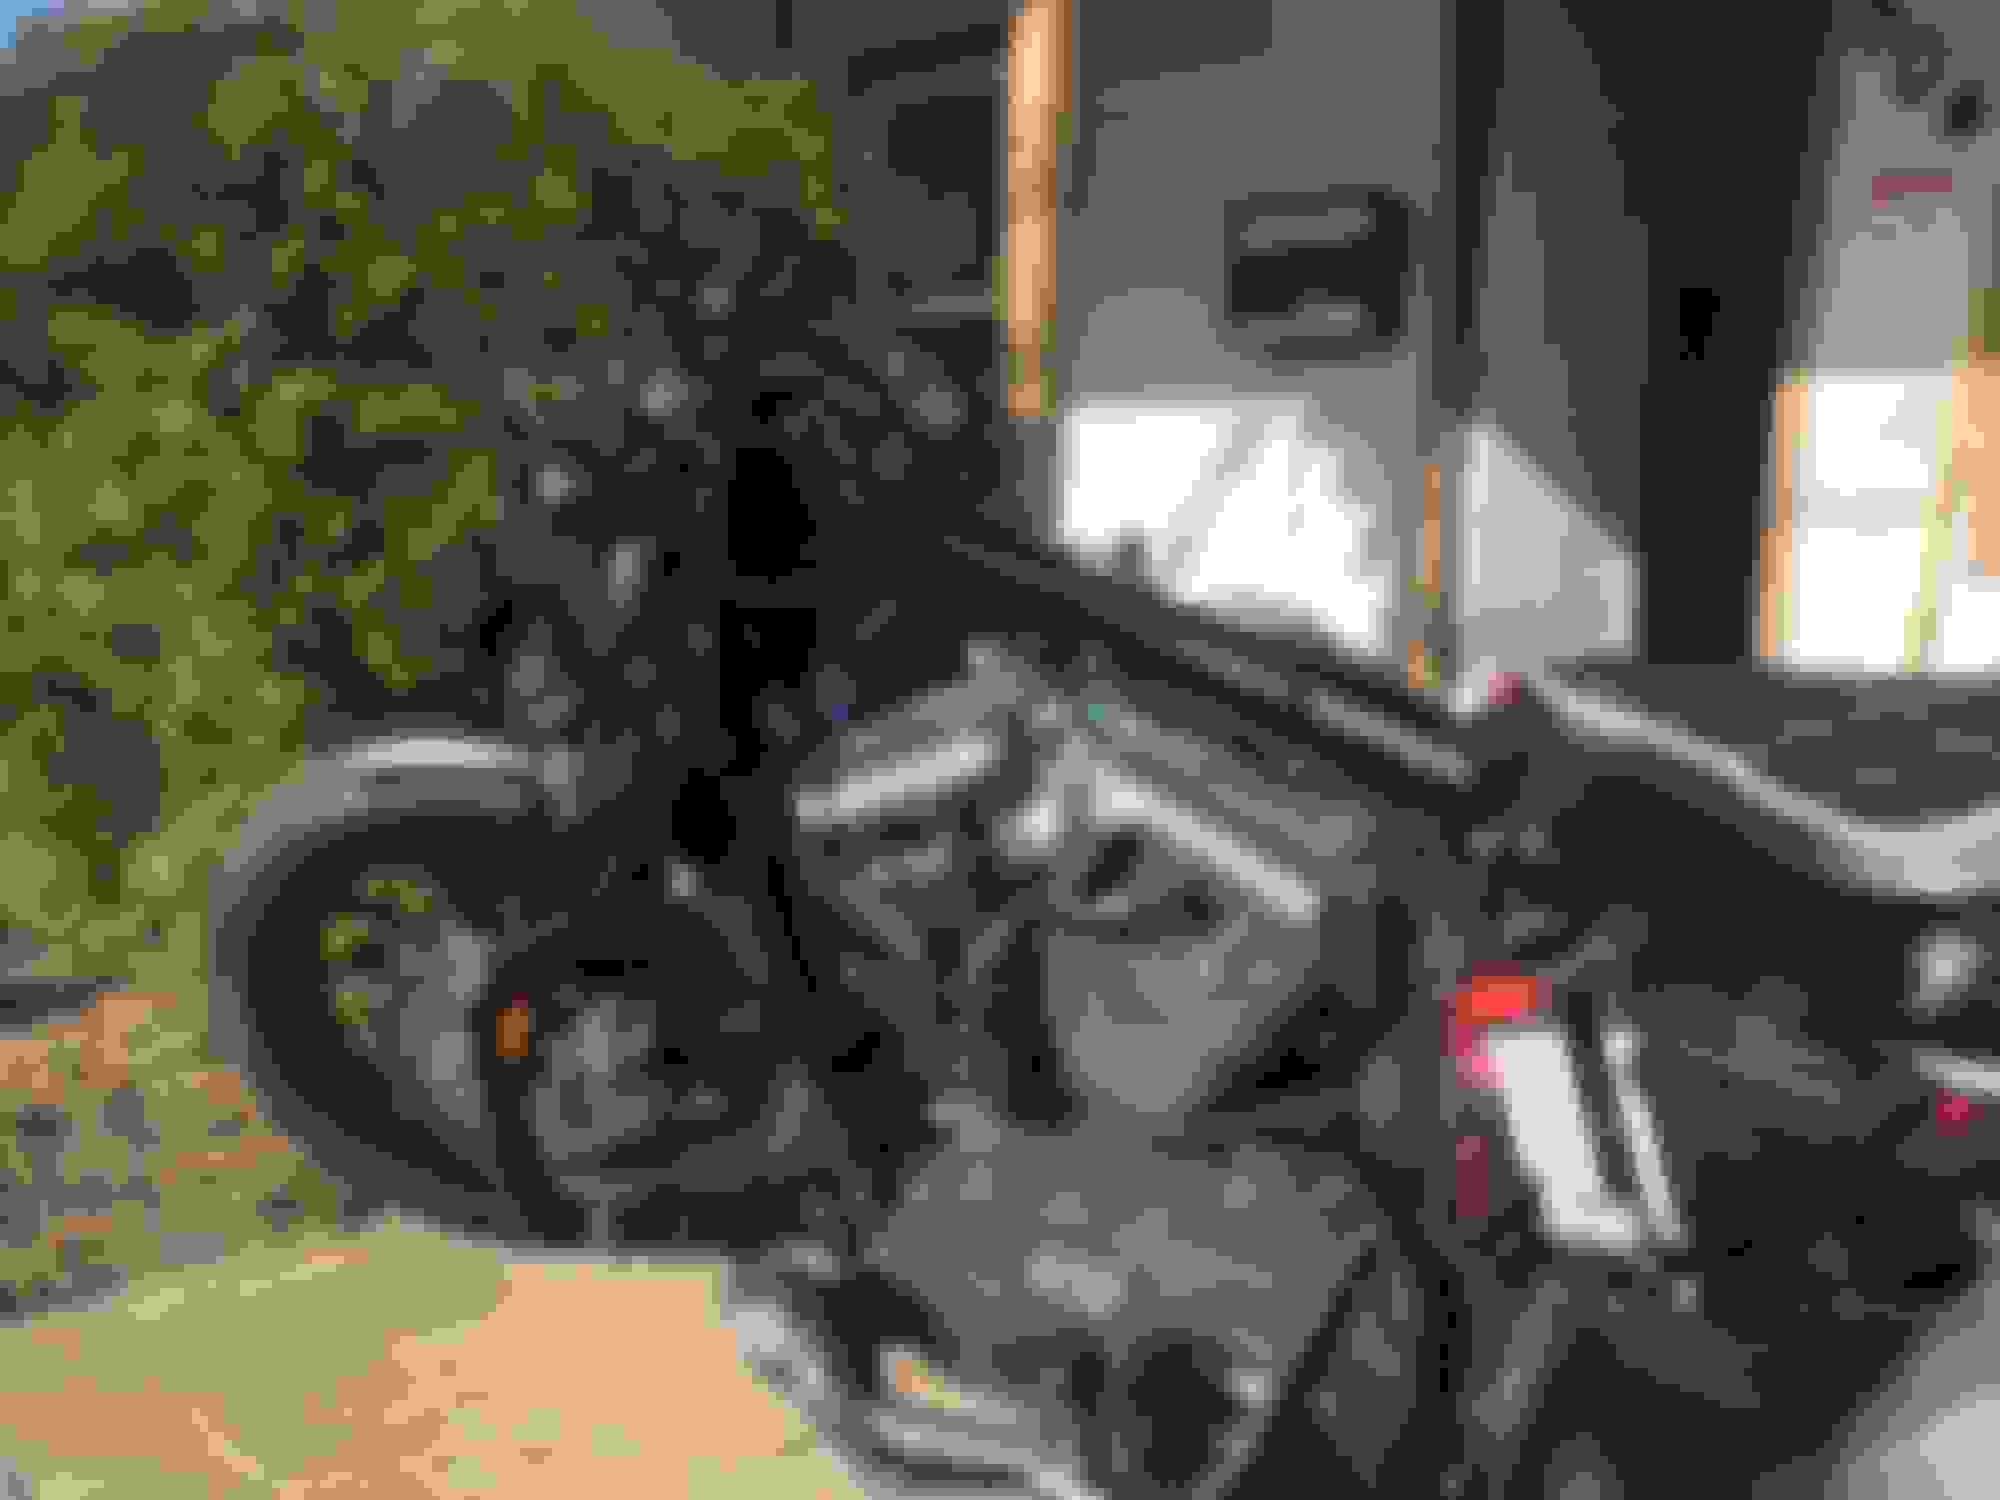
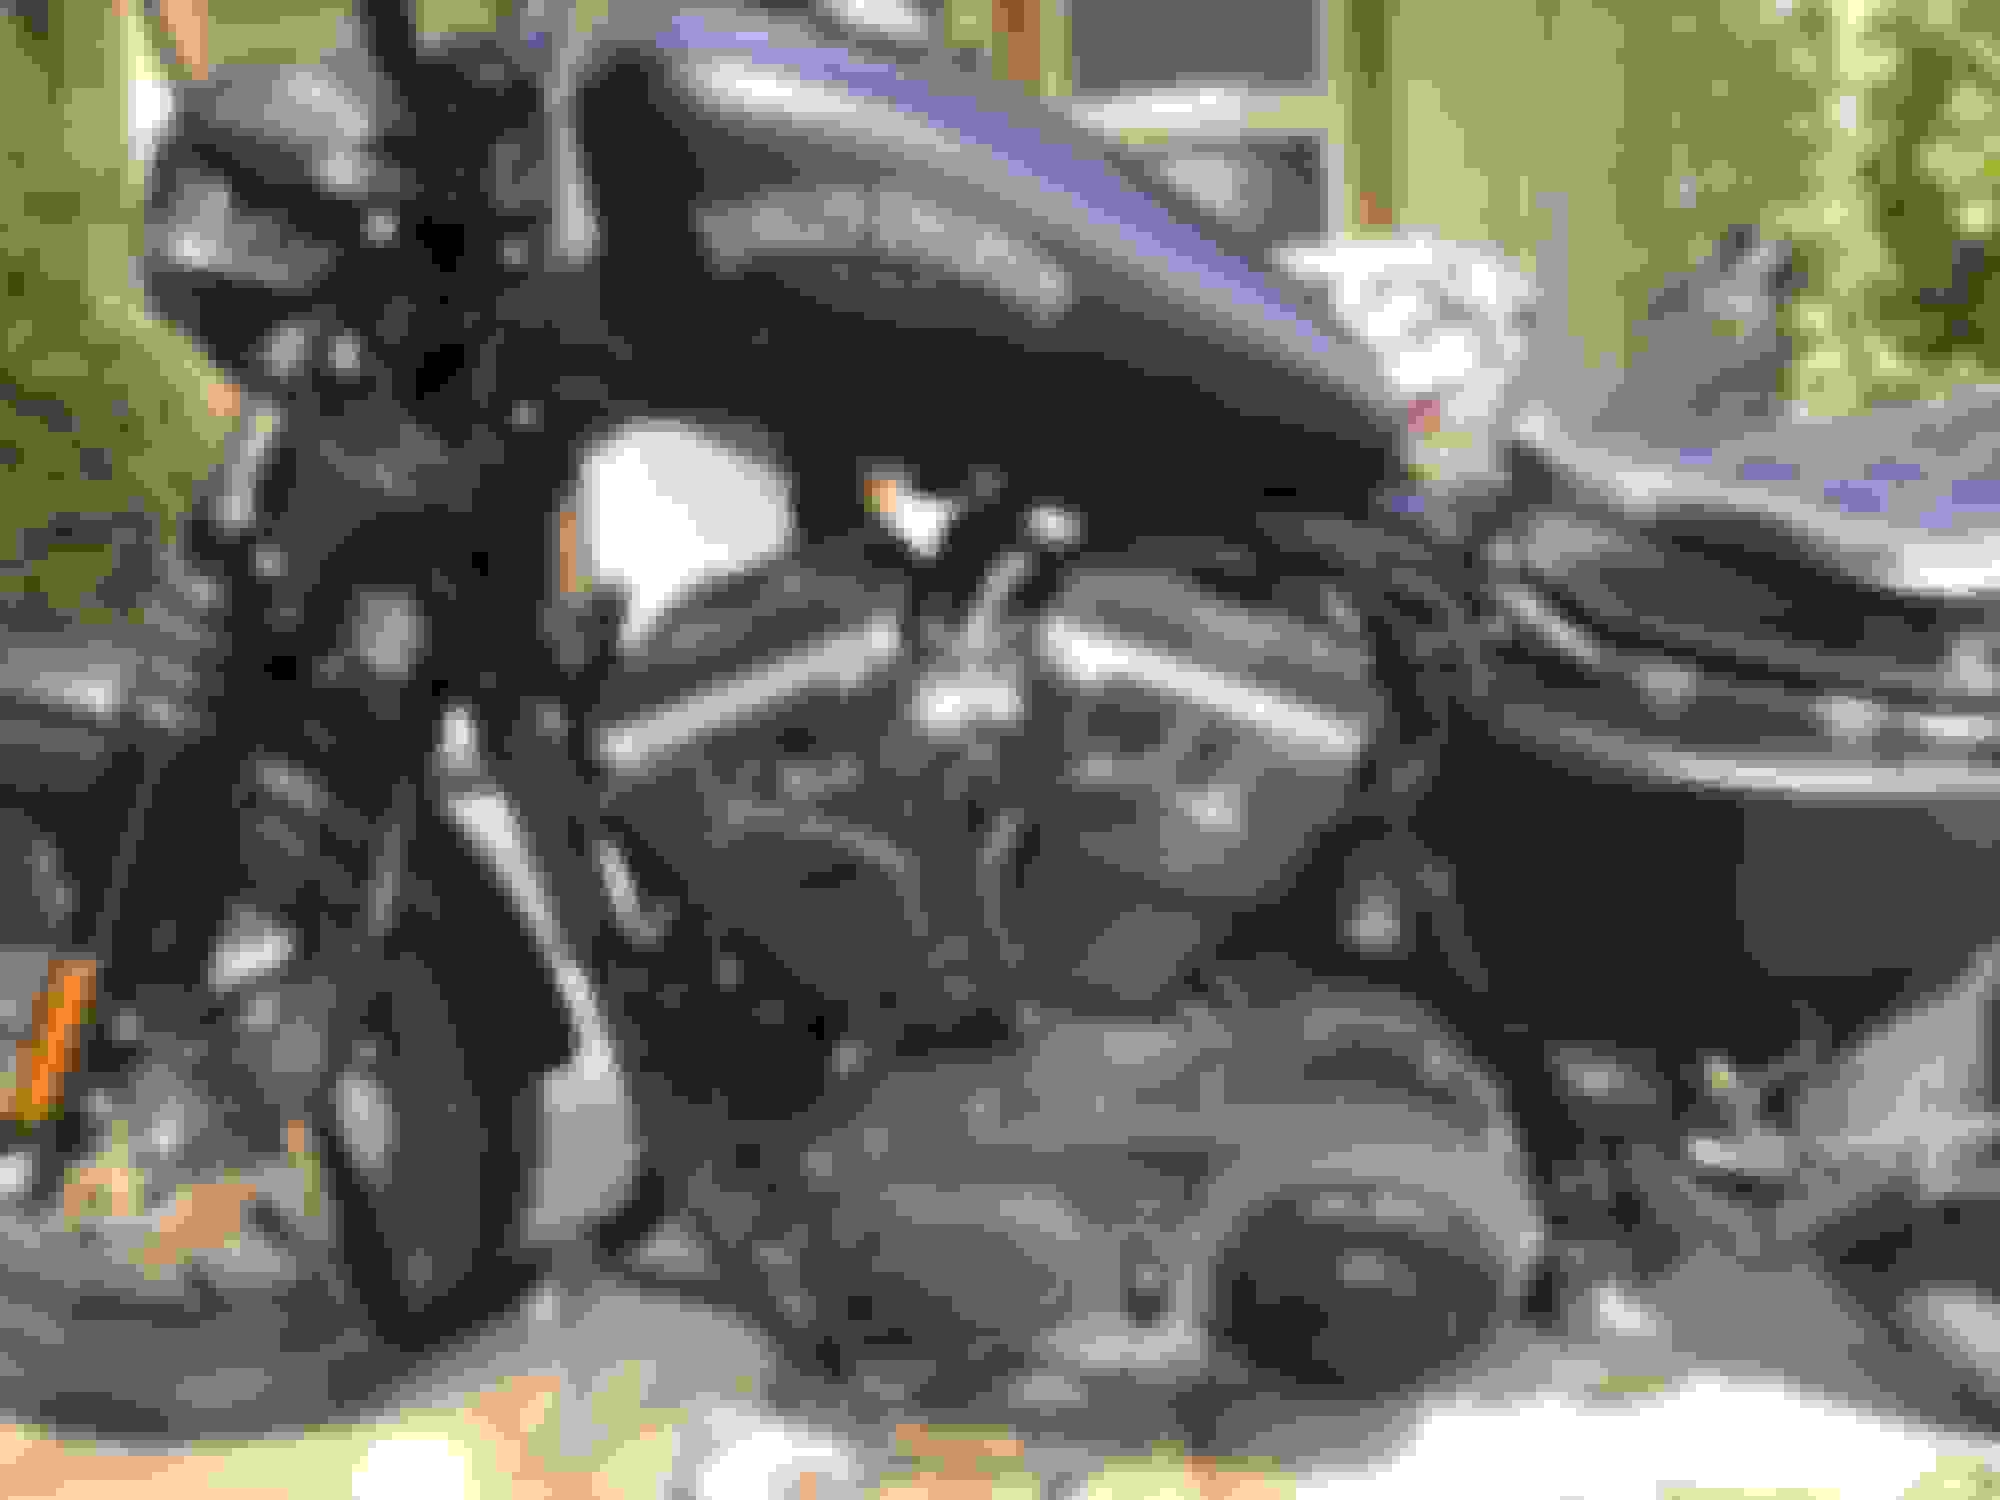
Front view, I also got a black headlight bezel.
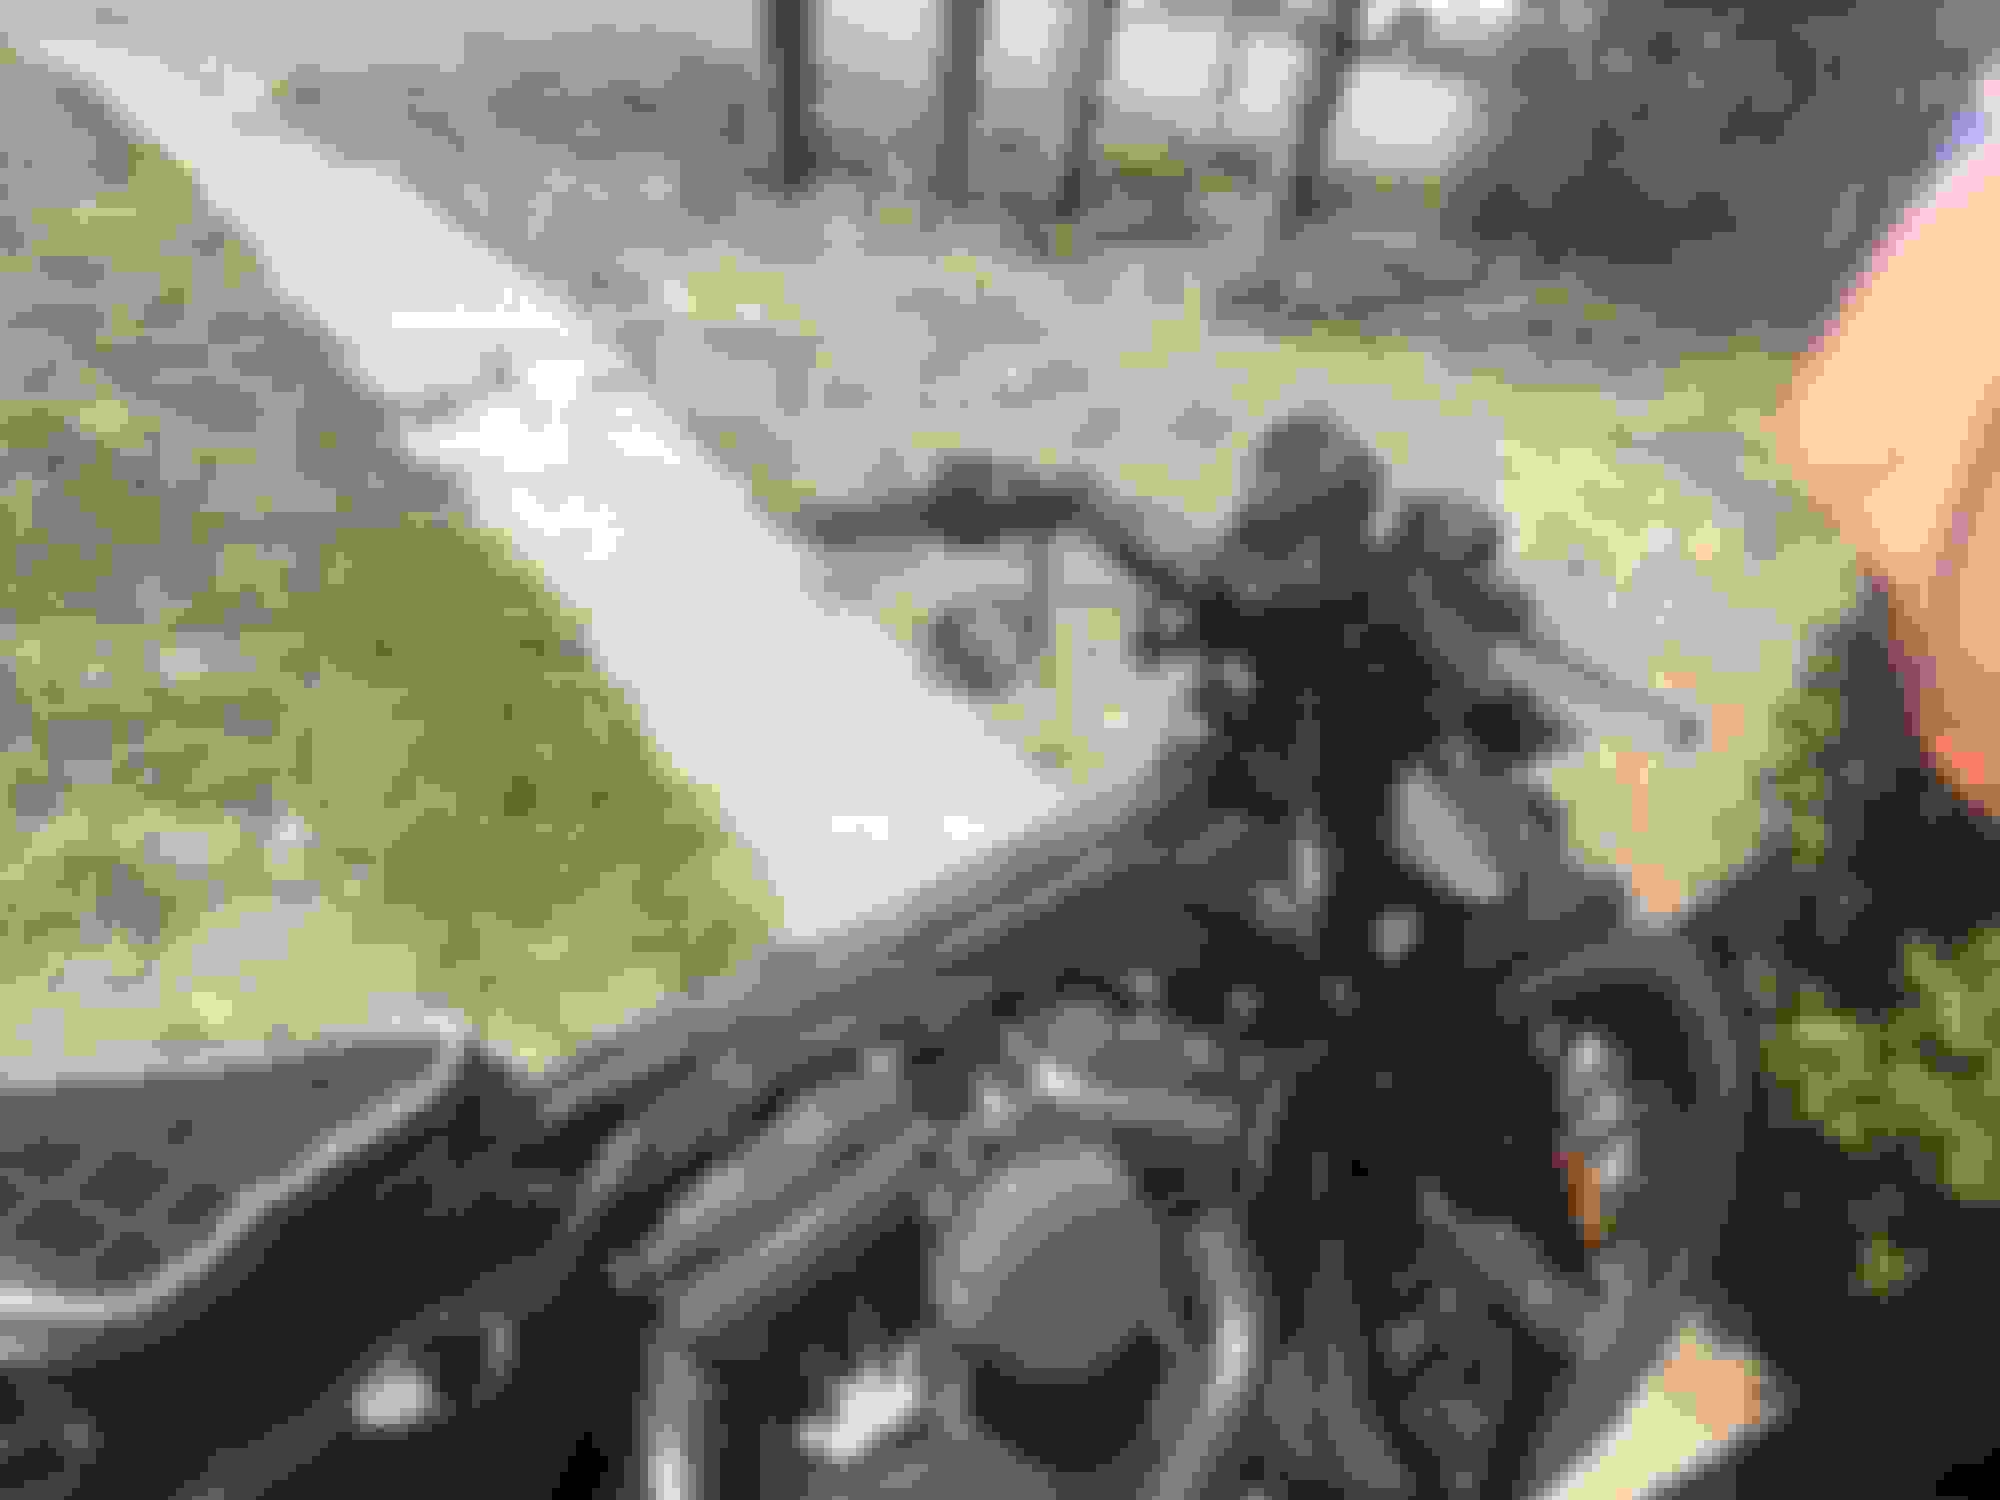
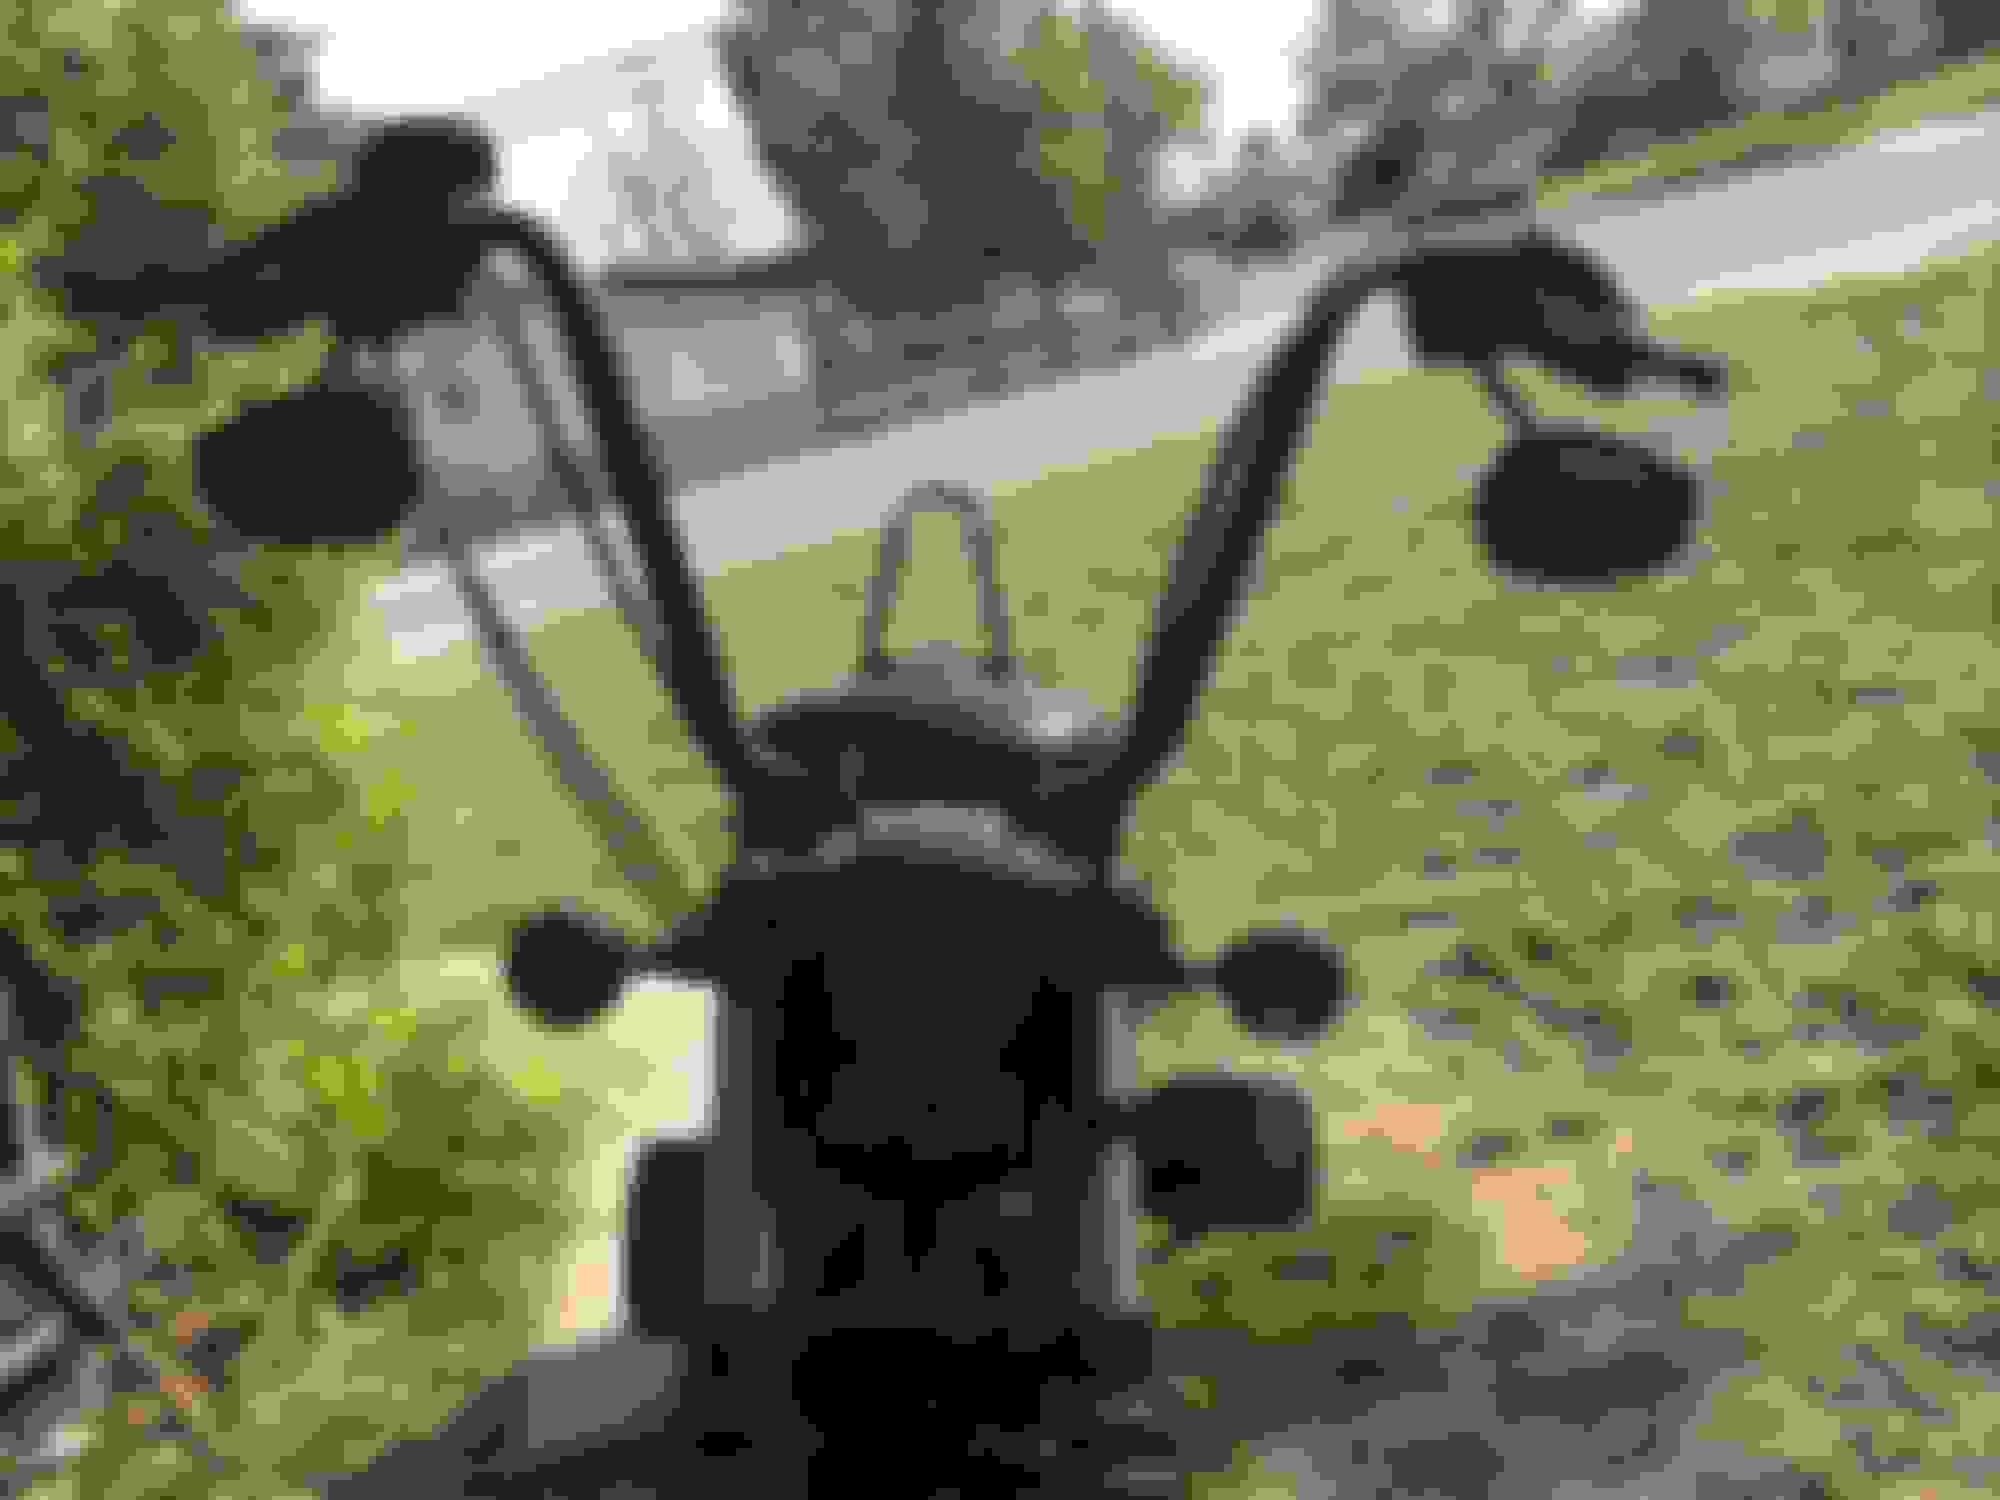
Top down, you can see the speedo relocation really cleans up the bars and looks pretty cool on the side. I honestly don't look at my speedo much, I can tell how fast I'm going and what gear I'm in without needing to look.
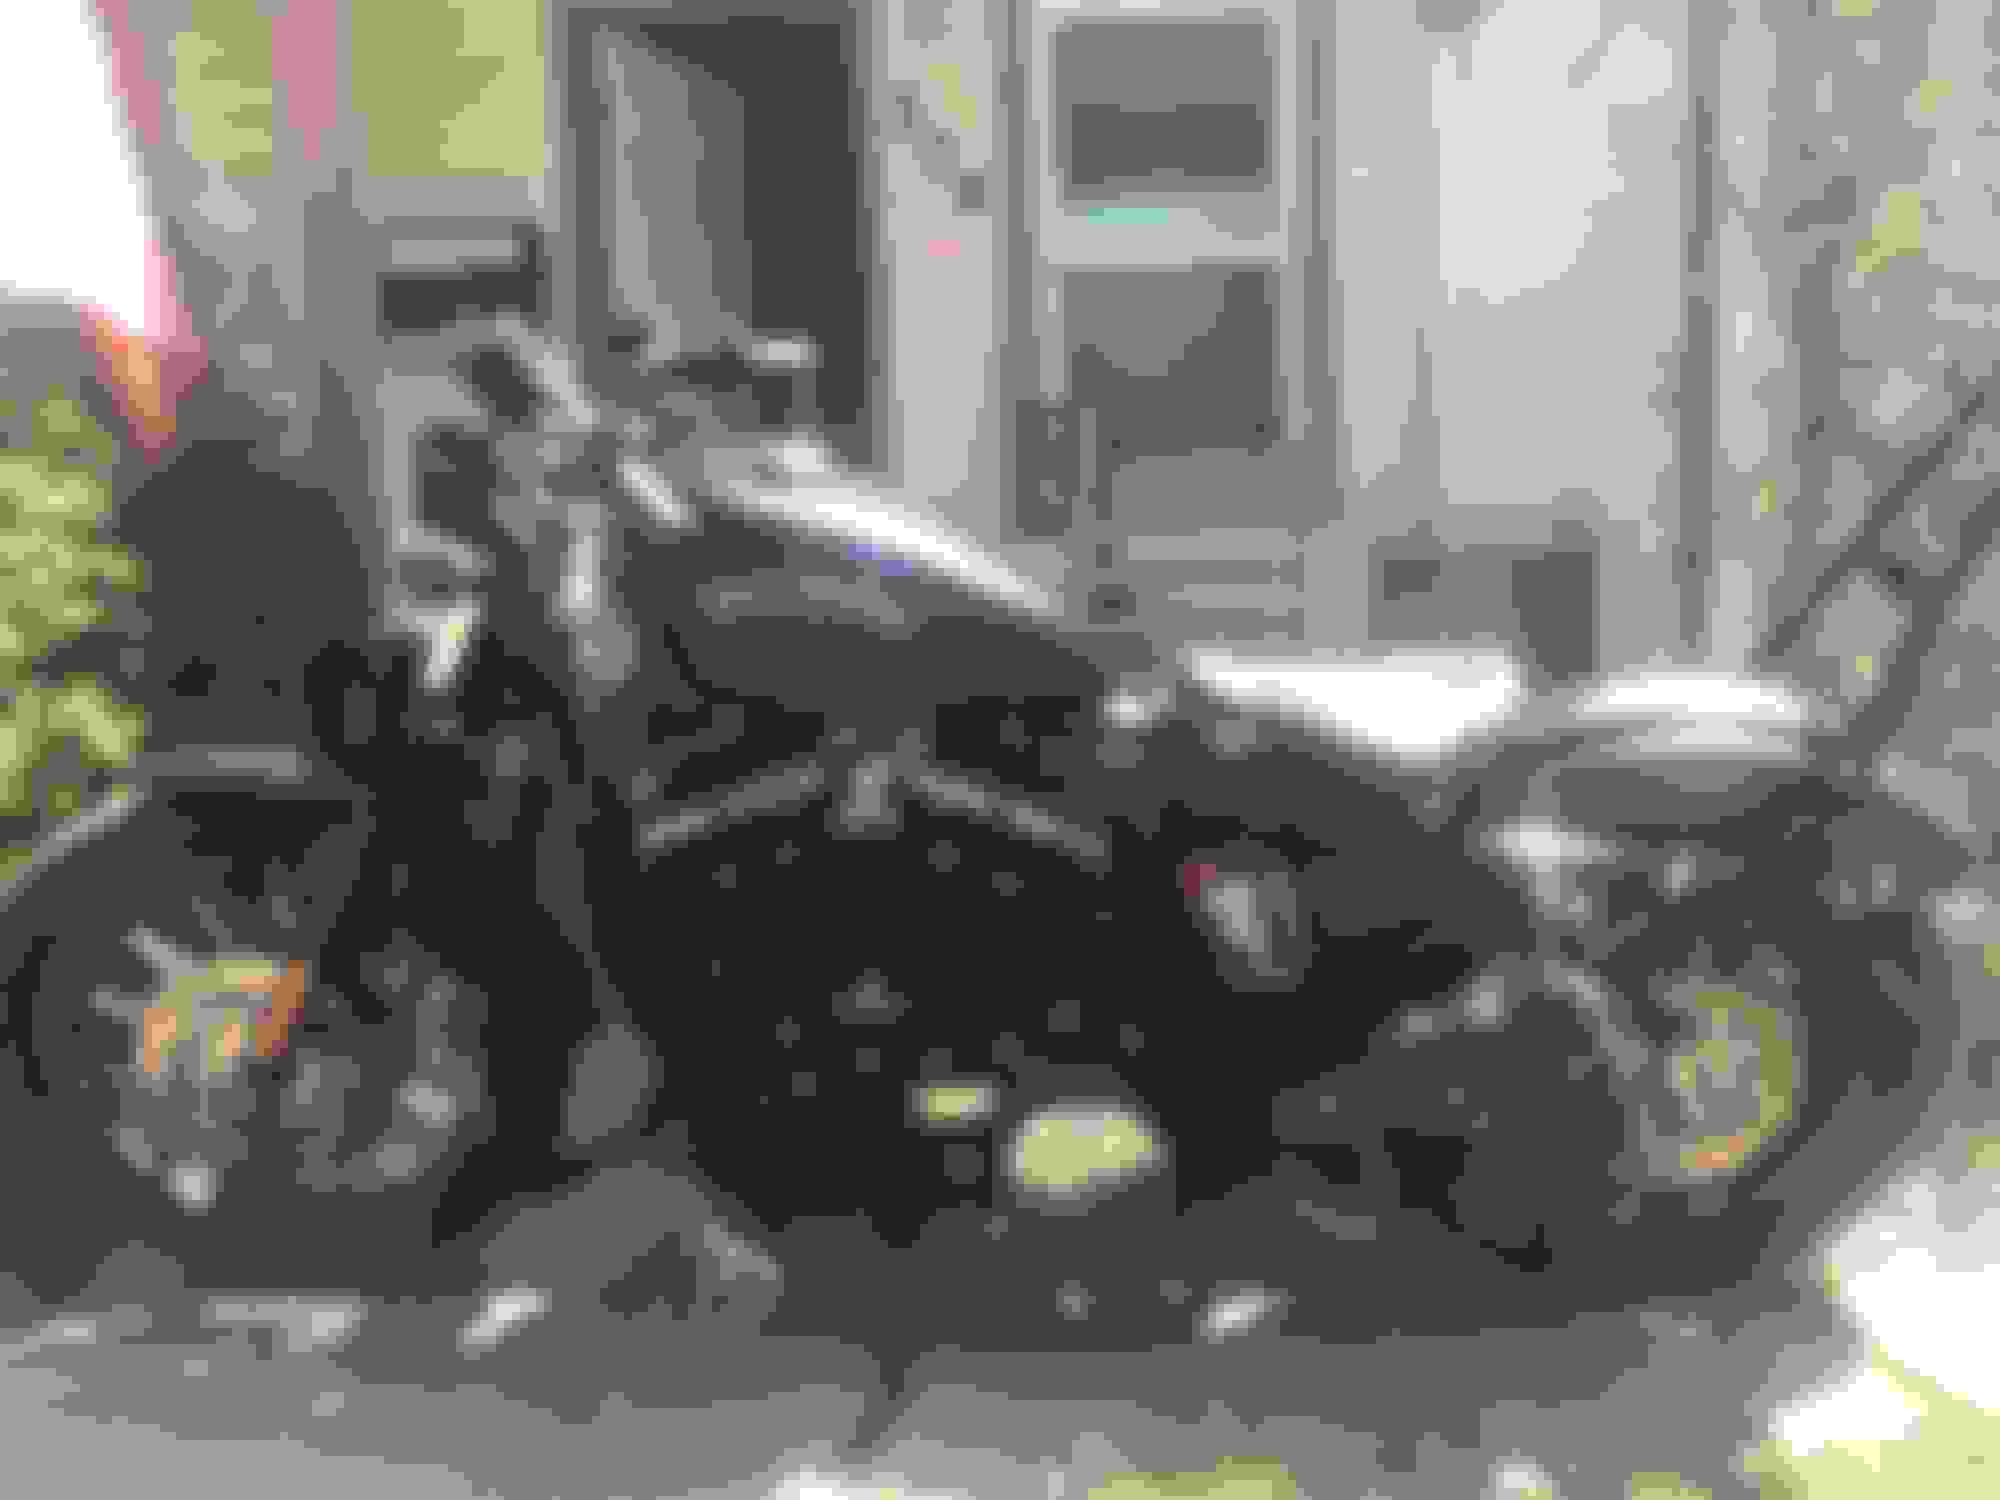
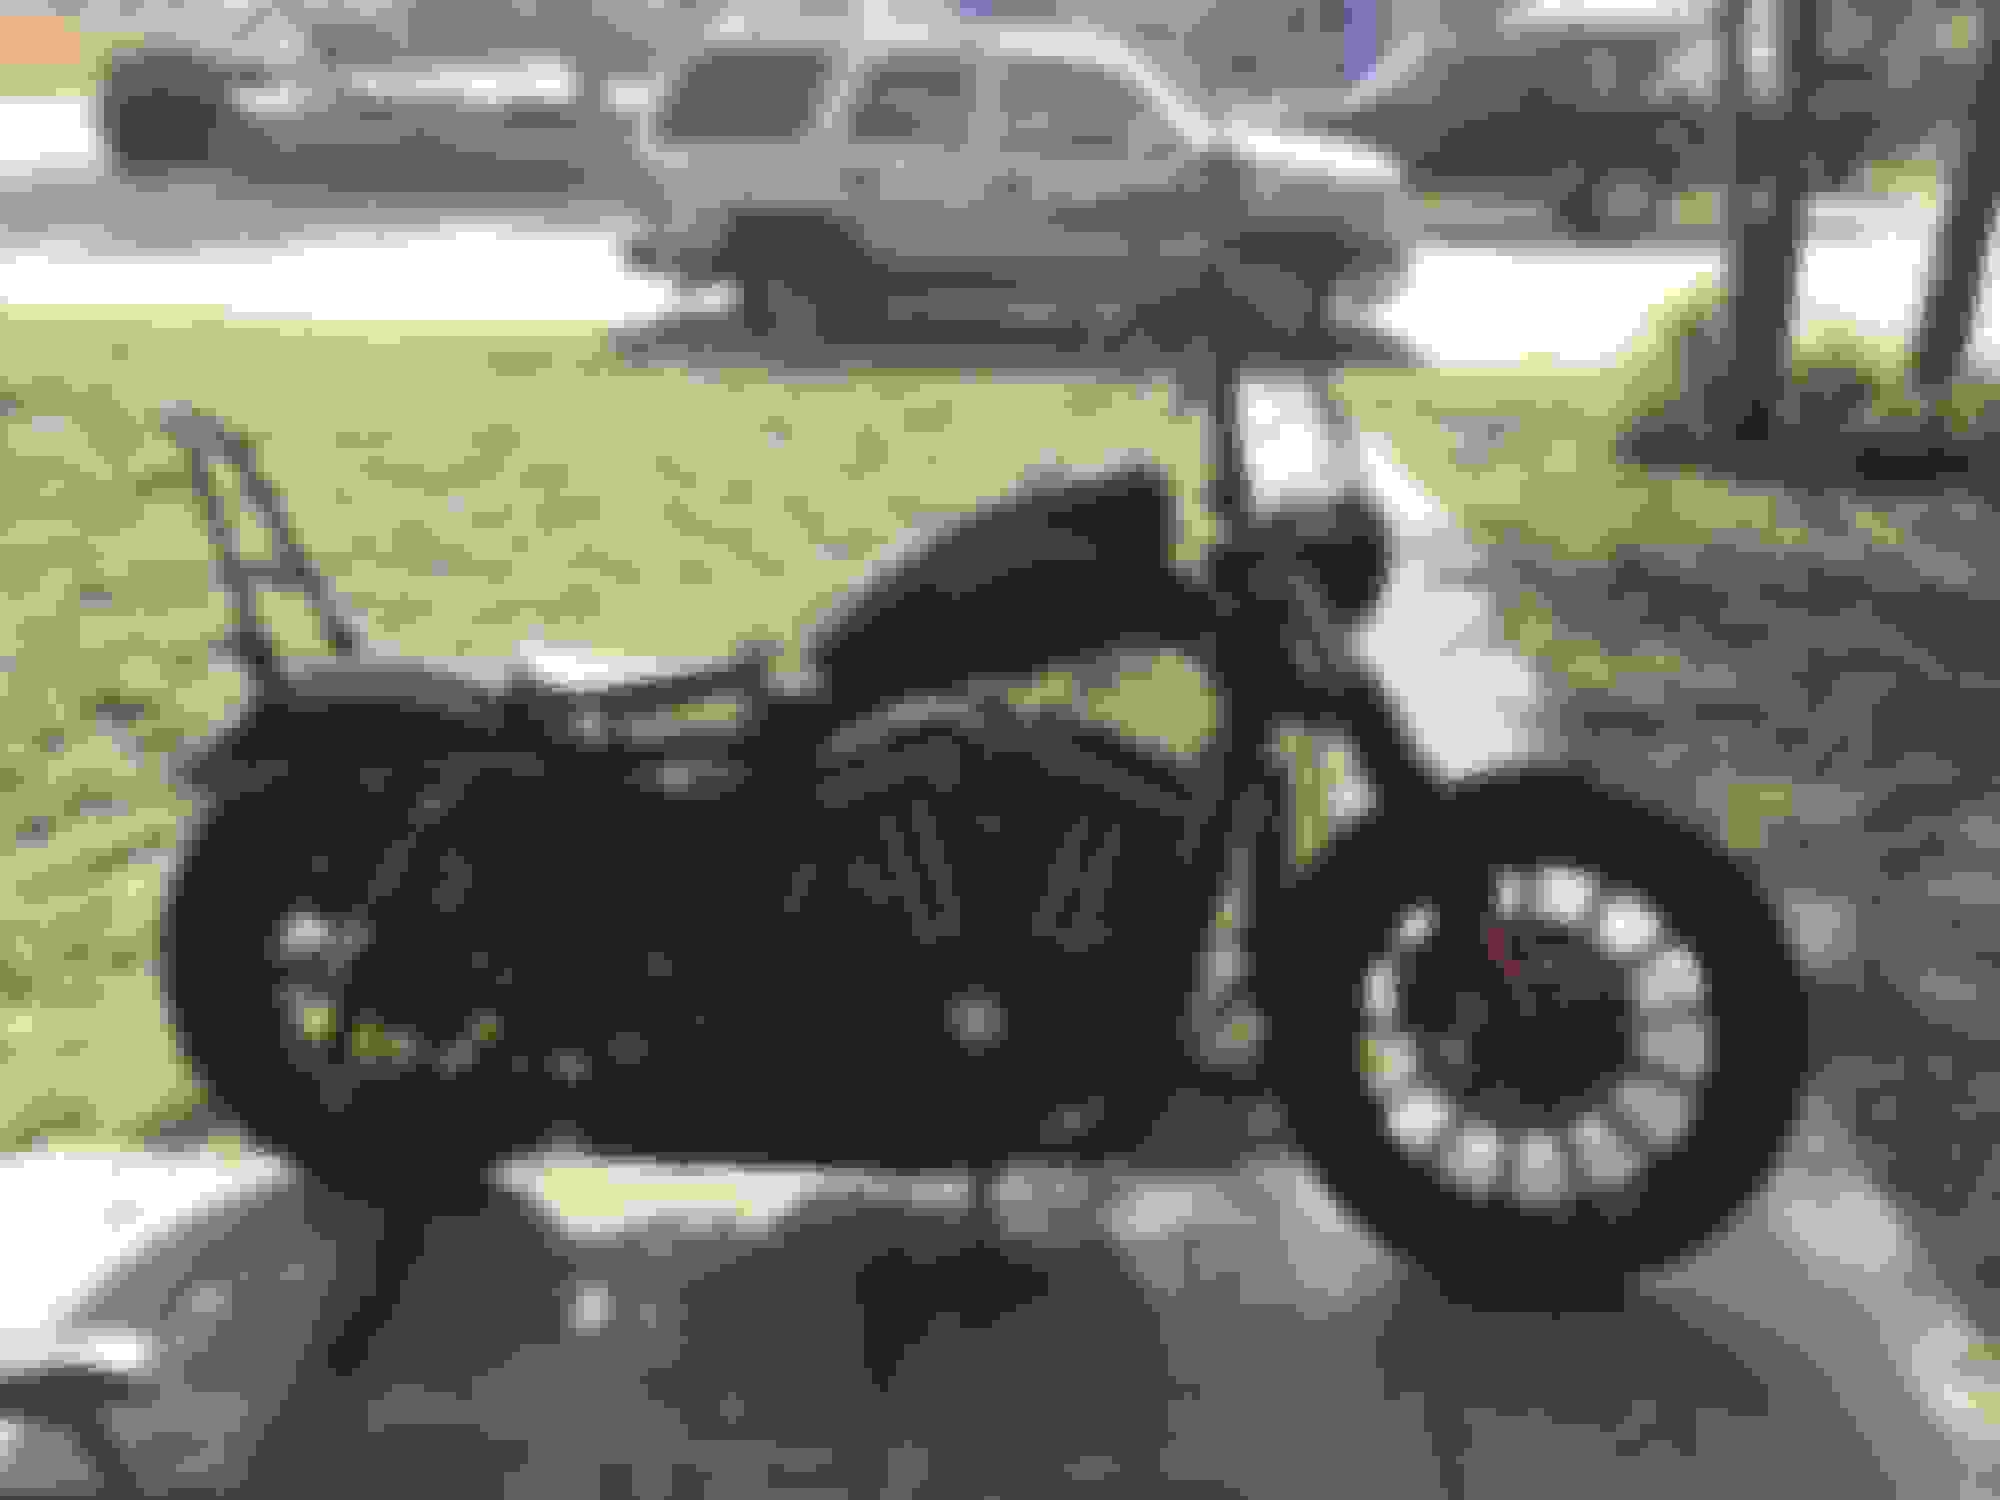
Last view, the left side. You can see the coil and ignition relocation and I also changed the chain inspection and derby cover.
Your update sounds just like my luck with bike builds. I always take two steps forward only to forget a simple oring or washer, causing me to go back. My advice, be patient but persistent. You bike is looking great!
It is a great improvement on the looks .... but if it was me, I try to find another sissybar, the one is on now I find the mounting to heavy for the bike and that kills it.
Your update sounds just like my luck with bike builds. I always take two steps forward only to forget a simple oring or washer, causing me to go back. My advice, be patient but persistent. You bike is looking great!
Thank you! I don't really have too much mechanical experience but I can learn and I like to work on things myself. I also have an 89 Landcruiser that I take the same approach, might take me a bit longer than others but I will eventually get it.
It is a great improvement on the looks .... but if it was me, I try to find another sissybar, the one is on now I find the mounting to heavy for the bike and that kills it.
Thank you its getting there. I might change the sissy bar in the future but for now I still have a few other things I want to do before... LED front turn signals, V&H fuel pack, new tires.
So was able to get everything buttoned up for a ride yesterday, and besides cleaning up the wires a little bit more, I'm ready to ride! So I figured I should post some pics of the work, just don't judge, I haven't washed and detailed it yet so.
A top down view, I really like the speedo relocation. It cleans up the front and gives it a cool look.
A view from the front, I ended up getting a new headlight cover, which I like more that I thought I would.
Left side view, I also ended replacing the derby cover and chain inspection cover.
I did have one other issue yesterday, when I changed the front brake line I had air in the system and could not get it to bleed. If anyone is having the same issue, I used a brake bleed kit from Harbor Freight. I flushed and kept trying to bleed it from the bleed bolt and the brake line bolt, but would not pressurize. The kits have a hand pump that puts pressure on the system and sucked the air out in less than two minutes. Just a tip that might help and definitely saves time!
Last edited by COironbobber; 05-27-2019 at 09:23 AM.

 04-28-2019, 08:50 PM