Howdy Sportster crew, figured I’d do a quick review of the Motogadget Motoscope Mini I just installed on my 2004 XL883 in case anyone else was considering doing the same. Overall, I’m really happy with it. It cleans up a lot of wiring, looks really good and is easy to set up and navigate through the features.
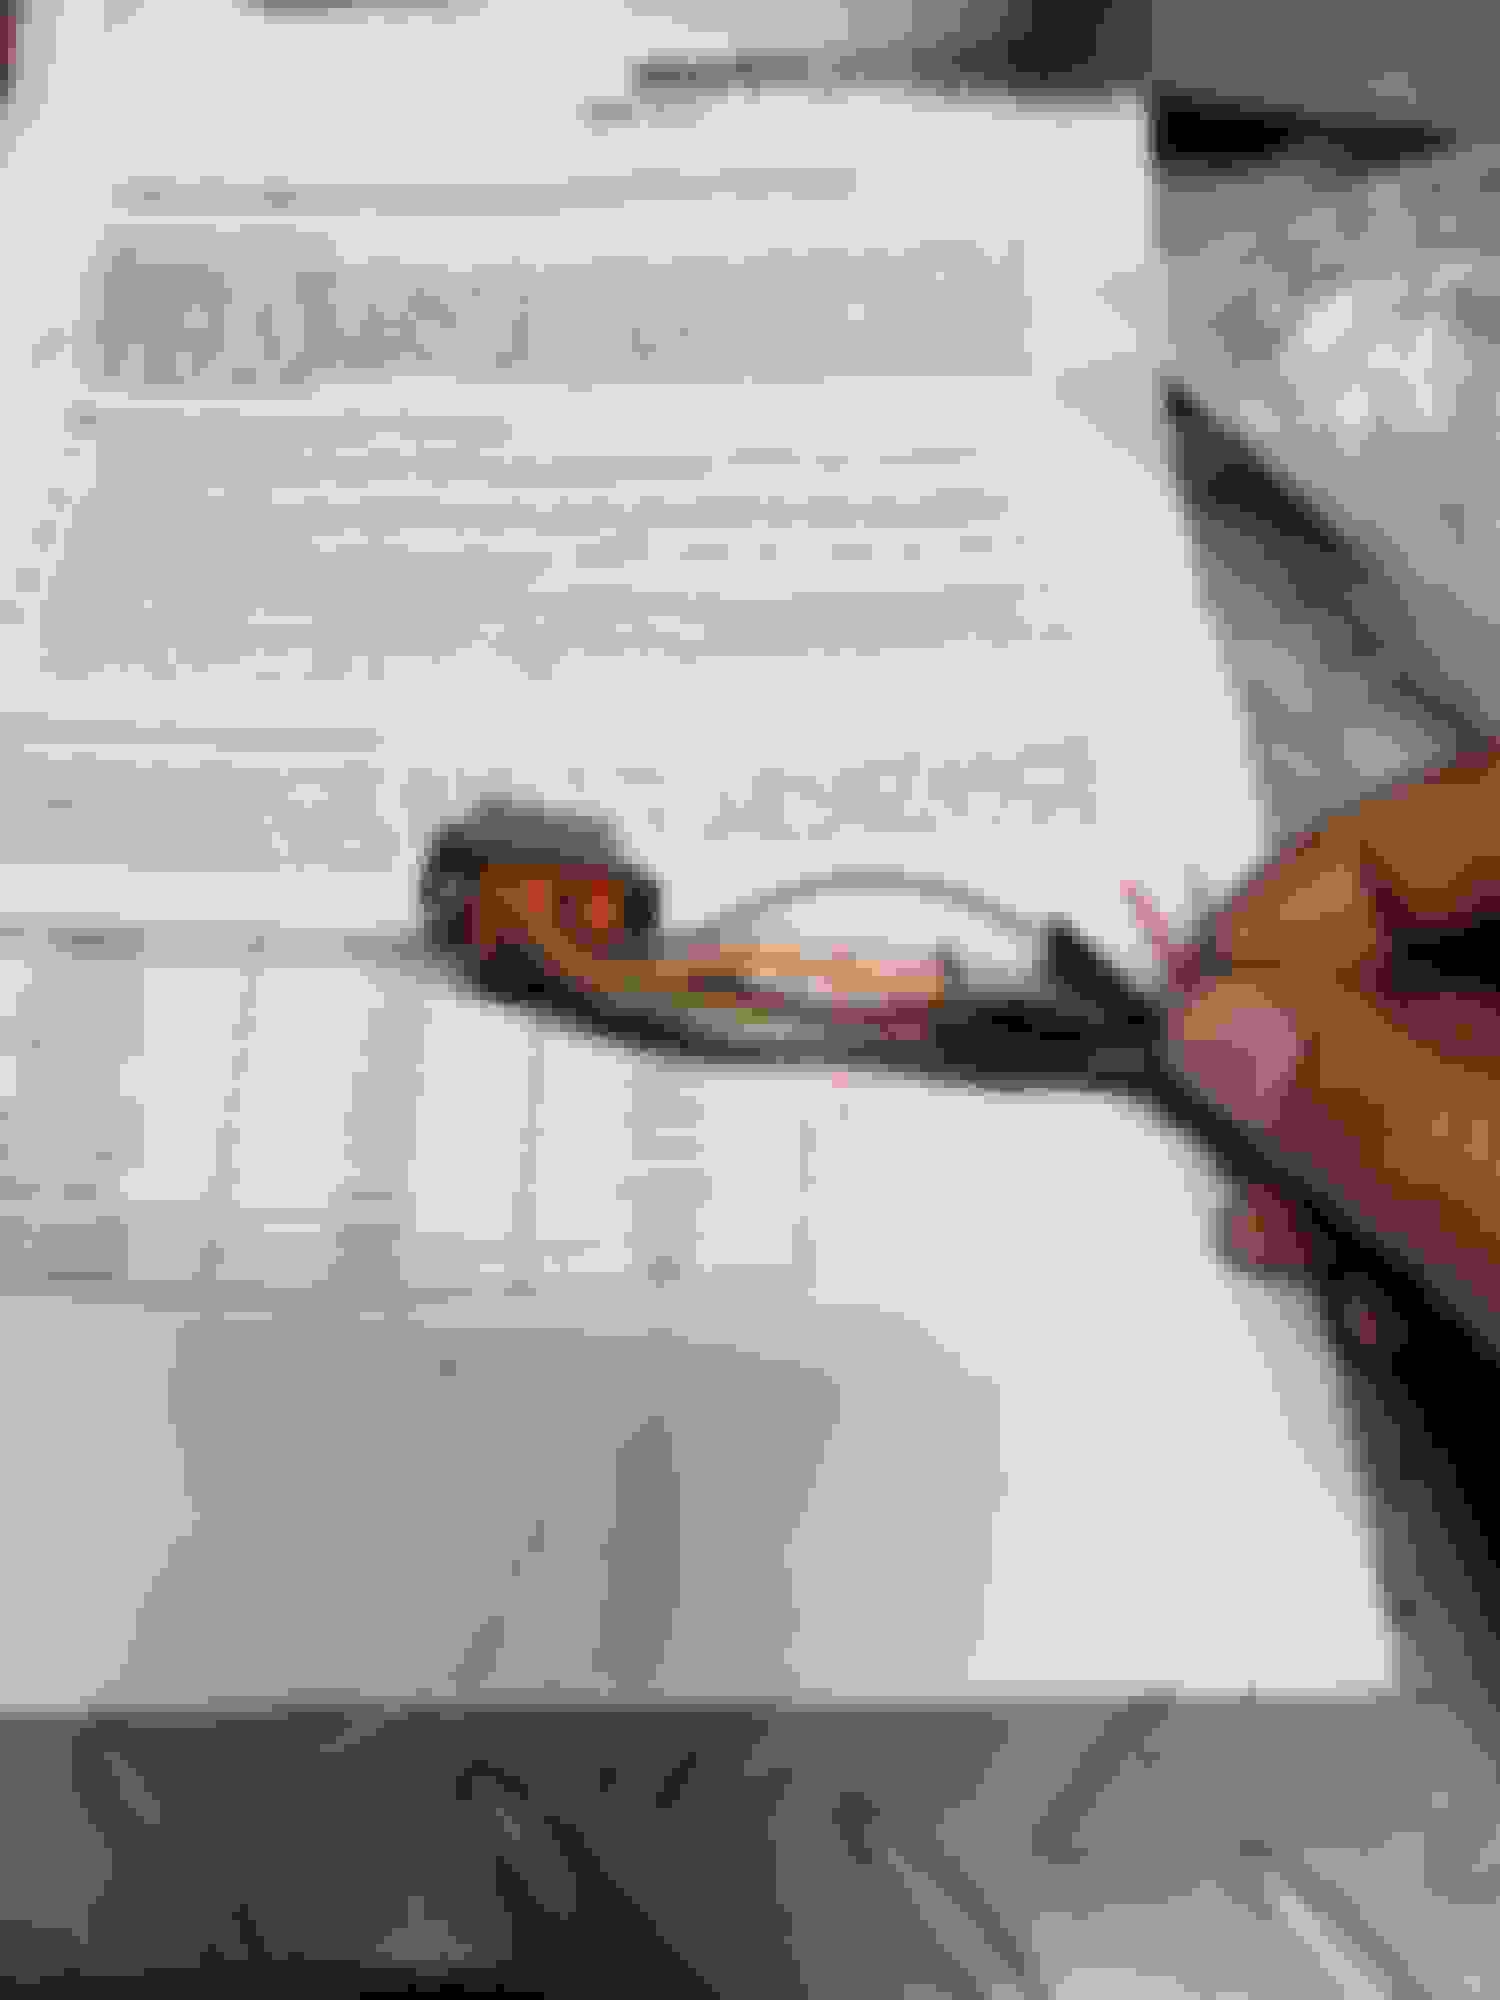
For the install I bought the motoscope mini, the HD handlebar clamp mount for it and the M-Can that plugs right into the port behind the left side cover for ’04 and newer sportsters. For the wiring I used self-annealing tape which worked really well and was a lot easier than heat shrinking my solder joints.
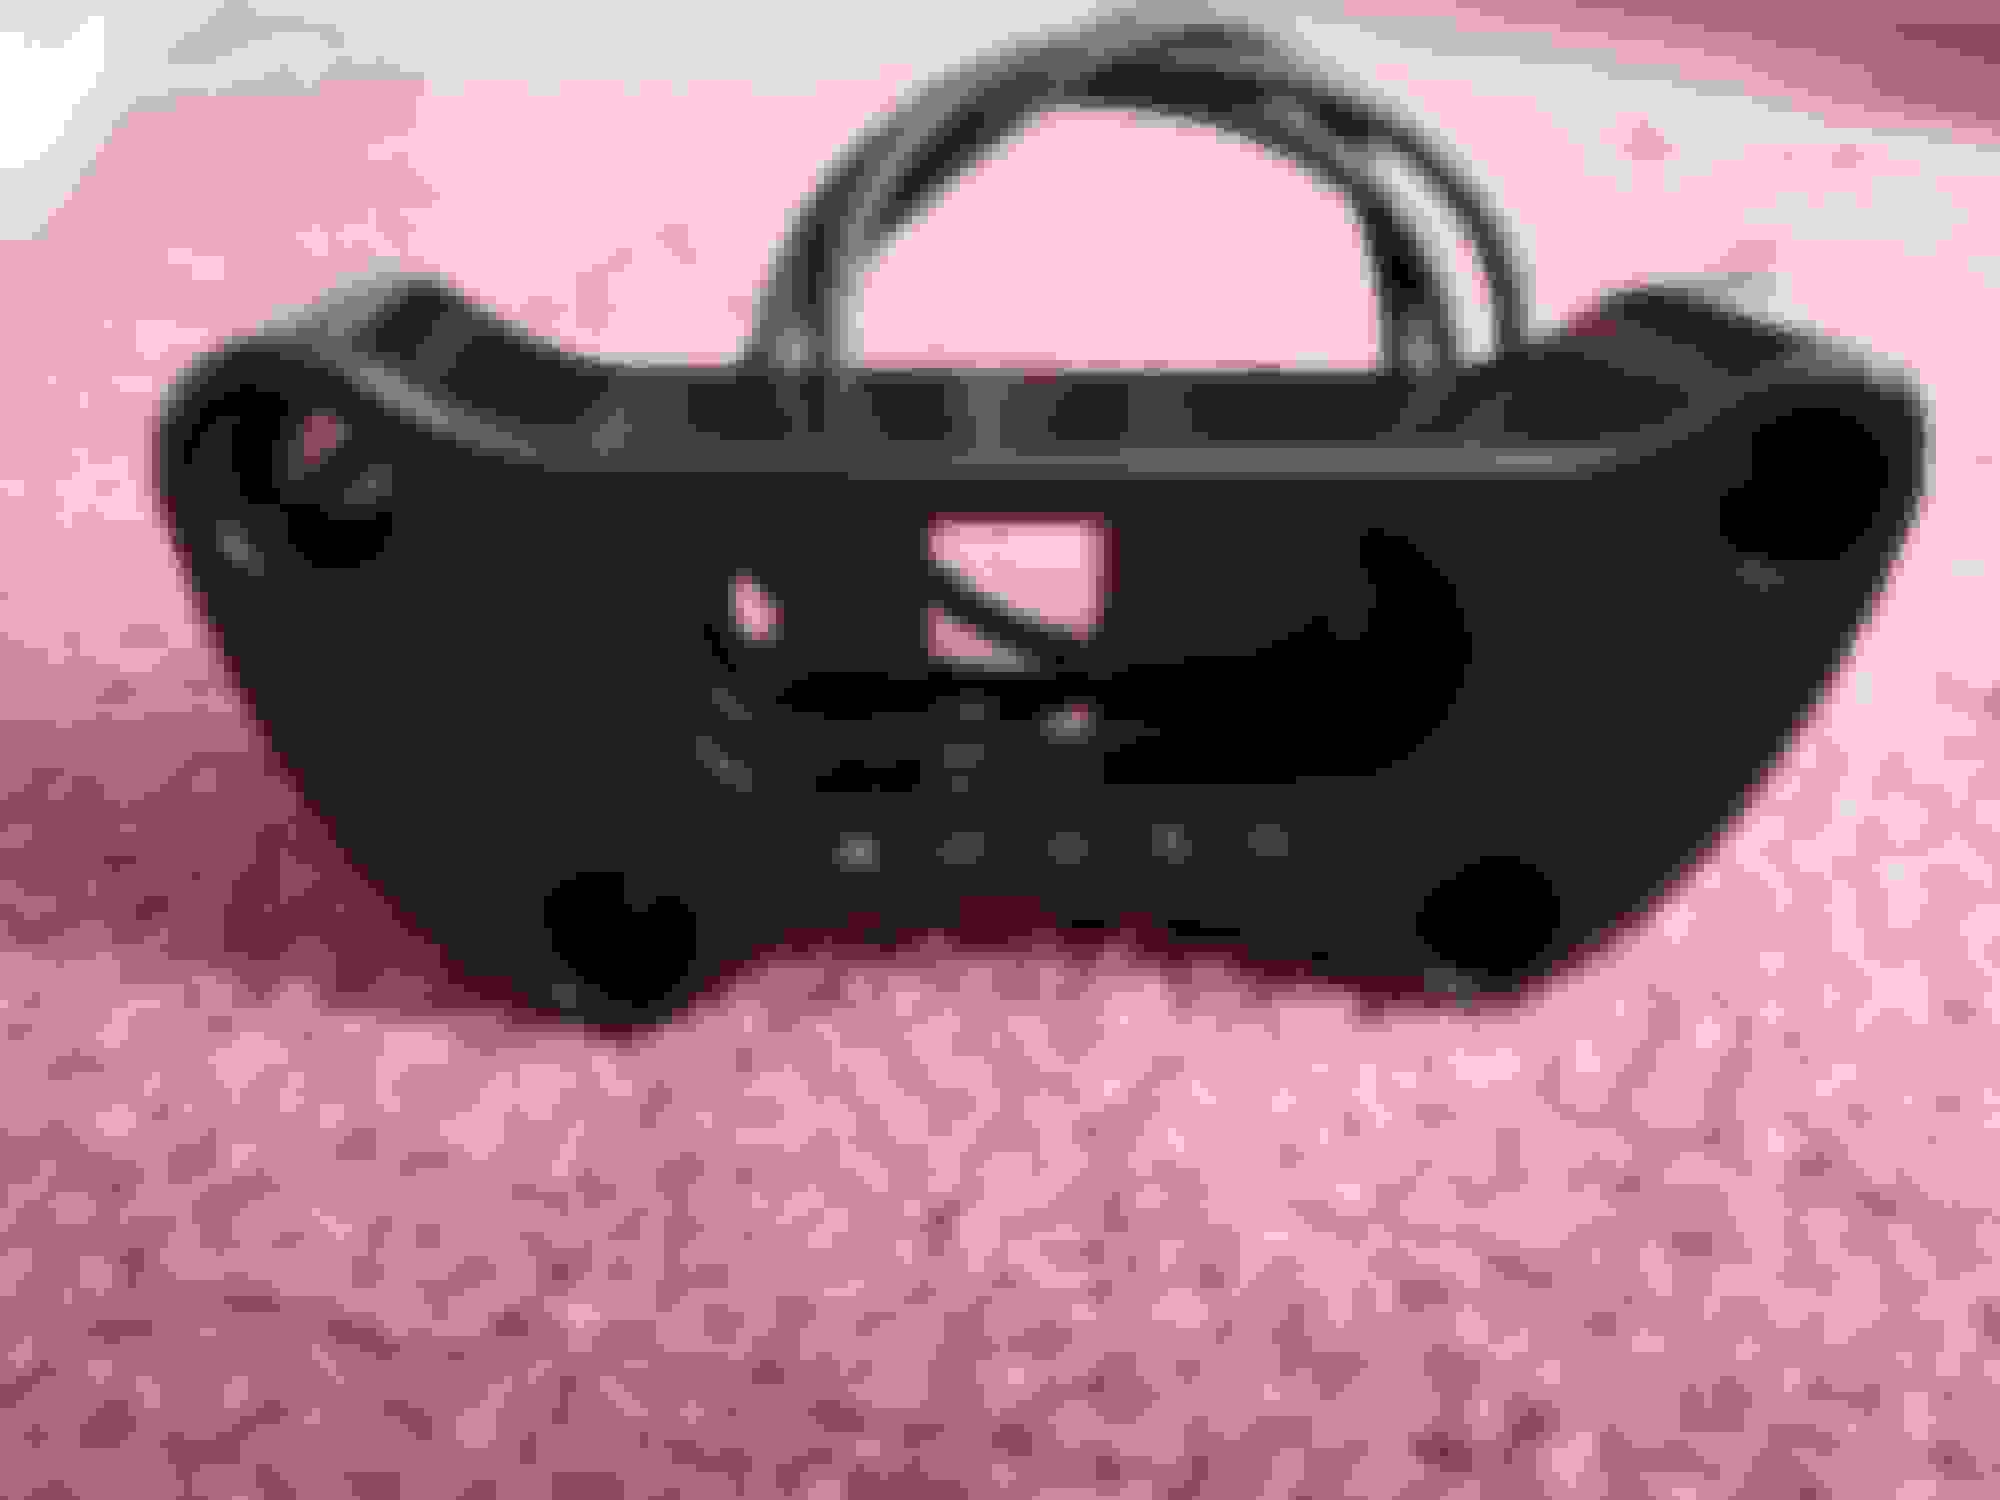
The handlebar clamp: A well machined piece of aluminum with dummy LED lights built in. The wiring (along with the motoscope wires) are routed across the front of the bar much like the stock speedo and dummy lights. For the dummy lights, I wired both turns to one light, high/low beam, neutral, and oil warning light. This leaves one light where you could either wire right hand turn OR a vehicle warning light which I haven’t done yet. I’m not sure there is a way to read trouble codes with the motoscope, but I haven’t fully explored the options yet. If not, then that last “free” light will get wired for the right turn signal.
M-Can: This is optional, BUT I recommend it. Basically, this wires directly to the motoscope and plugs into the port located behind the left side cover negating the need to wire the speedo and tach into the stock set up. It made setup and wiring much easier and was really simple to zip tie to the stock harness running up to the speedo under the tank. Pretty much plug and play.
Motoscope mini: The read out is really simple and controlled by one momentary switch either of your choosing or that comes with the motoscope. I had bought some slightly larger momentary switches from Lowbrow customs. I drilled a hole in the ignition coil bracket to mount it so it’s slightly hidden but fairly easy to get to if I want to change the display function. You get speed, odometer, trip, tach and time (which I don’t use). In order to set up the speedo, I used the “learn” function, which was actually pretty easy. You just drive at 30 mph, hold the button for 2 seconds and it enters the learn mode for 5 seconds. As long as you stay at 30 for those 5 seconds, it will learn your speed. Once I did that it reads accurately which I tested against a GPS. The display is easy to read even on bright days. I love how it’s integrated into the bar clamp and really just gives a simple read out of information.
Drawbacks: One thing I haven’t figured out yet is if I can read trouble codes with it. There’s an option to wire in a warning light, but I haven’t figured out where the codes can be read. Maybe I can use the PC link with my Daytona TC88A to get the codes and clear them, which isn’t a big deal.
But the biggest drawback is the cost. With all three items I bought to set this up I spend a little under $550. You could get by cheaper coming up with a different mount and skipping the M-can. I really think the cost is worth what I got out of it though, the fit and finish is awesome and for what it does, I’m really happy with it.
For anyone considering the Motoscope, feel free to hit me up with questions.
I've mocked up the motogadget tiny on the bike here:
Definitely glad to have an analog speedo back that isn't as large as the stock one. I think I might swap out the riser clamp for two independent ones so I can mount the speedo in the middle. I should have this wired up tonight.
Looks good, that other thing looked like it was made in the seventies plus it was a lot of money for not much information.
Agreed. It'd probably look fine on some other bike but on a Sportster it just looked weird. The display looked like a sign in Radio Shack from 35 years ago.
This "analog" type will have speed, trip, odometer, battery voltage (not sure I need that) and oil light. So I lose RPM, but I didn't really use it on the motoscope mini anyway.
I drove my friend's Chevy Silverado years ago that had the "new" digital speedometer readout. Drove me frickin' crazy after about 20 minutes. 55....56...54....58...55....57. Constantly changing like that was totally a distraction for me. Give me an analog tach and speedo any day, and twice on Sunday!
I drove my friend's Chevy Silverado years ago that had the "new" digital speedometer readout. Drove me frickin' crazy after about 20 minutes. 55....56...54....58...55....57. Constantly changing like that was totally a distraction for me. Give me an analog tach and speedo any day, and twice on Sunday!
John
ha you pretty much nailed it John. Its never a constant, always flipping a digit. And when you lay on the throttle it�s worse! Hahaha
I bought the clamp with LEDs for my fatboy lo
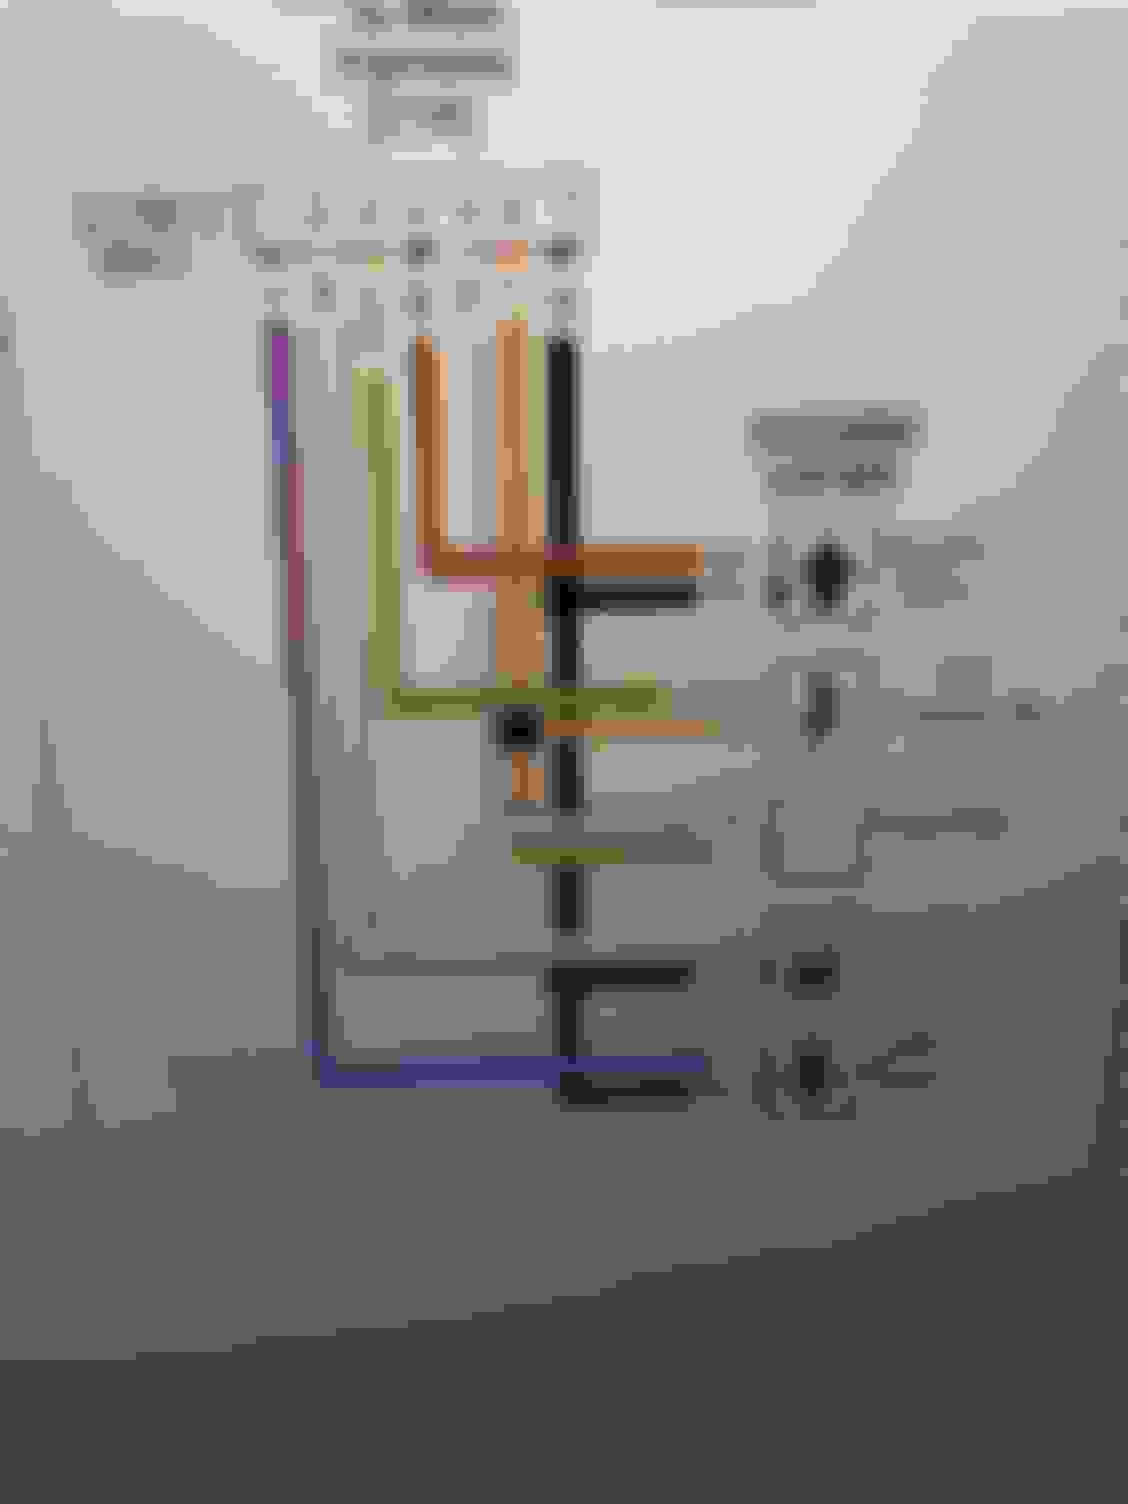
Trying to use the stock harness . But can Figure out were the blue and red wires go to. Do you have a wire diagram that can help me. You can email me at katemo2481@gmail.com thanks Acording to the instructions Blue wire is earth Red wire is +12

 05-03-2018, 09:42 AM