DISCLAIMERS:
1) Buy/acquire a FSM. Everyone says this and it's a great thing to have. I have a pdf for 2004-2006 sportys if you want it.
2) If norcal style chop isn't your thing, move on. I know it's gonna handle weird. #MakeEmWorse.
The planets finally aligned and the TC Bros 6 over fork tube kit was in stock at the same time I had the cash to buy it. AFAIK, there isn't a thread of a step by step with pics of how to do this. If there is, kindly direct me to it, and I won't post this.
After watching Delboy's YT videos, and reading the manual for tube dis/reassembly, I think I can safely do this mod in my garage, with a small lift and hand tools.
Everything was delivered today, so I'll do the install tonight, and post a write-up with photos tomorrow.
Looking forward to the step by step. I'll be doing my fork next winter, but haven't decided what exactly I want other than chroming the fork sliders and triple tree.
My next project is swapping the swingarm and everything else on the rear half of the bike that isn't chrome, to chrome next weekend.
There was a thread doing 4 or 6 overs. WVDEvil I think the users name was? A detailed/another one is certainly welcome though.
I too like the Norcal style, but I only went with 4 over to keep some decent low speed turning radius. I posted some pics in my build thread but nothing helpful.
You CAN do this with small lift and hand tools. The only exception could be an impact driver for the bottom screws to spin them sharply/quickly. I used Delboy as reference too. You've got this.
The manual lays everything out in better detail than I thought, and Delboy is an invaluable resource.
1) loosen the top TT bolts and fork cap with a 1 3/8 wrench (what the hell, harley?)
1.5) no pic, but remove the wheel
2) Use Hulkamania strength to remove the 10mm 12point (again, wtf, hd?) bolts on the caliper.
3) Before you drain the oil, break the seal on the piston, which is a hex bolt. I did it like this. Same principle as delboy, but a little easier for me than doing it bare handed. Remember not to remove the bolt at this time - just break the seal.
4) Now you can remove the fork cap, remove the spring, and upend the whole fork to drain the oil
5) Now you can fully remove the hex bolt securing the piston, little spring, and oil seal fitting by sliding them out of the tube. Using the same method as delboy and the manual, jerk the seal and glider bushing out of the fork leg
6) Have a beer and a smoke because, hey, you're half way done.
7) This is the oil seal fitting. It goes between the piston, which is threaded and secures the hex bolt on the bottom of the fork, and the fork leg. Remember this orientation and keep in mind it is soft metal.
This is where pics stop, because I got excited and couldn't be bothered to take them.
8) Replace the bottom bushing to your new tubes, insert the oil seal fitting into the bottom of the fork, then slide the tube into the fork leg. Do it carefully, because that little fitting is a son of a bitch and he WILL turn loose and fall out of place at some point. You'll have to look down the tube to make sure it's orientated correctly or else you'll ruin it by jamming the fork tube on top of it and smashing it.
9) Use Delboys method to get your glider bushing wedged between the fork tube and the leg. It's not as easy as he made it look, but aside from buying the proper tool, it's the best way. The washer goes in after this, then the fork seal. One of my bushings was pretty badly warped by the removal process, so I had to buy a new one. Luckily for me, they're barely available online, and the nearest store that had them was a 100mi round trip. I love harleys.
10) Use the same method for fitting the fork seal in place, then the retaining ring. Oh my god you're so close.
11) Replace your dust cover, then the chrome cap that is pointless.
12) Slowly slide the little spring and piston assembly down the tube and secure it with the hex bolt. You don't have to get it super tight at this time. Then insert the big spring.
13) Extend the fork as far as it will go, and fill with oil.
14) If you're not installing extended tubes, replace the fork cap. Congratulations, you've replaced a tube. put everything back together in reverse order of disassembly.
15) If you're doing extended tubes because bitches dig longer tubes, insert the plastic washer on top of the big spring in the tube, then the PVC spacer. Then you can try real hard not to scream while you try to simultaneously depress the spacer and spring, while trying to thread the fork cap into the tube. This will make you hate your life.
if you made it this far, lordy, you're done. Reassemble in reverse order of disassembly.
I did this with hand tools, and a couple borrowed tools from a friend (the 1 3/8 wrench and the 10mm 12 gd point socket.) You can do it and be 33% more chopper.
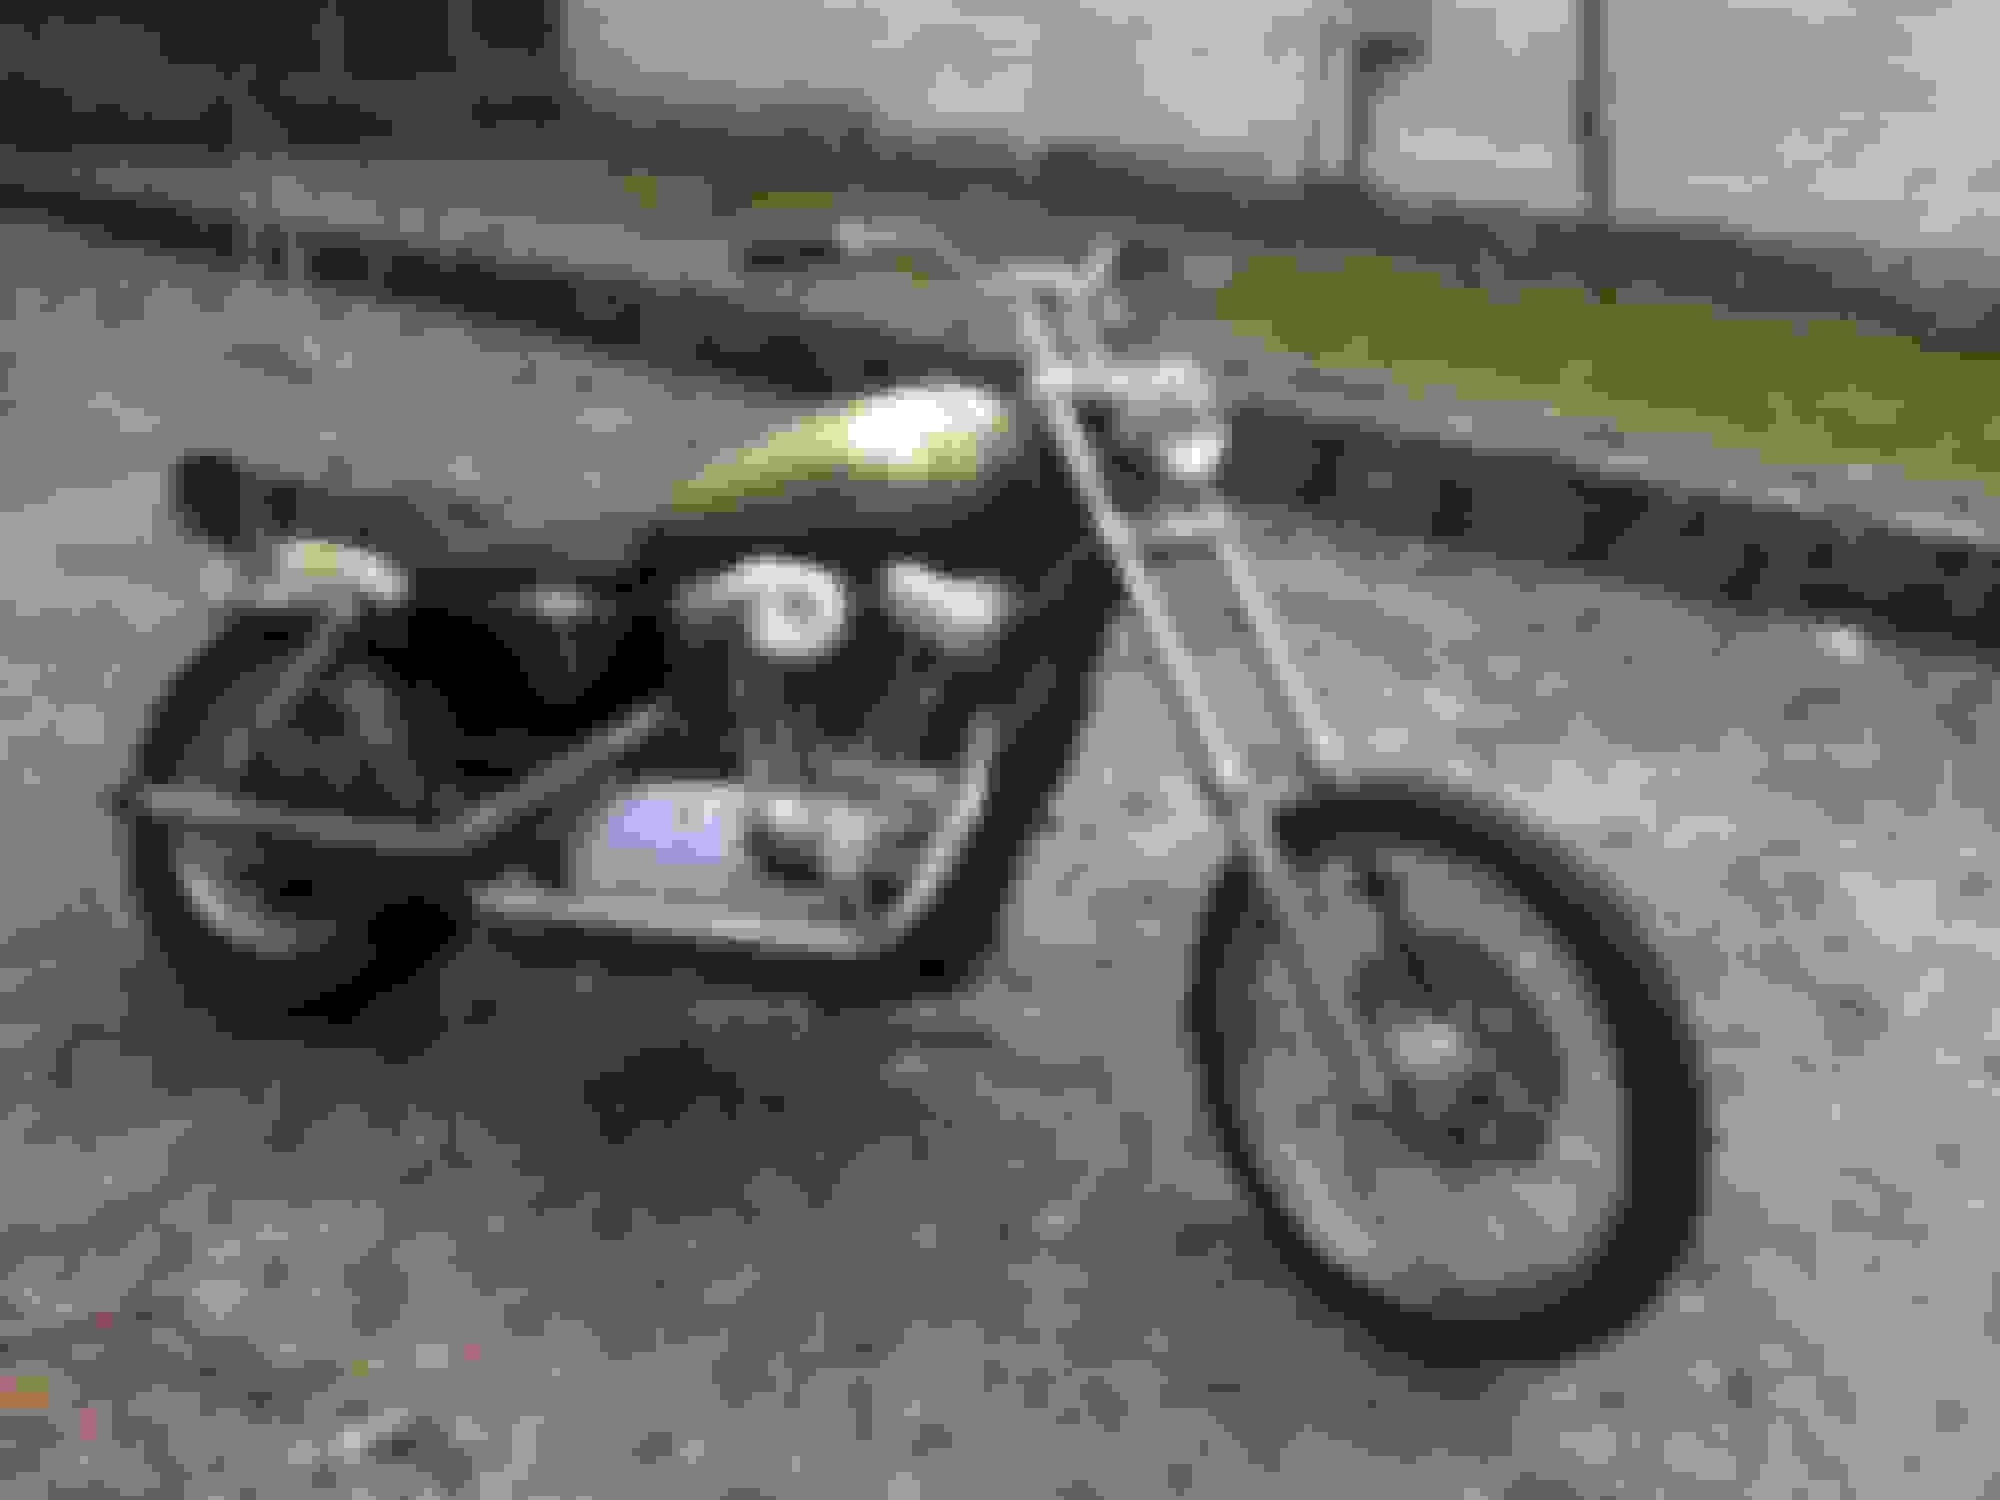
Looks good! How much oil did you use? I did searching and never found a good answer. Some say use stock amount from manual still, others say more. I ended up starting off with stock amount and adding more until it felt good to me.
I too have that lean on the stand, and I only went 4 over. I got the longer jiffy, but it's still leaning more than I'd like. Haven't addressed that yet.
I did 10.5 oz per tube. I�m not sure what stock is. Feels great so far

 02-22-2018 | 02:52 PM