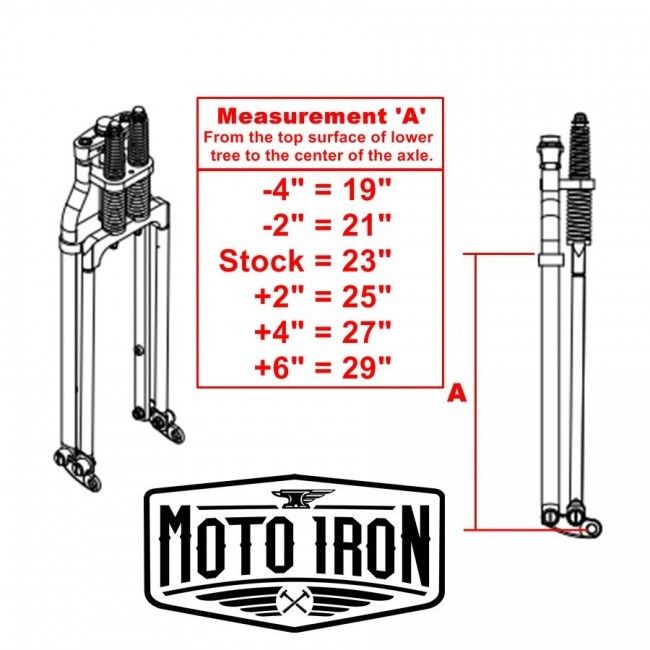
This may be ignorance on my part, but it was explained to me once that -4in. referred to old front ends but would translate to -2in. on a sportster. The only way to confirm would be to get the axle to stem dimension from the front end you desire.
From the research I have done, "-4 under" seems to mean different things to different companies. TC bros provides this bit of info for their springers...
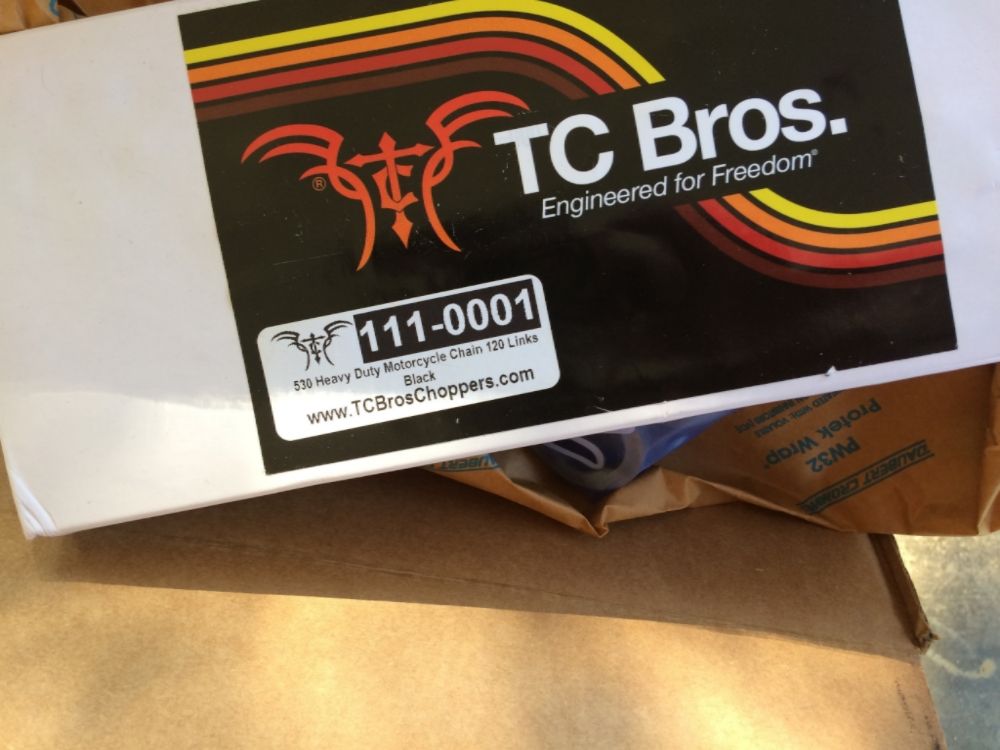
I have been trying really hard not to buy everything I need from one Company but it is difficult to beat TC Bros. They have EVERYTHING you need for a rigid bike build.
The Oil tank will be the next thing to be installed...
I opted for the oil tank mounting kit as well...
Needed a chain to get this thing moving...
Oh, and this little fella ...
With this rotor set up it should look pretty sick...
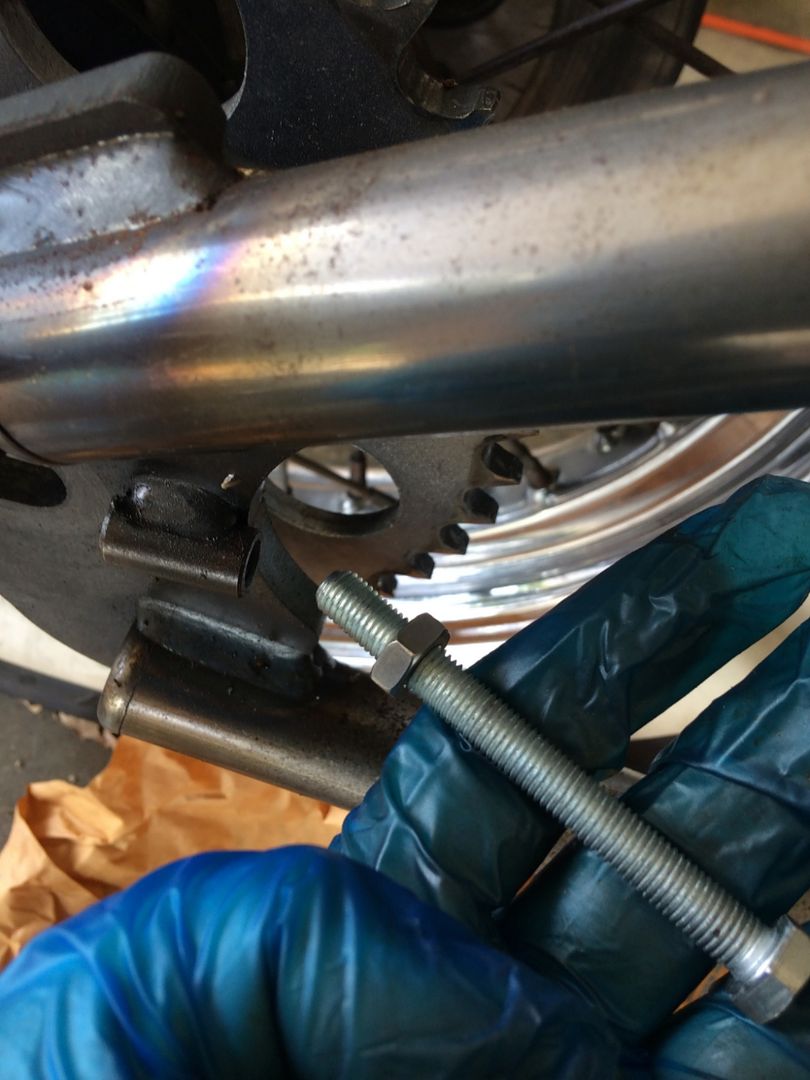
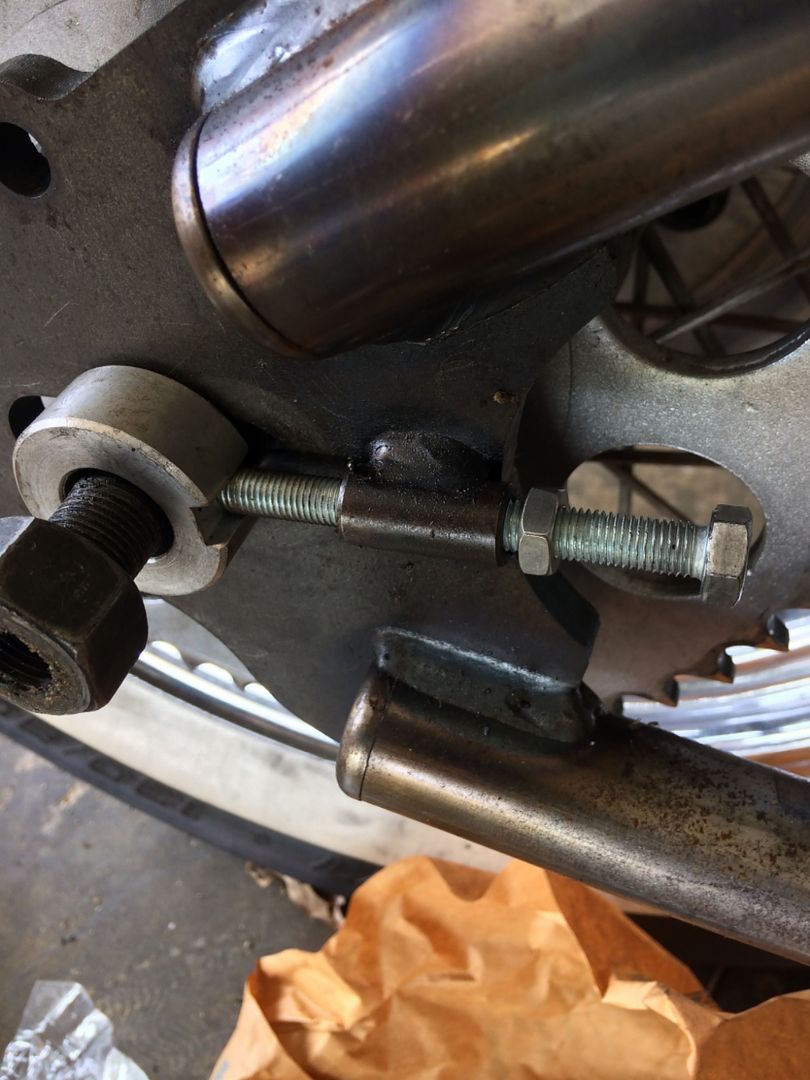
Didn't make much progress but I did find time to install the chain and adjusters. A really nice thing about the TC Bros Hardtail is the threaded chain adjustment fittings are already welded in place and include the needed hardware....
With the Jam nut in place, the bolt threads thru the adjustment and into the notch of the outer axle spacers...
Chain was then test fitted and a full link needed to be removed to shorten the length...
Without a roller chain breaker tool, I usually do this with a flap disc. It seems to be a more delicate way to wear the outer link down without damaging any other links...
With the link removed, the adjustment is still maxed out, So I will likely be removing another....
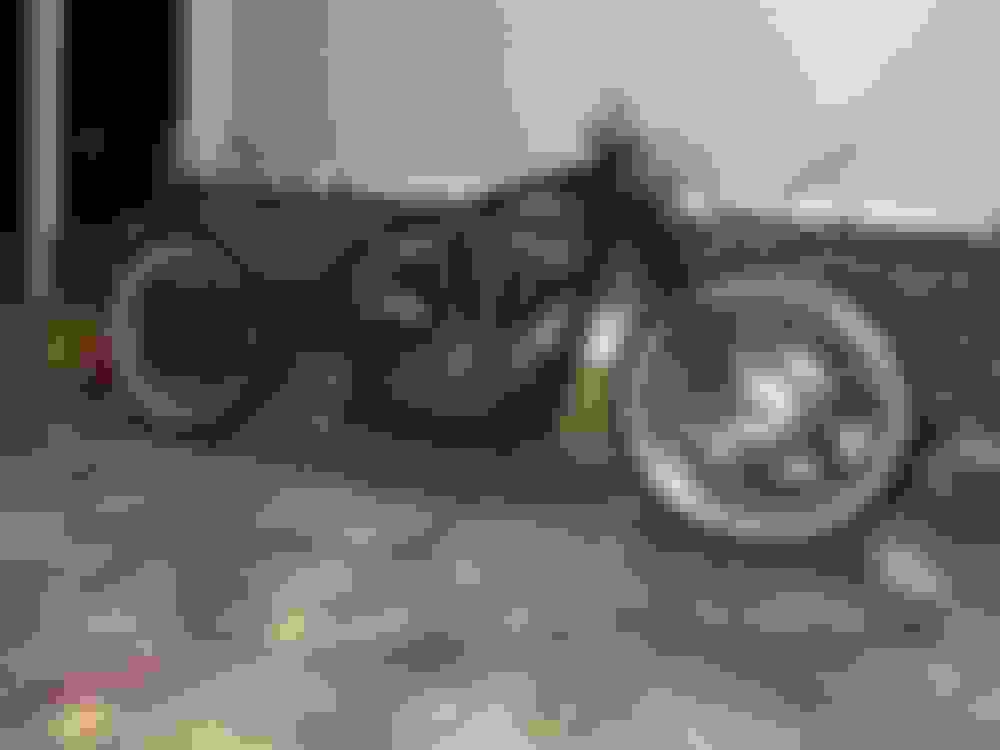
Decided to mock up the -4" under springer. It has been in the back of my mind that it would be too low... Even with my measurements and calculations, I have been wrong before (Found out later I was right about that )
So, before we see what it looks like, A little money and time saving tip... The neck/steering stem bearings can be purchased at your local parts store for a fraction of the cost of OEM. Autozone Part# is BT100 and comes with both bearings for $17... The dealership wanted $30 and didn't have them in stock.
I will get better photos of the install process when I do the final assembly but for now, I think these will do...
It actually still has a good bit of clearance and I am more than happy with the ride height...

 08-18-2017, 04:59 PM


 ...
...


 )
)