How to improve your seat via gel pad
#1
 06-01-2014, 08:07 AM

How to improve your seat via gel pad
My Breakout is about 3 months old, and has the HD “Reach” seat which moves the rider a bit closer to the bars, and also lowers the rider for easier access to the ground and to the forward mounted foot controls.
I love the ergonomics of it, but on really hard road bumps, my butt “bottoms out” the seat foam. Ouch! I knew from previous experience with another bike that adding a gel pad can solve that problem.
So, yesterday, I went to visit “Steelhorse Bob”, a custom seat maker located in the northern suburbs of metro Austin, Texas. Bob had fixed the Danny Gray “Shorthop” seat on my Honda VTX 1800, totally solving a similar problem.
Here’s the step by step process of what Bob did:
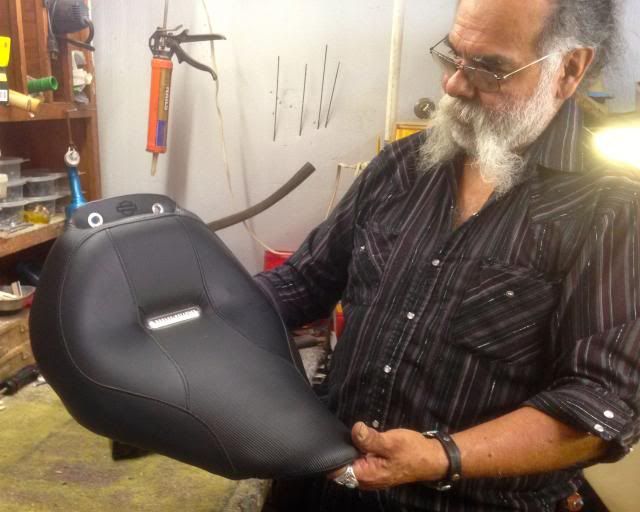
Here’s the seat as it comes from HD. Notice the recessed “Harley-Davidson” chrome piece embedded within the seat cover:
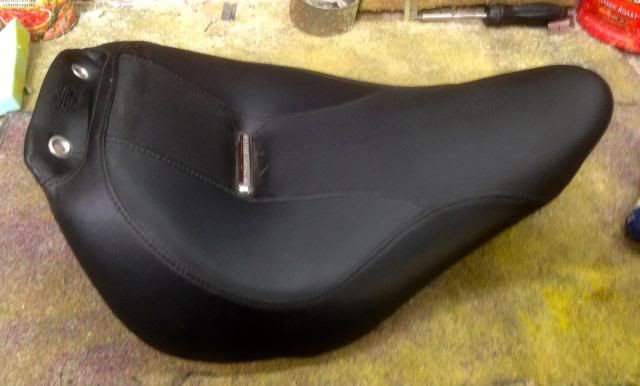
That piece ‘s primary purpose is not to be decorative. It is to pull the seat cover downward to create the “pocket” in which your butt is intended to sit. It is needed, since seat shape is controlled by tensioning the seat cover over a foam base, and the seat cover can’t “tension” “into” a concave opening.
That piece is actually fastened to a double layer of vinyl seat material that goes through a “slot” in the seat foam, through a similar shaped slot in the seat pan, and gets stapled to the bottom of the seat pan. The double layer of vinyl pulls the piece downward, which pulls the seat cover material downward, forcing it to conform to the concave shape of the foam.
Here is what it looks like on the bottom of the seat pan:

In this next photo, Bob has removed the staples securing the edges of the seat cover to the seat pan, and is peeling the seat cover off the seat:
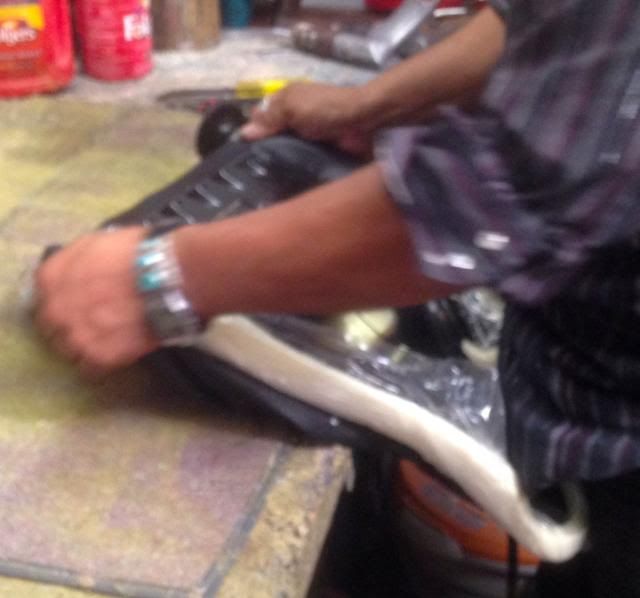
Bob was unable to entirely remove the seat cover at the rear of the pan, as HD had riveted it in place, and Bob did not want to unnecessarily remove those rivets (he would have done so had he been also replacing the seat cover, instead of just adding gel).
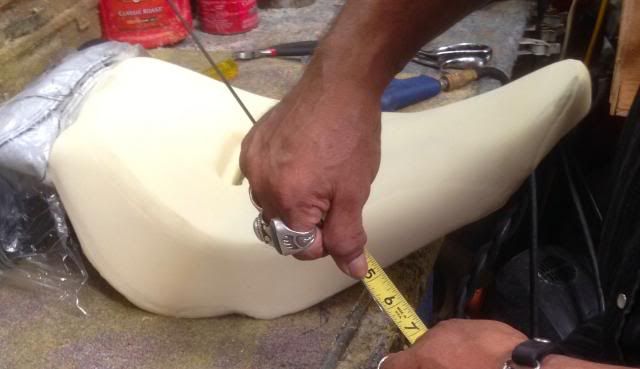
In this next photo, Bob is showing me on the tape measure the reason for my discomfort on the really hard road bumps: the foam on this Reach version of the Breakout seat is barely over one inch thick! It is thicker at the REAR UP-TILTED section of the seat, probably because that section of the stock seat has not been scooped out, but in the critical lower forward section, where you actually sit, the foam in the Reach version has been scooped out at the factory a LOT. This is the cause of the “bottoming” on really hard road bumps:
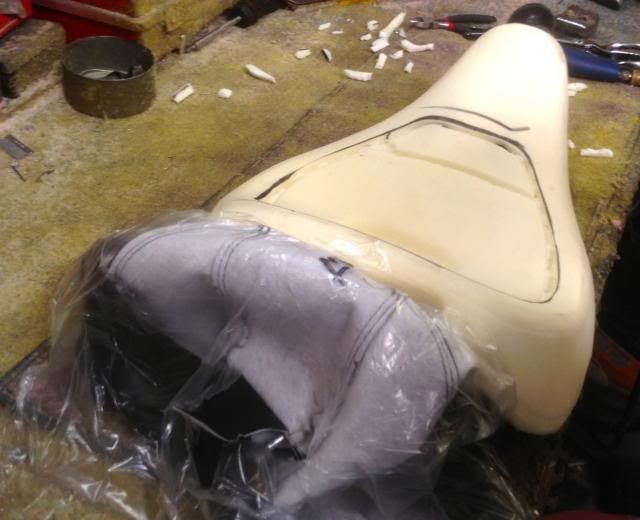
Here, Bob has, by hand, without needing any measurements or templates, carved out the perimeter of the area which he will be routing out of the foam, to make room to insert the gel pad:
Here, Bob has inserted the seat into a cabinet in which he does the (messy) routing, so that the shop is not filled with foam shavings:
Here you can see the resulting routed out, half inch deep space into which Bob will insert the gel:
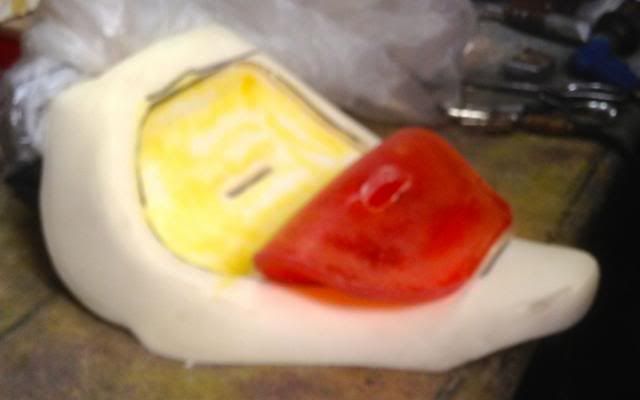
Here, Bob is cutting the gel to the proper size and shape. The half inch thick material is soft and springy but cuttable via scissors or razor blade or knife:
Once the gel is cut though, the cut edges are very sticky, and would make insertion and proper positioning of the gel within the seat foam a bit difficult, so Bob solves that problem by coating the cut edges of the gel with baby powder:
In this next photo, Bob is fitting the gel to the cut out opening in the foam, making sure he got the shape correct:
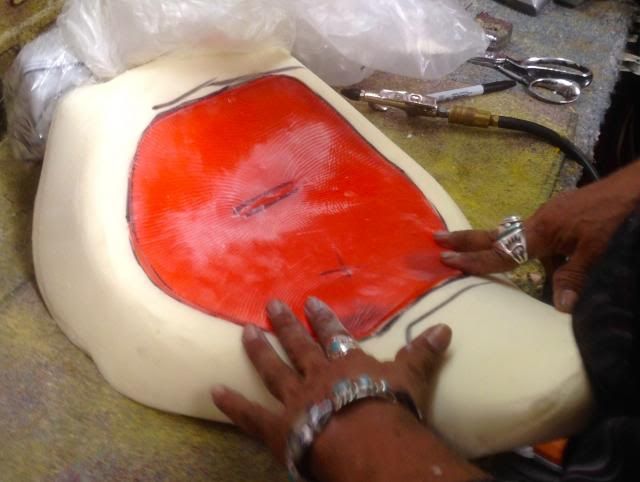
Next, Bob glues the gel into place, half at a time, using contact cement:
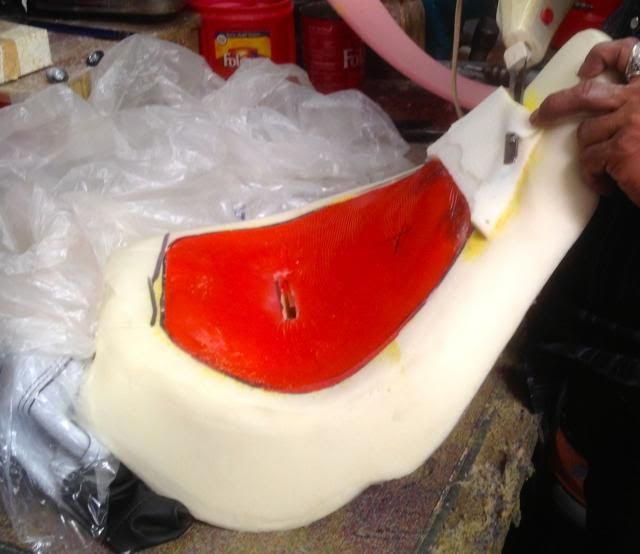
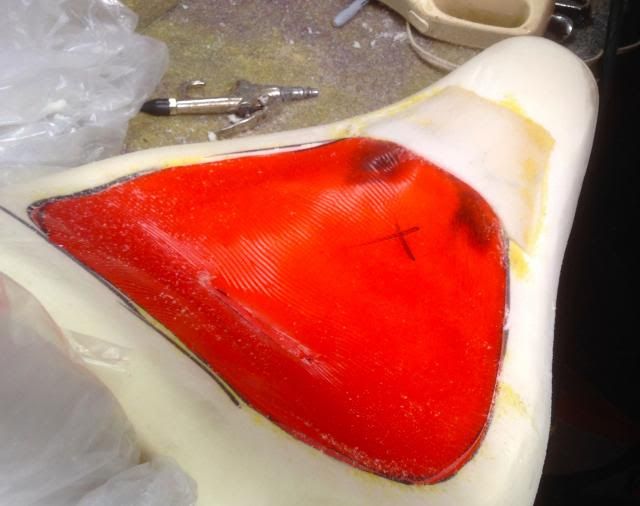
In the next photo, Bob has cut out the slot needed to get the tensioning vinyl flaps through the gel. Notice in this photo the 2 dark spots visible “through” the gel, near the front edge of the gel:
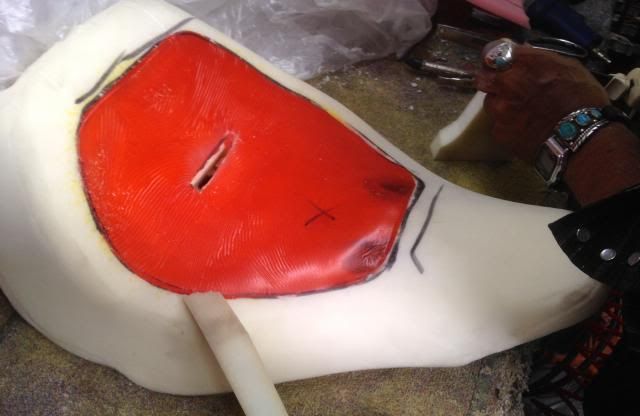
Those two dark spots are where the HD seat designer had to go particularly thin on the foam, even less than the one inch found further rearward, in order to clear a high point in the bike’s frame. Bob felt that at this thin spot, the front edge of the gel piece COULD show as an “edge” in the seat cover once it gets tensioned over the seat foam and gel, so he decided to make a “fairing” out of foam, to ease that transition. Here is how that fairing began:
And here is what it looked like Bob was through doing his magic shaping and sanding on it:
Here, Bob is adding a half-inch layer of low density foam to cover the gel and overlap onto the stock seat foam:
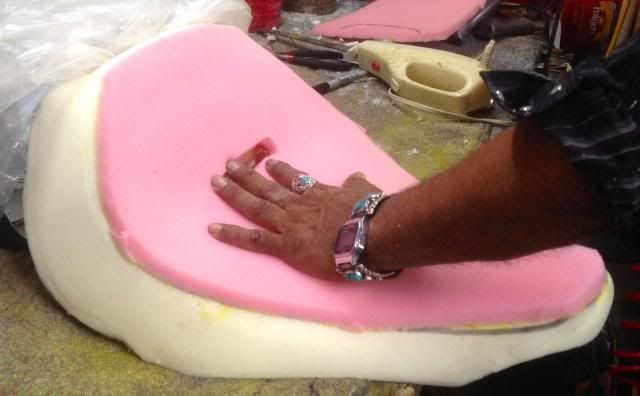
This foam’s low density ensures that my seating height is not affected – the foam will be greatly compressed by the tensioning of the seat cover onto the seat. Its purpose is to ensure that there are no “print through” edges where the gel meets the stock foam. Bob chamfered and sanded the edges of this low density foam until it blended perfectly with the stock seat foam.
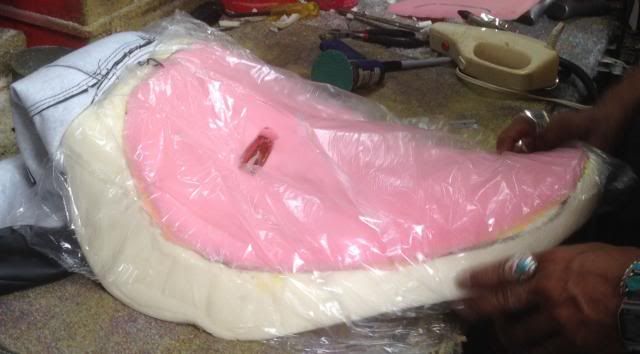
In this photo, Bob is applying the layer of clear plastic that waterproofs the seat foam against rain and bike washes:
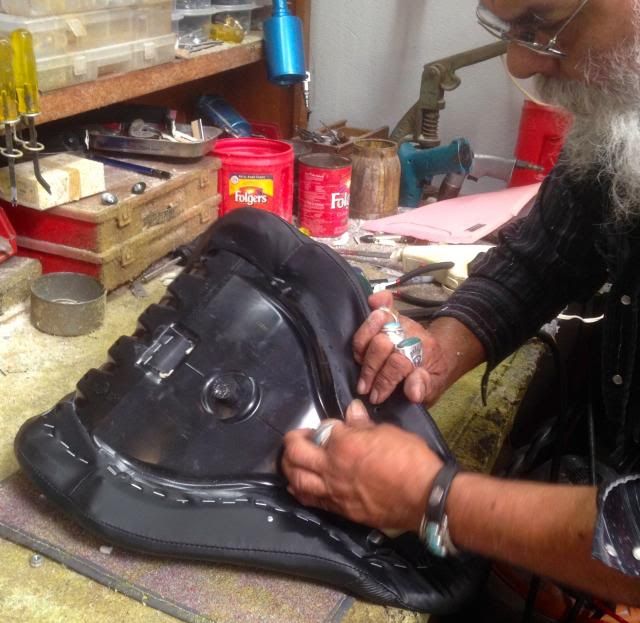
And in this photo, Bob is tensioning and re-stapling the stock seat cover onto the foam and seat pan. This includes tensioning and stapling the two vinyl flaps that apply the tensioning to the decorative seat insert in the concave portion of the seat:
And here is the finished product before mounting back onto the bike:
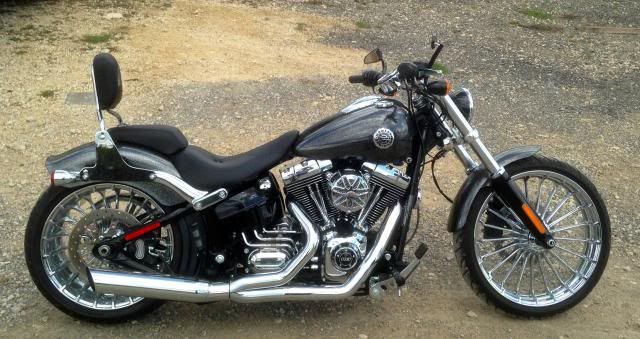
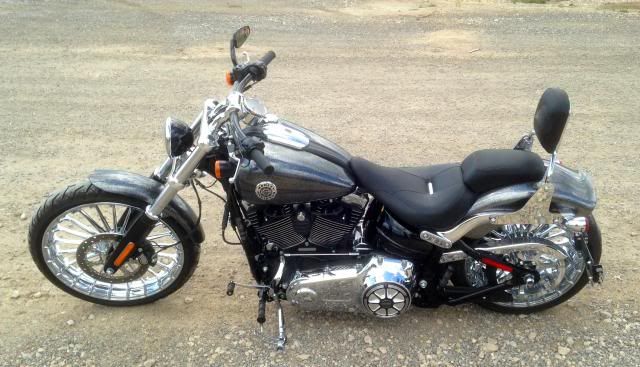
Here is what the seat looks like on the bike:
So, if your own seat needs some help in taking the shock out of some of the worst road bumps, consider a gel insert. On my last bike, the Honda VTX1800, Bob also "moved" the rider sitting position a bit more forward for me, to fit me better to the bike. He is very good at doing that via inserting foam blocks and shaping and sanding them to final shape.
This entire write-up was made possible by Bob's generosity in sharing how a good seat maker works. Steelhorse Bob is on The Web, and does do telephone and web orders!
Jim G
My Breakout is about 3 months old, and has the HD “Reach” seat which moves the rider a bit closer to the bars, and also lowers the rider for easier access to the ground and to the forward mounted foot controls.
I love the ergonomics of it, but on really hard road bumps, my butt “bottoms out” the seat foam. Ouch! I knew from previous experience with another bike that adding a gel pad can solve that problem.
So, yesterday, I went to visit “Steelhorse Bob”, a custom seat maker located in the northern suburbs of metro Austin, Texas. Bob had fixed the Danny Gray “Shorthop” seat on my Honda VTX 1800, totally solving a similar problem.
Here’s the step by step process of what Bob did:
Here’s the seat as it comes from HD. Notice the recessed “Harley-Davidson” chrome piece embedded within the seat cover:

That piece ‘s primary purpose is not to be decorative. It is to pull the seat cover downward to create the “pocket” in which your butt is intended to sit. It is needed, since seat shape is controlled by tensioning the seat cover over a foam base, and the seat cover can’t “tension” “into” a concave opening.
That piece is actually fastened to a double layer of vinyl seat material that goes through a “slot” in the seat foam, through a similar shaped slot in the seat pan, and gets stapled to the bottom of the seat pan. The double layer of vinyl pulls the piece downward, which pulls the seat cover material downward, forcing it to conform to the concave shape of the foam.
Here is what it looks like on the bottom of the seat pan:

In this next photo, Bob has removed the staples securing the edges of the seat cover to the seat pan, and is peeling the seat cover off the seat:

Bob was unable to entirely remove the seat cover at the rear of the pan, as HD had riveted it in place, and Bob did not want to unnecessarily remove those rivets (he would have done so had he been also replacing the seat cover, instead of just adding gel).
In this next photo, Bob is showing me on the tape measure the reason for my discomfort on the really hard road bumps: the foam on this Reach version of the Breakout seat is barely over one inch thick! It is thicker at the REAR UP-TILTED section of the seat, probably because that section of the stock seat has not been scooped out, but in the critical lower forward section, where you actually sit, the foam in the Reach version has been scooped out at the factory a LOT. This is the cause of the “bottoming” on really hard road bumps:

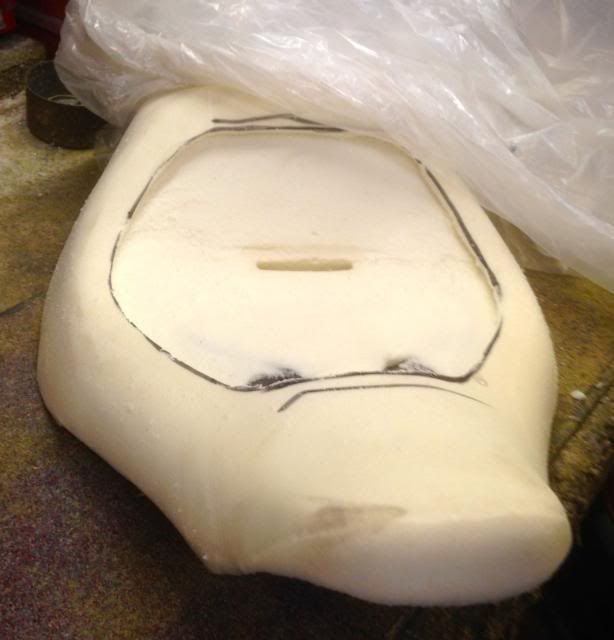
Here, Bob has, by hand, without needing any measurements or templates, carved out the perimeter of the area which he will be routing out of the foam, to make room to insert the gel pad:

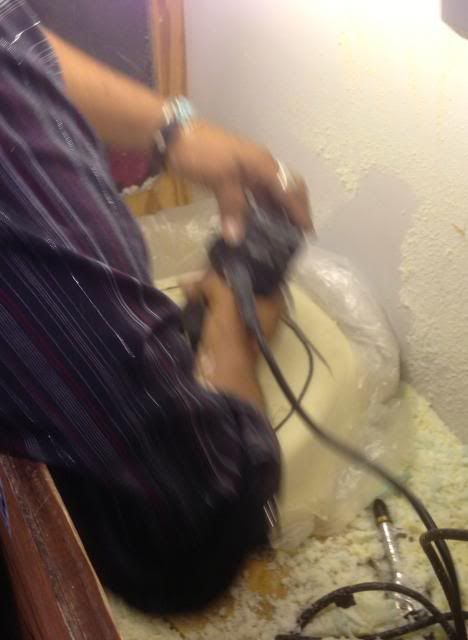
Here, Bob has inserted the seat into a cabinet in which he does the (messy) routing, so that the shop is not filled with foam shavings:

Here you can see the resulting routed out, half inch deep space into which Bob will insert the gel:

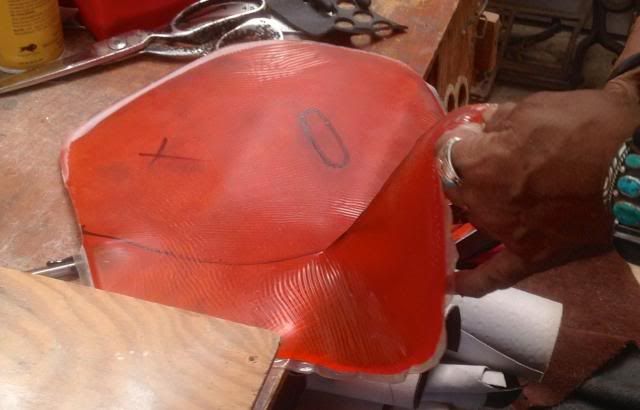
Here, Bob is cutting the gel to the proper size and shape. The half inch thick material is soft and springy but cuttable via scissors or razor blade or knife:

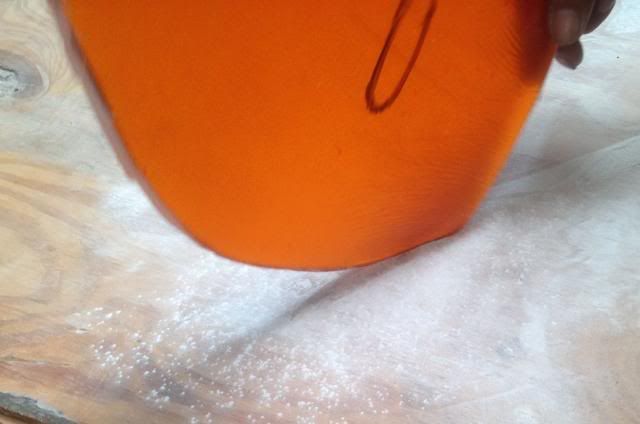
Once the gel is cut though, the cut edges are very sticky, and would make insertion and proper positioning of the gel within the seat foam a bit difficult, so Bob solves that problem by coating the cut edges of the gel with baby powder:

In this next photo, Bob is fitting the gel to the cut out opening in the foam, making sure he got the shape correct:

Next, Bob glues the gel into place, half at a time, using contact cement:

In the next photo, Bob has cut out the slot needed to get the tensioning vinyl flaps through the gel. Notice in this photo the 2 dark spots visible “through” the gel, near the front edge of the gel:

Those two dark spots are where the HD seat designer had to go particularly thin on the foam, even less than the one inch found further rearward, in order to clear a high point in the bike’s frame. Bob felt that at this thin spot, the front edge of the gel piece COULD show as an “edge” in the seat cover once it gets tensioned over the seat foam and gel, so he decided to make a “fairing” out of foam, to ease that transition. Here is how that fairing began:

And here is what it looked like Bob was through doing his magic shaping and sanding on it:

Here, Bob is adding a half-inch layer of low density foam to cover the gel and overlap onto the stock seat foam:

This foam’s low density ensures that my seating height is not affected – the foam will be greatly compressed by the tensioning of the seat cover onto the seat. Its purpose is to ensure that there are no “print through” edges where the gel meets the stock foam. Bob chamfered and sanded the edges of this low density foam until it blended perfectly with the stock seat foam.
In this photo, Bob is applying the layer of clear plastic that waterproofs the seat foam against rain and bike washes:

And in this photo, Bob is tensioning and re-stapling the stock seat cover onto the foam and seat pan. This includes tensioning and stapling the two vinyl flaps that apply the tensioning to the decorative seat insert in the concave portion of the seat:

And here is the finished product before mounting back onto the bike:

Here is what the seat looks like on the bike:


So, if your own seat needs some help in taking the shock out of some of the worst road bumps, consider a gel insert. On my last bike, the Honda VTX1800, Bob also "moved" the rider sitting position a bit more forward for me, to fit me better to the bike. He is very good at doing that via inserting foam blocks and shaping and sanding them to final shape.
This entire write-up was made possible by Bob's generosity in sharing how a good seat maker works. Steelhorse Bob is on The Web, and does do telephone and web orders!
Jim G
#2
06-01-2014, 08:20 AM
#4
06-01-2014, 10:54 AM

Banned

#5
06-01-2014, 03:21 PM
Outstanding HDF Member
Informative write up and great pictures but I opted for the gelfoam rather than the gel insert. It is so soft yet supportive and doesn't get so hot out in the sun. To each their own and I have learned over the past few years here that seats are so very different from one rider to the next. I would suggest allot of research before committing to a particular seat.
#7
06-12-2014, 01:25 PM
Road Master
Trending Topics
#8
06-12-2014, 05:16 PM

Cruiser

