Thanks fellas. Nice to see this thread bumped back up to the top again.
Not too many recent pictures I can load from work at the moment. Haven't really done much else with it but I do have a couple picures of it in the wild! I do have some plans for this winter, hopefully, that will finish it off.
I had a similar spread of parts for my Dark Knight build (04 Night Train gone FL).... Looks good man!
Originally Posted by Redbeard719
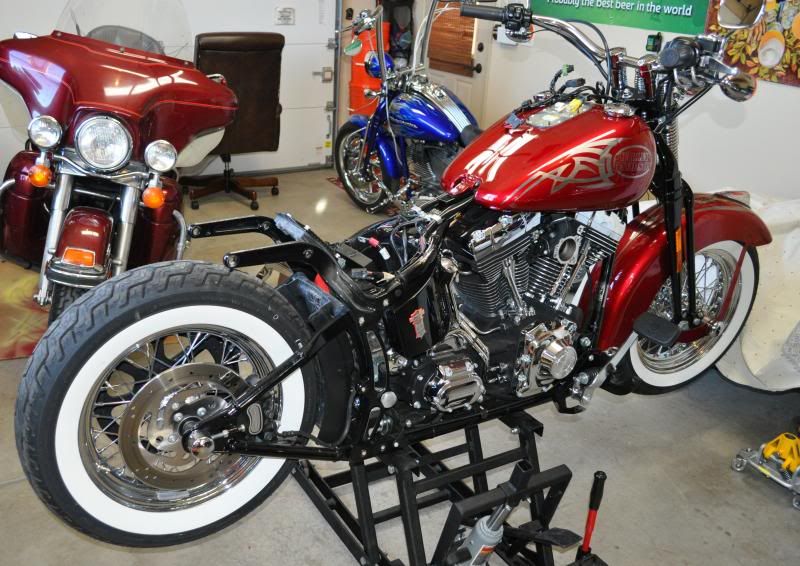
Teardown Day 2 -
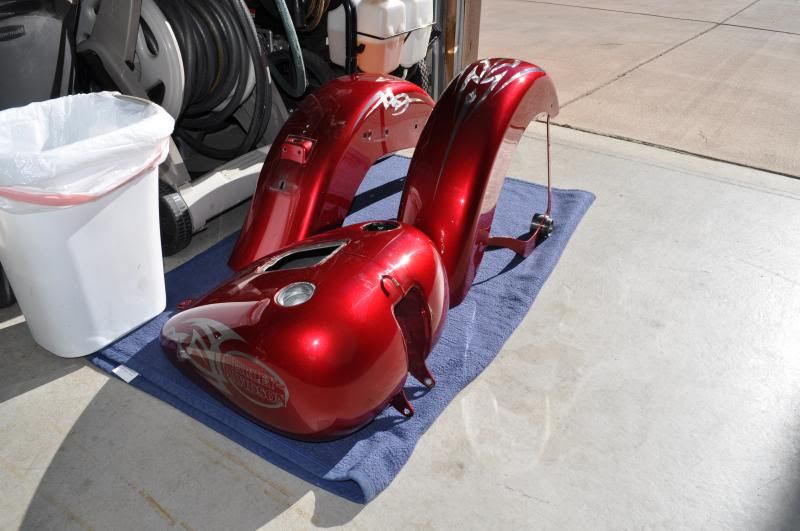
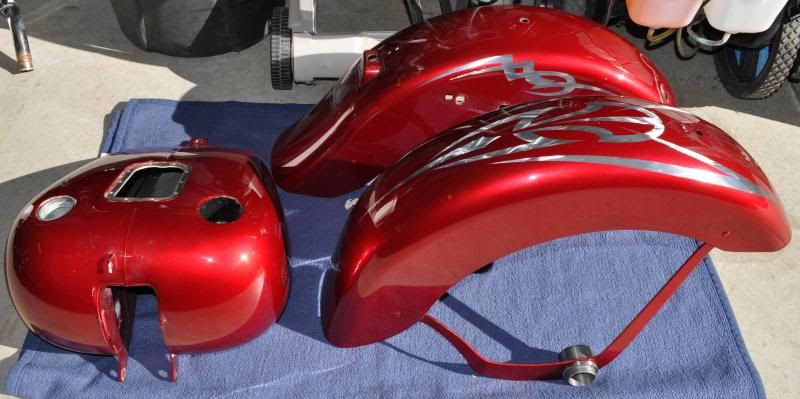
Got to spend a little more time in the garage this weekend. Primarily, my focus is getting the painted tins ready for the painter. Pending delivery from Kutter HD for a few parts the painter needs, I should be able to drop everything off this week.
Removed the rear fender first, which was no big deal. Once I had it off, it was time to strip all the lighting off, which meant disassembling the deutsch connectors. Again, no big deal. Always good to take notes of the pin locations/wire colors for reassembly.
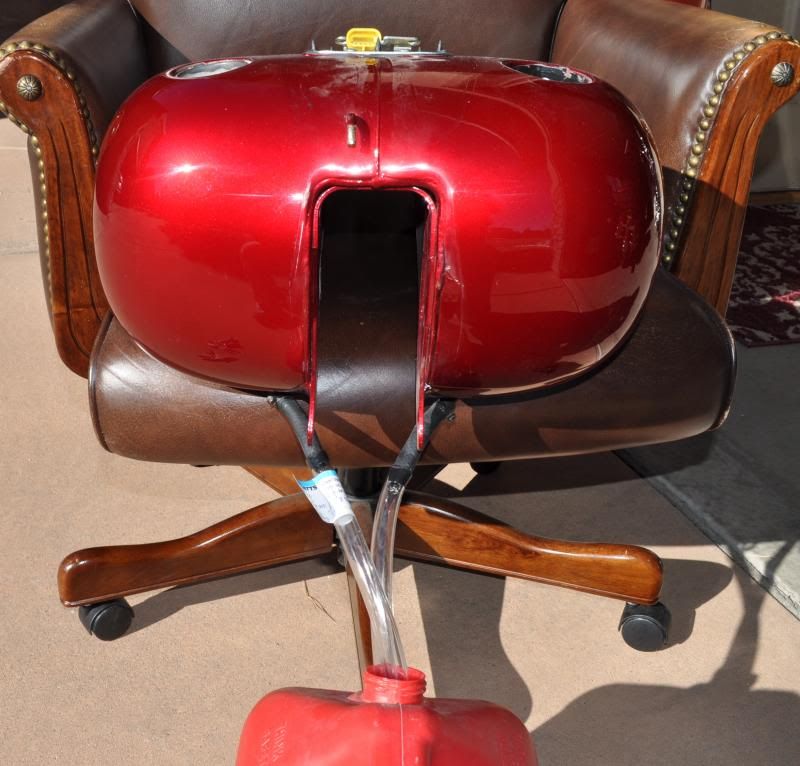
Second, taking off the tank. I had at least 1/3 gallon of fuel. With the crossover fuel line, this can be a little messy if you don't plan right.
A trick I learned before is to pick up two small needlenose vise grip pliers, and pinch each side of the crossover line. Cover the front rocker box with a towel to protect it from the front mounting tabs of the tank. Then, cut the crossover tube in between the vise grip pliers. You'll get a few drips of fuel, but not much.
Disconnect the fuel connection to the throttle body, and remove the tank. From there, drain your fuel into a regular gas can. Afterwards, it was time to remove the fuel pump assembly and fuel lines. These are the same fuel lines that can develop pin holes from rubbing inside the tank. They'll be replaced with better materials anyway, so this was a good time to pull the everything out.
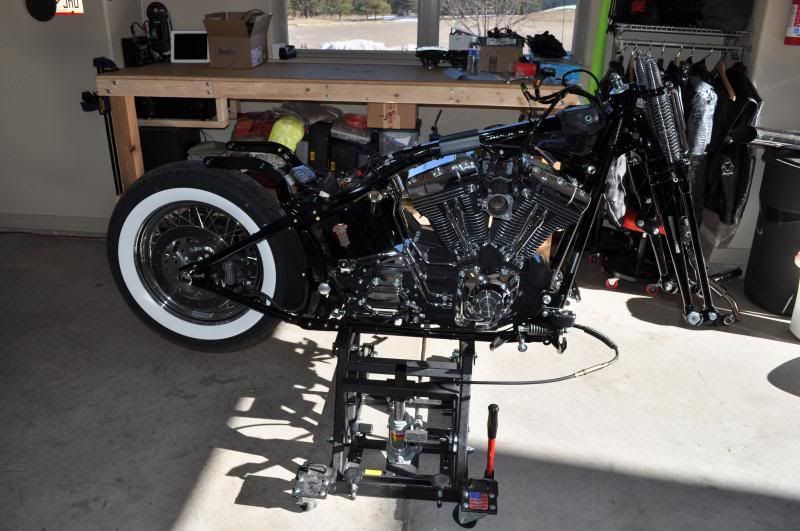
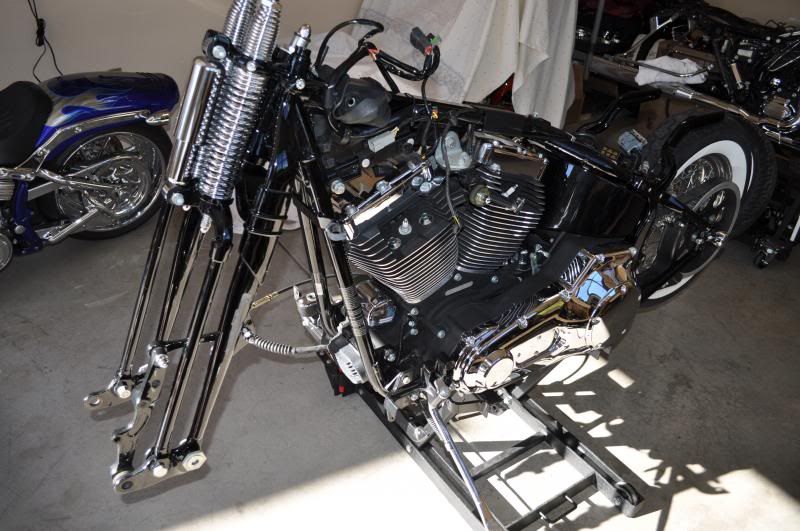
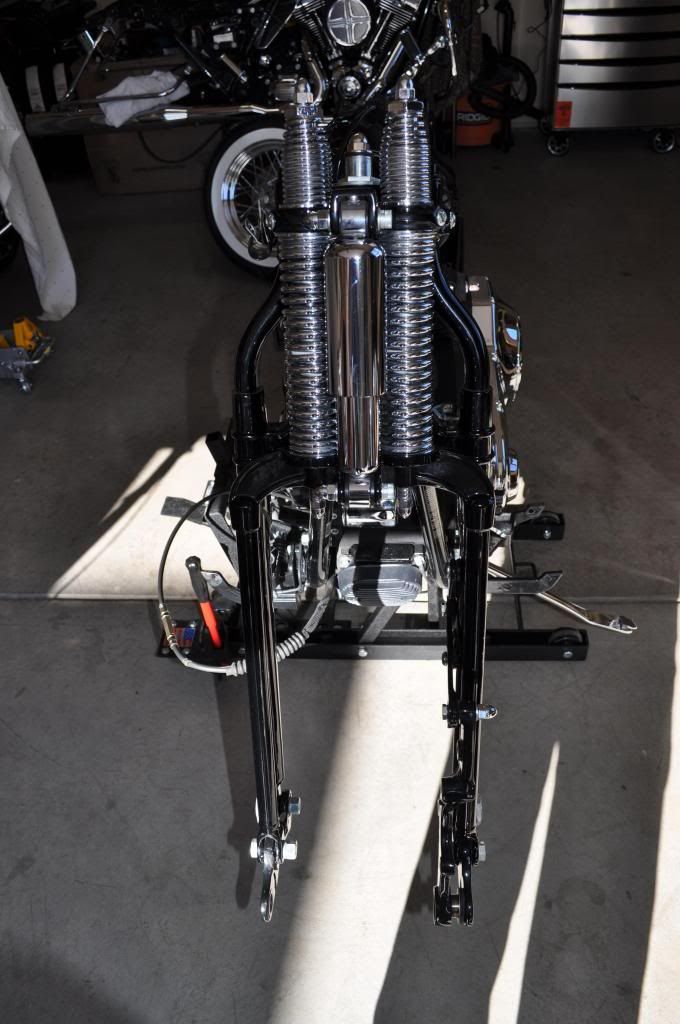
After that was done, it was time to remove the front fender. Easy as pie, having done it before.
Anyway, here are some pictures of how it sits now. I don't expect great progress for the next few weeks while I wait on paint, and I have got a bunch of stuff to get ordered, eventually.
This paint might look much better on a FatBoy, but it's just not Springer Classic material....
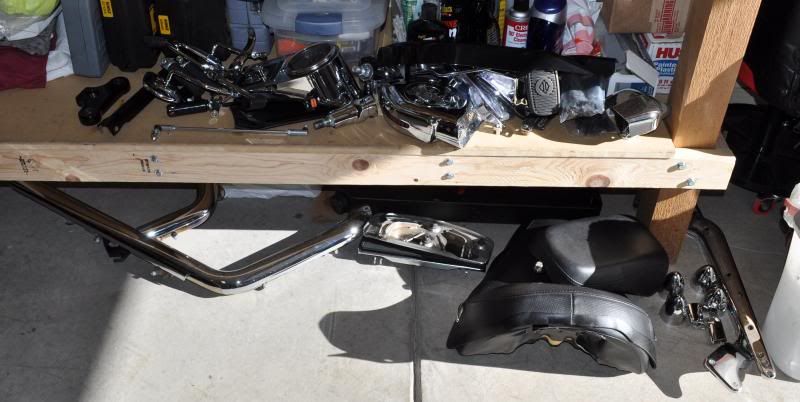
This is a pile of the parts that are being removed/replaced. It's crazy.
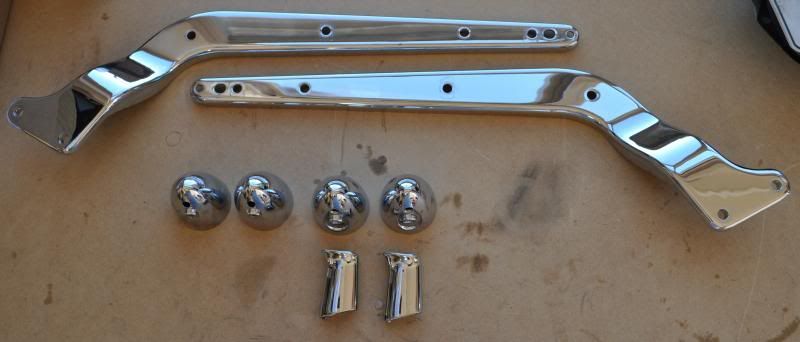
First time removing light bulb sockets from the turn signal housings. These pieces will be sent out for powdercoating, along with several other pieces.
bad bad bad *** bike!! One of the best looking springers I have seen in a while. Color choice is spot on for this thing. Thats a bike that you can just look at and admire for a bit.
 08-22-2014 | 12:59 PM