Crossbones Seat on a 2001 FLSTSI - DONE!!
#1
 08-16-2012, 09:03 PM

Hey guys,
As you may know, I have been aching for a spring solo seat set-up for my '01 FLSTSI.
A friend, very generously sent me his "old" unused stock touring seat, front pivot mount, under-seat-to-springs mount and springs from his old Crossbones. The only parts he did not still have were the frame-to-springs mount and the frame cover.
I wanted to set it up right away.
Here is what I did:
I disconnected the battery.
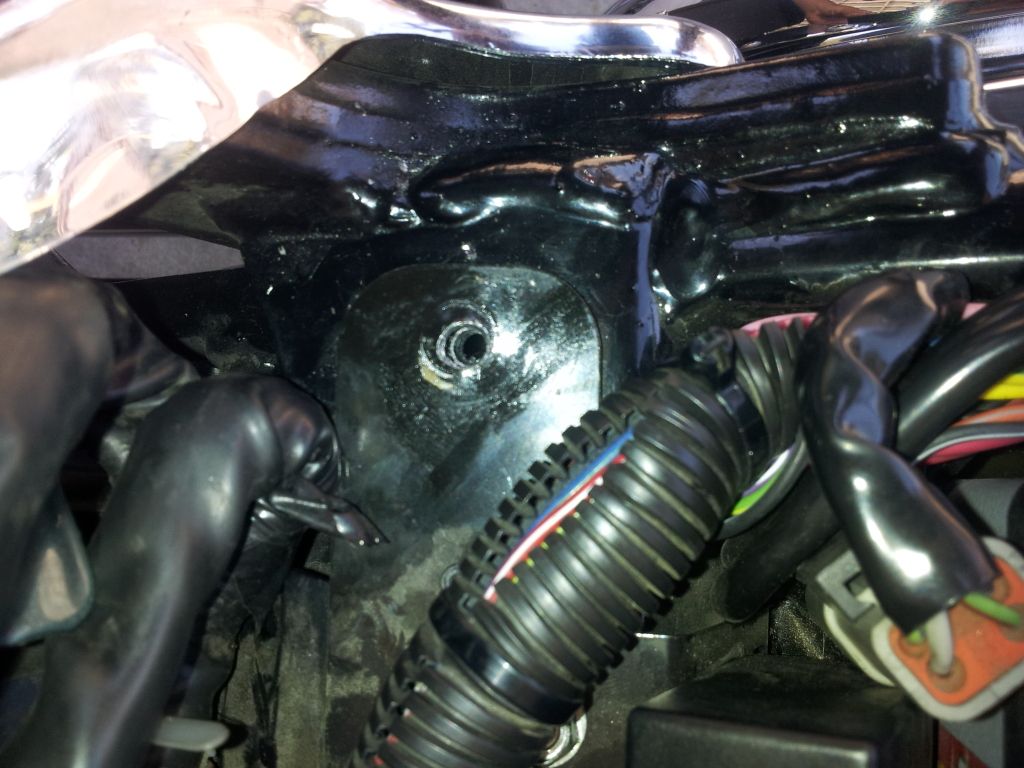
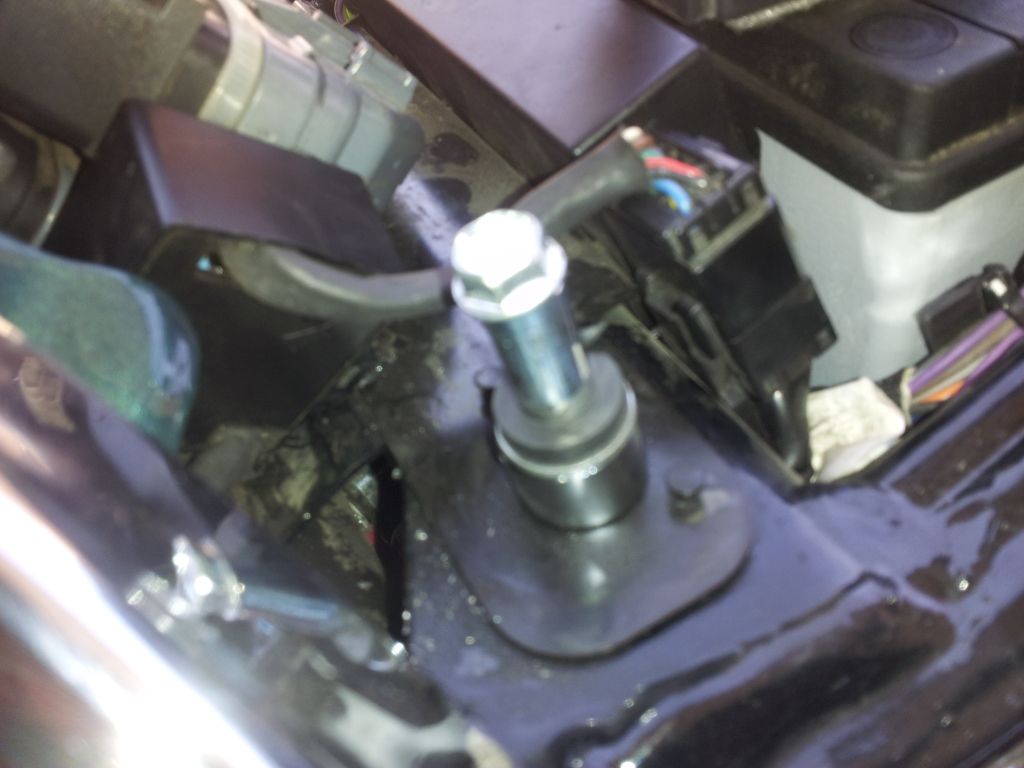
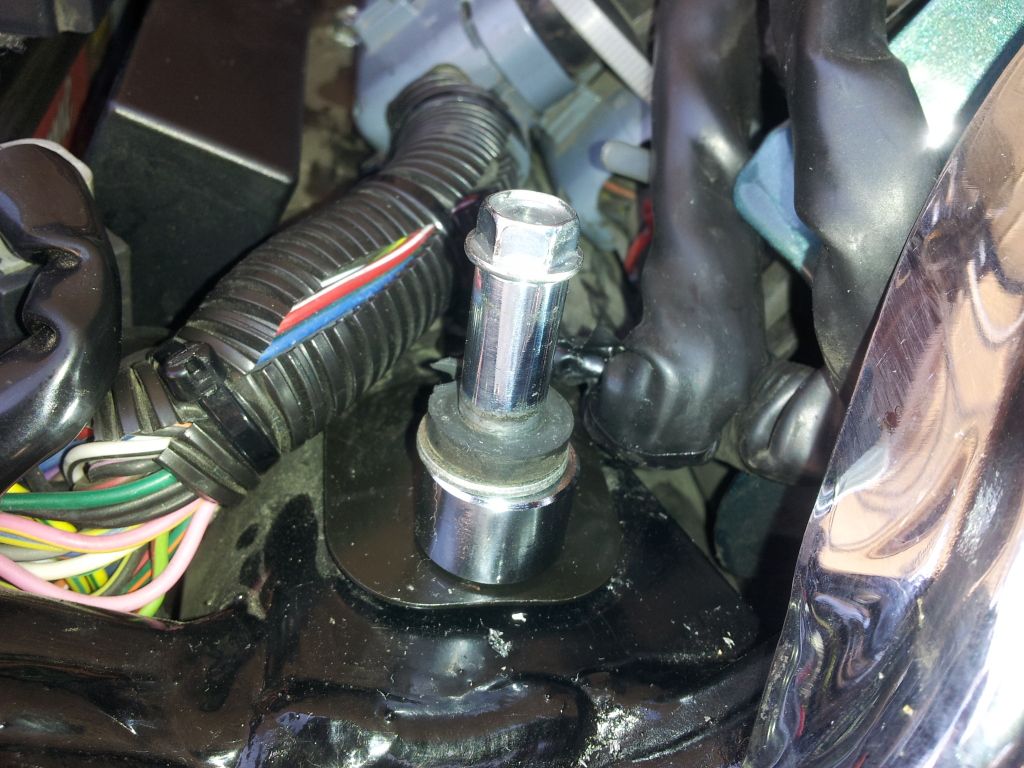
I removed the aluminum wire-holder that holds the two ground connections to the frame. I needed to use those holes to mount the front pivot mount. In order to do so, I bought two stainless 1/4-20 x 1" allen head bolts and stainless split locking washers to replace the stock bolts as they do not fit the recesses for the bolts in the pivot as well as I would like, though they can be used as-is.
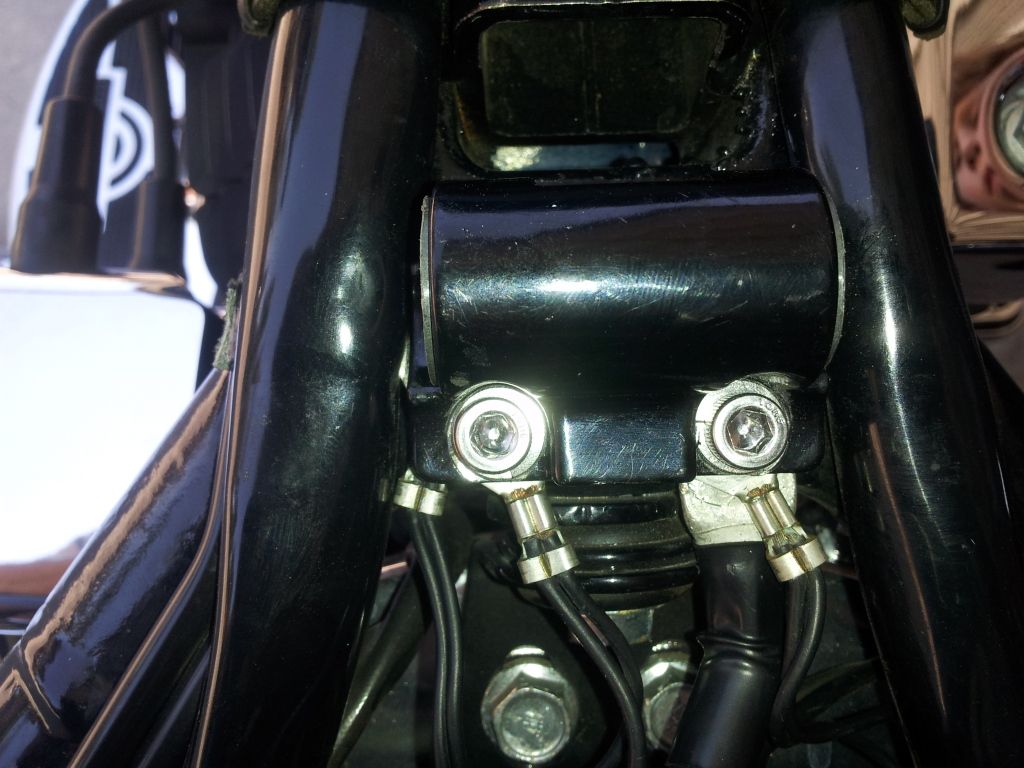
I then cleaned off the powder coating on the underside of the lower pivot mount to ensure good electrical contact. I felt that since the wires were going to be sandwiched between the frame and the pivot mount, increasing the grounding area would be of benefit to the electrical system. May be overkill, but that was my thinking.
I then put the ground wires under the mount and tightened the new bolts with the lock washers to hold the pivot and the ground wires into place. Front pivot is now securely placed and the grounding is good. Plus, I now have more stainless on the bike!!
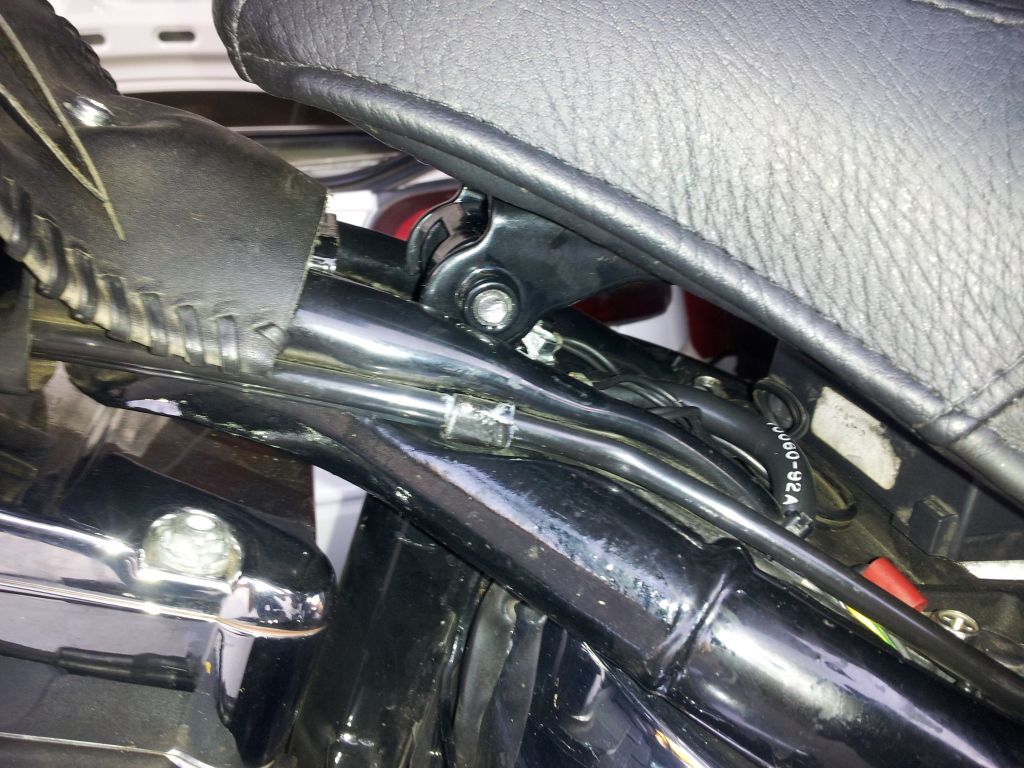
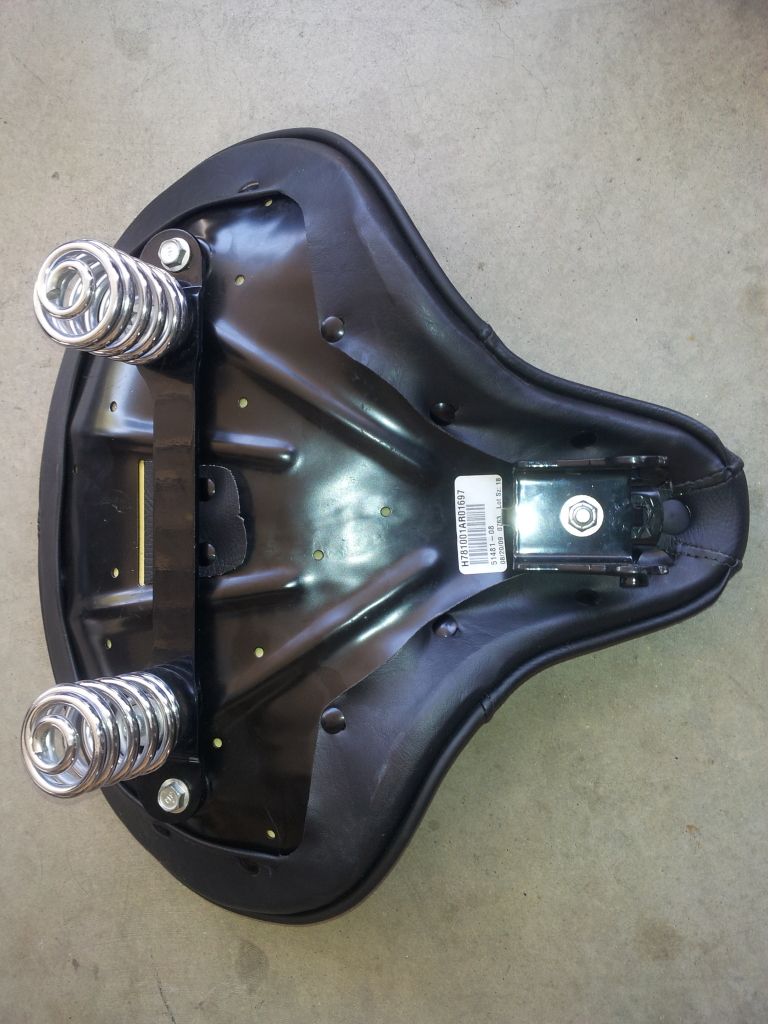
Since I did not have the rear frame-to-spring mounts (and not wanting to wait for one - or buy a new one), I mounted the springs to the seat and mounted the seat to the front pivot to see where the springs would contact the frame's cross member behind the battery and relay/fuse box.
Using the opening in the springs as a guide, I marked the cross member with a pencil to aid in determining where to drill for bolts that I would use to mount lower spring perches that i was going to make.
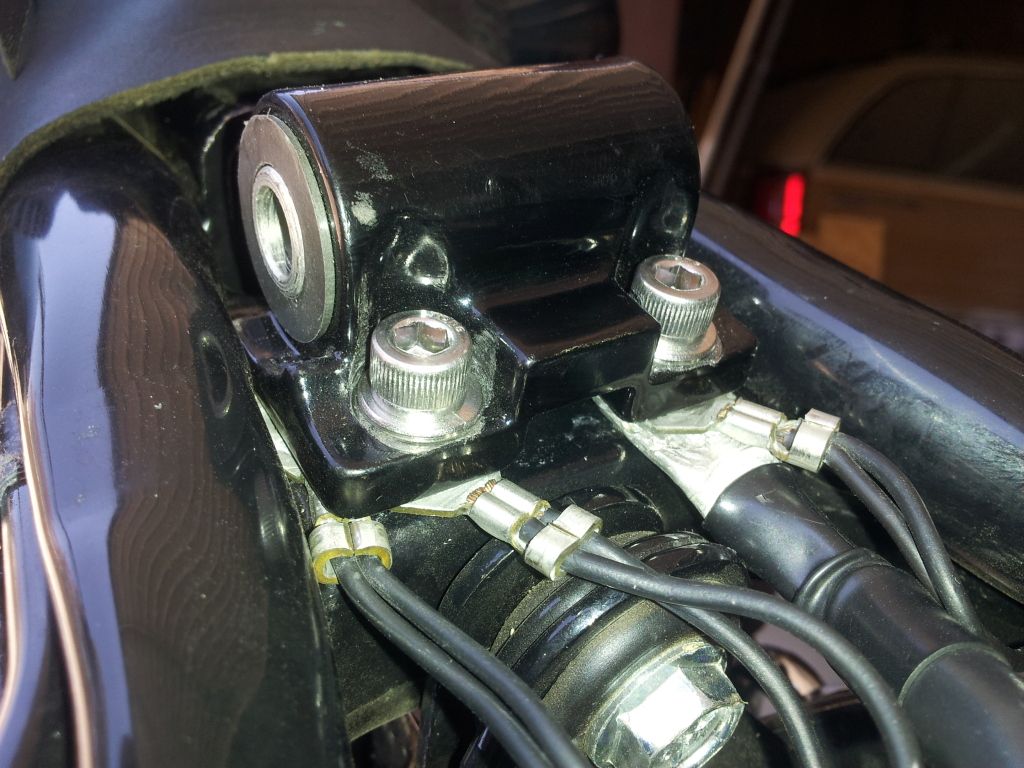
Using a 21/64" drill and a tap for the hole (left over from re-tapping my risers - yay!!! I'm getting use from the tools for a second time!!!), I made perches (receivers) for the lower springs using two bushings (one for each side) I had laying around as well as two left-over 1/2" chrome spacers (one for each side) I had laying around from a headlight mount project.
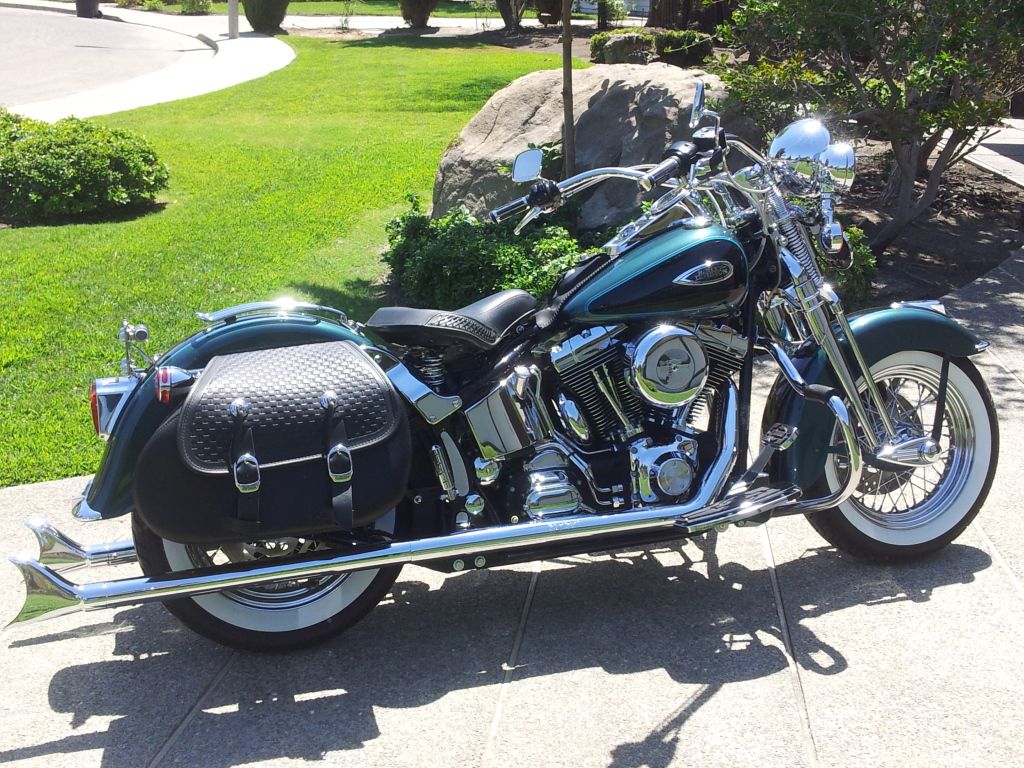
I couldn't be happier with the end result. I am sitting at least three inches further back (room I desperately wanted) than I do in the stock seat. I also have a two-inch further to the rear seat mounting option (by adjusting the front pivot-to-seat mount and reversing the spring-to-seat mount) if I desire to sit two inches back further still.
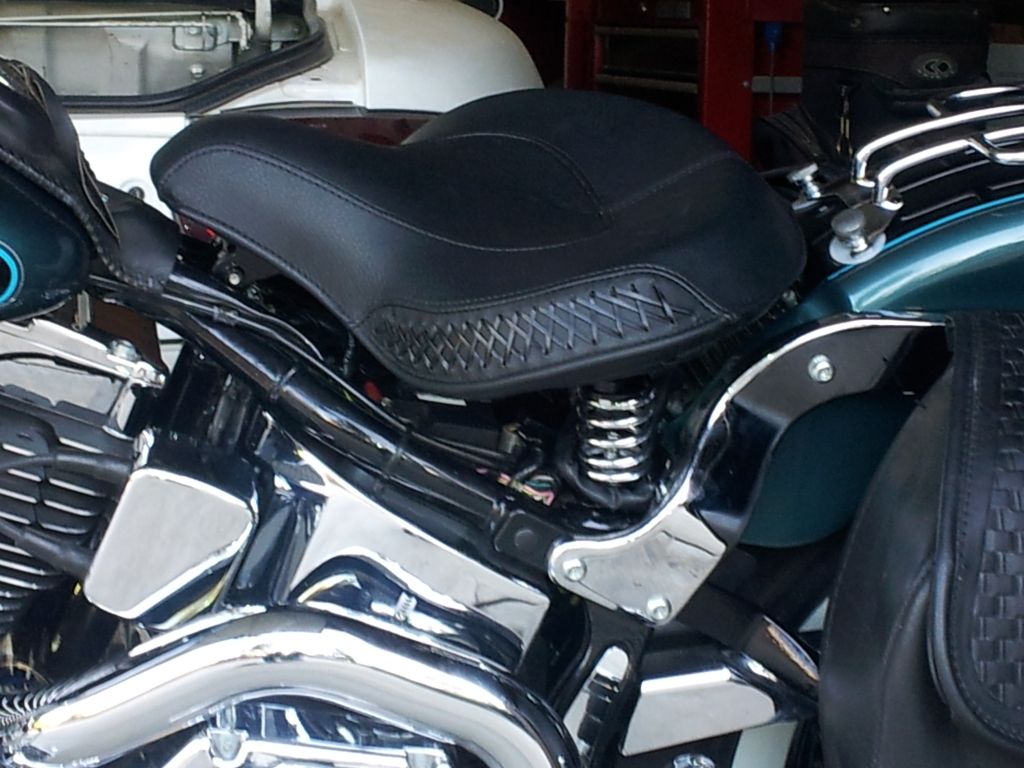
This set-up really makes for a comfy ride. The seat is plush and the springs offer even more shock absorption from bumps. I would say that I am sitting an inch higher that I was on the stock seat, however, with a 1925 seat, I would be at stock height.
While I am still looking for the stock Crossbones under-seat frame cover to cover up the battery, relays, ECM, etc), and perhaps a 1925 seat as an option (because one is never really done with their bike), I'm really happy with the results.
I think with the increasing availability of used Crossbones parts (read: cheap - mine were given to me), we have another seating option that is well worth doing.
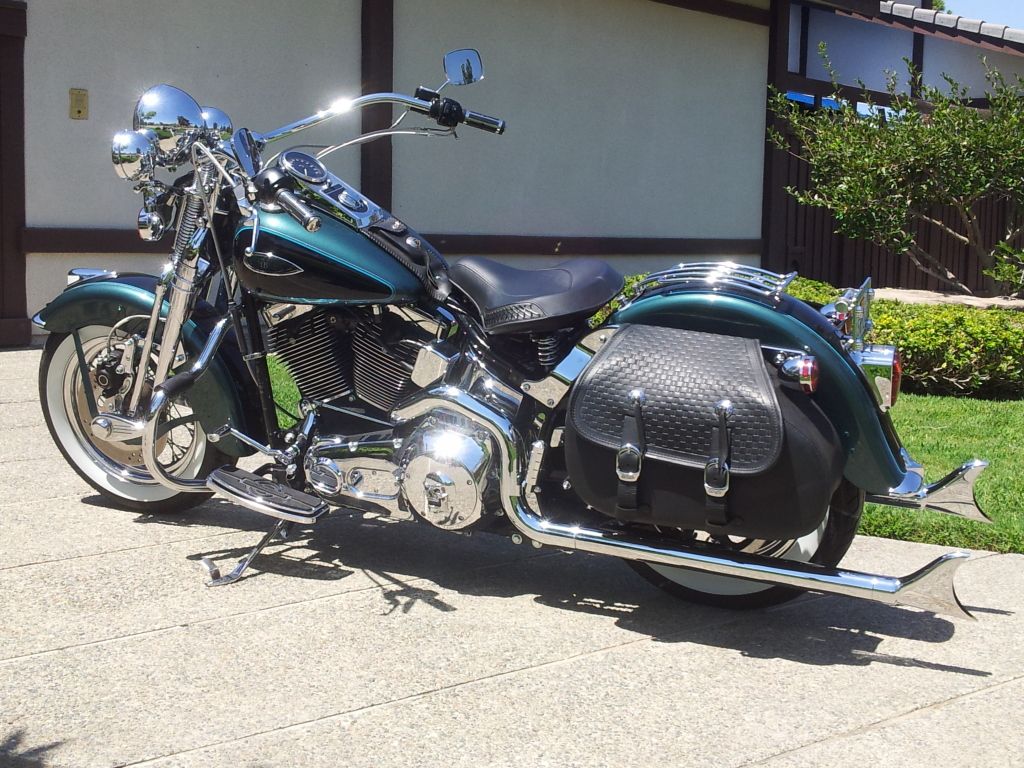
Here is the final result:
and
and
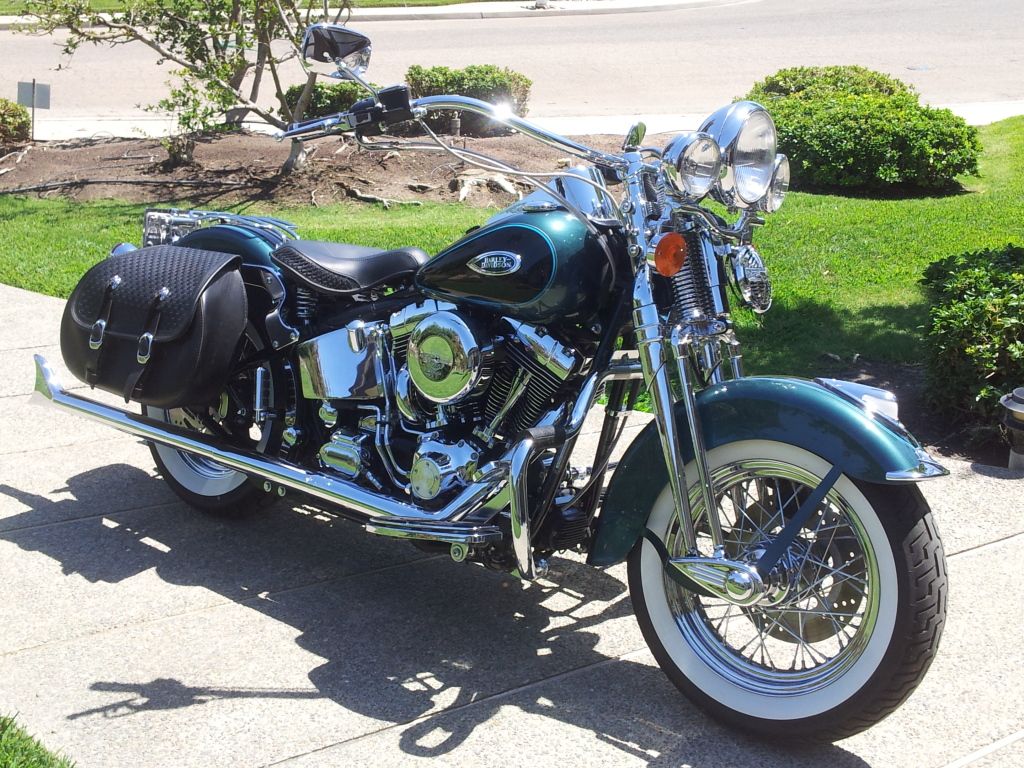
I think I achieved the retro look I was after.
As you may know, I have been aching for a spring solo seat set-up for my '01 FLSTSI.
A friend, very generously sent me his "old" unused stock touring seat, front pivot mount, under-seat-to-springs mount and springs from his old Crossbones. The only parts he did not still have were the frame-to-springs mount and the frame cover.
I wanted to set it up right away.
Here is what I did:
I disconnected the battery.
I removed the aluminum wire-holder that holds the two ground connections to the frame. I needed to use those holes to mount the front pivot mount. In order to do so, I bought two stainless 1/4-20 x 1" allen head bolts and stainless split locking washers to replace the stock bolts as they do not fit the recesses for the bolts in the pivot as well as I would like, though they can be used as-is.
I then cleaned off the powder coating on the underside of the lower pivot mount to ensure good electrical contact. I felt that since the wires were going to be sandwiched between the frame and the pivot mount, increasing the grounding area would be of benefit to the electrical system. May be overkill, but that was my thinking.
I then put the ground wires under the mount and tightened the new bolts with the lock washers to hold the pivot and the ground wires into place. Front pivot is now securely placed and the grounding is good. Plus, I now have more stainless on the bike!!
Since I did not have the rear frame-to-spring mounts (and not wanting to wait for one - or buy a new one), I mounted the springs to the seat and mounted the seat to the front pivot to see where the springs would contact the frame's cross member behind the battery and relay/fuse box.
Using the opening in the springs as a guide, I marked the cross member with a pencil to aid in determining where to drill for bolts that I would use to mount lower spring perches that i was going to make.
Using a 21/64" drill and a tap for the hole (left over from re-tapping my risers - yay!!! I'm getting use from the tools for a second time!!!), I made perches (receivers) for the lower springs using two bushings (one for each side) I had laying around as well as two left-over 1/2" chrome spacers (one for each side) I had laying around from a headlight mount project.
I couldn't be happier with the end result. I am sitting at least three inches further back (room I desperately wanted) than I do in the stock seat. I also have a two-inch further to the rear seat mounting option (by adjusting the front pivot-to-seat mount and reversing the spring-to-seat mount) if I desire to sit two inches back further still.
This set-up really makes for a comfy ride. The seat is plush and the springs offer even more shock absorption from bumps. I would say that I am sitting an inch higher that I was on the stock seat, however, with a 1925 seat, I would be at stock height.
While I am still looking for the stock Crossbones under-seat frame cover to cover up the battery, relays, ECM, etc), and perhaps a 1925 seat as an option (because one is never really done with their bike), I'm really happy with the results.
I think with the increasing availability of used Crossbones parts (read: cheap - mine were given to me), we have another seating option that is well worth doing.
Here is the final result:
and
and
I think I achieved the retro look I was after.
The following 2 users liked this post by SprungDave:
americanworkmule (08-31-2016),
Chug-A-Chug (12-13-2018)

#5
08-16-2012, 10:51 PM
Road Warrior
Looks awesome, D!!!! Takin a nostalgic bike and makin it real retro!! Very cool. Been kickin around the same idea.
Last time I got sprung was in Hollywood. Involved a lamb, a cardboard tube from an aluminum foil, some meat tenderizer, one thousand dollars, and an Adams apple. I think a woman was involved but I had a little too much whiskey. Not a total loss though, the lamb took me out to Denny's for breakfast!
Win-win!!!
#7
08-17-2012, 12:04 AM
Club Member
Trending Topics
#8
08-17-2012, 12:17 AM
Road Master
#10
08-17-2012, 08:56 AM