Heritage Wide Turnsignal Bar Swapout
#1
 12-04-2011 | 02:49 PM
Thread Starter
|
Elite HDF Member
Joined: Nov 2011
Posts: 3,908
Likes: 17
From: Dayton
Here's some documented steps on switching out the wide Heritage turn signal bar with the narrow one from J&P CYCLE (Which HarleyGyrene so generously donated to the project). P/N 3200270
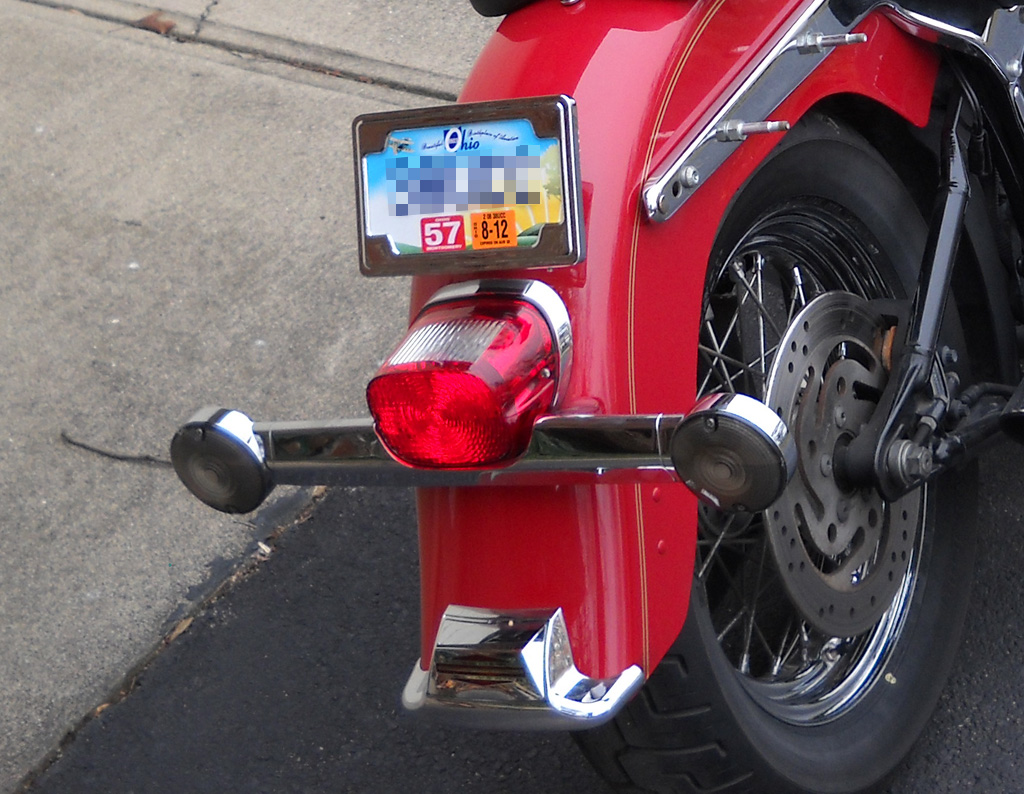
Before:
Pop the tail light off by removing the two phillips screws (red arrows):
Disconnect the turn signal plugs (white arrows) by pushing down on the little tabs on the top of the housing (blue arrows):
Dangle the light carefully (or remove it if you want)
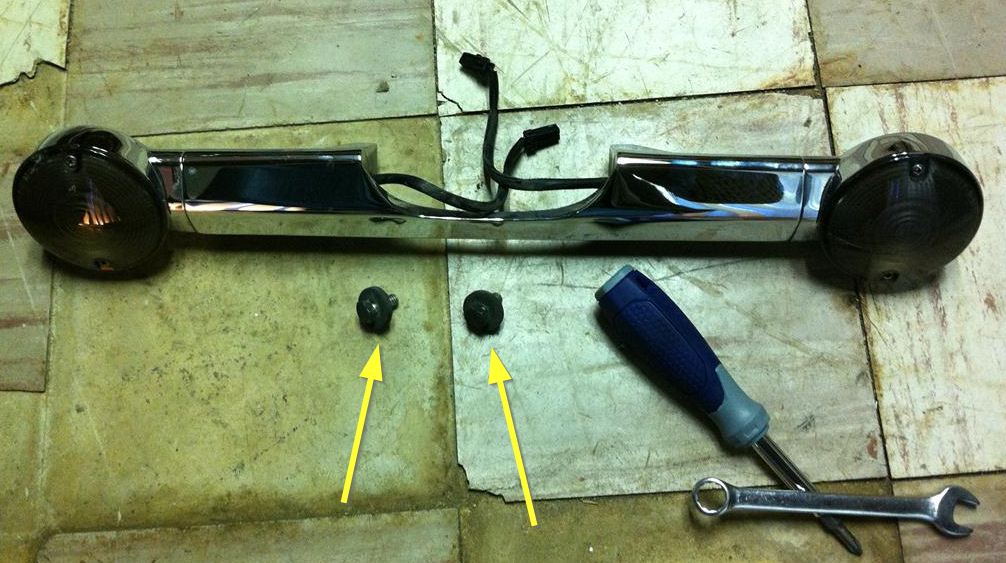
Remove the two 1/2 inch bolts and thick washers from the underside of the fender (yellow arrows):

Remove the socket head screws from the inside of the light bar bracket (yellow arrows):

One problem with the new bar assembly was the seat area was way smaller than factory (red circles). The new bar came with new stainless bolts, thin washers and lock washers. I used the old hardware, but used the thin washers between the new bar and fender (explained later).

Just as I looked at the new bar and how tight the spot was where the socket head screws went for the lights, I saw they drilled a hole for your allen wrench (blue arrow):

The other problem with the new bar is the holes were too narrowly spaced and I had to elongate the fender holes inward (white circle). I almost canceled the project because of this, but the elongated hole was covered (and would be covered, should I put the old bar back on). This is where a trusty can of Rust-Oleum comes in. Touch up the filed metal of the bolt hole.

I sandwiched the stainless washers that came with the new bar between the bar and fender. I felt it gave a more solid mount than the tiny foot print of the new bar had.

Finished product:

Before:
Pop the tail light off by removing the two phillips screws (red arrows):
Disconnect the turn signal plugs (white arrows) by pushing down on the little tabs on the top of the housing (blue arrows):
Dangle the light carefully (or remove it if you want)
Remove the two 1/2 inch bolts and thick washers from the underside of the fender (yellow arrows):
Remove the socket head screws from the inside of the light bar bracket (yellow arrows):
One problem with the new bar assembly was the seat area was way smaller than factory (red circles). The new bar came with new stainless bolts, thin washers and lock washers. I used the old hardware, but used the thin washers between the new bar and fender (explained later).
Just as I looked at the new bar and how tight the spot was where the socket head screws went for the lights, I saw they drilled a hole for your allen wrench (blue arrow):
The other problem with the new bar is the holes were too narrowly spaced and I had to elongate the fender holes inward (white circle). I almost canceled the project because of this, but the elongated hole was covered (and would be covered, should I put the old bar back on). This is where a trusty can of Rust-Oleum comes in. Touch up the filed metal of the bolt hole.
I sandwiched the stainless washers that came with the new bar between the bar and fender. I felt it gave a more solid mount than the tiny foot print of the new bar had.
Finished product:
Last edited by Benway; 12-04-2011 at 02:52 PM.
#5
12-04-2011 | 08:40 PM
Thread Starter
|
Elite HDF Member
Joined: Nov 2011
Posts: 3,908
Likes: 17
From: Dayton
Yeah, me too, especially since the shape/size/tilt of that seat determines how the lights sit once mounted (tilted up or down). I also filed about 1 degree off the face so the bar was more perpendicular to the ground. Very pleased with the result though. Thanks again to HarleyGyrene.

#7
12-07-2011 | 04:47 PM
Road Master
Joined: Oct 2011
Posts: 799
Likes: 2
From: WyoBraska (Western Nebraska)
Trending Topics
#8
12-07-2011 | 07:12 PM

Tourer
Joined: May 2009
Posts: 315
Likes: 1
I'm sure you had a reason to do this, but why? Those lollipop turn signals still look like crap. Not ******* your bike, Harley designed those ugly turn signals. Just curious why one would spend the money for a piece that doesn't fit and doesn't do anything but move the lollipops in an inch or so.
#9
12-07-2011 | 08:45 PM
Thread Starter
|
Elite HDF Member
Joined: Nov 2011
Posts: 3,908
Likes: 17
From: Dayton
I'm sure you had a reason to do this, but why? Those lollipop turn signals still look like crap. Not ******* your bike, Harley designed those ugly turn signals. Just curious why one would spend the money for a piece that doesn't fit and doesn't do anything but move the lollipops in an inch or so.
#10
12-07-2011 | 09:32 PM
Tourer
Joined: Oct 2009
Posts: 328
Likes: 0
I did the same mod and I'm in fact pretty disgusted with the way the part fit. Not ******* on your mod Benway, but they should have made the mount the same freaking size. And for what it's worth I actually like the lollipop when it's shortened like that.
Kuryakyn also makes a narrow replacement bar-- does anyone have any experience with it and how it fits?
Kuryakyn also makes a narrow replacement bar-- does anyone have any experience with it and how it fits?