Calling all FatBoy Lo Owners
#1561
 03-14-2011, 10:11 AM

Elite HDF Member
I would like to know what paint you used for the trim ring on your tailight? Thanks
#1562
03-14-2011, 10:35 AM

Road Captain
#1563
03-14-2011, 10:53 AM

1. The forks do need to be fully disassembled. Powdercoating bakes the paint on at 400ish degrees. Your fork seals cant take that. Any powdercoater worth their salt will also tell you that the devil is in the prep work when it comes to powdercoating. They should go through an extensive cleaning/degreasing process before they get painted. One drop of fork oil seeps out onto where it gets sprayed, and it will bubble/crack off.
2. You can't do this yourself. Please take that to heart. In gutting my bike, the forks were the only thing that I took into the dealership to have done. The fork springs are pre-loaded and if you try to pull the tube plugs out you will find a fork tube plug sized hole in your dining room ceiling (or your skull). The rebuild kit costs like $25 and to have them disassembled and reassembled cost me $50. Even IF you can find a way to safely shoot the plug into a mattress or something, compressing the spring to install the fork tube plug without stripping the threads takes 2 people + special tool part # 19879834IJFHE if ya catch my drift. Let THEM do it, that way if they jack it up THEY have to replace it
2. You can't do this yourself. Please take that to heart. In gutting my bike, the forks were the only thing that I took into the dealership to have done. The fork springs are pre-loaded and if you try to pull the tube plugs out you will find a fork tube plug sized hole in your dining room ceiling (or your skull). The rebuild kit costs like $25 and to have them disassembled and reassembled cost me $50. Even IF you can find a way to safely shoot the plug into a mattress or something, compressing the spring to install the fork tube plug without stripping the threads takes 2 people + special tool part # 19879834IJFHE if ya catch my drift. Let THEM do it, that way if they jack it up THEY have to replace it
damn i was really trying to avoid tearing those things apart.
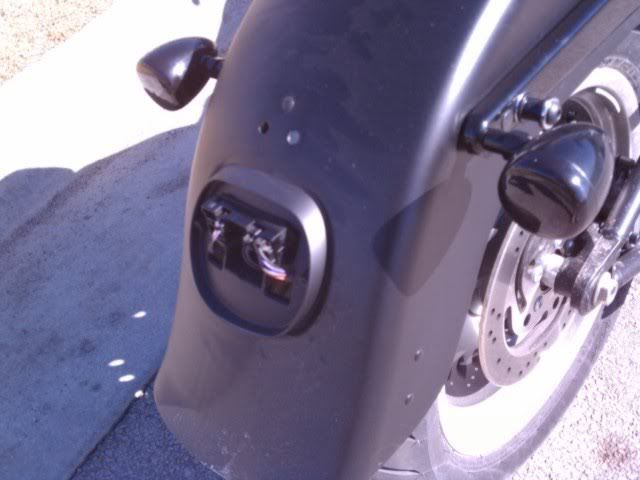
here's a random question.. has anyone seen one of these or know where to pick one up besides harley? (not really feeling the markup on a simple tool).. but it's in the 2010 service manual as P/N HD-45928, and listed as the Packard Micro 64 Removal Tool.. in the picture it has "15381651-2" printed on the image of the tool.. but I can't seem to find it online to the point where I could go to a store and pick one up.. point is, im trying to undo the wires from the wiring harness (connector jacks) for the handlebars, since up at the switches the wires are apparently molded in to the switches, and i dont want to just pull like a sunnuvabitch because i dont really feel like breaking anything..
#1564
03-14-2011, 11:43 AM
Road Master
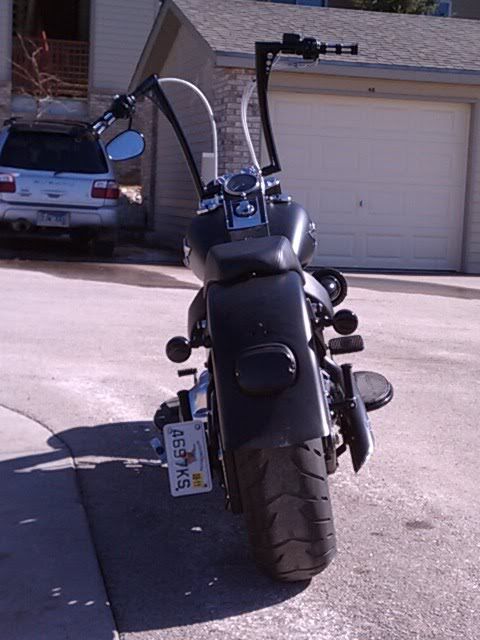
Just installed my new fork and handlebar bags. Was going to buy a swingarm bag but couldn't pull the trigger on $170. These cost me $57 for both at Renegade in Tucson where I'll be visiting till the end of the month.
Attachment 172084
Attachment 172084
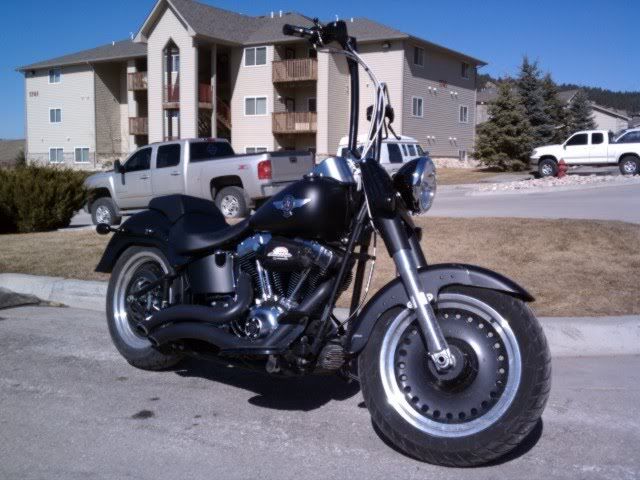
question... is that a different windshield setup, compared to what would normally go on a Lo?
I bought the HD shield, but now want to go nacelle/lightbars... any idea if I will have to get a whole new windshield or just new mounting brackets??
#1565
03-14-2011, 12:00 PM
damn i was really trying to avoid tearing those things apart.
here's a random question.. has anyone seen one of these or know where to pick one up besides harley? (not really feeling the markup on a simple tool).. but it's in the 2010 service manual as P/N HD-45928, and listed as the Packard Micro 64 Removal Tool.. in the picture it has "15381651-2" printed on the image of the tool.. but I can't seem to find it online to the point where I could go to a store and pick one up.. point is, im trying to undo the wires from the wiring harness (connector jacks) for the handlebars, since up at the switches the wires are apparently molded in to the switches, and i dont want to just pull like a sunnuvabitch because i dont really feel like breaking anything..
here's a random question.. has anyone seen one of these or know where to pick one up besides harley? (not really feeling the markup on a simple tool).. but it's in the 2010 service manual as P/N HD-45928, and listed as the Packard Micro 64 Removal Tool.. in the picture it has "15381651-2" printed on the image of the tool.. but I can't seem to find it online to the point where I could go to a store and pick one up.. point is, im trying to undo the wires from the wiring harness (connector jacks) for the handlebars, since up at the switches the wires are apparently molded in to the switches, and i dont want to just pull like a sunnuvabitch because i dont really feel like breaking anything..
You have to have patience and be gentle. The more force you use, the worse it gets. I have done it several times and can now get the wires out in just a few minutes.
#1566
03-14-2011, 12:21 PM

Stage IV
Join Date: Feb 2011
Location: Badger, Newfoundland Canada
Posts: 4
Likes: 0
Received 0 Likes
on
0 Posts
Hi again...,
Love ur boards! I was looking at these for my fat boy lo as well. Are they the 19" ones? I was worried about them hitting my engine guard, I have the HD Mustache engine guard. Is there any way you can tell me how far past the mounting hole closest to the front fender they extend?
tks Bro
Love ur boards! I was looking at these for my fat boy lo as well. Are they the 19" ones? I was worried about them hitting my engine guard, I have the HD Mustache engine guard. Is there any way you can tell me how far past the mounting hole closest to the front fender they extend?
tks Bro

#1567
03-14-2011, 12:34 PM

damn i was really trying to avoid tearing those things apart.
here's a random question.. has anyone seen one of these or know where to pick one up besides harley? (not really feeling the markup on a simple tool).. but it's in the 2010 service manual as P/N HD-45928, and listed as the Packard Micro 64 Removal Tool.. in the picture it has "15381651-2" printed on the image of the tool.. but I can't seem to find it online to the point where I could go to a store and pick one up.. point is, im trying to undo the wires from the wiring harness (connector jacks) for the handlebars, since up at the switches the wires are apparently molded in to the switches, and i dont want to just pull like a sunnuvabitch because i dont really feel like breaking anything..
here's a random question.. has anyone seen one of these or know where to pick one up besides harley? (not really feeling the markup on a simple tool).. but it's in the 2010 service manual as P/N HD-45928, and listed as the Packard Micro 64 Removal Tool.. in the picture it has "15381651-2" printed on the image of the tool.. but I can't seem to find it online to the point where I could go to a store and pick one up.. point is, im trying to undo the wires from the wiring harness (connector jacks) for the handlebars, since up at the switches the wires are apparently molded in to the switches, and i dont want to just pull like a sunnuvabitch because i dont really feel like breaking anything..
As posted above, a good pick set will do you wonders in separating just about any plug connector. My local K-Mart had a craftsman set for $7.99. I also found out that a 3 cent small sized paperclip can replace that forty dollar Molex Terminal Pin Extraction Tool. It will take a bit of feeling around in the hole and trial and error, but once you learn the trick you will be amazed at how simple it really is and very glad that you did not cut and solder. Just make sure that you map out what wire goes to which hole BEFORE you remove them heh heh *smacks his own forehead*.
OH and another trick... I used a strand of some 550 cord and a shop vac to get my pull line through my slammers. Just plug up the other holes so the most suction comes out of only the hole you want to pull the line from.
Last edited by ThePinger; 03-14-2011 at 12:38 PM.
#1568
03-14-2011, 03:22 PM
argh this project is going from bad to worse.. there's one long bolt in the primary cover that's getting stuck behind the floorboard and i can't finagle it out, it's making for a sad monkey. and i actually found a set of picks down in my basement, and lo-and-behold they fit the holes on the wire jackets.. but i still can't get the daggum things to come loose. it's almost getting to the point where i might just end up slicing the wires, solder some extensions in, shrink wrap the bums and seal them up tight.
#1569
03-14-2011, 03:35 PM
argh this project is going from bad to worse.. there's one long bolt in the primary cover that's getting stuck behind the floorboard and i can't finagle it out, it's making for a sad monkey. and i actually found a set of picks down in my basement, and lo-and-behold they fit the holes on the wire jackets.. but i still can't get the daggum things to come loose. it's almost getting to the point where i might just end up slicing the wires, solder some extensions in, shrink wrap the bums and seal them up tight.
As for the wires, I hope your pick set is small enough. It will only work one way to get the wires released. It took me an hour my first time. It helps to push in on the wire as you fish for the release. When I get a chance I'll see about taking a pic of the connector to show you.
#1570
03-14-2011, 03:42 PM
thanks for that.. yeah she's up on a jack right now (haha if you go back a few pages you'll see she's sitting in my dining room with no front end on anymore).. just really bugging me that 1) i keep having to remove things that I don't want to, ultimately making the process take 3x as long as it should, and 2) I've discovered that quite a few of my bolts have been in metric sizes..several of the allen's were, and i've had a few 10mm and 14mm bolts. Though not quite as annoying as I make it sound, since I bought my dad a nice little Craftsman 255pc Mechanics Tool Set for christmas. huzzah.