SAS Air Suspension install
#1
 05-13-2008, 11:07 PM


Join Date: Oct 2005
Location:
Posts: 391
Likes: 0
Received 0 Likes
on
0 Posts
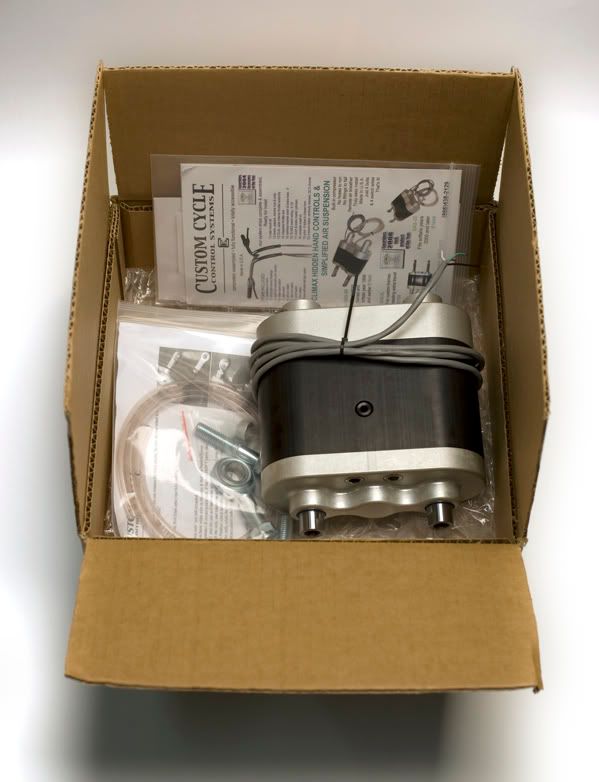
SAS Air Suspension arrived yesterday. My first impression was it looks like a quality product. Nice machining work, and nice looking industrial design. Show it to a few co-workers they thought it looked really simple, one guy asked "wheres the rest of it".
I'll keep you all posted on how the install goes.
Open box:
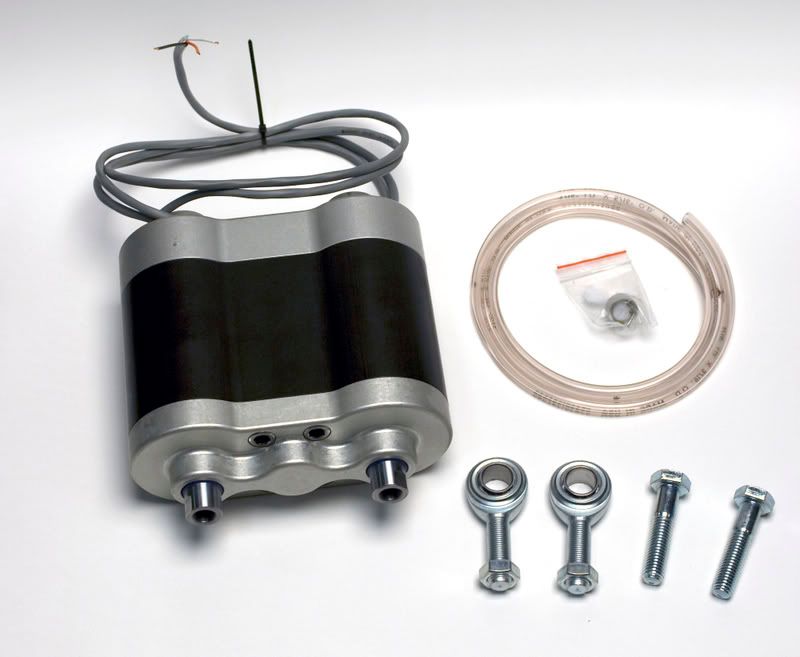
Complete kit:
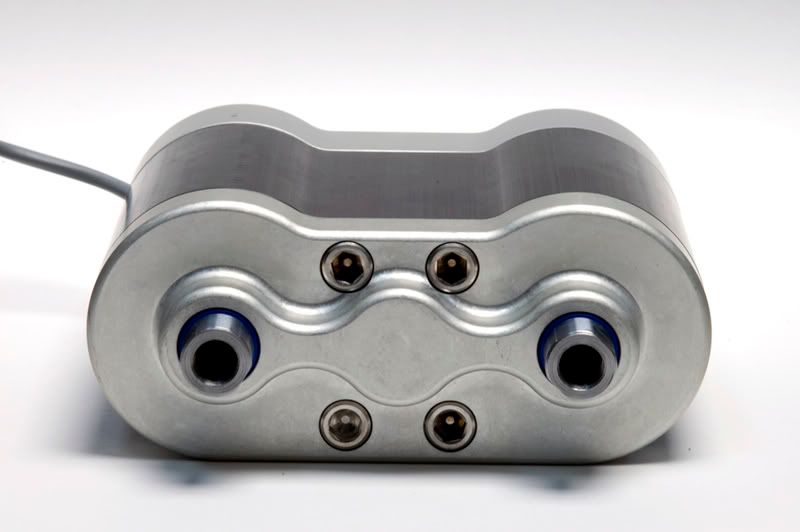
Piston side:
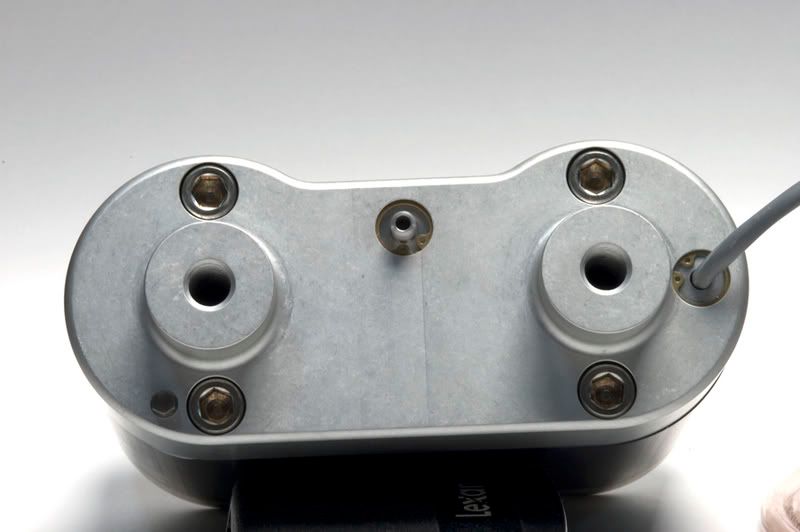
Breather side. Note the damping adjustment hex on the lower left. This is how the dampen rate is fine tuned:
I'll keep you all posted on how the install goes.
Open box:
Complete kit:
Piston side:
Breather side. Note the damping adjustment hex on the lower left. This is how the dampen rate is fine tuned:
#2
05-13-2008, 11:24 PM

PhantomMaxx,
I got mine too, but won't be installing it till next week along with my 240 kit. Can't wait.. Yeh your right this unit is tight. Ordered my kit with their push buttons, that too is well made. I guess thats the reason why the made Easyrider 2008 Product of the Year!! Can't get any cleaner than that.
#4
05-14-2008, 02:51 AM
Join Date: Oct 2005
Location:
Posts: 391
Likes: 0
Received 0 Likes
on
0 Posts

#5
05-14-2008, 02:52 AM
Join Date: Oct 2005
Location:
Posts: 391
Likes: 0
Received 0 Likes
on
0 Posts
I got mine too, but won't be installing it till next week along with my 240 kit. Can't wait.. Yeh your right this unit is tight. Ordered my kit with their push buttons, that too is well made. I guess thats the reason why the made Easyrider 2008 Product of the Year!! Can't get any cleaner than that.
If your doing the install yourself, it's pretty easy. Well—at lease the Air Suspension part was easy. If you are using their push buttons and plan on putting them on your handlebars, good luck with the internal wiring. I did internal wire once, wouldn't want to do it again. Maybe later down the line if I'm unhappy with my switch location. I'm still waiting for my switch which I plan on putting under the seat so when I'm adjusting my ride height it looks like I'm scratching my nuts.
I have it all installed, minus switch and circuit breaker. Works great.
#6
05-14-2008, 05:41 AM
#7
05-14-2008, 03:43 PM
Join Date: Oct 2005
Location:
Posts: 391
Likes: 0
Received 0 Likes
on
0 Posts
ORIGINAL: TIPN8R
Good to hear. Can't wait toget up the scratch for mine as well. Might have to pawn off a few extra parts I have to get it a bit quicker
So how do you like the dampening?
Good to hear. Can't wait toget up the scratch for mine as well. Might have to pawn off a few extra parts I have to get it a bit quicker
So how do you like the dampening?
Haven't the chance to ride it yet.
Trending Topics
#8
05-14-2008, 11:16 PM
Join Date: Oct 2005
Location:
Posts: 391
Likes: 0
Received 0 Likes
on
0 Posts
Installation instructions are HERE at CCCS
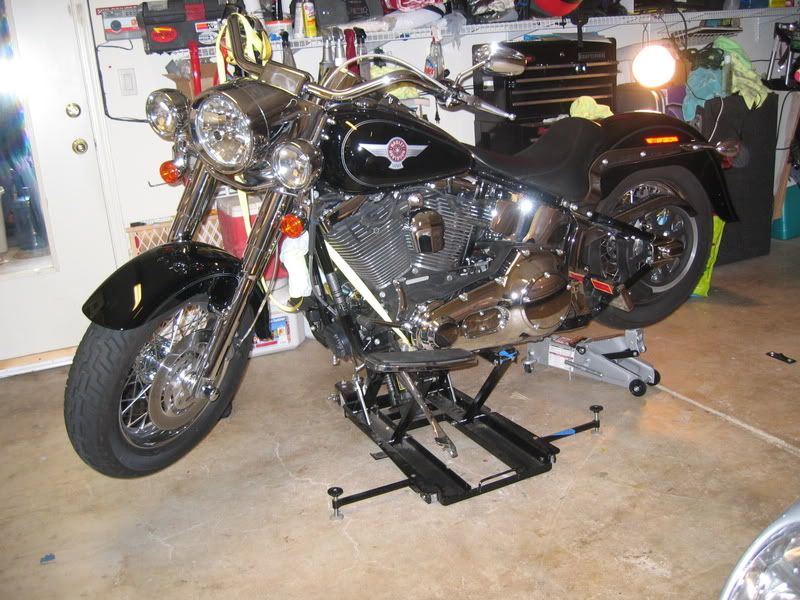
I started by jacking up the bike. I used the tie down straps for safety. I also used a car jack to move the swingarm up and down when needed.
I attached the front side first and then the back. I used the car jack to help position the swingarm mount to the SAS on the piston side. But when routing the breather tube I pulled to hard and the tube popped off. I simply disconnected the the two front bolts to back out the SAS. I took this picture to show what it would look like if I was changing the oil. Note the oil drain plug. The flat side of the SAS goes on the bottom facing the ground, this is not noted in the instructions.
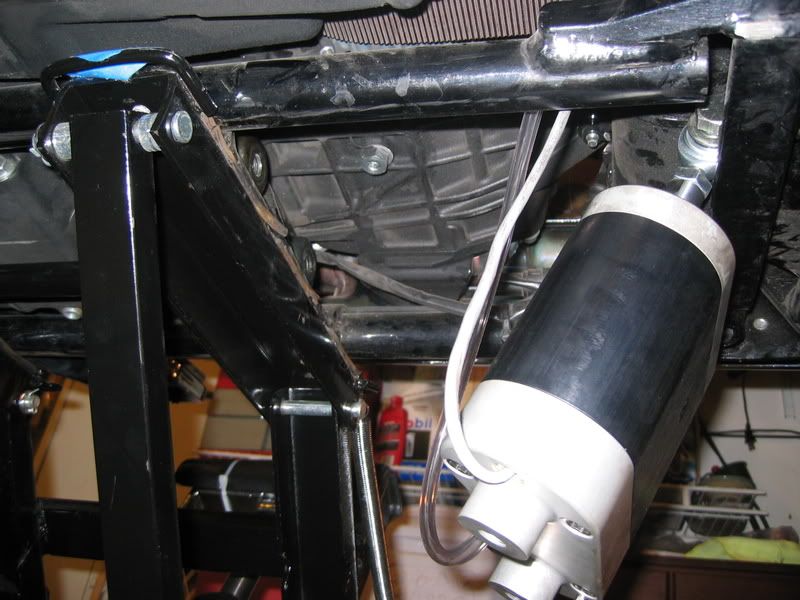
Here's what it looks like all the way down with the solenoid fully open.
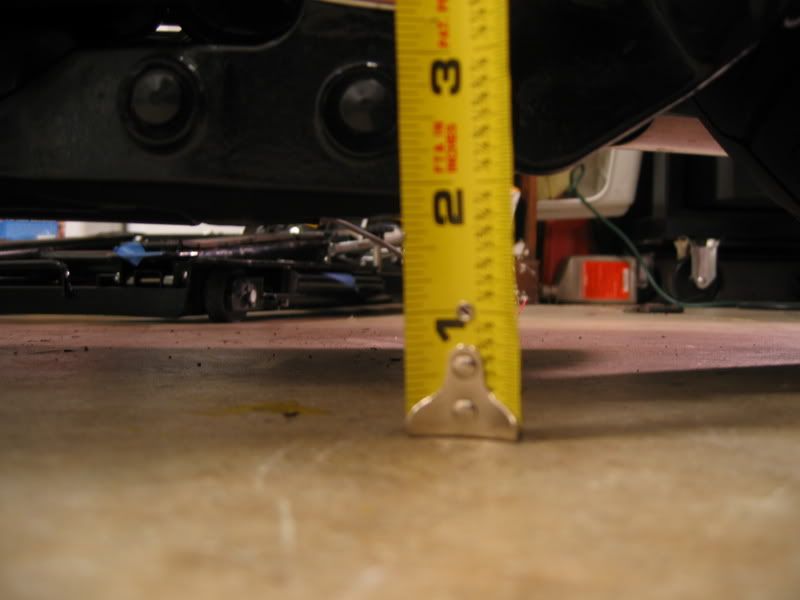
From the lowest point it is 1 7/8"... This part of the frame is just below the swing arm pivot on the kickstand side.
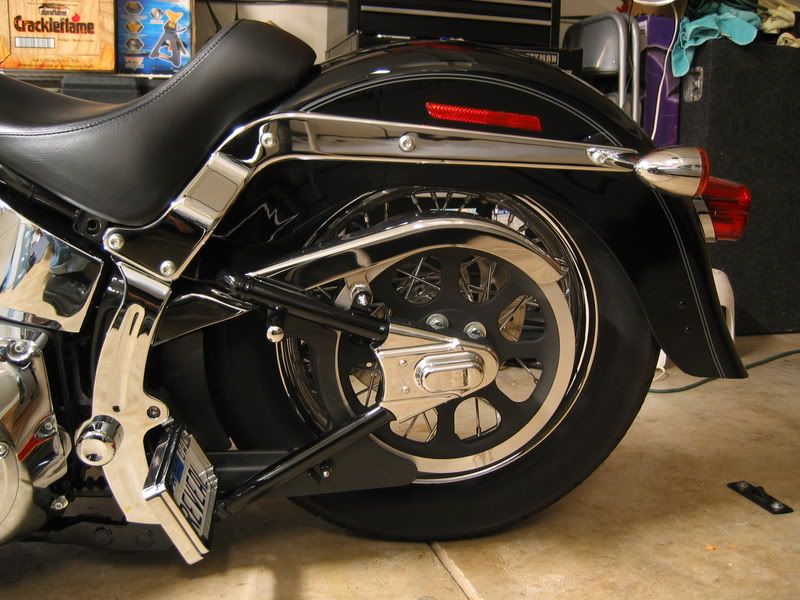
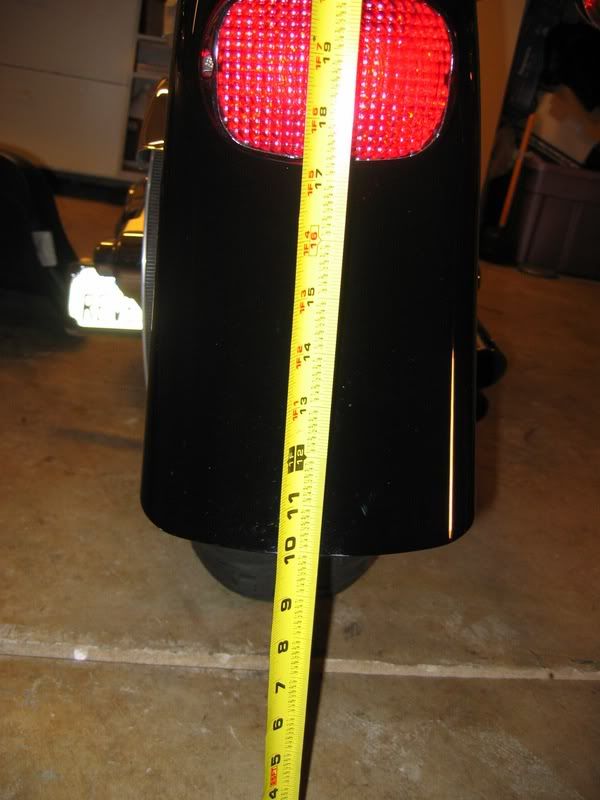
Here it is all the way down. From the ground to the fender tip it is 9 7/8"
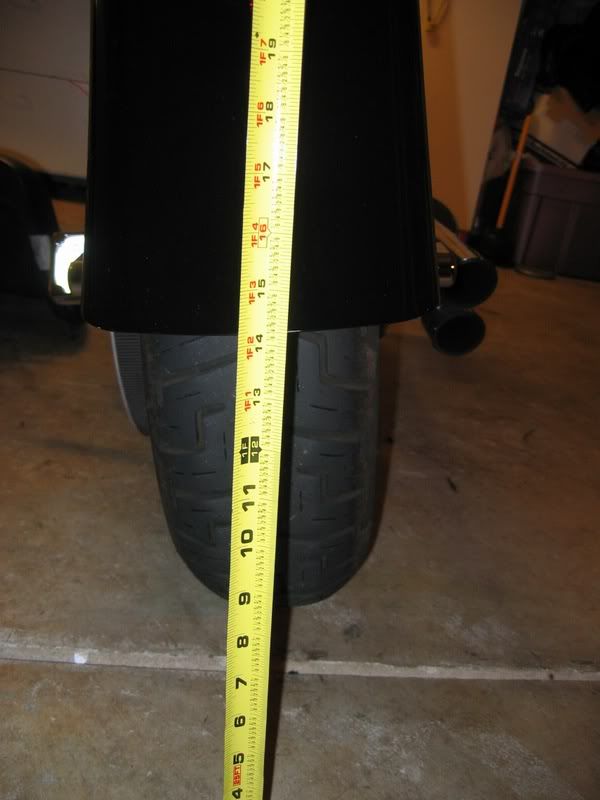
Here it is all the way up. From the ground to the fender tip it is 14 1/8". Please note I did not have the eyelet bolts adjusted all the way in, if I did it may be about 7/8" taller.
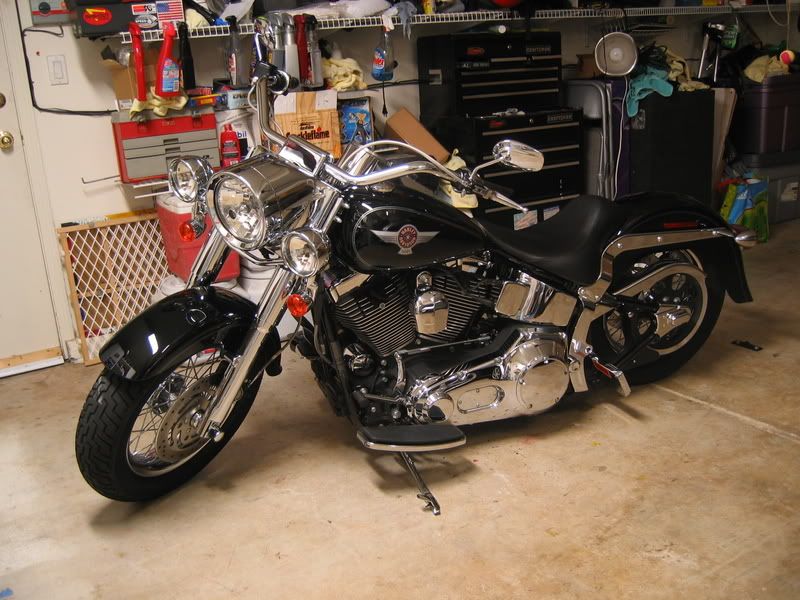
Still don't have the switch so I can't drive it to let you know how it rides. Here is a pic of the bike slammed.
I'm going to put a temporary switch on so I can test it out in the morning.
I started by jacking up the bike. I used the tie down straps for safety. I also used a car jack to move the swingarm up and down when needed.
I attached the front side first and then the back. I used the car jack to help position the swingarm mount to the SAS on the piston side. But when routing the breather tube I pulled to hard and the tube popped off. I simply disconnected the the two front bolts to back out the SAS. I took this picture to show what it would look like if I was changing the oil. Note the oil drain plug. The flat side of the SAS goes on the bottom facing the ground, this is not noted in the instructions.
Here's what it looks like all the way down with the solenoid fully open.
From the lowest point it is 1 7/8"... This part of the frame is just below the swing arm pivot on the kickstand side.
Here it is all the way down. From the ground to the fender tip it is 9 7/8"
Here it is all the way up. From the ground to the fender tip it is 14 1/8". Please note I did not have the eyelet bolts adjusted all the way in, if I did it may be about 7/8" taller.
Still don't have the switch so I can't drive it to let you know how it rides. Here is a pic of the bike slammed.
I'm going to put a temporary switch on so I can test it out in the morning.