My search for the satin chrome continues....I found myself in a familiar place, but not one where you would expect to find satin. I was once again at the HD, Home Depot that is. I read of a Clear Satin Enamel that should be sprayed onto the chrome after you scratch the hell out if with sandpaper. I half heartedly stood waiting for the young couple standing in front of my can or soon to be my rattle can of clear satin. Just as I was ready dive in with an "Excuse me". Something caught my eye. "Frosted Glass" What man isn't naturally drawn to a Frosted Glass of anything. I grabbed the can and dawned the readers to take a closer look. Hmm sounds interesting "Semi-Transparent Finish". If it's made for glass that is smooth. Why wouldn't it work on chrome? What the hell I'll give it a shot.
The couple had slipped off without me noticing. Still curious if the Clear Satin Enamel was clear or was it satin. I needed to know. I grabbed a can of it was well. Since it was my excuse to cruise the HD freely with a $25 gift card and some loose change jingling in my pocket. I set them in the cart along with the other items I couldn't live without and headed for the door. Stopped by a cashier I returned and took my place in line. My mind was obviously already wrapped in Satin...........
From the top of the hill I could see the in-laws mini-van at the house. Now I know why she said "Hurry back." I quickly tossed the items I didn't want her too see in the garage and headed into visit as fast as I could.
My decision to saved the rattle can row for last at HD may have been a costly one. Still I wasn't gone for more than 2 hours. The missing piece was not knowing when they arrived. Unsure of the trouble I was walking into. I burst into the room with a smile trying to simulate I was excited to see my two...(scratch that.)... my three most favorite peeps in the world. No glaring eyes, just a smile, and she did not pull away when I pecked her on the cheek. Cool, all good.
[
After a couple hours, well 40 minutes, maybe 25 minutes okay shortly after I sat down to visit. I was back up off the sofa and heading for the back door. I felt it coming from behind me. The reprimand always gave off a vibe that preceded the actual reprimand. To avoid the reprimand I tried the old flare tactic and threw a "Going out for a smoke." over the shoulder. She didn't bite and caught me at the door.
I wanted her to hurry so I played the child (Which she smirks at most of the time.) Hands in my pockets, eyes on my shoes, impatiently rocky side to side, nodding in agreement while she digs in. "Okay, okay... Ill be right......." out the door running before she starts her next sentence. Glancing back to see what I would be returning to. I caught her smiling. I I was good to go!
Once in the garage I found my Frosty can of enamel and started shaking if fast and furiously. I had not even reached the 1 minute mark and I wanted to stop. I knew someone that could shake it the whole five minutes�.but the in-laws. Rats! So I sucked it up and put the grimace on my face and rattled that marble ball around until my arms were going to fall off. Looking at my watch 2 � minutes had past. Hell, that's good. I mean who actually shakes it for the full five minutes, right? They probably have a paint shaking machine or something.
Wham, Pop! The lid is off as fast as I could hit it on the work bench. Something I saw my brother do and I thought it was cool at the time. I looked down and the tip was still there. Sometime it's broken or missing. Price of being cool. Pssssttttttest. (Test spray) I adjust the can so it sprayed away from me. I was ready. I heard the voice from the HD commercial say. "Let's do this!"
PSSSSSSTTTT� one pass. PPSSSTT and the second pass.
I opened my eyes to see if I hit my intended target the Cow Bell. Yes, target hit, but it looked like the cow bell was just wet. That�s it. Not Satin. Not Fogged. Just Wet. Disappointment set in�..bummer��wait what�s this��.. it�s turning, it's starting to fog up. Cool! As it started drying it went from clear to frosty or what I like to call � Satin chrome. It didn�t matter if it was sanded or bright shiny chrome. It was frosty! Okay, I was getting a little excited but now was not the time. In-laws were here.
There was more to be done. Let see how hard it is to undo. So I grabbed the aircraft stripper from the fridge where I hide the juice boxes from the kids. Place the only rubber glove on that could be found (at least it was the right hand. Yep, I am right handed.). The can had a pretty good bulge going on. So I slowly opened it ssssssssspppptt! Then for some reason I took a sniff of the stripper. I don�t know why. I am in the habit of snipping the gallon of milk before tipping it back but paint stripper? Nostrils burning, eyes watering, and me thinking Dumb ***. Luckily I already had a clean rag in my hand that I buried my face into. I held it there as if was soaking up the pain and not just the tears. "Oh **** man, that burns!" I exclaimed. When I separated the rag from my face and wiped the tears from my squinting eyes. I could still see, blurred but what new. That will have to do. There was no time to waste. I forged on through my pain.
I put a little stripper on the rag and dabbed it onto the test piece. I let it work for long 40 second and wiped it off. After rubbing my eyes on my shirt sleeve I took a look but with my already blurred vision now a little more for the worst. I could not tell so I picked it up to get a closer look at the outcome. As I inspected the cow bell I saw no signs of damage to the chrome from the paint stripper. At first it was just a warm feeling on my fingers that quickly became a burning sensation in my hand holding the cow bell. Great why not join my eyes, nose, throat, and chest. Dumb ***. I moved the cow bell to my gloved right hand and put my readers on to get a better look. Yes, Dumb *** again is correct. What started as a warm feeling on my left ear soon turned into burning sensation.
With the grimace on the face I move forward in my urgent test. All the planets were lining up just right. The Frosted Glass spray was working great on the chrome. I checked that it would come back off okay without damaging the chrome. What else did I need to check? Oh yeah, my nuts, did I still have them or were they still in the ole ladies purse?
It was going to take some ***** to do what had to came next. I was about to face something far worse then the Lad in Old Yeller did.
The Single Flush Mount Fuel Cap from Harley Davidson
While Gee looks for his nuts let's take this time to put a cap on his post #68. Flush Mount Fuel Cap that is. While the dealer had a single flush mount cap in stock it was missing it's trim ring. I was given the choice to take that one when the trim ring arrived or wait another week until new one came in. Being the patient man I am I choose option #1.
Simple install:
Unscrew the old (make amends with those you have done wrong to in the past), screw in the new (make a list of those that you will need to make amends to in the future). Place the trim ring around the new flush mount cap (Group Hug) and turn it until it is at it's has the least amount of gap (Flat as a board) all the way around it. Make a mark if you put tape down or just eye ball it. Remove paper from the tape on the trim ring and place it back onto the tank. Apply pressure to the trim ring for 30 seconds and look to see if you got it in the right spot. If it's a little off your only choice is to convince yourself it isn't. Which mine isn't off. It isn't off. It looks good. It isn't off. It is flush all way around, flush, it's flush, I say. IT IS Flush!
You may need more or less convincing on your own tank. Individual result will vary.
I will never be 100 percent sure but I do think at this time. I may have the only 2018 Fat Boy tank that looks like this. All modesty aside. I think this is a good example of making it your own.
Presenting the one, the only (so far) 2018 MoCo/Flush Mount Fuel Cap Fat Boy Gas Tank.
They are not identical twins.
Looking at the size above the tank it looks like they are pretty close to the same height.
I was never a fan of the large fuel caps that were on the bikes. The dual caps had style and could confuse the neighbor kid that might try to steal some gas out of the tank. The flush mounts have more appeal to me.
Disclaimer: As Buckwheat from “Our Gang” had plagiarized.
“All Living matter: In science, living matter, as compared to dead matter, is an oft-used defunct term referring to matter that is alive or in possession of the properties of life.”
Plagiarized (Stolen) From: The 1957 Energy Transformations in Living Matter, by Hans Krebs, Hans Kornberg, and Keith Burton, the first book on the thermodynamics of living matter.
Not to ride Buckwheat's coat tail but "Right on Man!"
I had the flush mount fuel gauge and filler on my old Dyna Fat Bob - and I could never quite convince myself that the filler cap was 100% "flush" with the trim ring......but I just got used to it.
I need to get the flush filler cap for the new Fat Bob. It'll be asymmetrical as there's no fuel gauge any more, but I am OK with that....
Hey Gee, I want to take you back a bit to your windscreen install. How does it ride? I was checking out another thread where most of the people getting a windscreen also find they need lowers to offset the vacuum created by the windscreen. What's your take at highway speeds?
Mike, I would say the small screen I have on is just the minimum but a must for any freeway or highway speeds travel. My daily ride is across town. For the times and distances I see myself traveling on the freeway. I think the small shield with do the trick for me. If I was on the freeway everyday. I would invest in the lowers and also some soft lower for the crash bar. I am sure they improve the ride at those speeds and with the weather getting colder. They've got to help by just keeping more wind from hitting you directly.
ADM, Both of the flush mount caps I had that included the fuel level display all failed. The display stopped working all together on one and the other display always showed the same level no matter what amount of fuel was in the tank. I was glad that I didn't need to spend the money for the two cap setup. With only needing the one flush mount it saved me 130.00. I have grown accustom to using the odometer for gas status since I've had tank lifts on all my bikes as well.
Disclaimer: (upon the wife's request) Everyone, I would like to add that the Buckwheat quote is not, should not, or could be, a racist quote in any manner or form. That quote is something I made up because it's just damn funny. It is intended to make everyone no matter race, religion, sexual orientation, or grade level of reading to smile. If anyone should think that there was any other intent. You are required to go back and read this entire thread from the beginning. End of disclaimer. Maybe Not, yeah enough said. To Wife: Happy Now?
When we left for the flush mount infomercial Gee was still in his shop in search of something. We return you to that moment in time.
With one hand on his crotch Gee was happy to find that what was going to needed to still be with him. You see a lover of chrome he was.He bought the Chrome Oil Cover just for that reason to add more chrome to his bike and now he was thinking about giving it a frosty.There was a hell of a lot of inner turmoil going on and the struggle between chrome and satin was not easy.In the end the sacrifice would be made for the greater good of all mankind.He was going to do it.. Being low on time the some what comical process that followed the painting of Oil Cooler Cover that weekend has been left out so we may get you back to your regularly schedule programs.
Wejump ahead and provide the photos for you to enjoy and you can add your own story to the pieces if you wish.
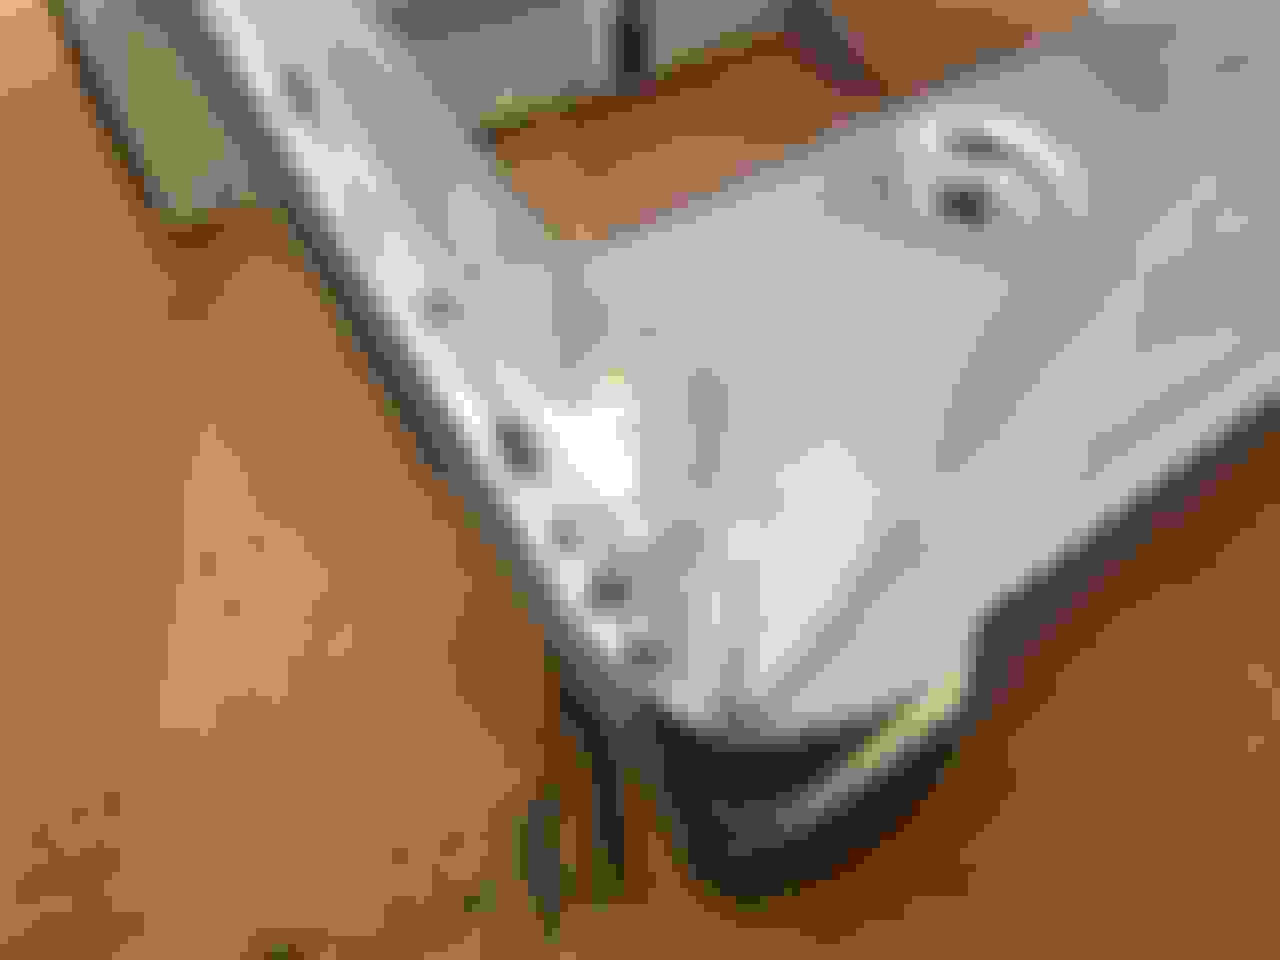
Spraying on the first coat of the frosted glass. As it dried it became more of a satin finish on the chrome piece. No scratching of the chrome was done nor was any primer applied.
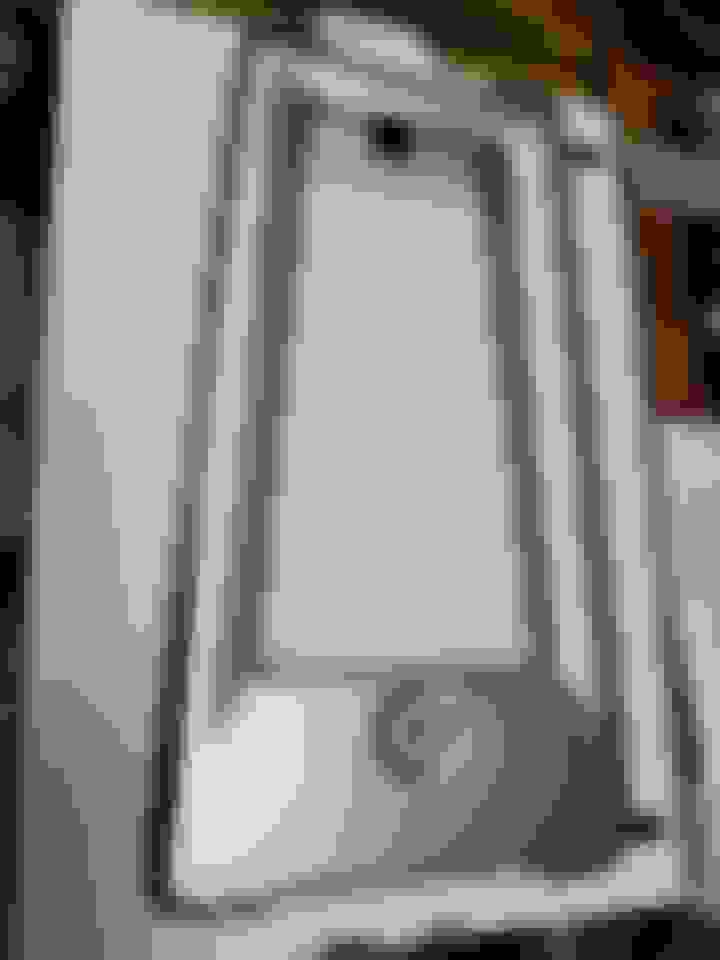
This is 2 coats on the Oil Cooler Cover.
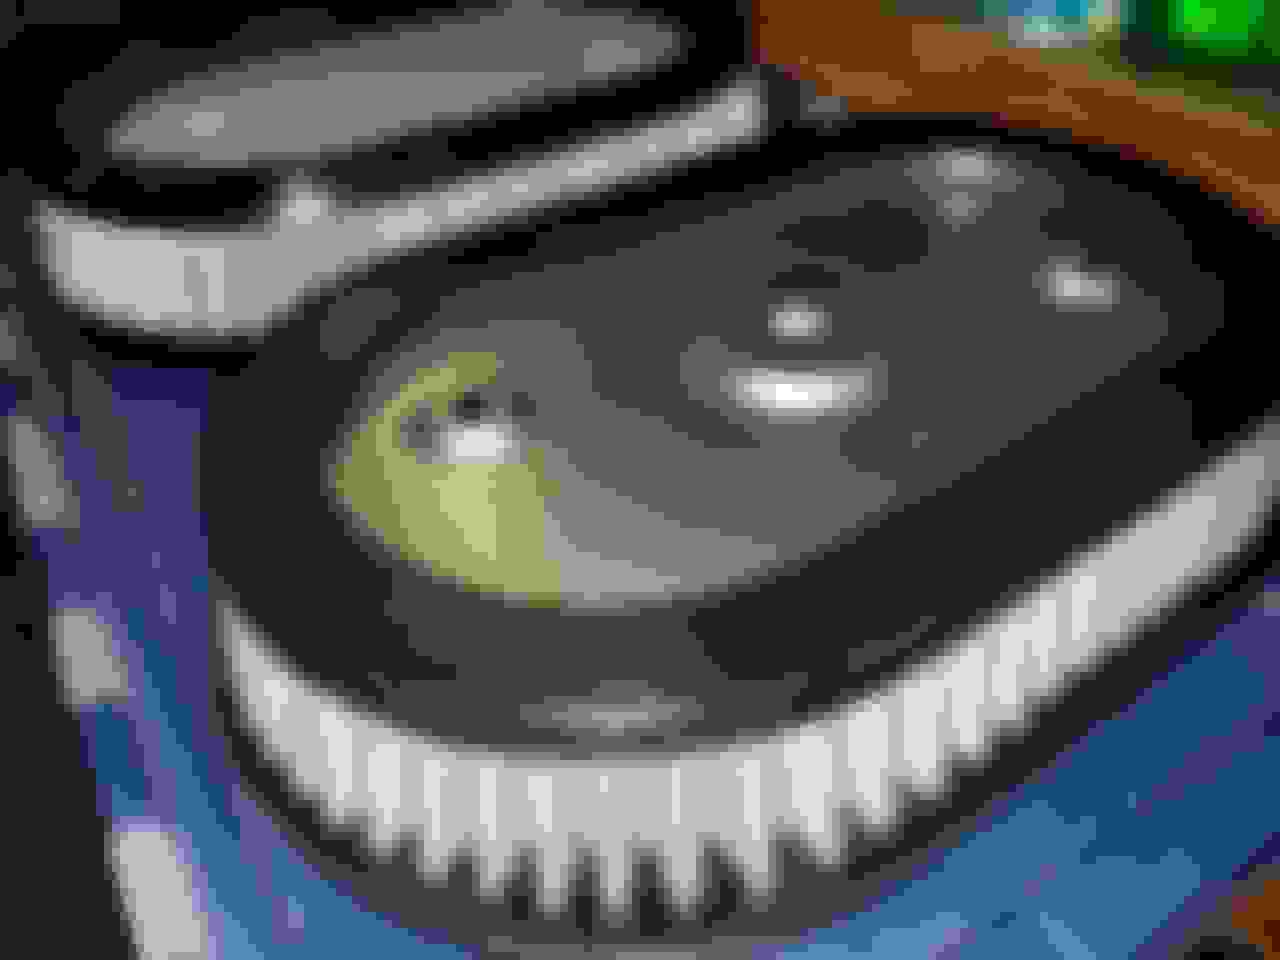
In all I believe I put four coats on the Oil Cooler Cover. The photo below show the piece installed and how close it resembles the satin chrome the Fat Boy has on it�s heat shields. It just depended on how the light was hitting it.
Only time will tell how it holds up. It seems most items that one would paint. Would either require a primer or for the surface to be roughed up first.Neither was done on this piece.
Ordered A FP3 and some DKCustoms TTI after the K&N Filter install
Hey Nice work. Looks pretty close to the Satin Chrome. You have some pictures that show the whole bike with the Satin Oil Cover on it.
Thanks.
Uh.... Yeah but I.... I can't show them to you yet because I am working on something that may not work and if I posted picture of it I might look stupid. So I am going to play catch up in the next couple of post and get you some as soon as I can.
Got my High Flow K&N Filter in so with the installation of that and the Screamin Eagle II Slip-ons. I ordered a V&H Fuelpak3 on Monday. Should be in by the end of the week. I wrestled with which one to get in the end. I've never went much farther than the Stage I on my bikes. With the 114 I am happy with the engine and if I decide to do some work on the engine past the stage I will get a unit that can work with those mods. Until then I wanted the blue tooth and information on the phone features that the FP3 has.
There are no maps currently available for the 2018 Fat Boy. I will be running it in autotune mode. With it an some of the DK Custom Thunder Tune Inserts. Hope I got that right. I am hoping to get some of the low end torque back that I sacrificed for the Harley sound.
2018 Passenger Foot Pegs and Install of Switch Blades
Continuing the fast pace of catch up time. We "step" right into the 2018 Passenger Pegs and how they are different and the hell I went through for my little women's happiness.......
But first I'd like to share with you a purchase I made for my last bike that have allowed me to almost always find a bolt or nut for my bikes when I need one......
I purchase a complete kit of stainless nuts, bolts, and washer from the company in the picture below for my last bike. All though I did not replace every bolt on my old bike. I did replace them whenever I removed the stock bolt from the bike. It was a small investment and I continue to reach for the container that has all these bolts still in it when ever I am needed one. They have came in real handy and do not rust and look good on the bike. As you can see they separate the hardware out by component making it easy to located what you need. Something to look into......On with the post.
The 2018 Fat Boy has all new foot pegs. The new foot peg mounts are much larger if not twice as large as previous models. The new 2018 pegs also have stop points (folded up or down for use) controlled by a ball and spring built into the peg itself.
The wife endures a rare condition that I cannot spell nor have I ever pronounced correctly. So I will not attempt it here because I can’t get it close enough for google to understand what I am trying to search for. It mainly affects her feet at this stage where she is constantly in pain and heat only makes it worse. Since the stock peg pretty much sit right on in the middle of the exhaust. I needed to come up with a way to get her foot pegs mounted so she can get her feet away from the heat.
I removed the stock peg and after a few different ideas didn’t work out. I decided to go the KISS (Keep It Simple Stupid) route. I simply took some of the star type lock washer and a 5/16 bolt and bolted the switchblade foot rest. I just used the one side of the bikes peg mount. The bolt needed to extend through both holes of the peg mounts for stability. I will add a chrome acorn nut to the end that is sticking out. I added the star lock washer on the outside head of the bolt and one on the inside of the bracket. Crank the bolt and nut together to keep them in the upper position until needed. The next problem to address was when you put the peg down for someone to use. It would not make contact with the inner peg mount and stop. It just flopped over like a limp di…chicken neck pointing towards the ground. I drilled and tap a #8-24 hole into the peg mount and added a screw to take up the space and get the peg stop drooping. Adjusted the screw until It stop parallel to the ground.
I haven’t stood on it like a passenger would to get on to the bike. The wife volunteered to test if for me. She’s such a trooper.
Those two air filters look basically identical (apart from the extra hole in the HD one)! I expected the K&N one to be the typical red colour.
Do you know if there's actually any difference between the filters - i.e. is the HD OEM actually a true Stage 1 element? Or does the K&N definitely flow more air?
I was thinking about getting a K& filter for mine when I get some slip ons or a pipe - but if they are basically the same, then I won't bother....
Gee, there has been a lot of discussion about our 114s basically having a high flow AC from the factory, but according to these dyno results from DK there is a big impact from swapping to a true high flow set up or at least a less restrictive back plate. Not sure your new filter alone is giving you all you'll want. SE has a high flow plate for our factory AC.
 10-16-2017, 03:10 PM