Test on the bike you are going to ride. Practice . Never made since to me when people use some little bike because they think they can't pass on their own bike.
Yeah, I get your point and agree, but at a certain point physics just won't play nice. I'm not sure with a 160 front/240 rear tire on that wheel base with that lean angle it's possible to run the lines that course tests. Electra Glides are big but the police bike in that video has a 33 degree lean angle (minimum) on much narrower tires. Mastery matters, but so does reality.
Yeah, I get your point and agree, but at a certain point physics just won't play nice. I'm not sure with a 160 front/240 rear tire on that wheel base with that lean angle it's possible to run the lines that course tests. Electra Glides are big but the police bike in that video has a 33 degree lean angle (minimum) on much narrower tires. Mastery matters, but so does reality.
They do have one more intermediate class next weekend then they are done till spring. I may do it. Even if I do know everything about riding It never hurts to refresh what you don't know. With the class you get to use their small bikes plus you get two attempts at passing the course for 125.00. vs just taking the test at 50.00 each attempt. I agree with both points of view. The bike you are on is the one that you will need those skills with. Dodging 5 eggs in the parking lot 12 feet a part and so on. You need to feel comfortable on you bike and have confidence in yourself and your bike. I had neither going into the test yesterday. I set myself up for failure before I even got their. I am sure I would have passed it had I used the switchback I had been riding prior to the fat boy. I have a couple days to decide. If I do the course and take the test then I don't run the risk of getting a ticket riding after dark with the riding permit also. With the days getting shorter it will not be much longer until the ride into work and the ride home will both be in the dark. I am sure I will learn some good stuff in the class and refresher on what I do know isn't a bad thing.
Thanks for the comments and insight with your experiences. All helpful information.
I vote for the class. Always good to drill up the skills. It'll all contribute to your new ride.
Yeah, I get your point and agree, but at a certain point physics just won't play nice. I'm not sure with a 160 front/240 rear tire on that wheel base with that lean angle it's possible to run the lines that course tests. Electra Glides are big but the police bike in that video has a 33 degree lean angle (minimum) on much narrower tires. Mastery matters, but so does reality.
When I went to DMV with the breakout people looked at me like I was an idiot. Knowing how to use the clutch and brake, ( friction zone ) is key. I watched a kid dump a little 250 right before I went through the course. He was a trying not to fail by placing his foot on the ground to the point that he fell. ( that was really stupid ) . Little practice and the op will be fine. Know your bike, a better way to go. Jmho. Safe riding everyone!
Well that was a real drag. I had this all type up and was proofing it when the HD Forum stopped responding. Bam lost it all. I put it in word and copied it this time around.
I believe I mentioned something about a flush mount fuel cap for the dummy side of the tank earlier.
As one vulture said to the other…. “Patience my ***! I‘m going to kill something.” But in my case it is more like “I’m going to try and make something”. I must have something of a patience problem with flush mount fuel caps. Back when I had my 06 Low Rider I looked high and low for a dummy flush mount fuel setup and there wasn’t any out at that time. So I went about finding something that would work in the meantime. I ended up using a tennis ball cut at certain spots to fit inside hole on the left side of the tank. I could then screw in the base of the vented fuel cap into the holes in the tennis ball and it was held tight and looked like it was meant to be there. The thread is on the forum somewhere but the photos are still being held for ransom by Photobucket.
The tennis ball wasn’t going to cut it on this hack job although I was eyeballing a racket ball I found. I needed something that would provide a dome shape. I bought a MoCo decorative medallion because it’s the logo I like from the decorative series and it has a center ring that might give the appearance of an actual pop up fuel cap.
Under the dummy cap on the left side of the tank there is no longer a hole. It is now just a recessed area and the taped on bung (that’s what I am going call it anyways) for the fuel cap to screw onto. It is not a bung hole it’s more of a bung recess now. The bung can be removed with some fishing line and adhesive cleaner but if my experiment does not work. I thought it would be easier to get the bung out and put a new one on vs removing the epoxy putty from the panted part of the tank below the bung.
Why the epoxy putty? Well they already have the 3m tape installed under the cap but it is domed shape so I used the epoxy putty to create a surface that matched domed area of the cap so the tape had something to hang onto.
Okay to back up a little here before I did anything with the putty I taped the area of with masking tape for a little protection and for a place that I could mark the orientation of the MoCo cap onto the tank. The initial test fits showed that the bung was in the way of the MoCo cap from sitting flush against the tank. So I took the Dremel and a grinding stone and removed some of the bung. Once I got it to where the MoCo cap was flat. I started put the epoxy putty inside the bung area and heaped it up a bit. Then I placed the cap onto it when and pressed down to get same dome shape.
On my Mustang I have a few areas that water will get up into. If don’t blow the water out of those areas. It finds it way out and down the car leaving what can best be described as a slug trail. Black cars look cool but boy they are a lot of work to keep them looking clean. So I am trying to avoid the slug trail coming out of from under the dummy cap. I put the cap down and ran a coat of Vaseline all around outside of the cap and on to tank. In the event I fumble the final install or if the glue I am using for a sealant around the bottom gets pressed out it will make for an easier clean up.
I had some E6000 glue on hand and it dries clear and levels itself. The other places I have used it remains to be effective and is flexible and water does not effect it. I put some in a syringe and used the syringe to lay a small bead all the way around the inside bottom of the new cap.
The final placement of the cap went smooth. No fumbling of the cap or a bunch of glue coming out from around the bottom of the cap. I taped it down to let the glue cure for a while but I was too anxious to wait the recommended 24hr cure time. I couldn't stand it I had to see it without the blue tape.....
I may be a little biased on this one but I think it turned out looking "Swell" as the Beaver might say. It’s sitting down flush all the way around it and that circle on the design give it the look like the might be a pop up cap right there. Let’s just say that I am happy enough with it that I went ahead and ordered the single flush mount fuel cap for the right side of the tank.
A couple day time picture that show the flush a little clearer without the shadows from the darkness interfering in our fun......
Disclaimer: Individual result will vary for the POV crotch shots. Consult a veterinarian or physiatrist should you find your self coughing up hairballs, crapping in the sandbox, feeling the overwhelming urge to sniff everyone crotch, humping someone's leg or teddy bear, and/or dragging your butt across the carpet while naked.
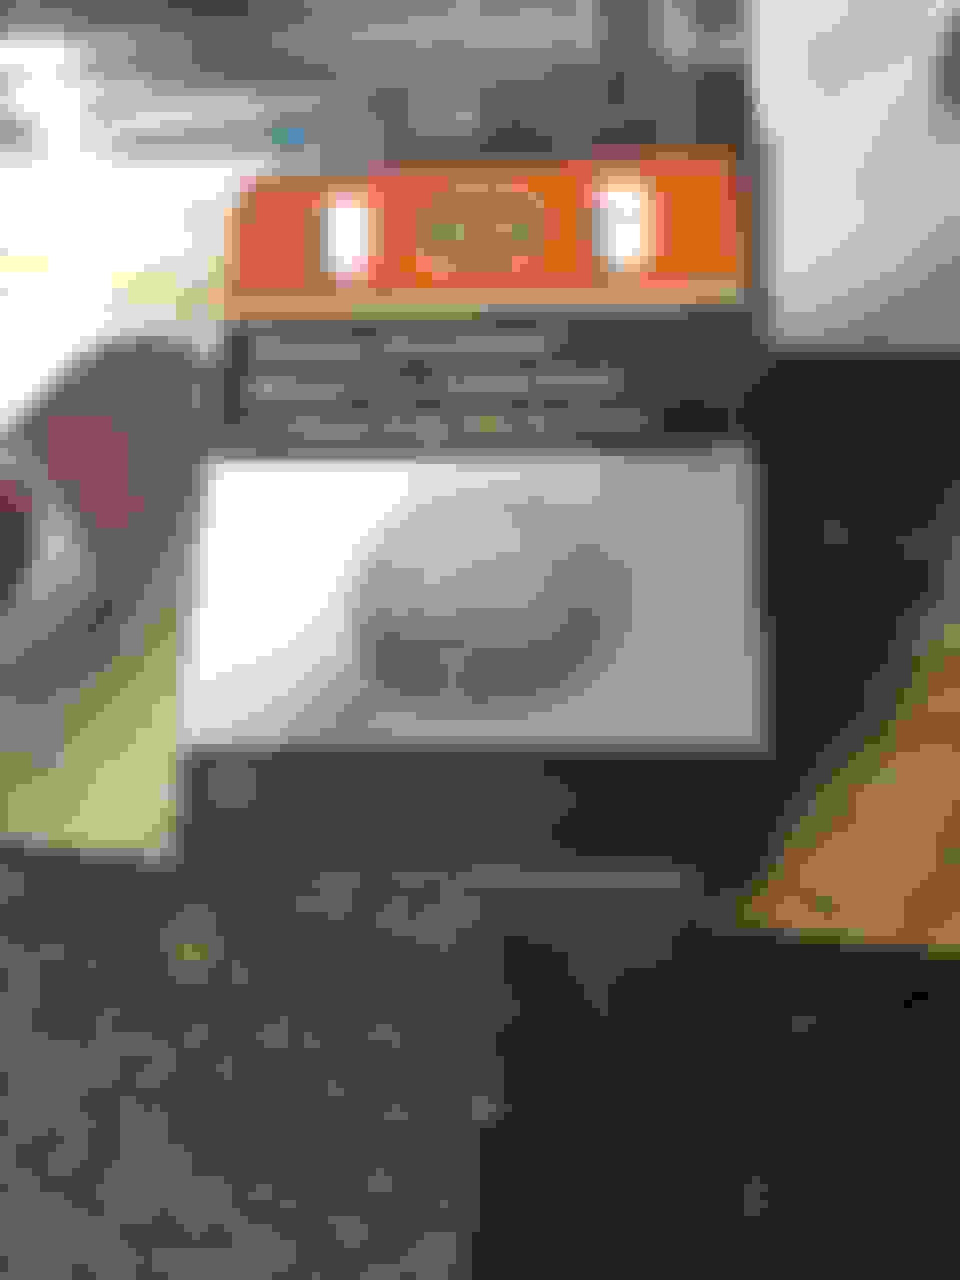
Installed Third Brake Running Light LB14 on the 2018 Fat Boy
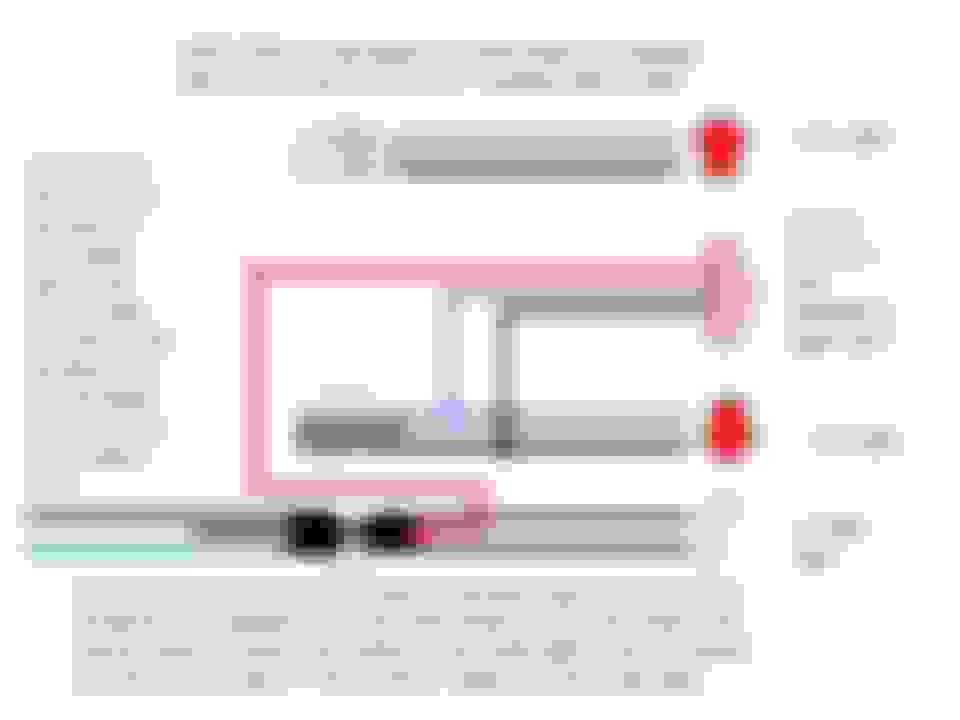
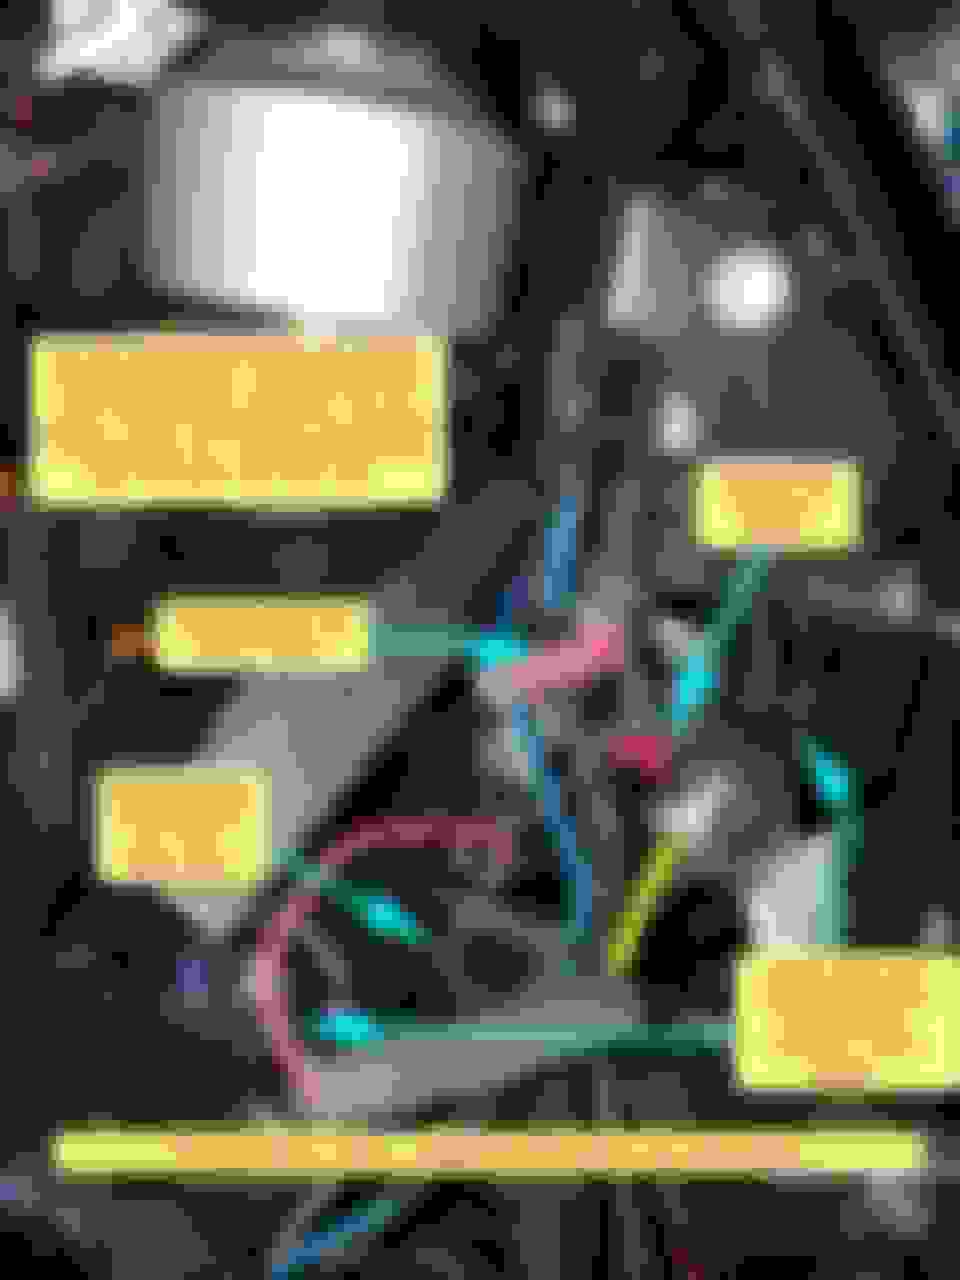
I received some part on Saturday and one of them was the LB14 LED light from Custom Dynamics. I did a quick install of the lights for now and will reroute the wires with the other the next time I have the fender off. Here some photos of the install and an updated wire diagram due to where I found the blue/red wire to tap into for the brake light.
Thanks. Sharing idea's are a part of the game here. After reading puttnutt24's thread I am switching my grips to the Avon memory foams. I bought the heck can't remember the name of the one's I bought now....Airflow grips (had to go look them up).
I must squeeze the tank like a scared barrel rider with my thighs or something because the tank gets rough up in that area. Had them on the FLD and it helped keep that part of the tank from getting messed up. Not the best of clear protectant on the new bikes.
I unfortunately was cursed with my Mother's thighs and my Dads sense of humor. Which hasn't been real helpful. keeping my thighs open as a guy has been a waste of time and making jokes about the boss hasn't panned out yet. There's still time though.
EricRay there seems to be a pattern in you life. All nice bikes. I do like your current one I must say. I can't help to notice the resemblance between your first bike and the current ride. By chance did you marry someone that may be similar to one of you grade school teachers. If so I would be a little more envious. You lucky Dog.
that is right where my tanks paint is wearing through, 09 with 70000 miles. I love these pads and thanks
 10-08-2017, 10:03 AM


 It never hurts to refresh what you don't know. With the class you get to use their small bikes plus you get two attempts at passing the course for 125.00. vs just taking the test at 50.00 each attempt. I agree with both points of view. The bike you are on is the one that you will need those skills with. Dodging 5 eggs in the parking lot 12 feet a part and so on. You need to feel comfortable on you bike and have confidence in yourself and your bike. I had neither going into the test yesterday. I set myself up for failure before I even got their. I am sure I would have passed it had I used the switchback I had been riding prior to the fat boy. I have a couple days to decide. If I do the course and take the test then I don't run the risk of getting a ticket riding after dark with the riding permit also. With the days getting shorter it will not be much longer until the ride into work and the ride home will both be in the dark. I am sure I will learn some good stuff in the class and refresher on what I do know isn't a bad thing.