Hope this is in correct forum category. New to me machine that has not run in 10 years. Wanting to replace fork seals and bushings. Am having issue removing fork tubes from triple tree on 87 FXRP. Pinch bolts are on inside of lower triple tree bracket and won't loosen tube and there are no pinch bolts on top bracket. Have removed bolts, hammered screwdriver into crack, threaded bolts through back of bracket to push against a washer - no joy - must be missing something. Is there special tool for this?Are these forks oddball? Anyone have any advice? My results - broken screwdriver, washer with hole pressed in it. Pinch bolt will thread through back but no spread joy.
1. Do you have a factory service manual for your bike and following the procedure for fork removal?
2. I am pretty sure you need to take the top caps off before the tubes will slide down. Someone will correct me if I am wrong.
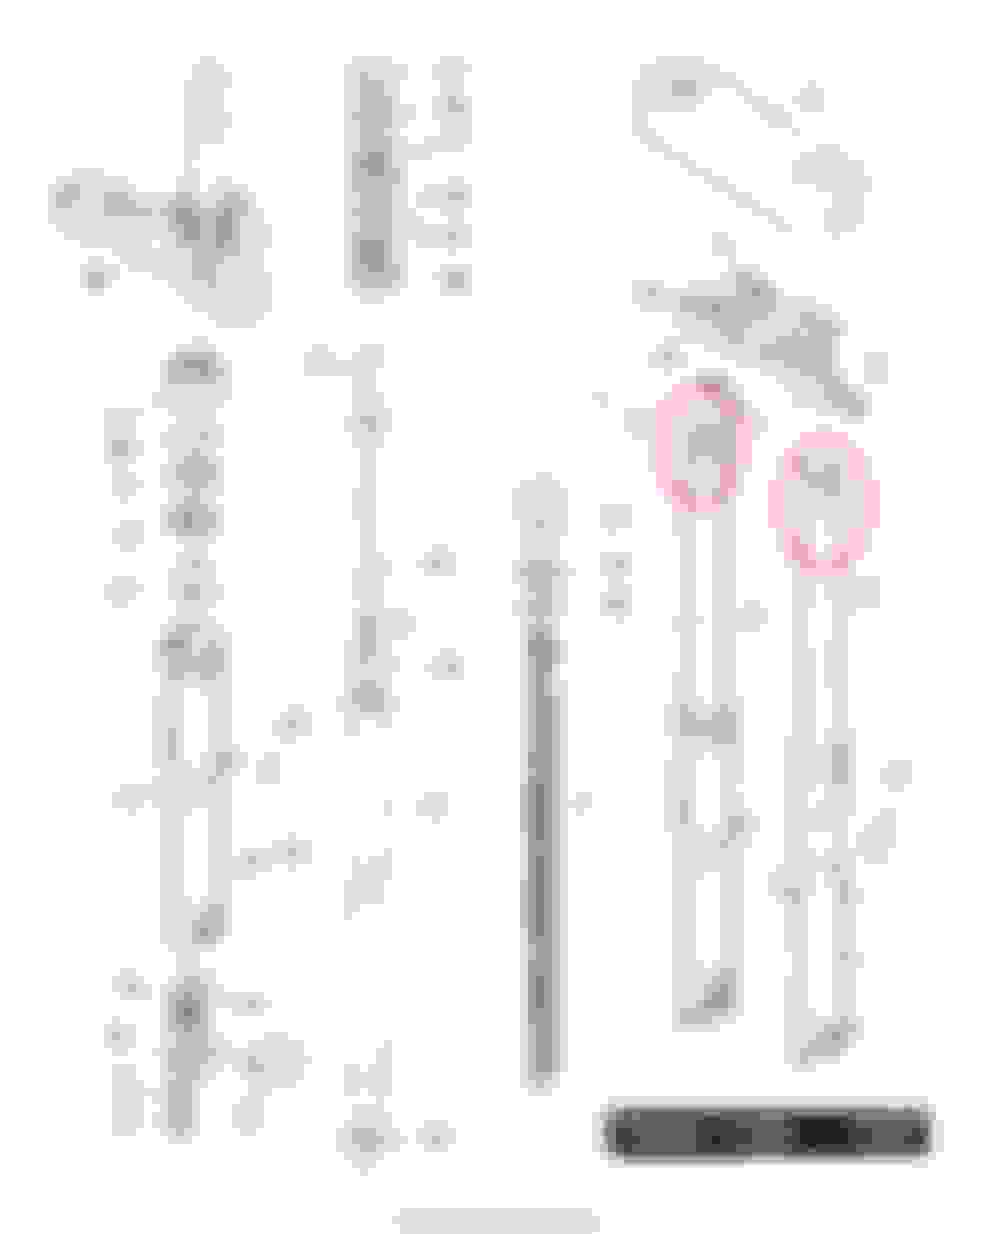
3. Tubes are tapered at the top and the caps hold them in place. See diagram.
Thanks CoolBreeze for the quick reply and the drawing is helpful. I do not have a factory service manual and am watching on ebay for one. I get overwhelmed with the amount of detail and variation and am amazed with how little I know about this bike. Take care.
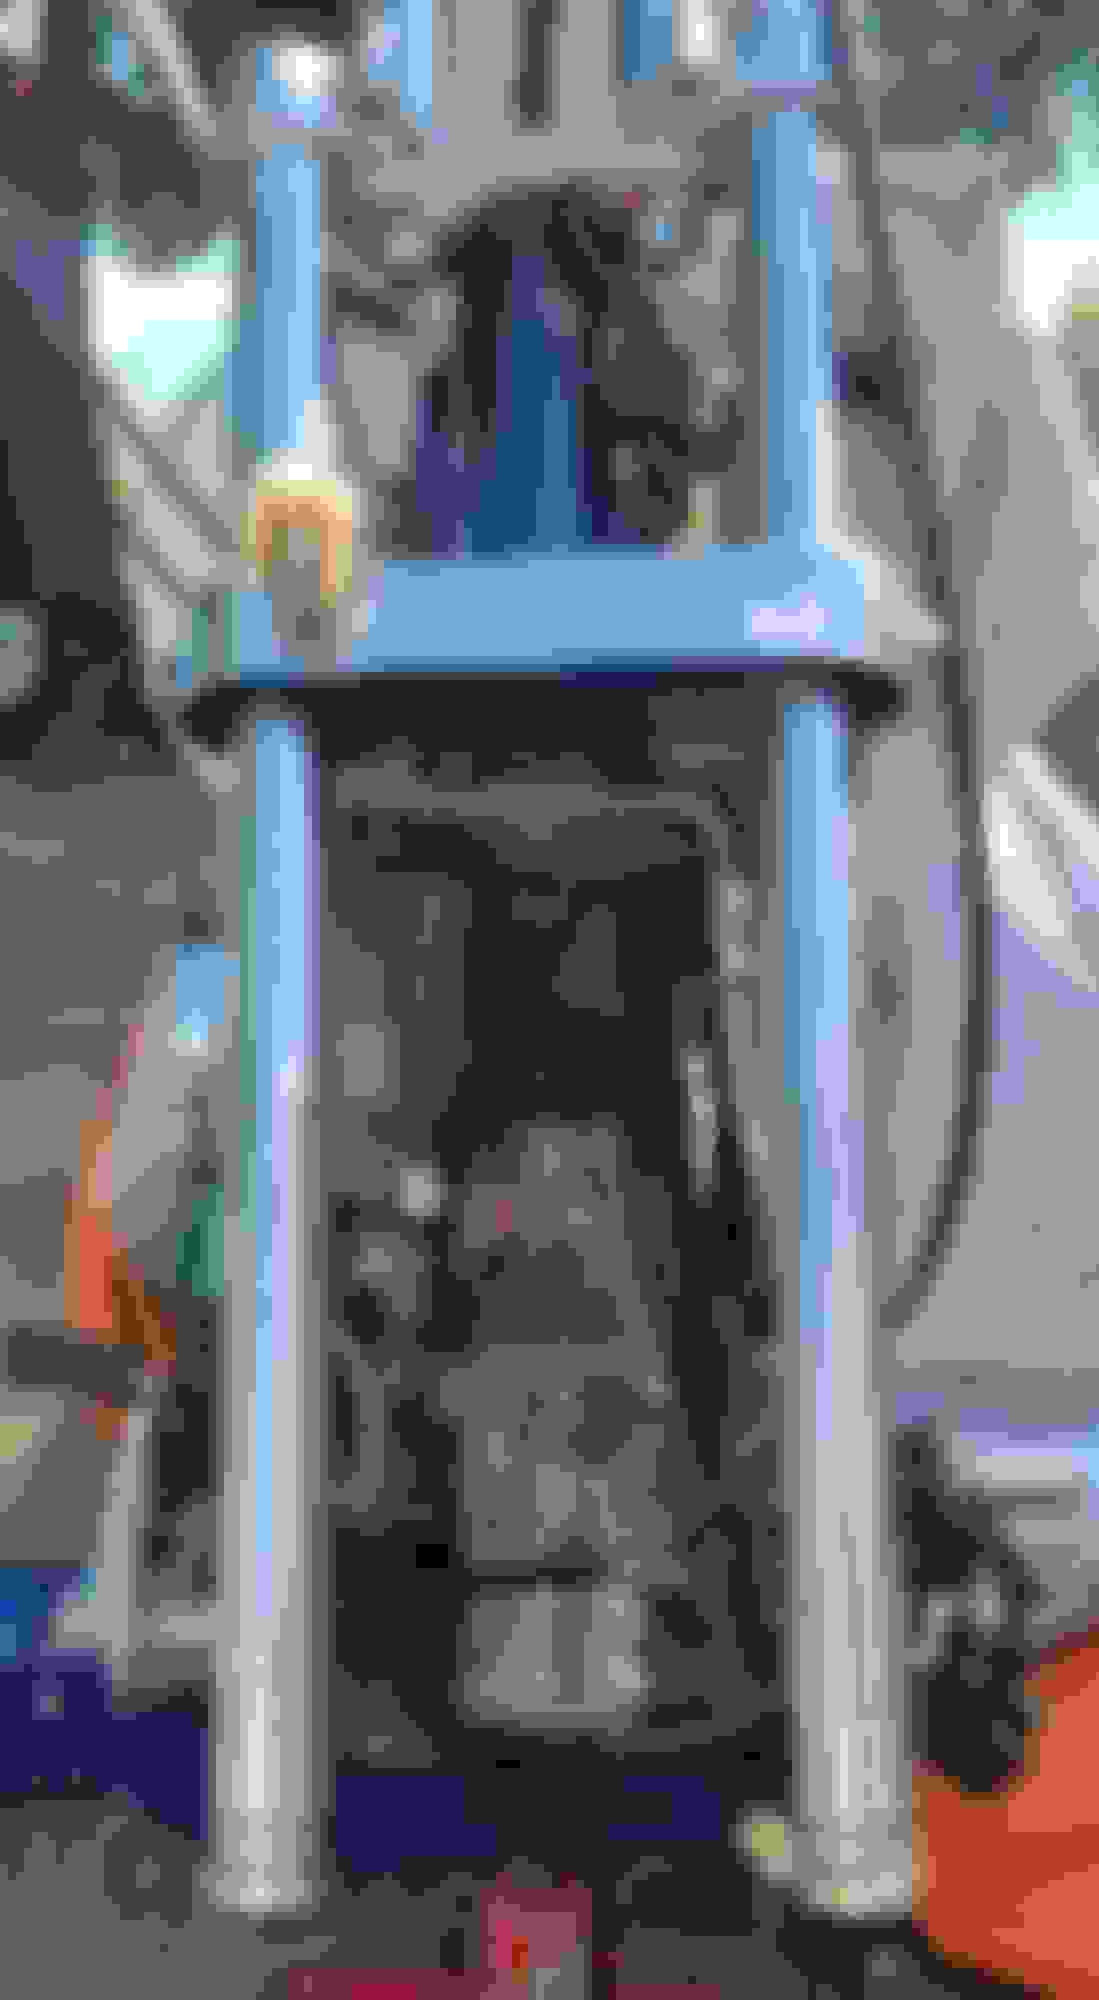
CB has it right, take the top cap off. Keep in mind that cap is holding the spring, it will "pop" off so be prepared or it will shoot across your shop. Shove a flat blade screw driver into the slot on the lower tree to open it up after removing pinch bolts. You can scratch the tubes if you do not wedge them open. And if they have never been removed, it may still take some muscle, they like to rust together.
All of that said, you do not need to remove them to change the fork seals. Just remove the lower legs.
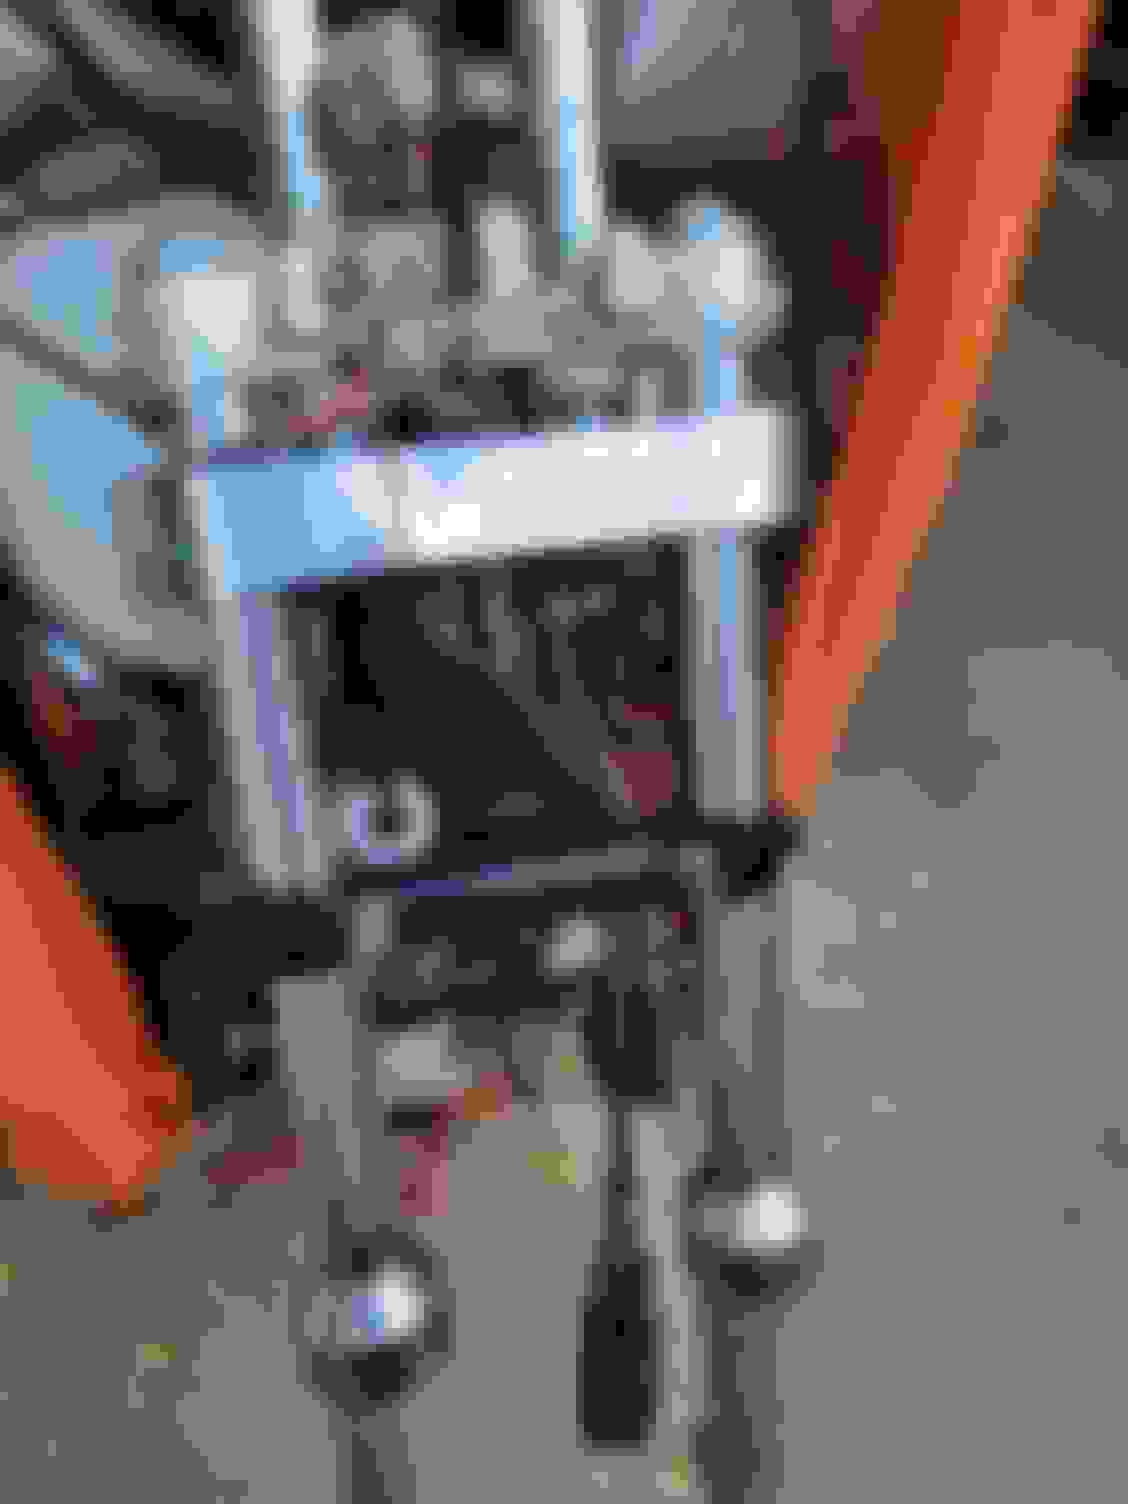
Thank You Guys for the replies. This is where it's headed. I guess I don't have current capacity to remove tubes from triple tree. This is my first fork job and so far about par. The first bolt at bottom came out with a couple of rattles on the 20 volt Dewalt impact. The second one the impact wouldn't budge. got set up with the breaker bar and gave the impact one more try and it spun the allen bit inside the bolt head so had to drill that out WTH. One side the little collar hasn't come out (yet).
The tubes get surface rust from water getting trapped between them and the trees. The lower trees have slots, you need to shove a flat blade screwdriver up into the slot and bang it in with a hammer, get the slot to open up. Before that, spray the tubes and the trees with oil/rust releaser of your choosing, WD should do the trick. Then start rotating the tube, hopefully she lets go. One of those rubber strap wrenches would help if by hand does not happen.
If she still won't give it up, put the top cap back on the tube, but only thread it in half way. Wood block, BFH and convince her it is time to move. A friend to hold the bike would be helpful for that operation.
Sometime we have to get caveman on the older bikes, good luck.
From a couple of years ago, doing similar job on my '91 Sporty. I was actually changing the tubes to new, decided to refresh all the internals while I was there.
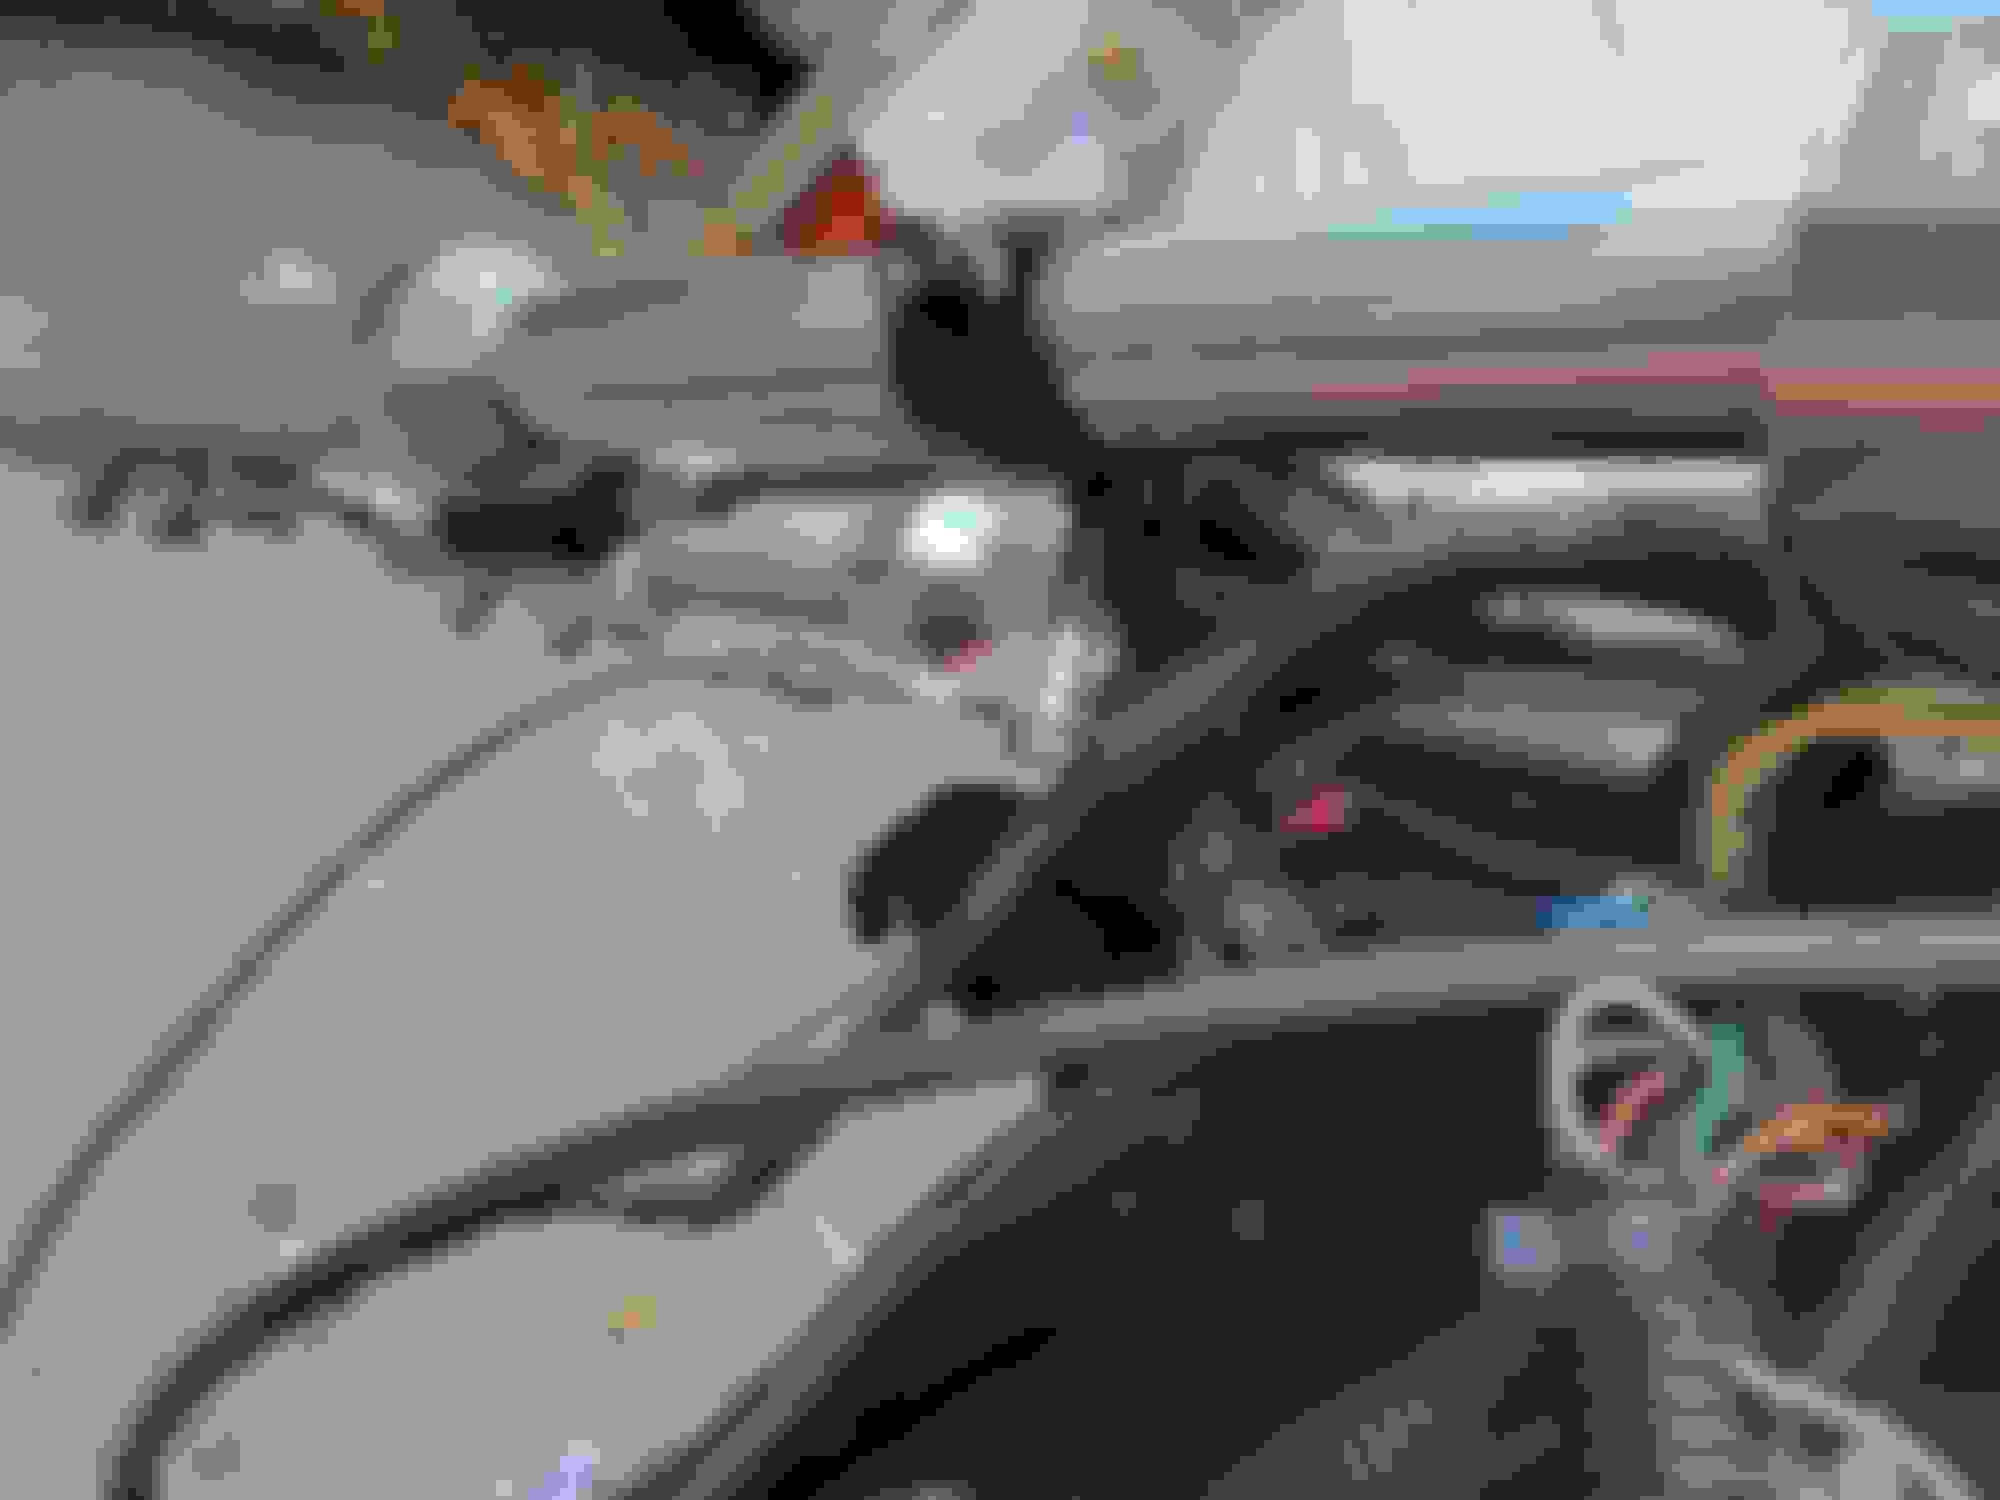
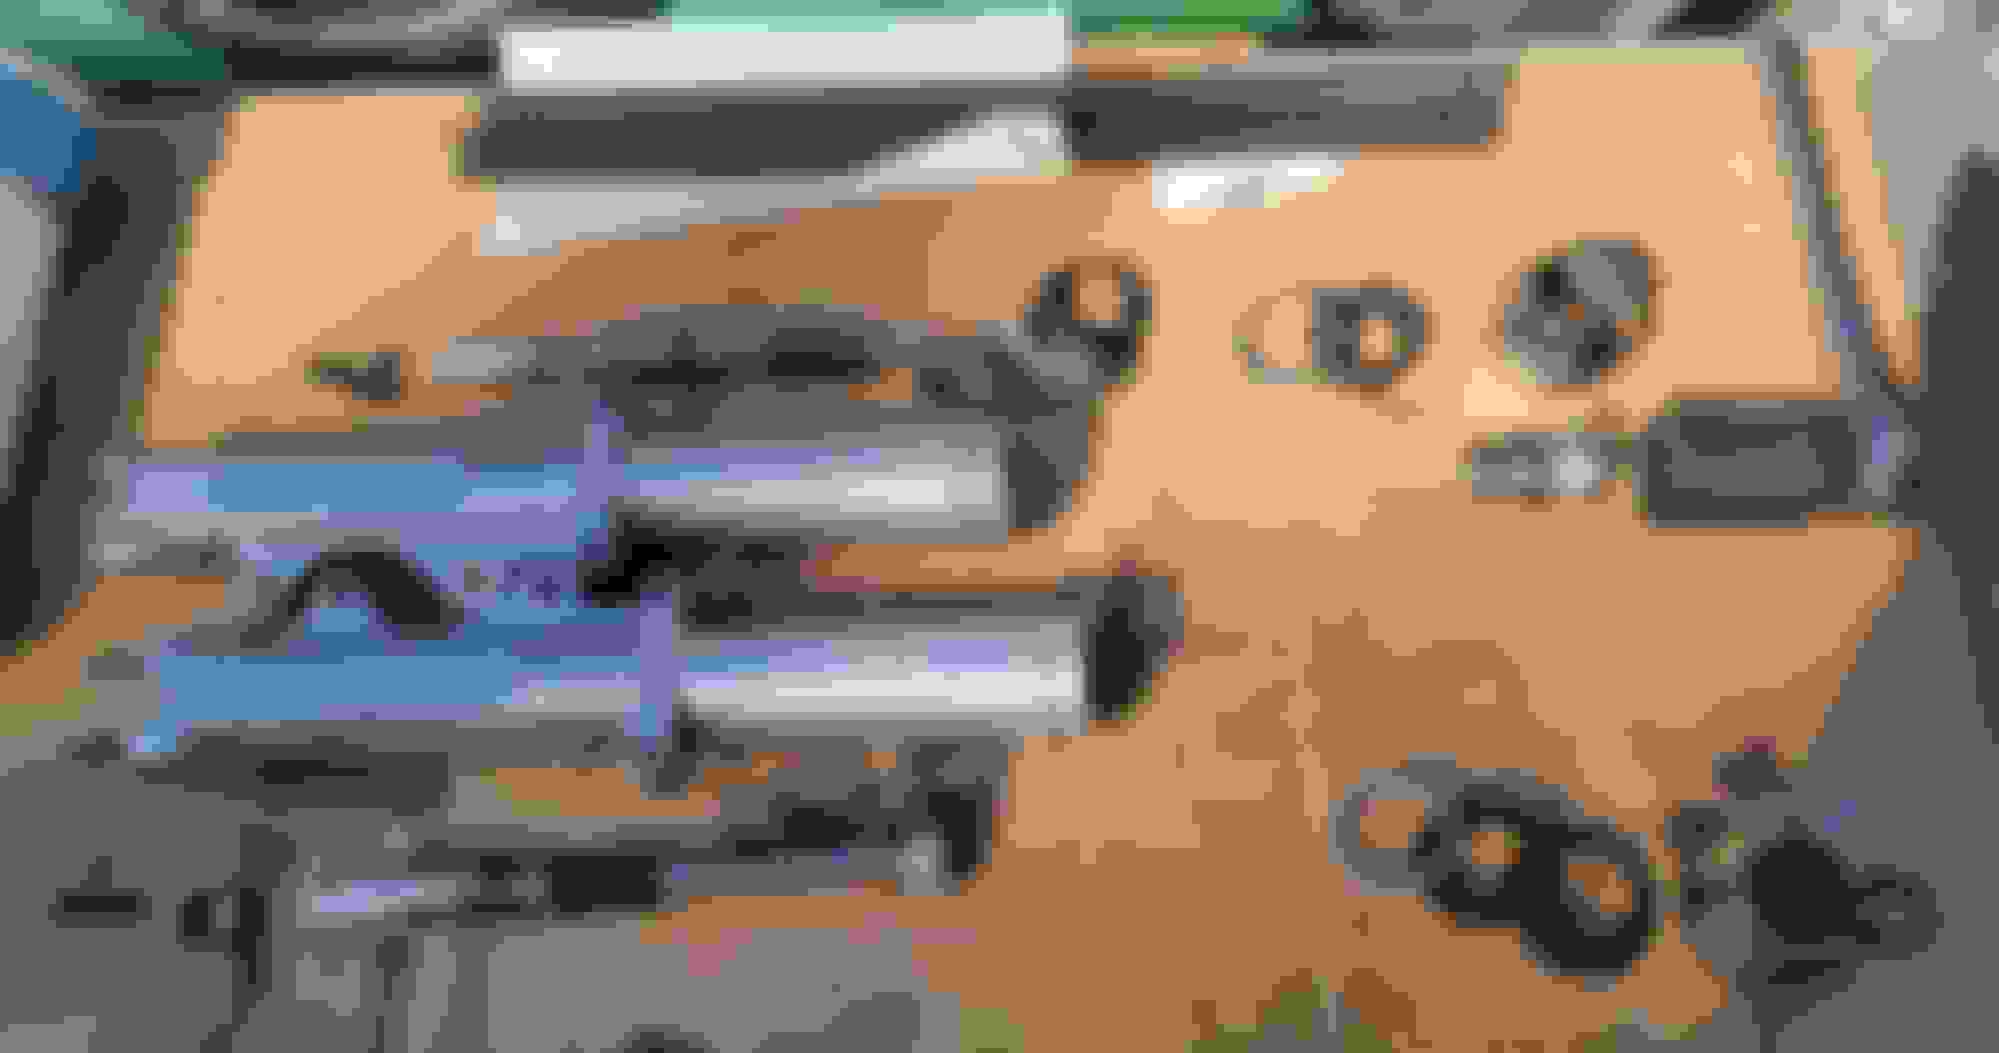
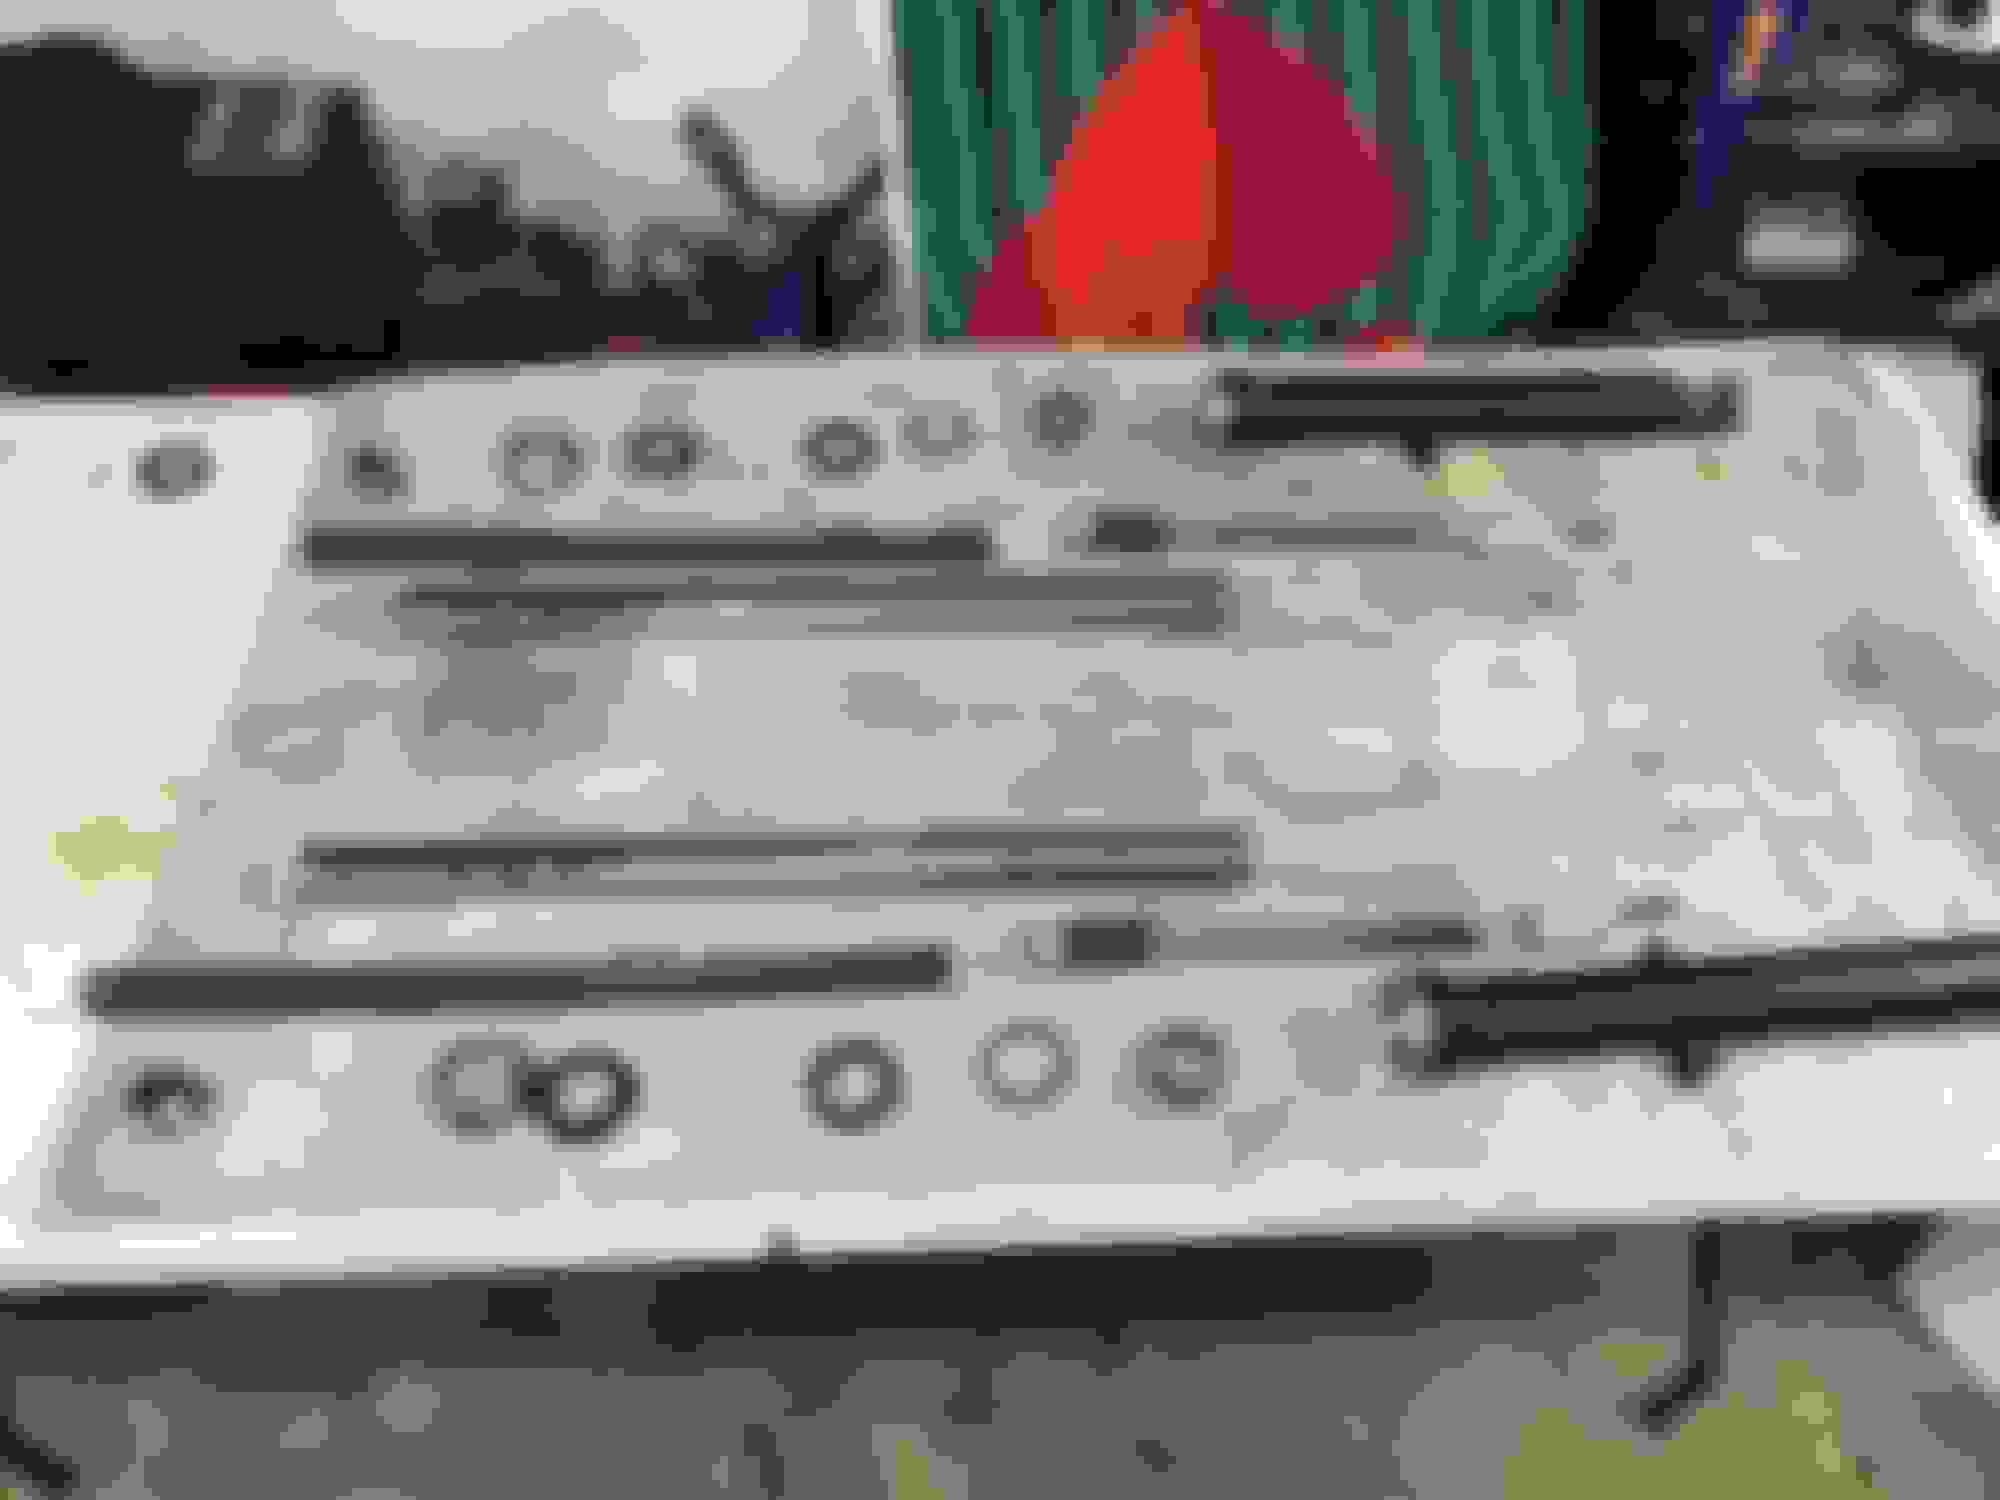
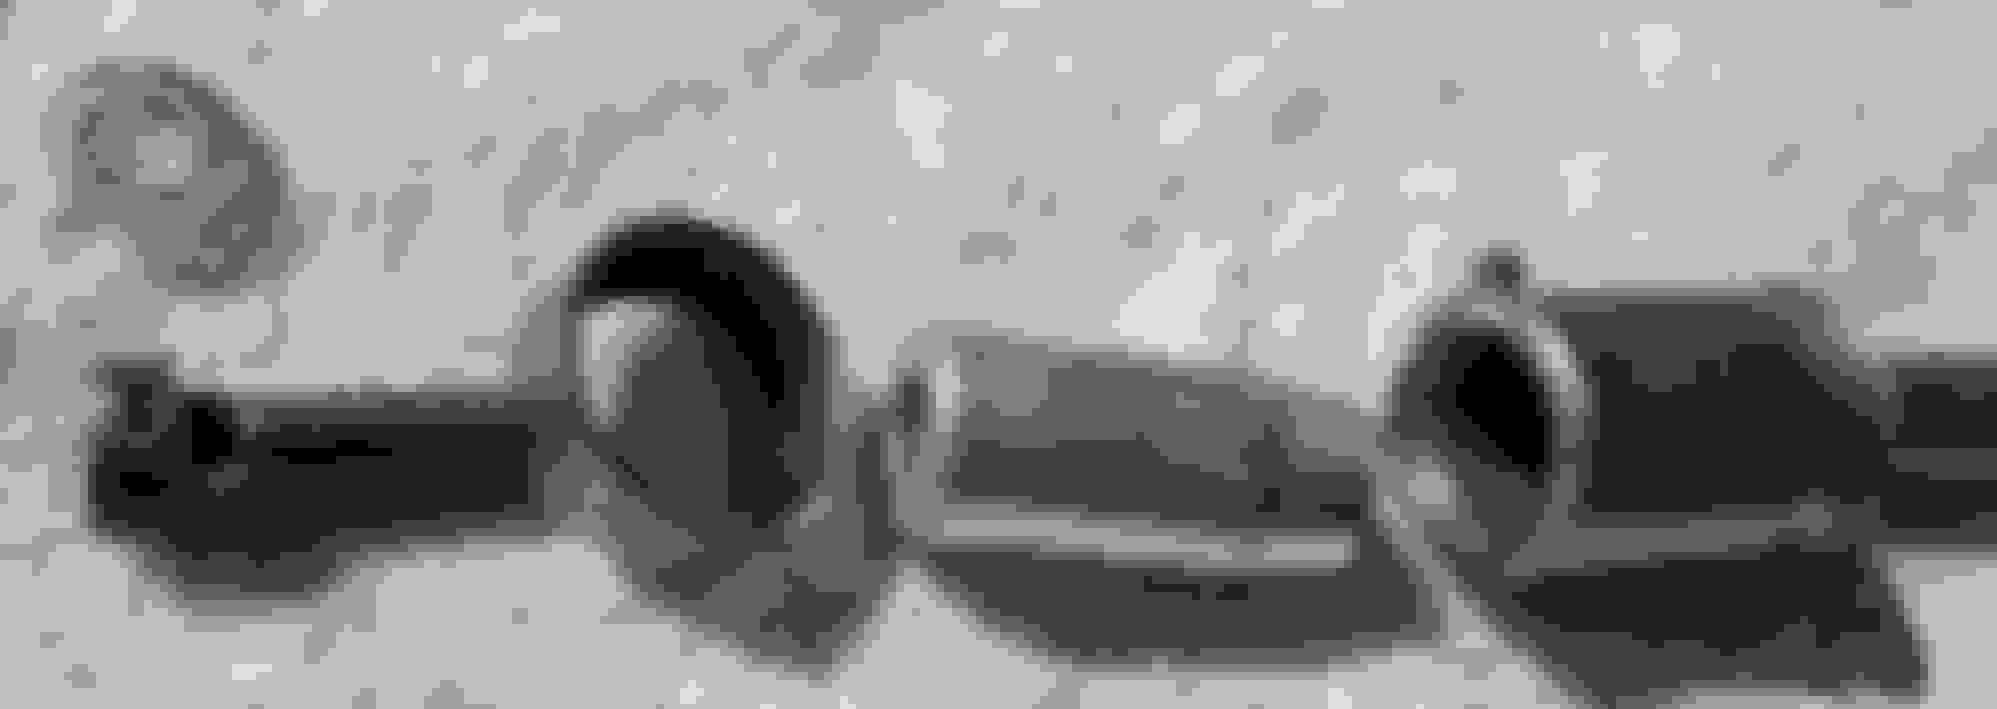
Thanks again for the replies and helpful feedback. Upon inspection with local mechanic I have ordered new seals and dust wipes - the rest shows light wear but will return to service. One side had 3 ounces of grey sludge and the other had about 5 ounces of dirty oil. I have some extra parts that don't show on any drawings or photos that I can find. On the "cartridge" there is a spring, a spring washer (like a thin, bent shim), a fluted piece, a collar, a shorter collar (lip on one end), and an aluminum cap. There is also one set screw per side. The longer collar has a threaded hole (like for a set screw) and the collar has a dimple (like a set screw has been up against it). I don't find any reference (or picture) to the spring washer, the fluted piece, the collar, or the set screws. And I use the terms collar and fluted loosley. Can anyone tell me where these all go? I believe I have them in the order of disassembly in the attached picture but am not 100% sure.
Starting to look like I may be on my own here. Spoke with an experienced HD mechanic who told me "just be damn sure you get this all back together in right order" - thanks a lot dude. Anyone know where I can find this info? Showa Fork 45398-80 and 45399-80. Thanks.
It looks to me that the you removed the lower stop from the bottom of the fork tube which was not necessary.. You will need to put that back in the fork tube at the bottom and use the set screw to secure it in the tube.. That lower stop is what supports the small lower spring that slips over the fork damper. I believe the wave washer will go between the fork stop and spring guide..
Maybe @johnjzjz will add his knowledge.. He should know for sure...
 06-22-2024, 06:36 PM