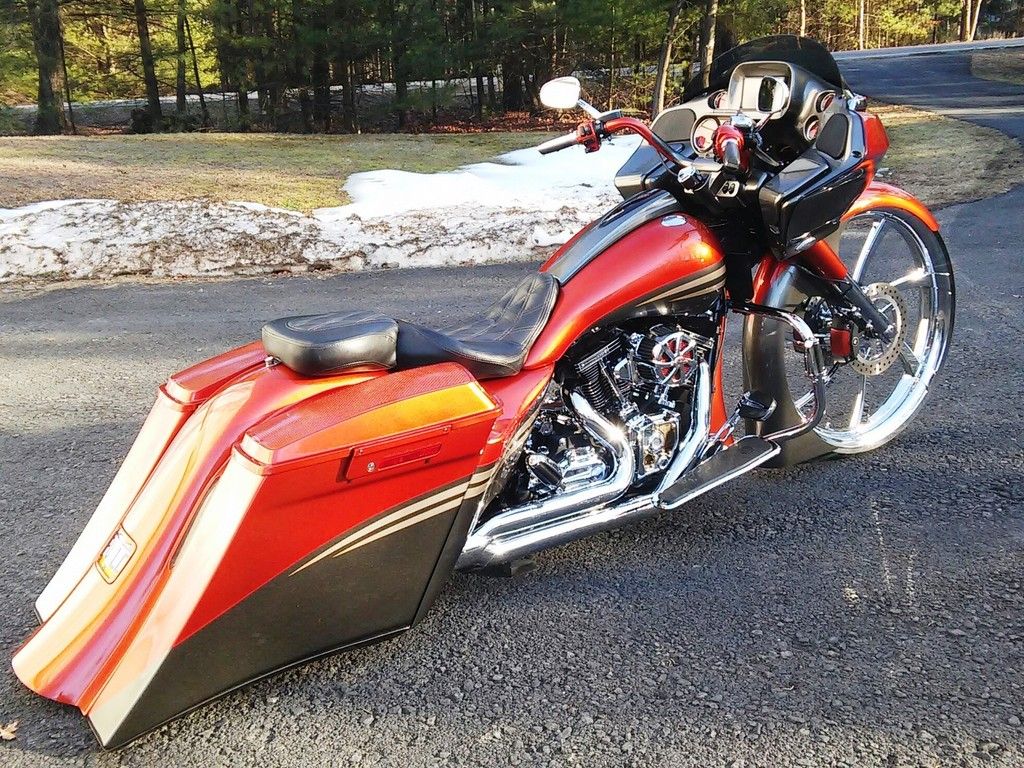
23" Agitator Install
#362
#363
I have to say before I opened this tread I thought another big wheel bike? But once I did I could not stop looking and reading. WOW what a GREAT job you did. I ususally not a fan of big wheel front end but you CRUSHED IT. Thank you for the pictorial. Maybe Ill get to see you and your bike if you go to Mineral Beach Friday Cruise night. 
 JC
JC
#366
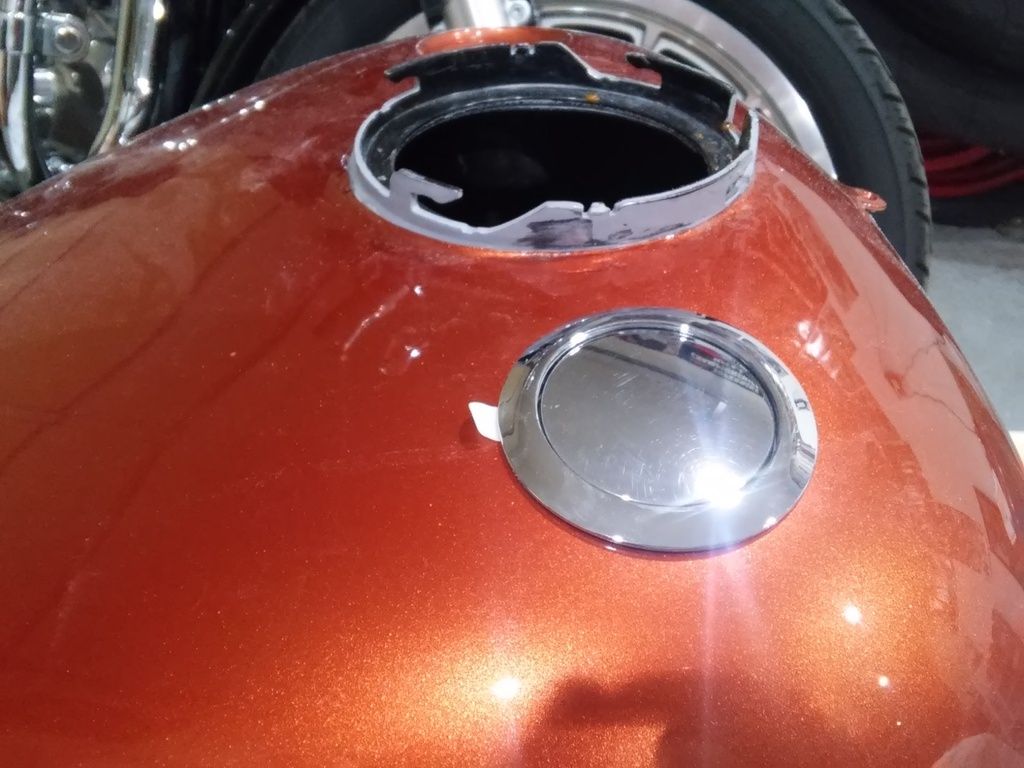
How is the chrome trim ring attached? I noticed when I filled up today, mine is about to fall off. Just needing to know for the repair.
#368
#369
#370
I was having trans/clutch issues Sunday as the clutch lever would not pull in. I cracked the bleeder valve on the trans side cover and the lever moved. This told me it wasn't anything from the lever to the side cover. Next I pulled the clutch basket and the the push rod moved freely. So as much as I didn't want to I pulled the exhaust and trans side cover. The trans push rod extension moved freely. I noticed something wasn't correct with the thrust washer and bearing as I know there should be three pieces to the assembly and I only had two. Upon taking the assembly apart I discovered the bearing was disintegrated and the one thrust washer had apparently gotten hot. I picked up new parts and put everything back together, Still NO clutch lever WTF? I pulled the side cover again and this time took it to the bench to inspect it. I really don't need this right now only a few days before we leave for 10 days in Daytona. I got to looking at the side cover and noticed that the plunger/diaphragm looked awful far out, extended if you will. I grabbed a C-clamp and pressed the plunger back in just like you would a caliper. Back on the bike the parts go, bleed the clutch, fill the fluids, test. We have success!
So after thinking about the chain of events leading up to this I believe I figured out what and how it happened. All user error, me. The clutch felt a little soft to me as I was slipping it some to get it out of the garage on the wet muddy grass, I didn't want to fall on my butt. So I adjusted the clutch. Well I got to aggressive with my adjusting. There is about 3/8" to 1/2" of total movement inside of the trans side cover. Adjusting to far one way will place constant pressure on the bearing, to far the other way will allow the piston to travel to far. While all apart this became clear to me exactly how much adjustment there really is. Lesson learned.
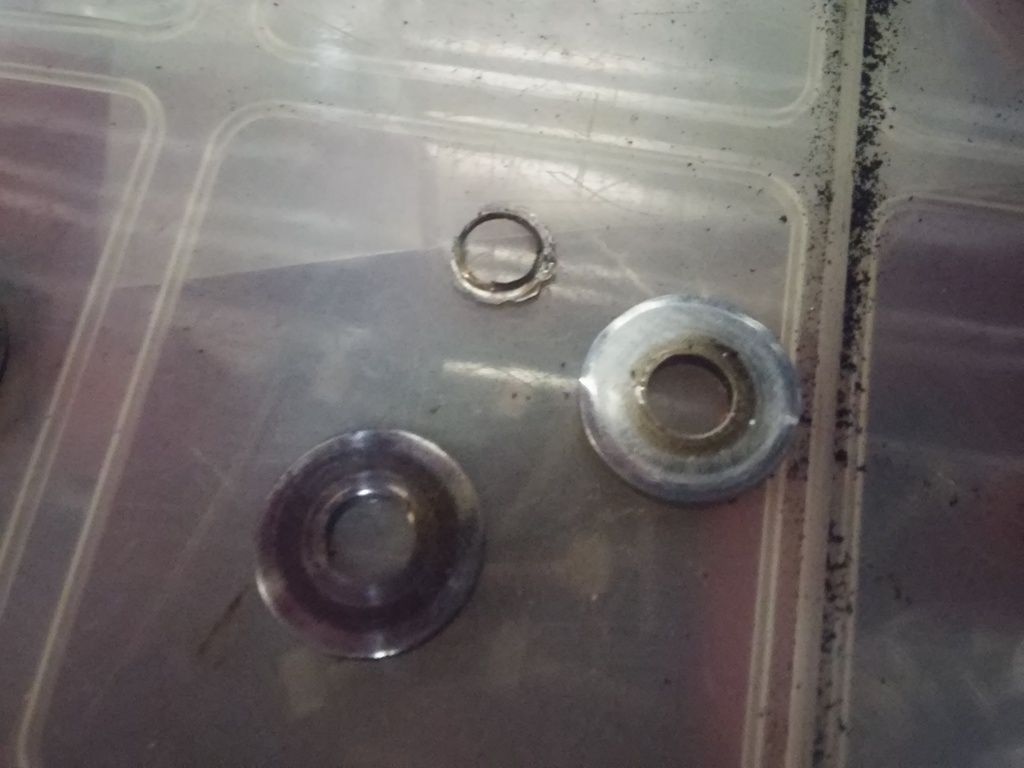
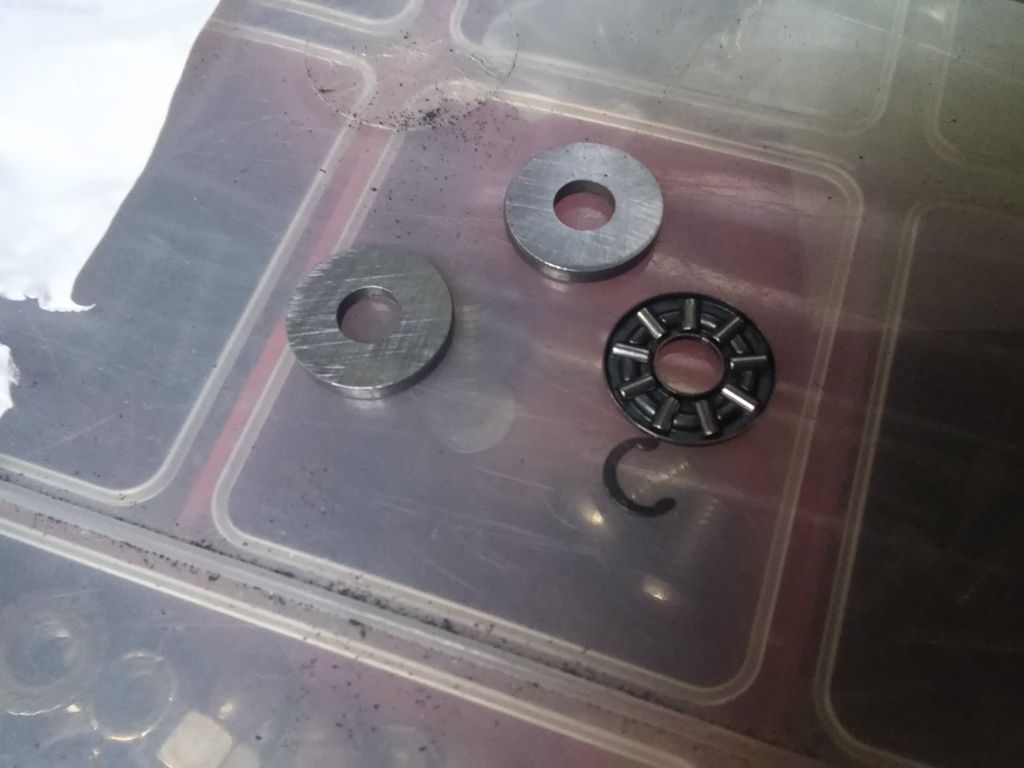
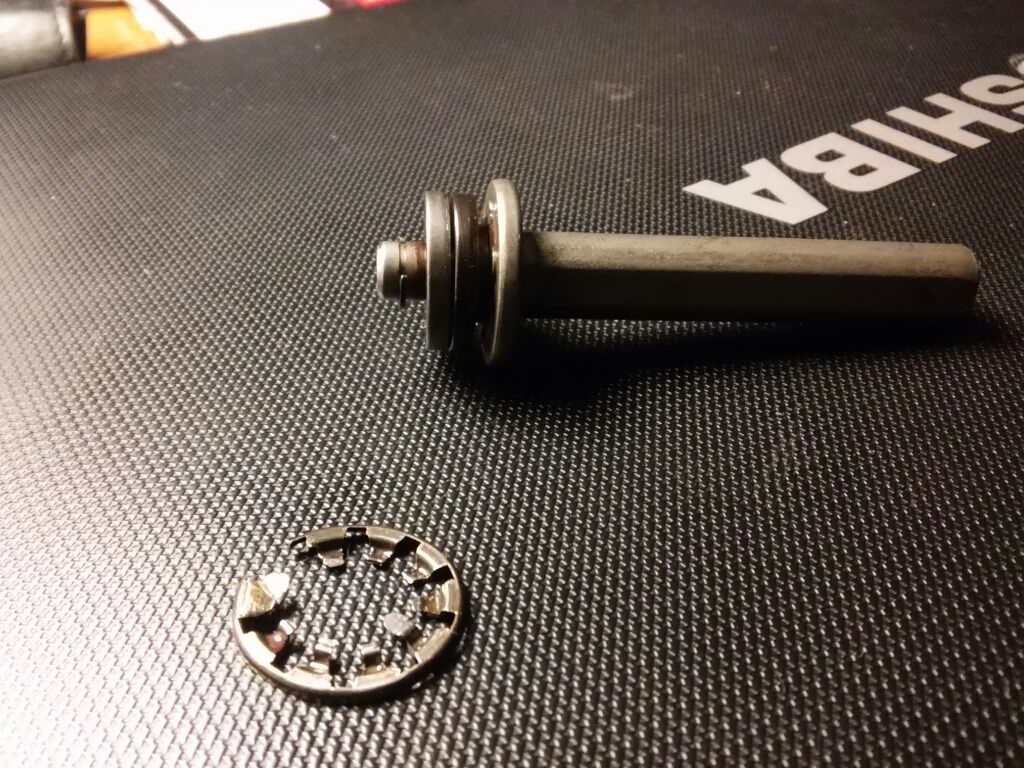
So after thinking about the chain of events leading up to this I believe I figured out what and how it happened. All user error, me. The clutch felt a little soft to me as I was slipping it some to get it out of the garage on the wet muddy grass, I didn't want to fall on my butt. So I adjusted the clutch. Well I got to aggressive with my adjusting. There is about 3/8" to 1/2" of total movement inside of the trans side cover. Adjusting to far one way will place constant pressure on the bearing, to far the other way will allow the piston to travel to far. While all apart this became clear to me exactly how much adjustment there really is. Lesson learned.


