My undertsanding is that the tail light is the same for the sidecar as it is for the bike. The one in your pic appears to be the 1947-mid 1948 body with the screwed in licence plate bracket. The 1949-1954 body used a riveted on bracket.
We cheated and remove the top and re chromed it and swear it was original just to be that guy with something the others did not ever see - plus it look better then the stupid top sticking up
We cheated and remove the top and re chromed it and swear it was original just to be that guy with something the others did not ever see - plus it look better then the stupid top sticking up
That was my plan, I dont like the sharp tab sticking up like that.
Of course! The one on the bike is an original though. Im also having trouble finding the correct fender light for the side car as its different from the bike. Plenty of repops around if I cant get the real deal.
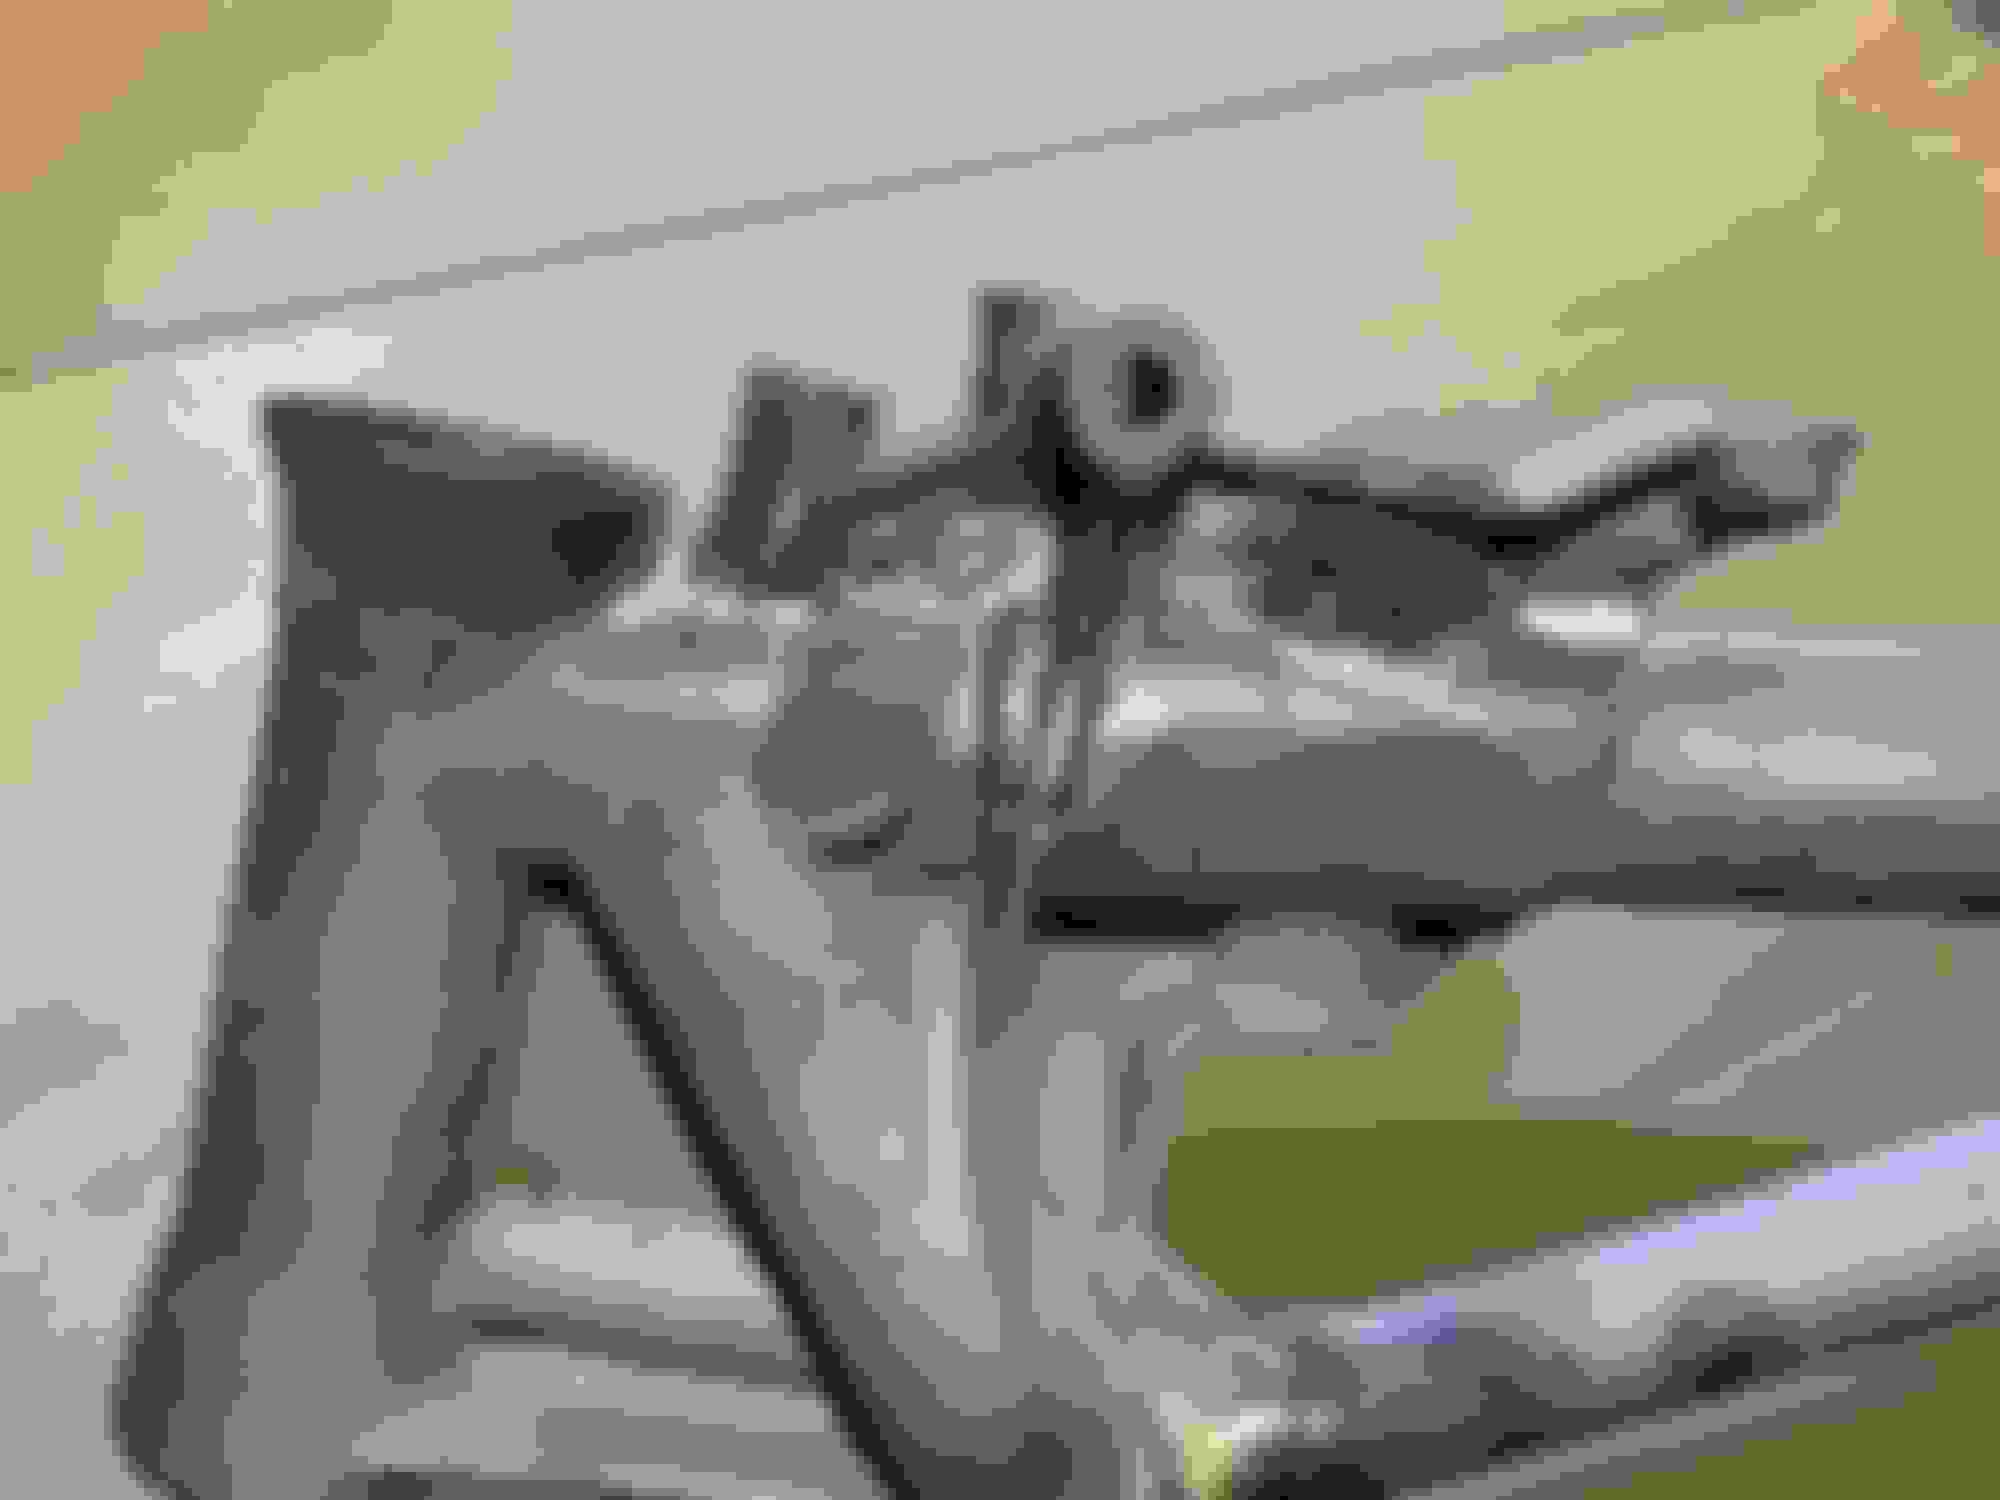
Back to the 48. Finished cleaning up the welds for the console mount that was cut off when the frame was sanitized however long ago. Sadly no forging numbers remain anymore but Im not going to change the neck to put a repop part on. Prep and paint next then I can start putting it back together.
Are you on the AMCA forum? There's a guy called ChuckTheBeaterTruck who has a secret to hide repaired forgings: "Using a couple of different carbide burrs in a die grinder, I reduced the weldment and reshaped the area. During the final stages, I freely let the burr bounce over the neck surface to mimic the original texture. This won't fool a judge; but it will look pretty good from 5 feet away and most casual observers won't notice."
His other "secret" is SEM texture primer. https://www.summitracing.com/parts/s...CABEgJFYfD_BwE
"It's not wrinkle paint as advertised here; but rather more of a "pebble" surface that is really, really close to the texture of original bubble bags (I actually use this same texture primer when I'm repairing bubble bags). As such, when you use it on repaired castings that have been hit with a burr or needle scaler . . .it really clings and smooths it so that it is nearly invisible under the frame paint."
Thanks for the tips.
No Im not on that forum and I added texture to the forging with a tool I have after I took the pic.
 06-17-2021 | 10:43 AM