Just pulled the trigger on a set of Yaffe 12" MBB and plan on ripping her down soon. I have researched this for the past few weeks reading all different methods for getting the wiring through the bars as pain-free as possible.
I have done bars on my NT several times, so I'm confident in doing this. I feel my biggest obstacle will be getting the right side wires over the hook without ripping anything up.
I have watched the you tube video on the 10" MBB several times; very good instruction and the left side seems to be pretty straight forward. The right side is not shown on the video; it just cuts out and then the wiring is done.
I'm not trying to beat the "How to wire PYO bars" dead horse, but most of the threads I read about doing these are on the older model batwings. Just wanted to start a thread where we can all share our trials and tribulations for doing this on the 2014-2016 bikes and help each other out.
Look up on youtube "how to install handlesbars on a 2015 Harley street glide" from "ride it wrench it. It" will help with your problem. He shows you how to do the wiring on the right side.
Hope this helps! Its my first time helping on the forum.
He's very good on this video. Shows you how to take the end apart and put the wires done the handlebars then put the end back together. It really saved my butt when I did my Ultra and it has more wires. Just take your time and all will be fine!
Take your time and don't force the green plug around the bend - it's a real PITA - I ended up going with the a new SE throttle sensor to make it easier to feeding the wires thru the bars - plugging it in to the bike was a whole nother' experience ....
Take your time and don't force the green plug around the bend - it's a real PITA - I ended up going with the a new SE throttle sensor to make it easier to feeding the wires thru the bars - plugging it in to the bike was a whole nother' experience ....
From what I've been reading, the Rushmore bikes don't have that green plug on the TBW...
I've been getting some things together to make this job as smooth as possible. I ran some parachute cord (550 cord for you veterans out there) through the bars to save time later; however I found some stainless .032 cable at work which I think will work better and not get hung up on the burrs that Yaffe decided to not remove up near the hooks. I'll post up my results when I get to that part.
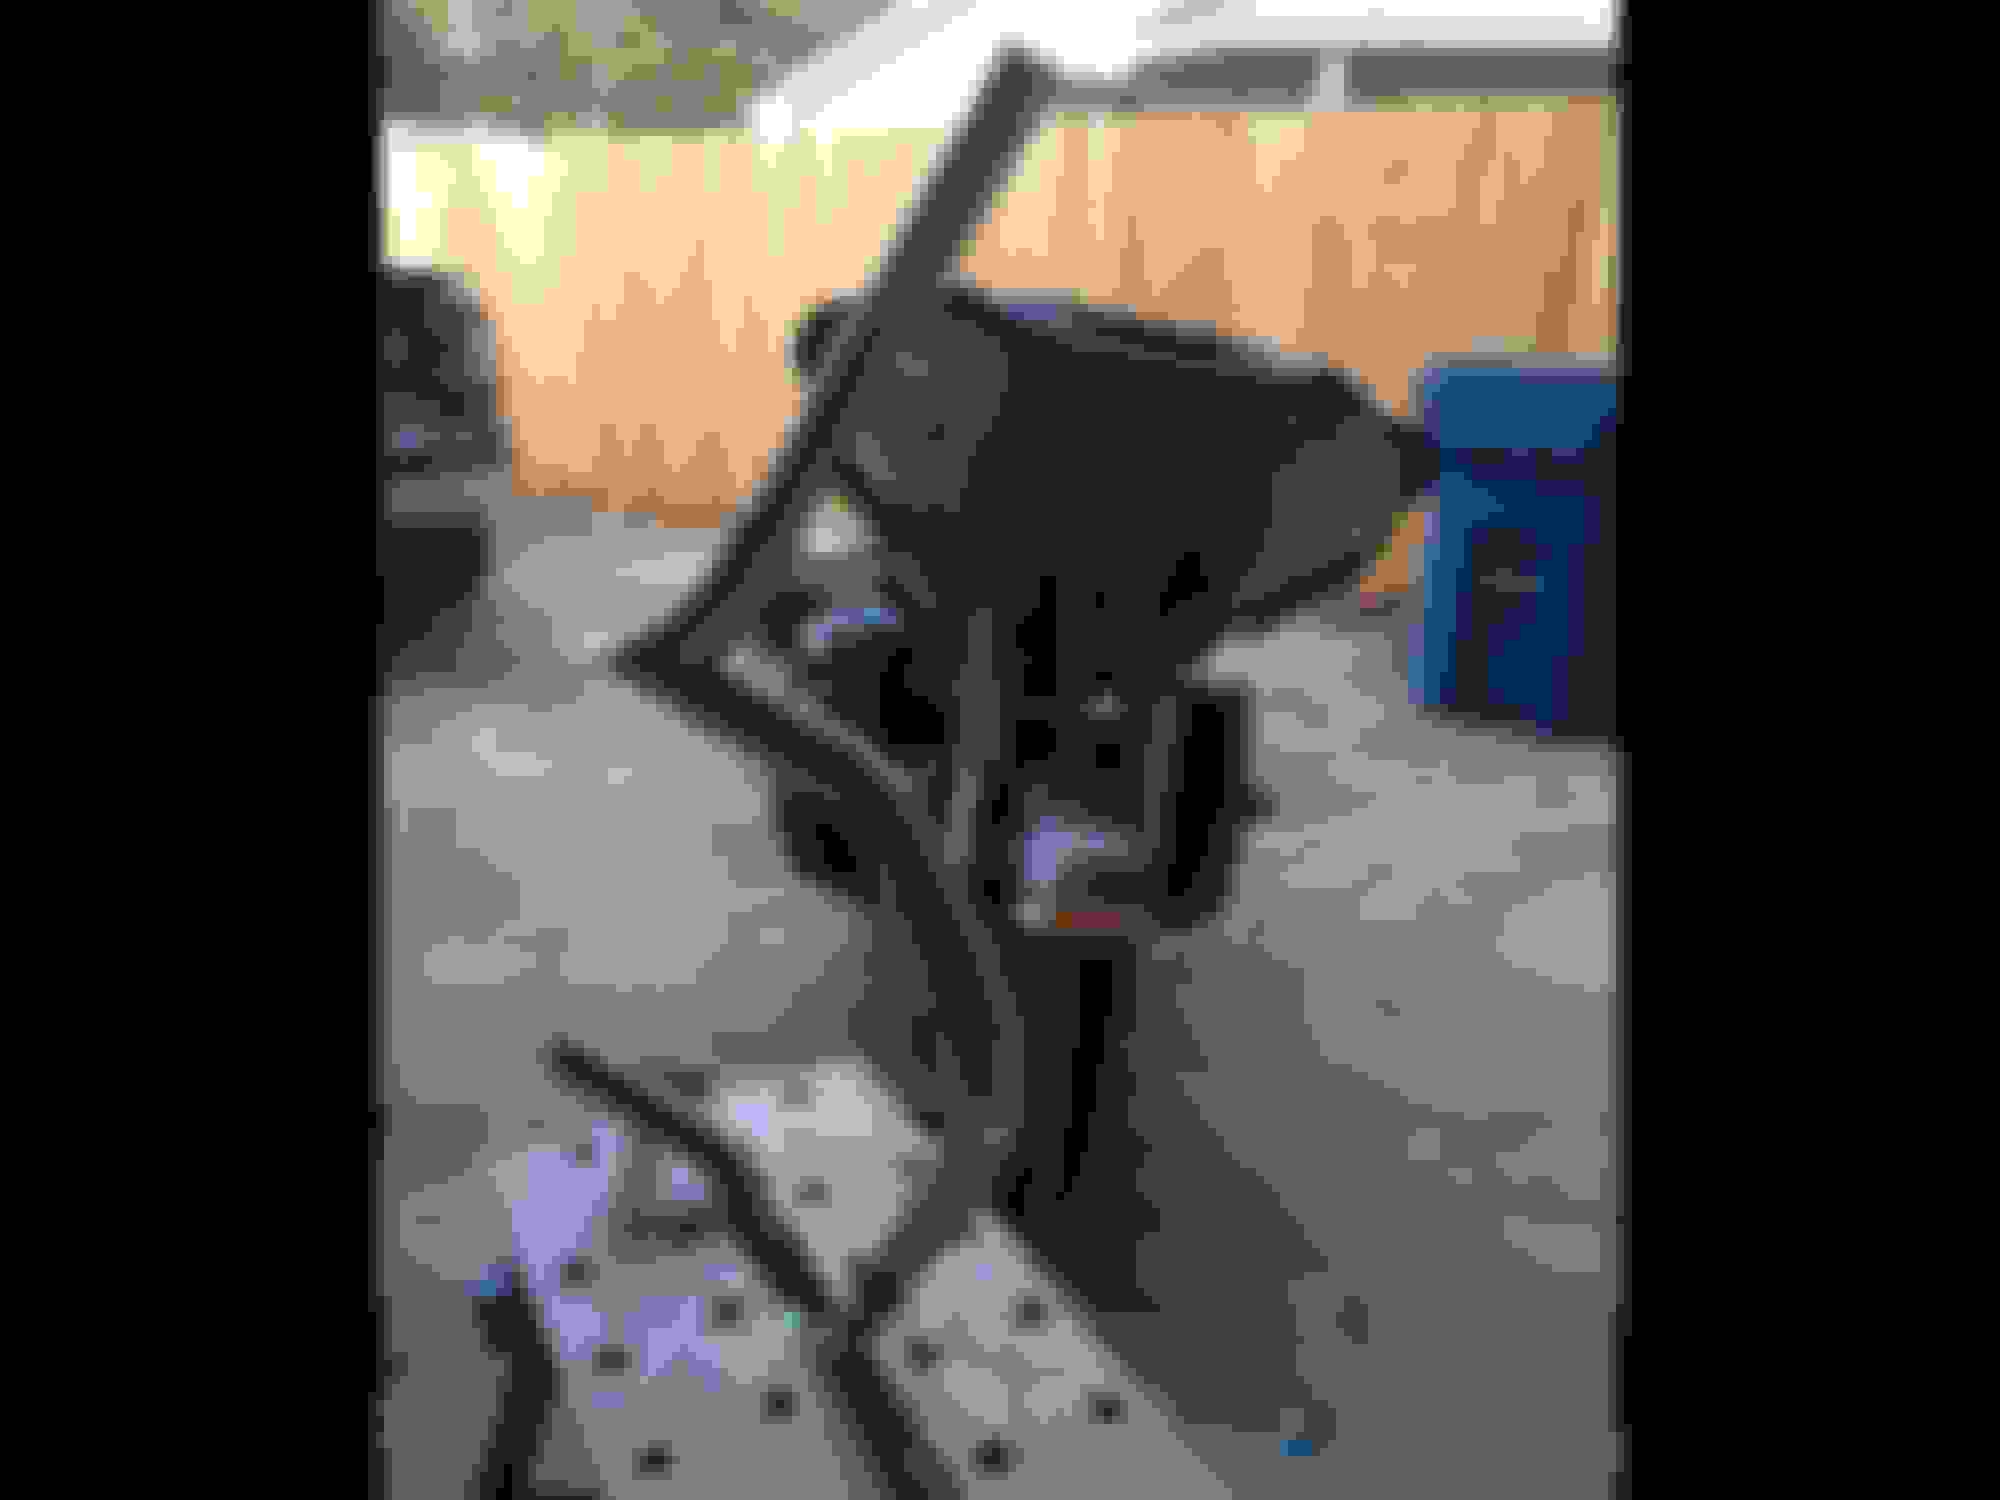
I Can only speak for the 14 limited and it has the green TBW plug. There's a lot going on on the right side especially with the heated grips. If you could eliminate the green plug it would be better. I had read running piano wire through the bars and file down any possible sharp edges could help? I bought a cheap woodworking table to clamp the bars as I pulled the wire through, notice the nuts on the end of the string!
I Can only speak for the 14 limited and it has the green TBW plug. There's a lot going on on the right side especially with the heated grips. If you could eliminate the green plug it would be better. I had read running piano wire through the bars and file down any possible sharp edges could help? I bought a cheap woodworking table to clamp the bars as I pulled the wire through, notice the nuts on the end of the string!
Good to know about your limited...
I think I'm going to go home and rip her down. It was 30* this morning and the cold wasn't an issue, but the feel of the road was. I may be done for the year for safety sake.
That pic is exactly what I've got done on my bars thus far. Did you run the TBW and right side controls together or separately? Fortunately I don't have to worry about heated grips.
I have forgotten what wires were pulled together but there were two different pulls. The strings had to be first, you won't be able to run the string once one set of wires are pulled. It's a hellofa deal had to use wire lube also. It probably took 8 hours to change out the bars, if I ever trade the bike the bars will most likely go with it lol.
I was fortunate with the green plug, iv read a lot of installs and the plug busted. I would see about eliminating the plug, the plug has to stay on the grip side of the sharp bend and there's a bunch of wires bunched up right there!

 11-09-2015, 08:16 AM