So, I need some help. Got the primary disassembled, pressed out the inner clutch hub and now that I am ready to press in the hub into the evolution basket, I stupidly forgot to source a cylinder to support the inner bearing race. This being my first hydraulic press, I don’t have anything other then sockets, and since the clutch hub protrudes through the bearing the support has to be the same I.d (slightly bigger so I don’t press the hub into the support actually).
Red, what did you use?
Sucks. No riding until I get this figured out. F!
You could try using a pipe section?
I'd take it to a local auto shop that has a press, they should be able to do it for you. I've done this myself and just give them a $20.
I actually did this job in a Sturgis campground a few years back and I took it to a local Sturgis shop that pressed it in and out for me. He refused to take payment, really cool guy.
20034948]So, I need some help. Got the primary disassembled, pressed out the inner clutch hub and now that I am ready to press in the hub into the evolution basket, I stupidly forgot to source a cylinder to support the inner bearing race. This being my first hydraulic press, I don’t have anything other then sockets, and since the clutch hub protrudes through the bearing the support has to be the same I.d (slightly bigger so I don’t press the hub into the support actually).
Red, what did you use?
Sucks. No riding until I get this figured out. F!
When I did mine, I actually supported only the basket. Honestly, the bearing is quite strong and you don’t need a great deal of pressure to press the hub into it.
So long as everything is properly aligned and square, it will go in just fine. A light coating of grease on the hub shaft and bearing will make it go easy too.
Doing wheel bearings is the same way - the piece that sits on the bearing doesn’t cover the entire bearing as it’s tightened/pulled into the whee hub.
I'd take it to a local auto shop that has a press, they should be able to do it for you. I've done this myself and just give them a $20.
I actually did this job in a Sturgis campground a few years back and I took it to a local Sturgis shop that pressed it in and out for me. He refused to take payment, really cool guy.
Good luck!
Originally Posted by NorthWestern
Buying tools never ends, you need a set of press blocks. Can you get a piece of schedule 80 pipe at a plumbing store in the correct size?
Originally Posted by Redbeard719
When I did mine, I actually supported only the basket. Honestly, the bearing is quite strong and you don’t need a great deal of pressure to press the hub into it.
So long as everything is properly aligned and square, it will go in just fine. A light coating of grease on the hub shaft and bearing will make it go easy too.
Doing wheel bearings is the same way - the piece that sits on the bearing doesn’t cover the entire bearing as it’s tightened/pulled into the whee hub.
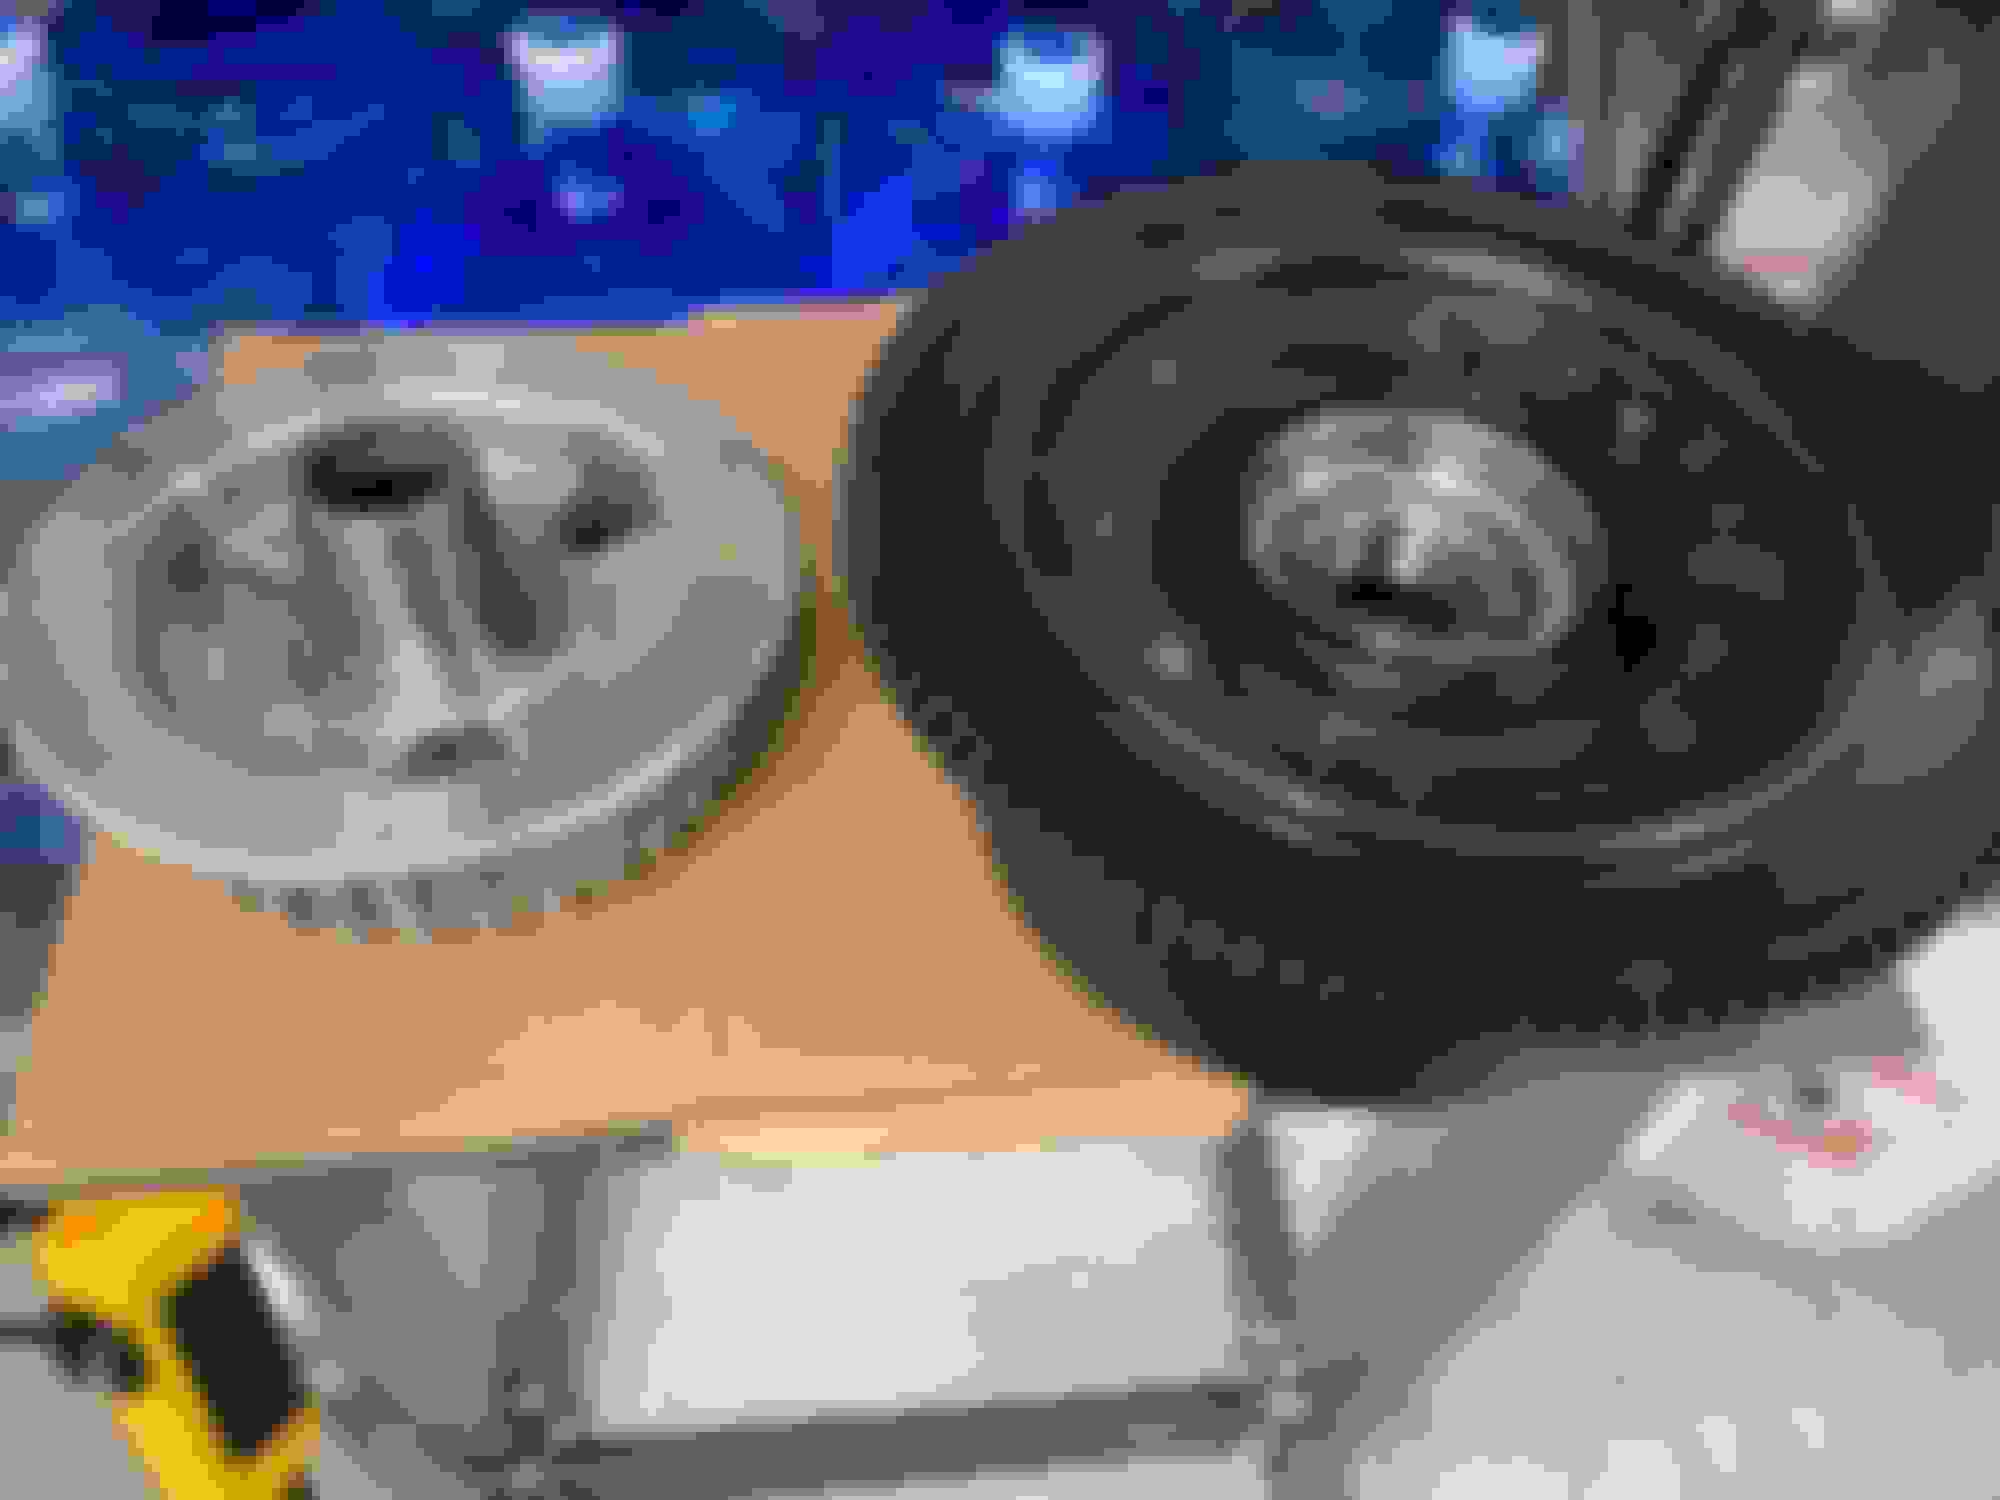
Thanks boys. I looked around locally and of course no one had press blocks for sale. How does Harbor Freight not even have a small set? If anyone has suggestions on a kit, let me know please! So I dug deep into my “bought for one use” tool draw and found a 36mm socket that coincidentally just cleared the shaft of the hub, which was 1.3” diameter, and also made solid contact with the inner bearing race. Lubed it up with primary fluid and it pressed right in. Nice.
That compensator bolt was the bitch, because my breaker bar was only like 16” long. Even heating it to over 500 it seemed like it wouldn’t budge. Of course after practically crapping out my kidneys I muscled it off with that pee-wee breaker. I thought to myself “why didn’t you just use the 1/2” torque wrench sitting on the stand, you stupid idiot..”
Everything else was cake. Once I figured out the press issue and recovered consciousness from the breaker bar incident, everything else went together quick and easy. Reused the Carbonite clutch I got from FuelMoto, Buttoned it up, cleaned up and came into the AC and drank about 3 gallons of ice water. Garages in f***ing Florida summers with only a fan isn’t fun.
Didn’t get to test ride, but unless I screwed something up, there really shouldn’t be any difference. Just that this won’t eventually fly apart…
It is my understanding that some automotive applications use a shrink fit band around the automatic transmission clutch basket. I don't know first hand. Does anyone here have info ?
Some of the older flywheel ring gears were heat and drop on,in the automotive world
That looks great! Glad you were able to work your way through this project without many issues, even with your little breaker bar!
The peace of mind from having a real clutch basket that isn’t going to explode and will hold up to the 128” is priceless.
Maybe for our next project, you, @NorthWestern , and I can all figure out how to install a Baker Grudgebox!
Cheers!
****. I just realized I forgot to check the primary chain tension. I zip tied the adjuster before removing it, and it went back in without undue tension, i.e. I was able to get the adjuster bolts threaded in, no problem. Do you think I should disassemble and check it? I thought with the automatic adjuster adjustment was, well, automatic. But now I see it adjusts tighter only. Again, ****!
If you didn't have to force it, you're likely ok. I had to set my back to the lowest setting because my first zip tie on it slipped off during disassembly.
As long as you feel confident that it didn't ratchet tighter on you while it was out, I probably wouldn't worry about it.
Then again, you can always reuse the primary cover gasket a couple times if you are careful during removal. You could drain the fluid into a clean container to reuse it too.
Yes, it went in easy enough that I don’t believe it changed position from when it was removed. Obviously it puts a little tension on the chain, so it required a little lift to align the bolt holes, but no more then one fingers worth.
However, now we all know I have a mild case of OCD so I may very well never be comfortable until I open it and check, so that will come once the storm passes.

 07-05-2021, 01:13 PM