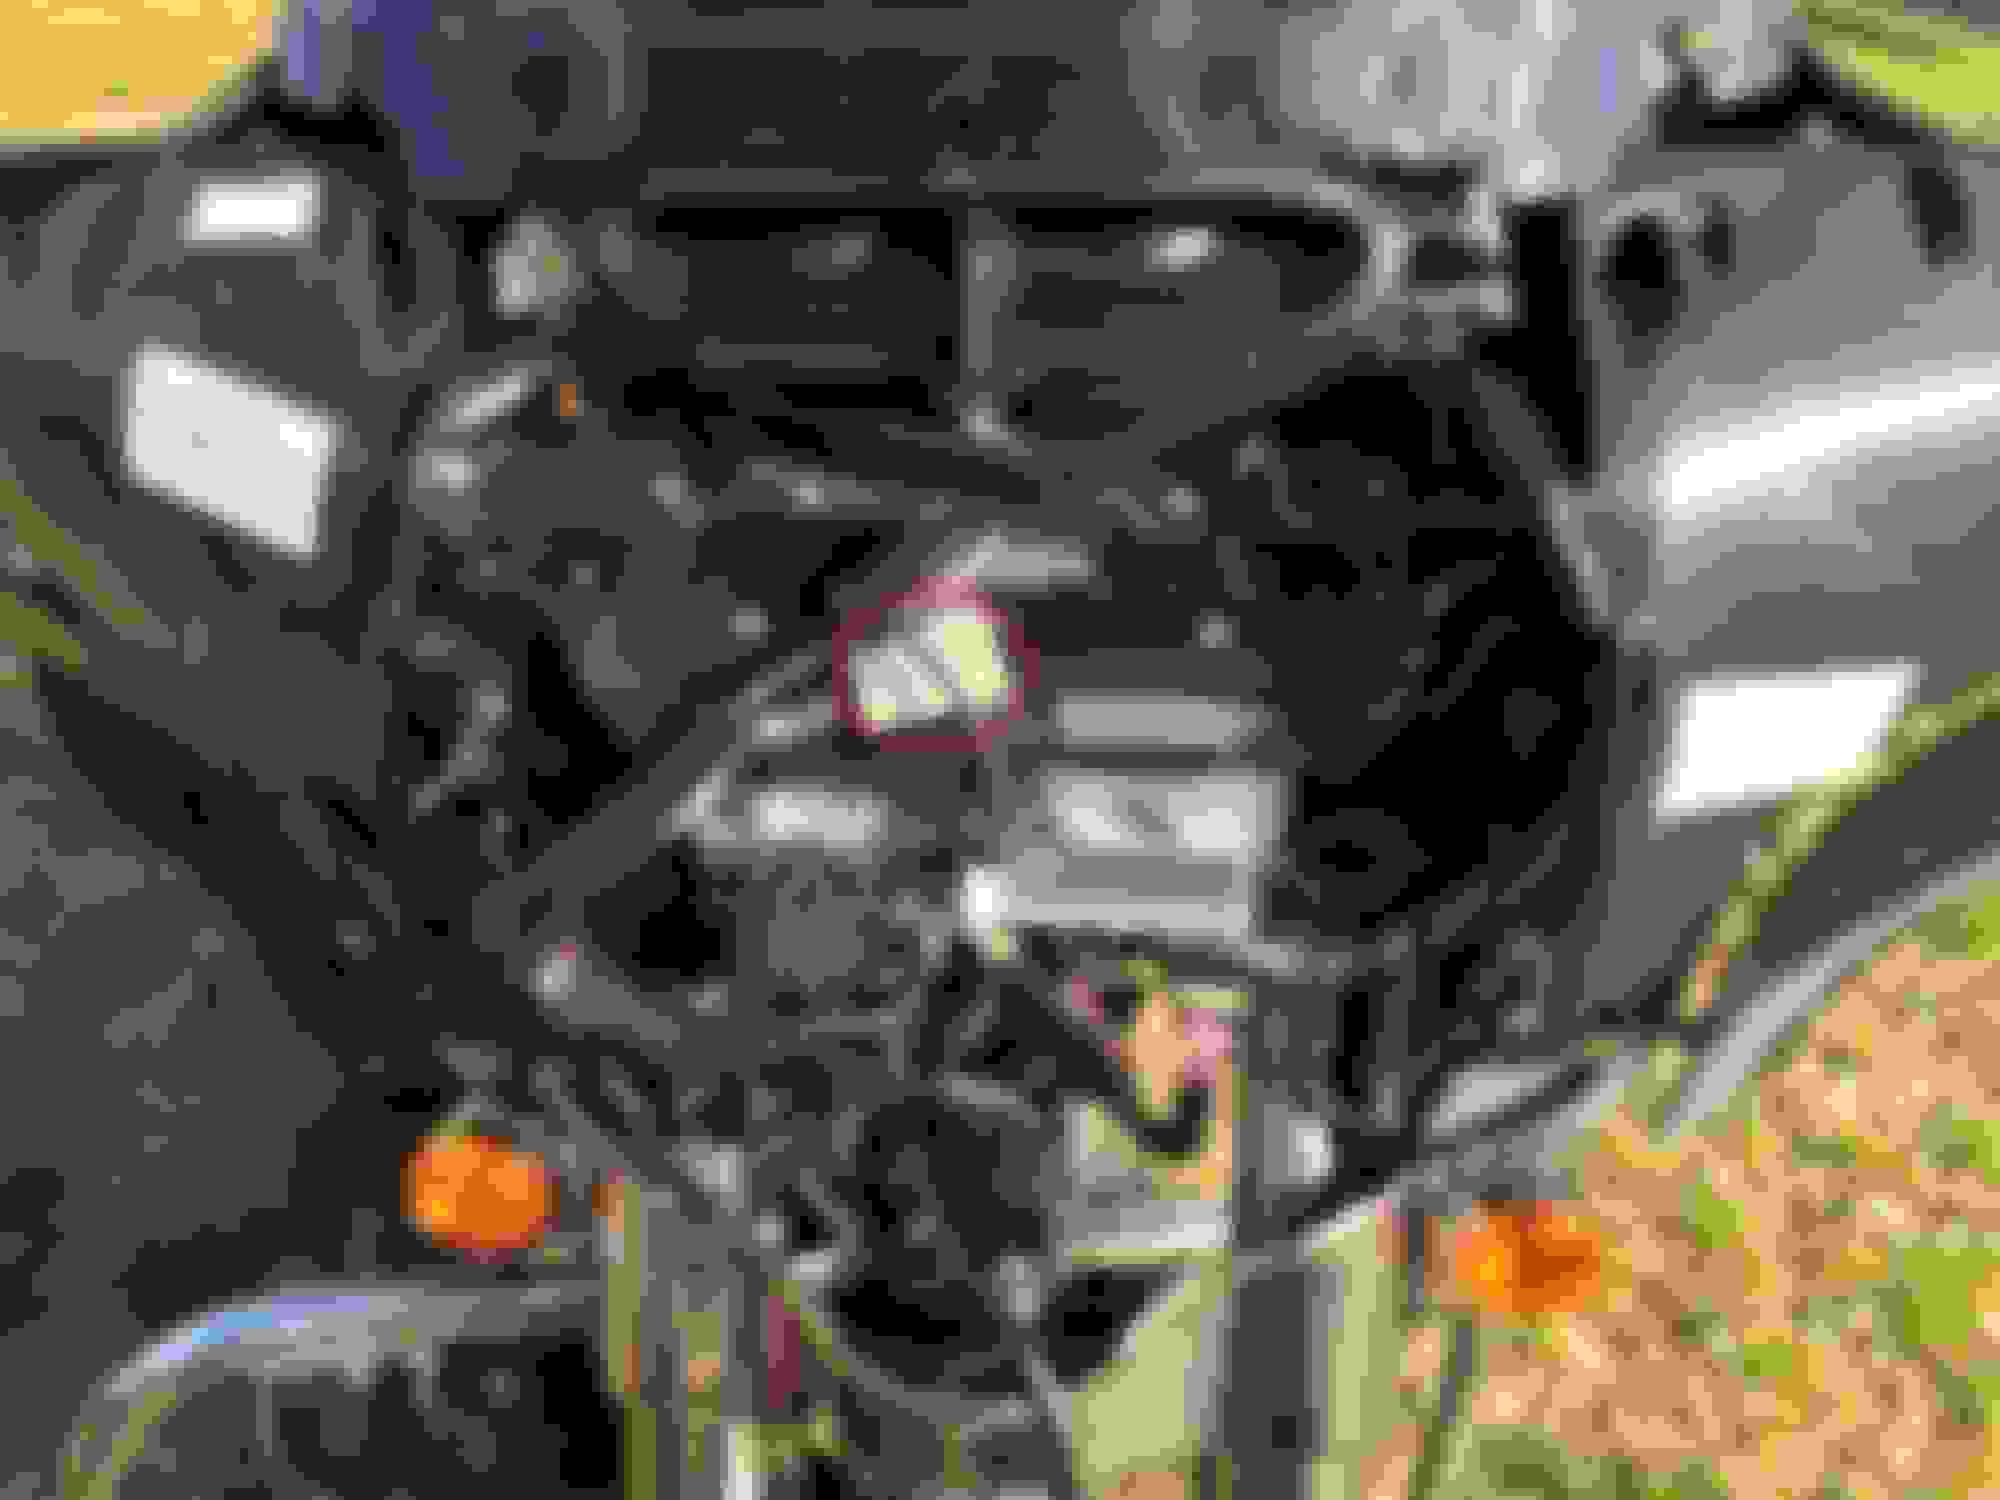
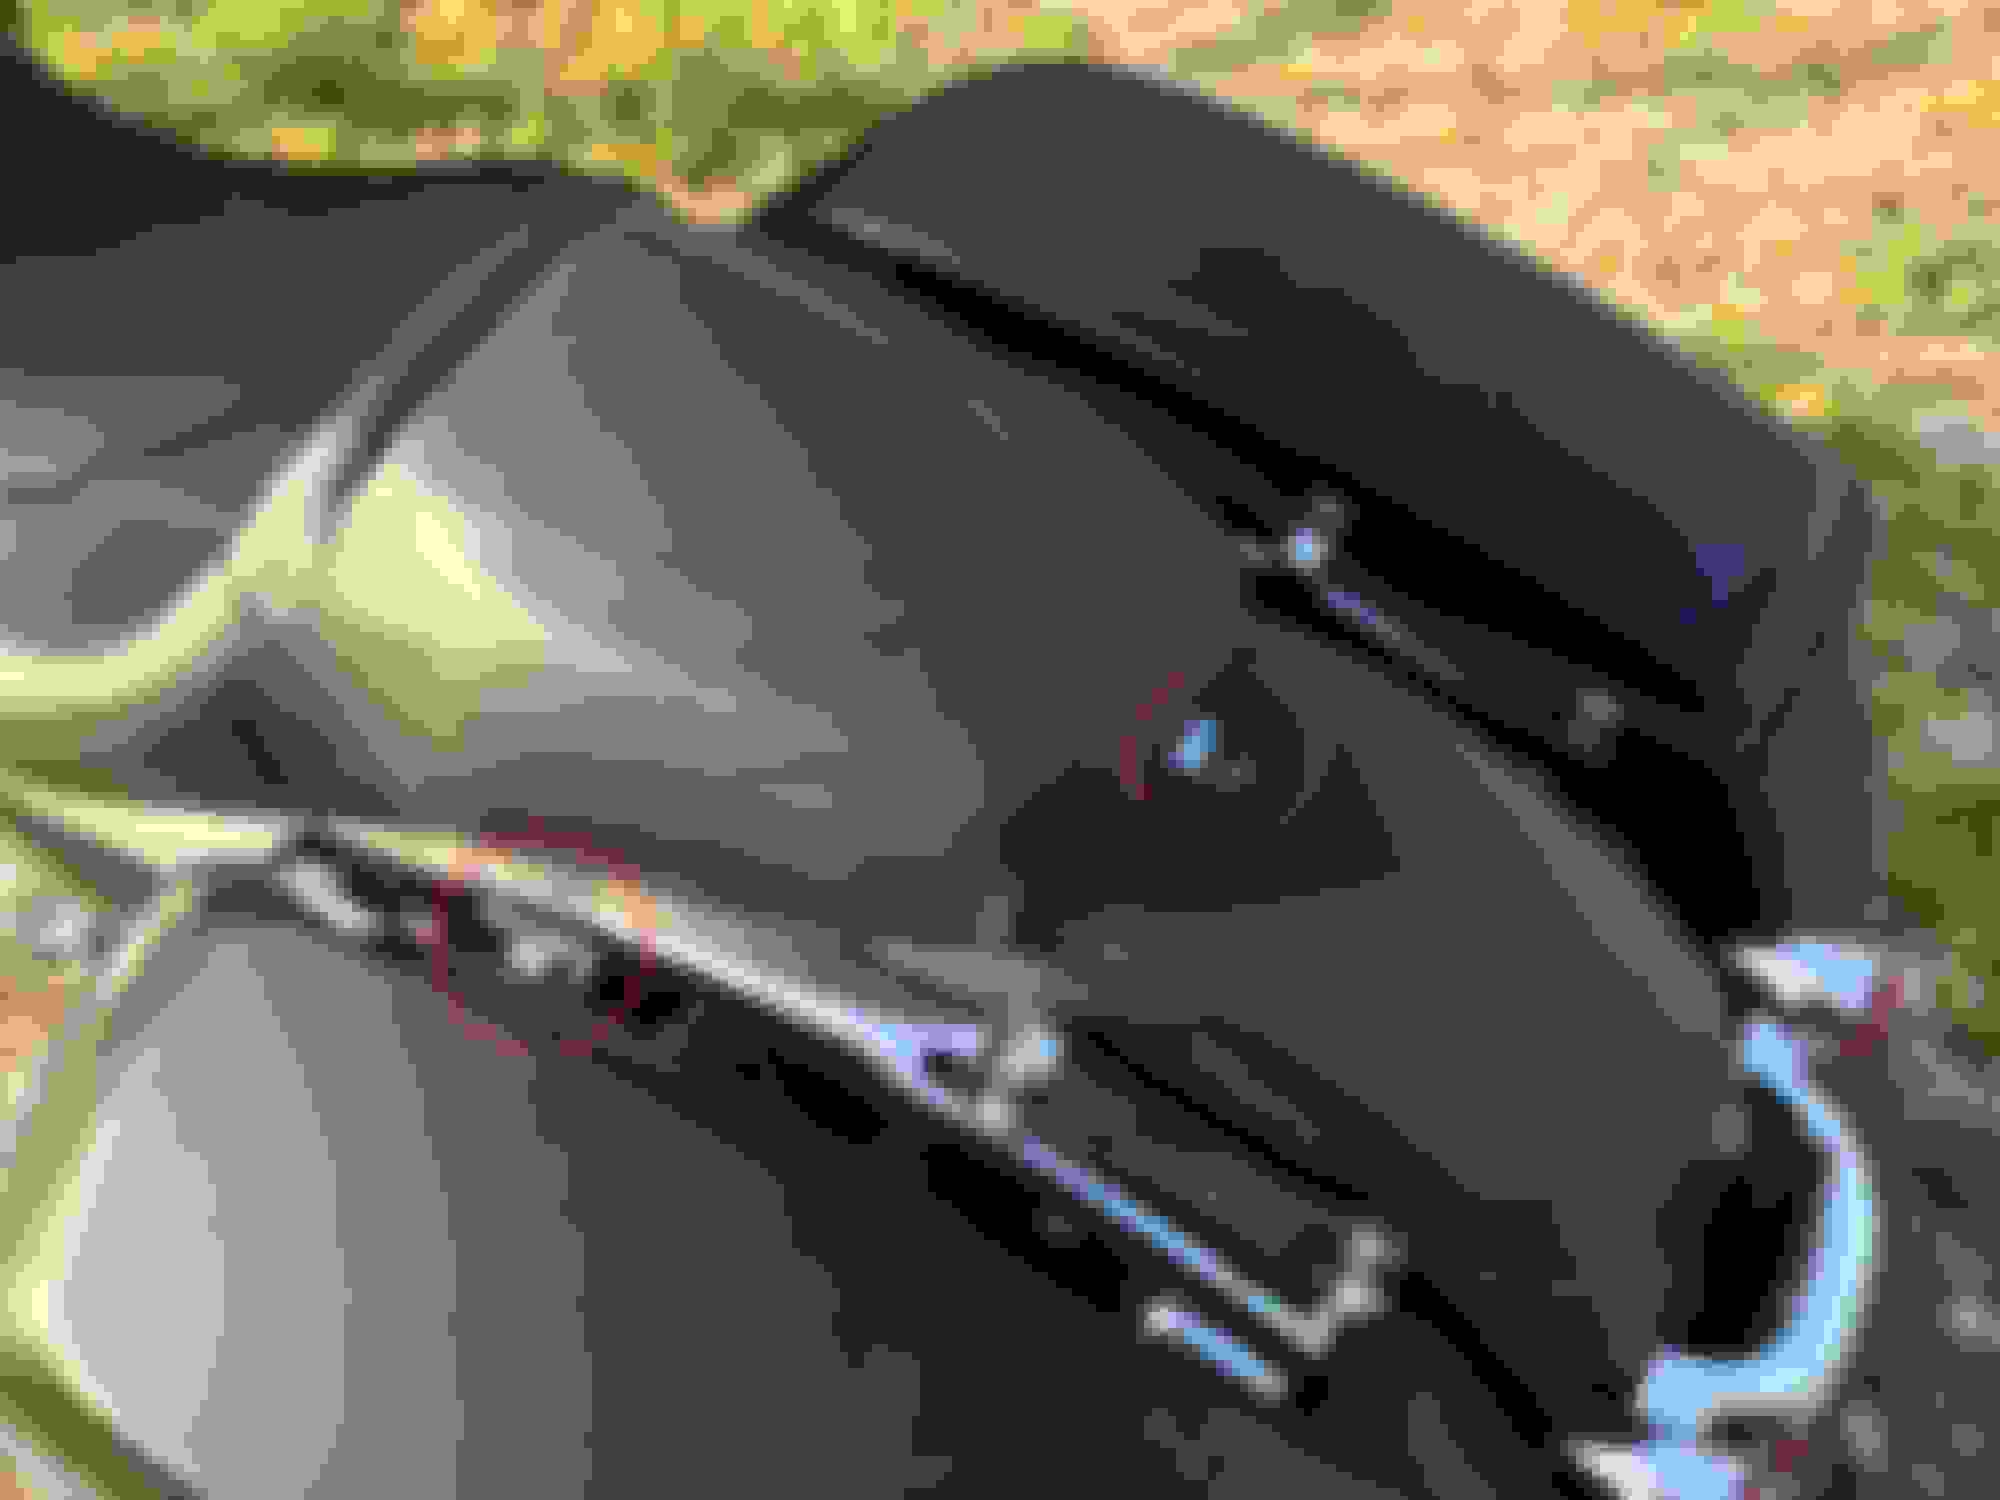
To install the communications cable, I removed the outer fairing by removing the (3) T27 bolts that hold the windshield on, and the (4) T27 bolts on the inner fairing. Fairing-mounted wind deflectors can remain in place - no need to remove.
You can see the comm. port connector on the bike's harness.
Depending on where you locate your port, you may have some slack. I ran my cable next to the harness to keep it neat. I coiled up my remaining cable in the empty space to the right of the radio.
For now, I decided to put my port right at the neck. My plan in the near future is to add a Sena Freewire, so I don't need this port way back under my seat or near the console.
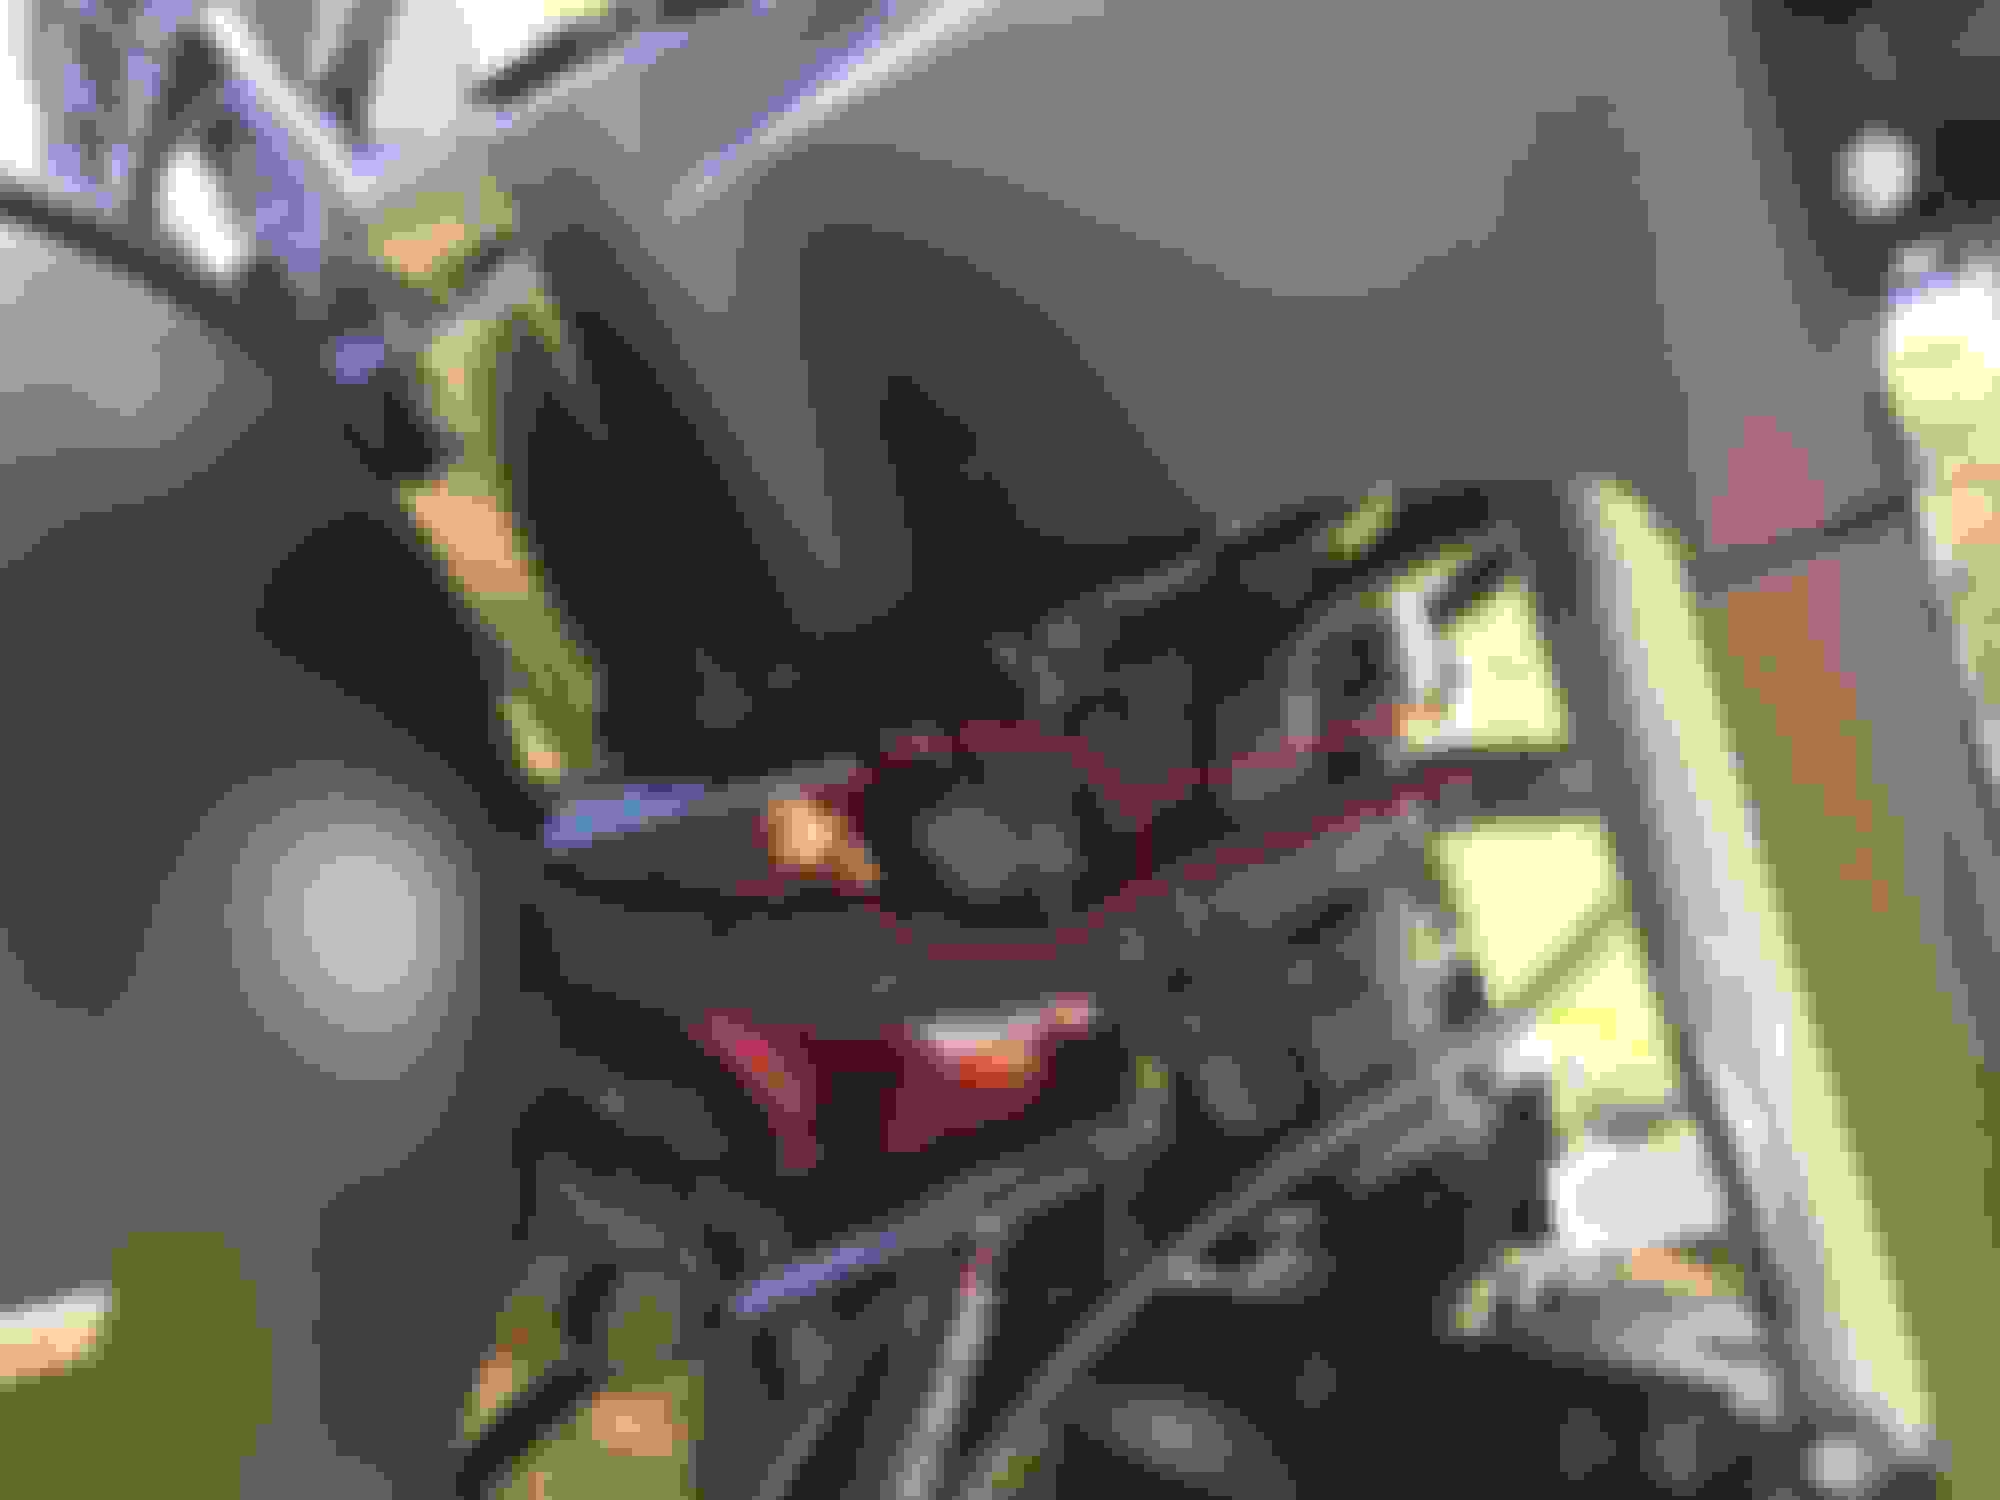
To install the USB hub, I removed the outer fairing by removing the (3) T27 bolts that hold the windshield on, and the (4) T27 bolts on the inner fairing. Fairing-mounted wind deflectors can remain in place - no need to remove.
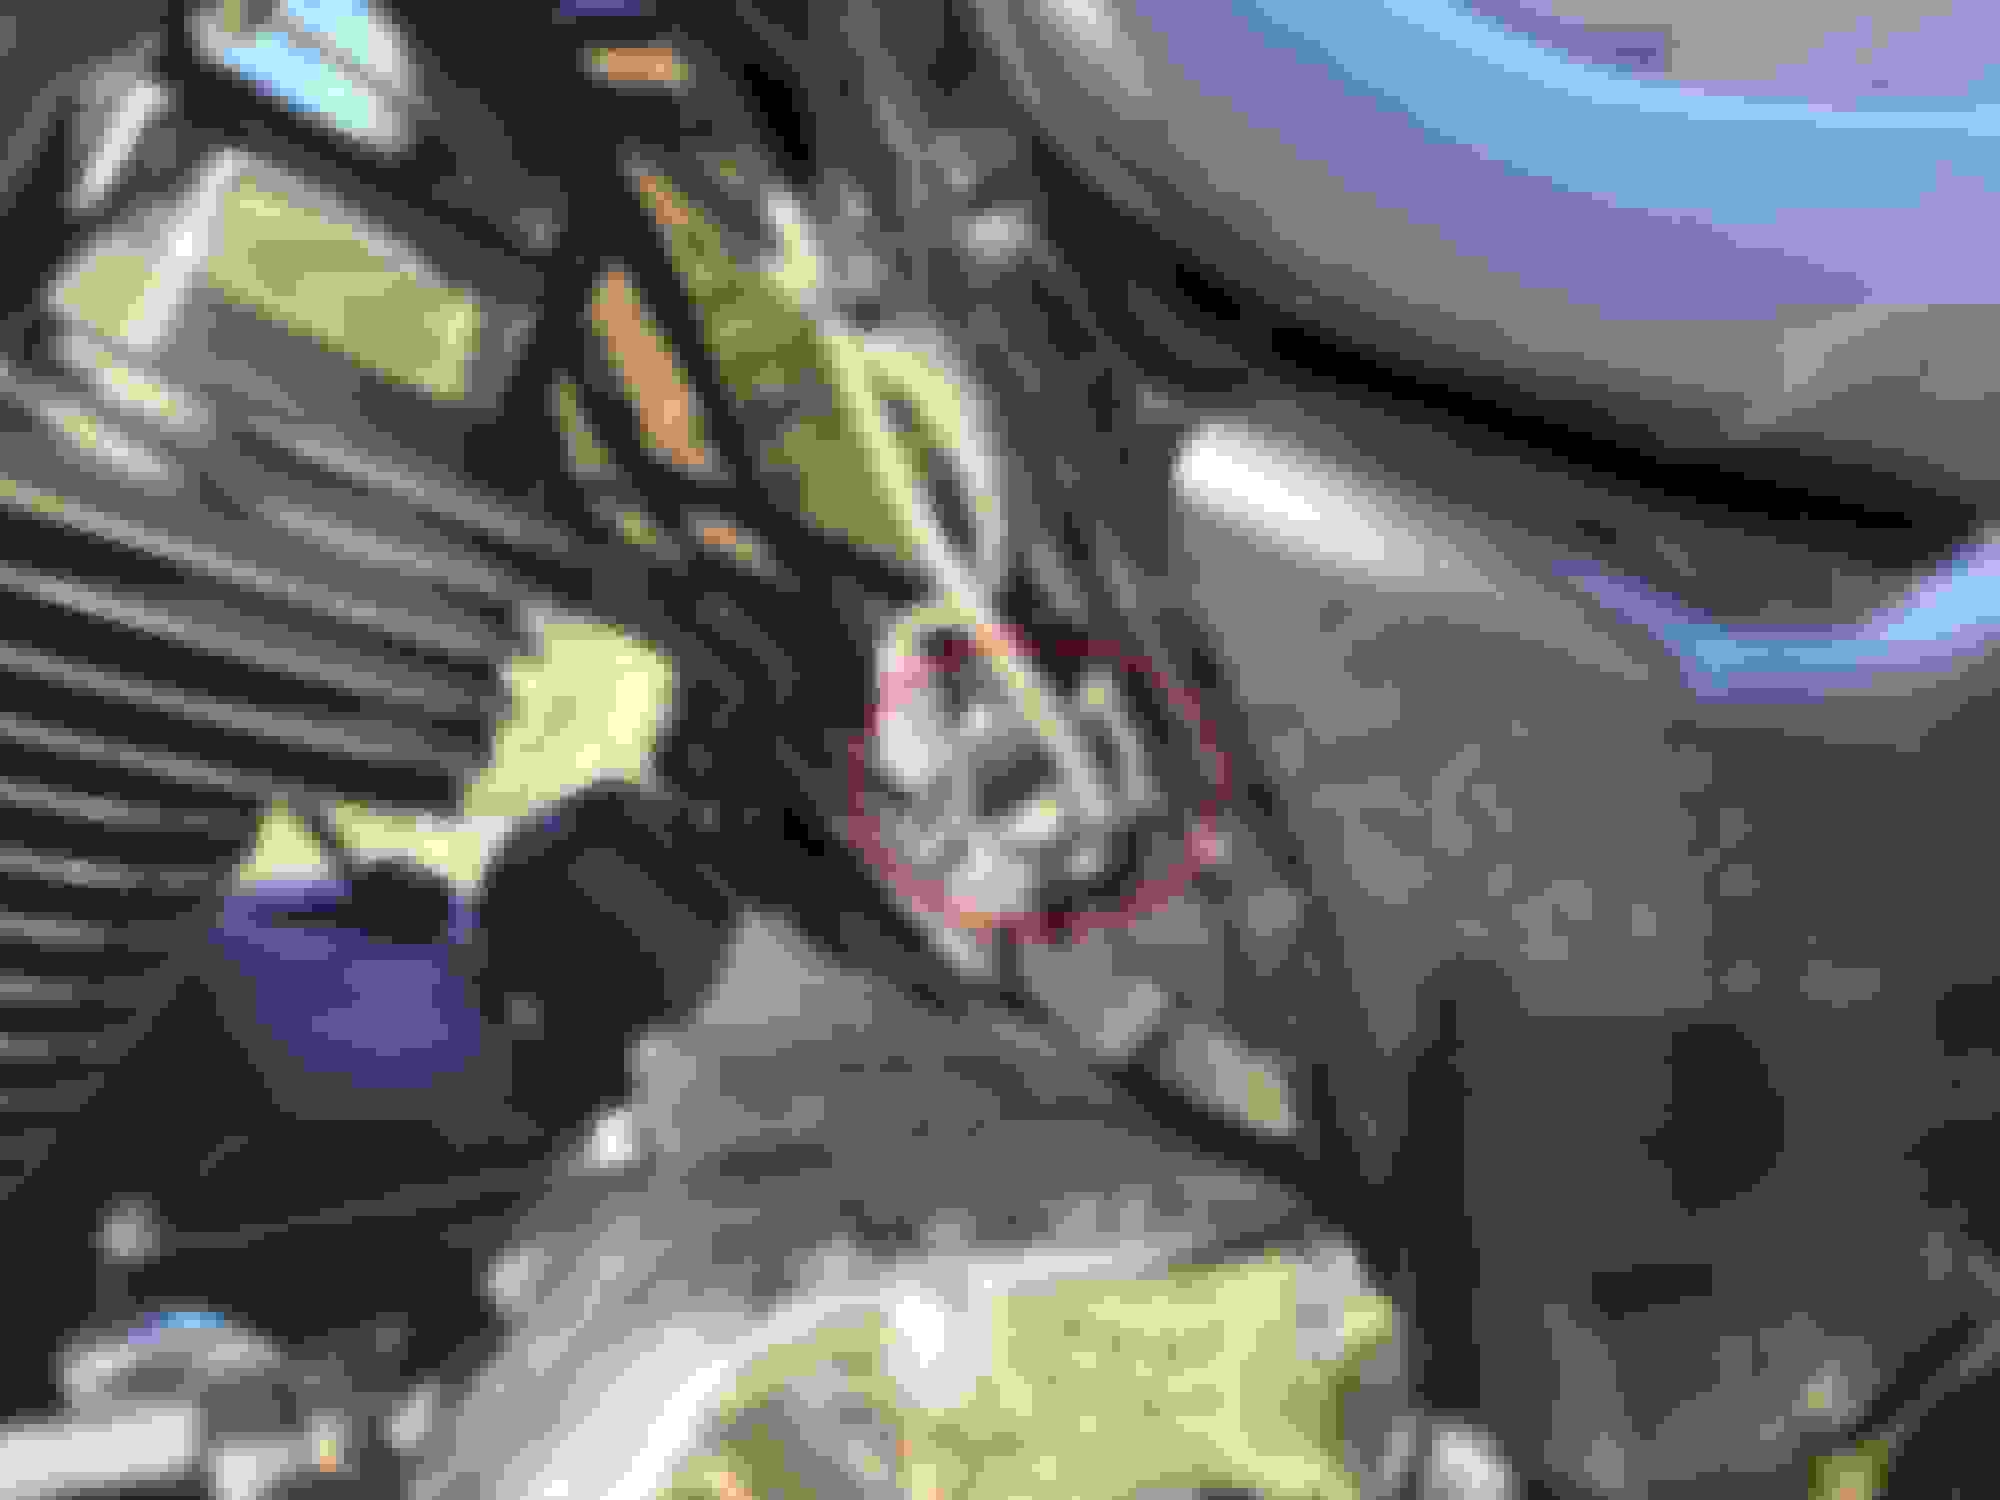
I unplugged the USB cable from the radio. To remove the rubber plug from the phone compartment, push INTO the compartment and remove cable through the door.
Next, I plugged the USB cable back into the radio. I connected the USB hub to the bike's USB cable and used double-sided tape to mount the hub up under the fairing vent. I chose this location to keep the hub away from any water than seeps down between the windshield and the fairing.
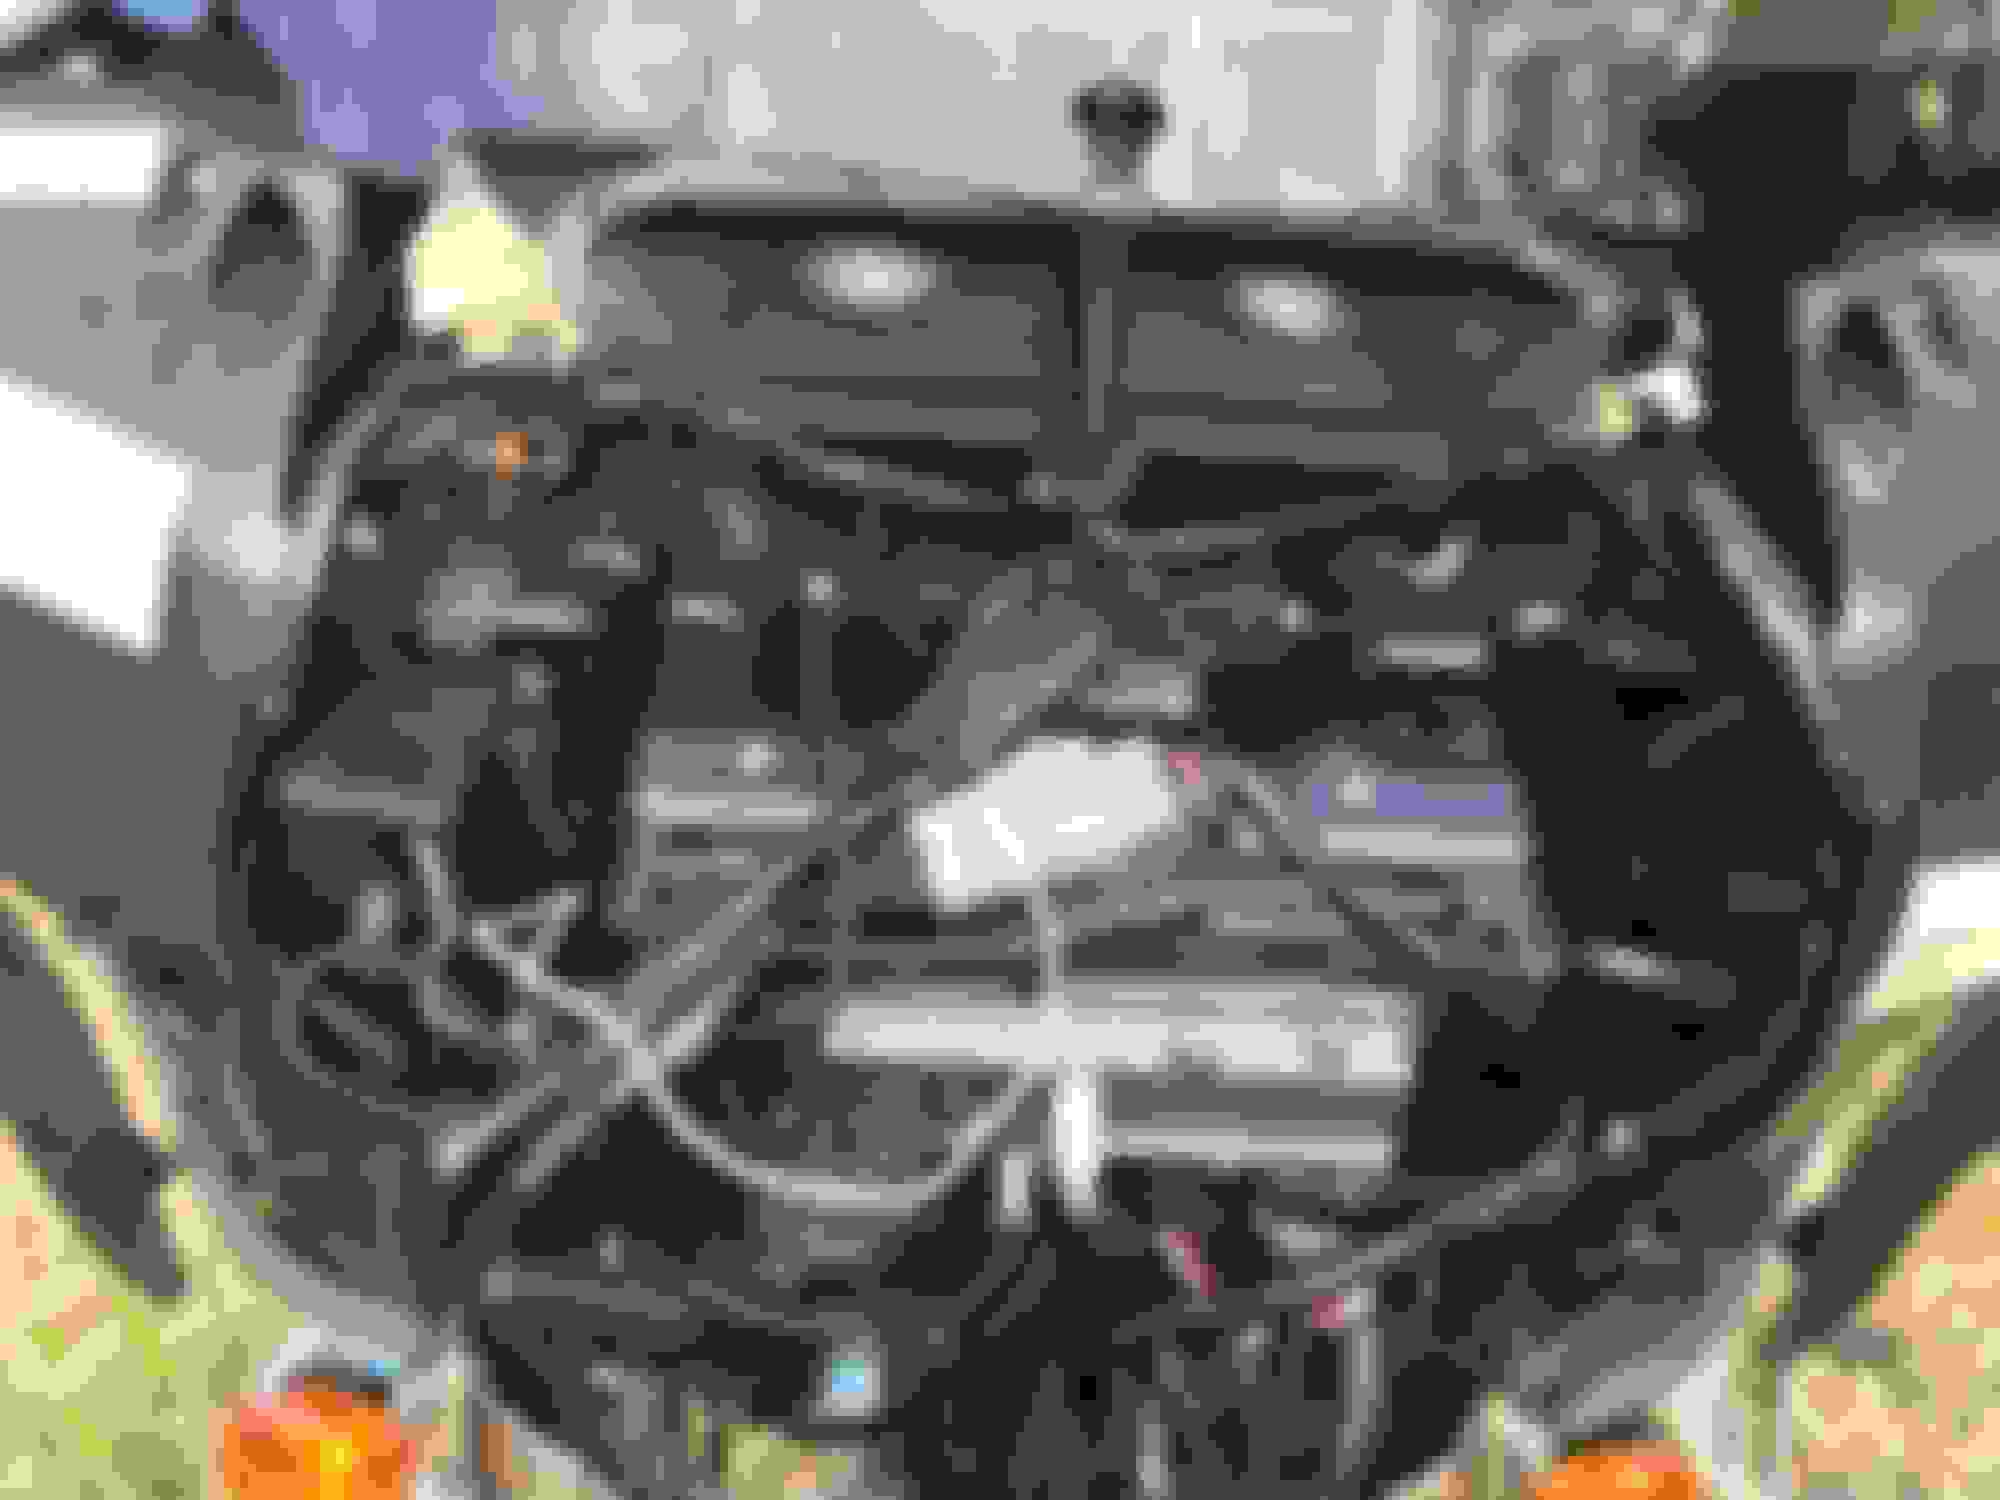
I plugged my iPhone cable into the hub and ran it into the compartment. I didn't take a picture after this, however, I also ran a USB extender cable down along the neck (for updating radio software or playing music from a USB), and added a 6' iPhone cable along the bike's main harness, under the gas tank and seat, where my wife can fetch it through the backrest slot.
To install the TollTag, I removed the outer fairing by removing the (3) T27 bolts that hold the windshield on, and the (4) T27 bolts on the inner fairing. Fairing-mounted wind deflectors can remain in place - no need to remove.
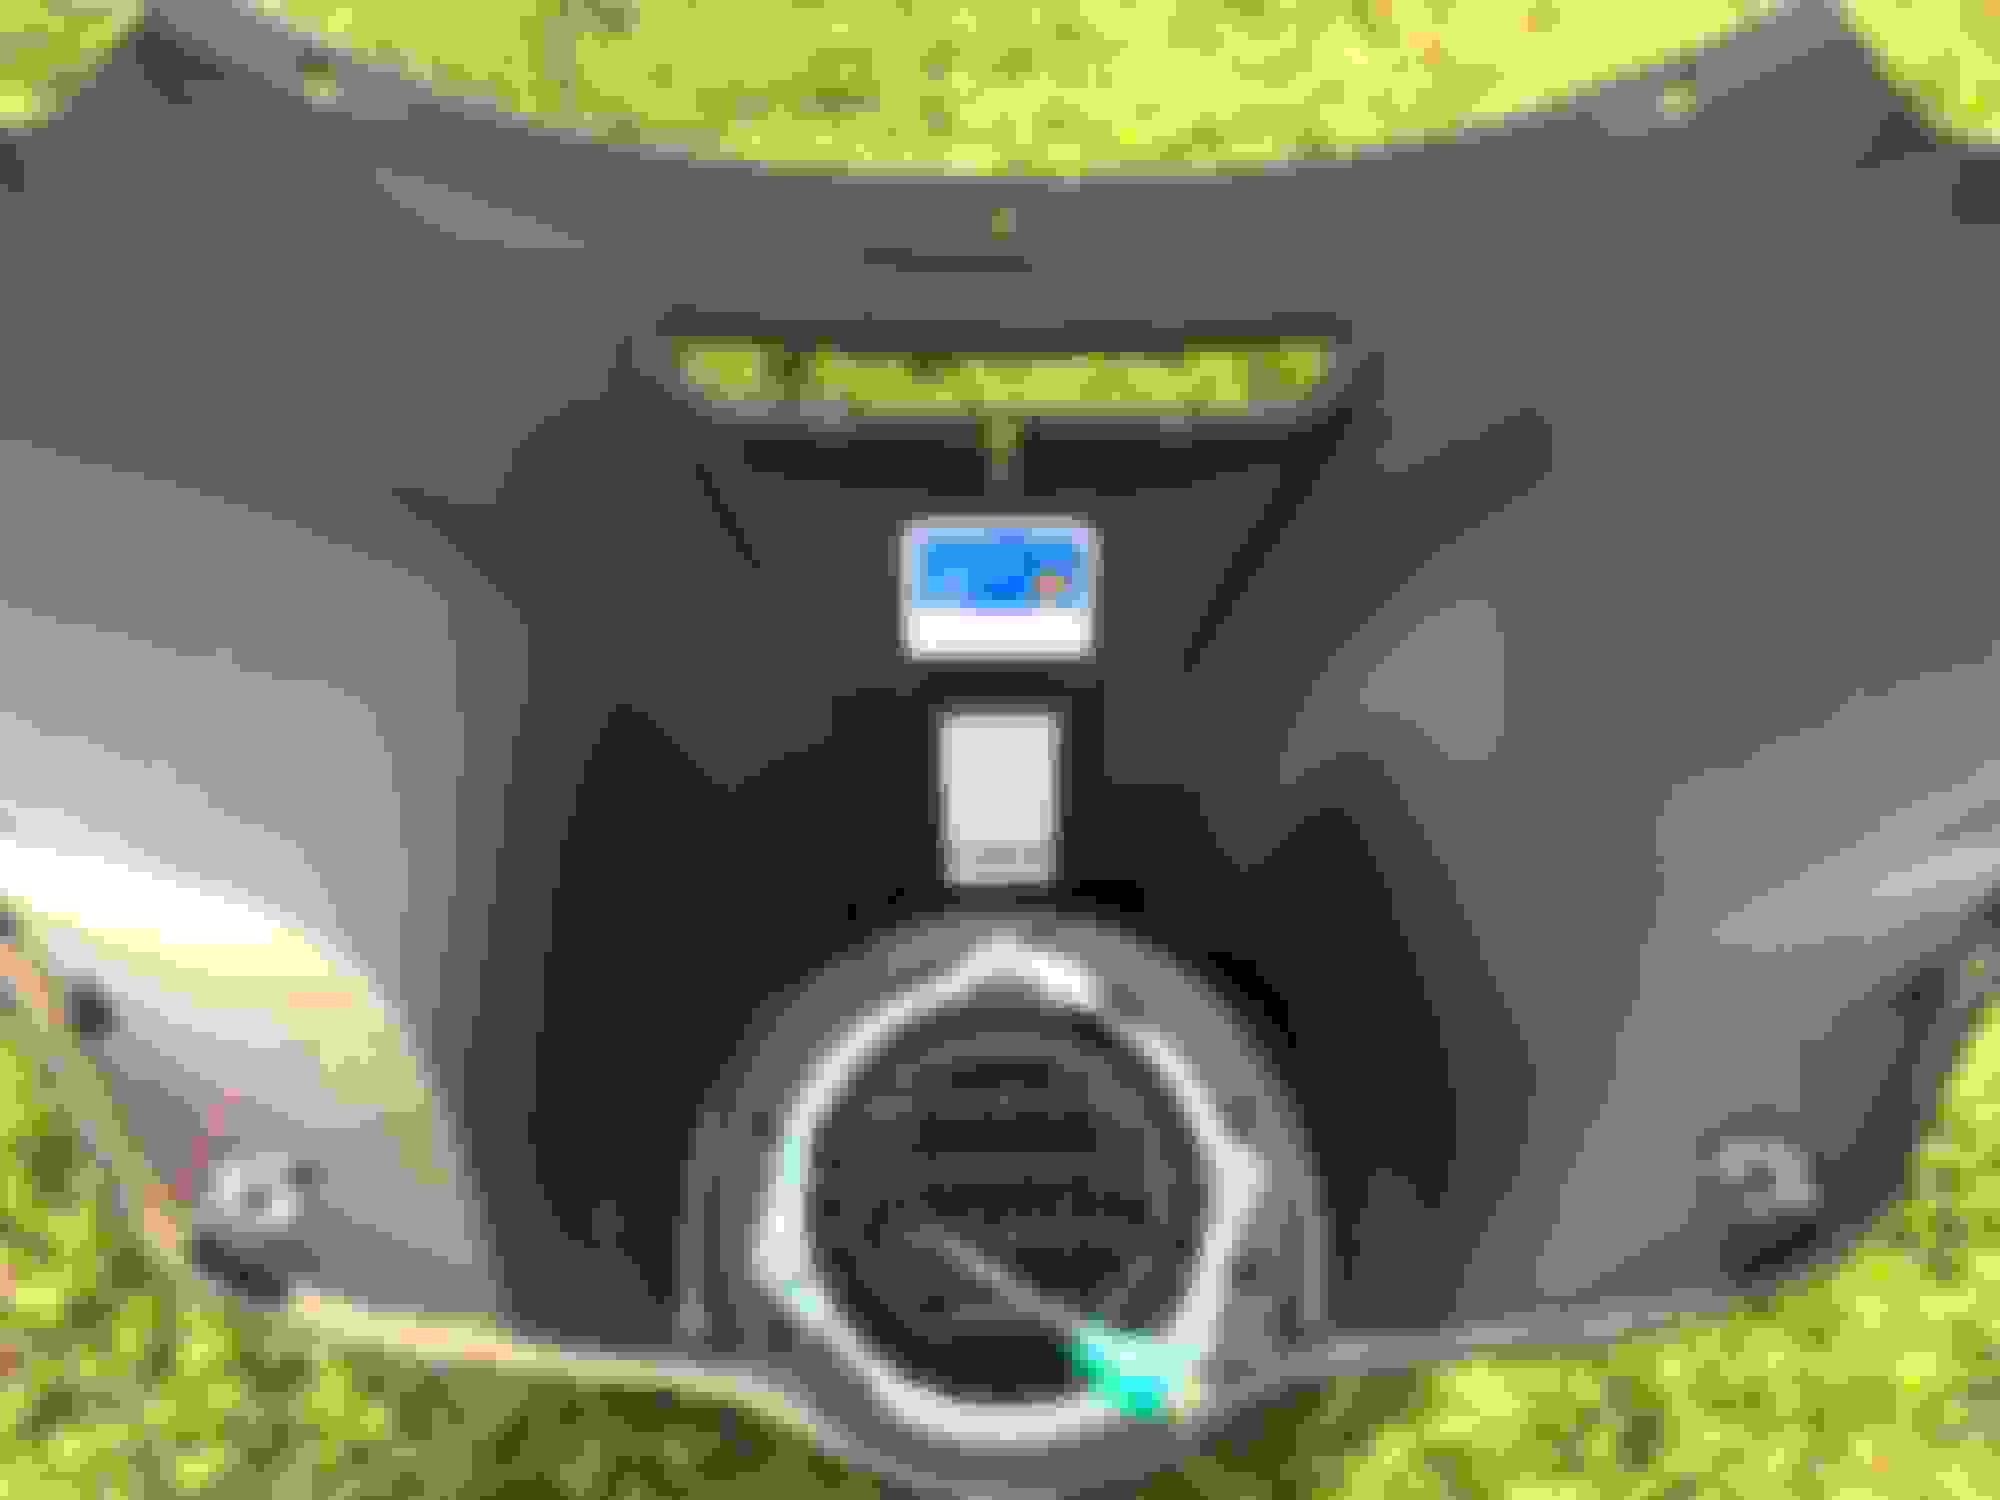
I placed the TollTag at the top of the fairing in the center, just below the fairing vent. I wanted to keep the tag as far away from the speakers as possible, just in case of any magnetic interference.
Removing the Seat Strap and Installing a Seat Screw
To install the thumb screw for the seat, I removed the phillips screw from the seat on the fender and replaced it with the thumb screw.
To remove the seat strap and associated bracket, I removed the left side saddlebag by removing the two bolts inside the saddlebag. I then removed the 7/16" bolt that mounts the seat strap bracket to the fender. Repeat for the right side.
As I near 3000 miles, I am noticing my higher speed mpg increasing. I have averaged 40 mpg the past two weeks, whereas before when I had 1000 miles on the bike, I would only average 35 mpg.
It's warming up into the mid-80's here in NE Texas and I wanted to take off the fork fangs. I forgot how much buffeting they prevent! My eyeballs were rattling around like crazy. I put them back on immediately.
Well, I crossed over 3000 miles on the odometer today. The bike feels just the same as it did when I bought it. Besides a few creature comfort additions, I've not had to touch this bike. I even have the stock air in the tires! [sarcasm] Truly, I expect to do my 5k mile changes for the life of the bike and be on the road. What an exceptional bike!
I installed the comm cable and the freewire. I just kept the com cable behind the fairing, and ran a small hole for the freewire USB back into the fairing. I keep the freewire in one of the cubbies on my Road Glide

 04-21-2017, 01:10 PM