AFMM3 - that truly is a compliment having an argument over the year. I don't think I'll be as fortunate on that, but still hoping for a nice outcome. I plan on starting my painting a week from tomorrow on my next week off. I finished a nice undercoating on both fenders on Friday. Milled and lathed a brake fitting for where the old master cylinder used to be and working out the final details on getting a brake line back there. I'd do the flare myself, but that's proving to be a bit of a pain getting a good double flare on some 3/16" rigid brake line. I'm hoping NAPA will have a suitable already made length. I'll check on way home from work tomorrow night. As it stands right now, for anyone's reference, I have the following setup planned:
1) 3/8" (10mm) banjo fitting coming out of the master cylinder with a 3AN male end
2) 90 3AN male to 3AN male swivel elbow attached to #1 (got from Jegs), and can provide part number if anyone is interested
3) 3AN male to 3/8 x 24 Inverted Flare female to accept the rigid brake line male
4) Rigid brake line going back to a 3/8 x 24 Inverted flare female to 1/8 x 27 NPT fitting
5) The 1/8 fitting going into my 'bulkhead' machined coupler
6) Brake light switch in original location
7) Original brake line to the caliper
Just have to fill and bleed and pressure test while paint will be drying next week, but should work out well.
I machined a new 'coupler' using the original master cylinder much like Ackman (I think it was Ackman) did, but made a duplicate out of same material but allows for more room for the threading of the fittings. On a plus note and not having a 3/4" x 16 TPI die (which is the thread size for the nut which holds the master cylinders in place, I successfully cut my first threads on my mini-lathe the first time around, and using some other pieces I made on the lathe this past winter, tapped the appropriate internal threads, and using a milling attachment for the lathe, machined the square parts on the round fitting to fit into the frame hole on the rear.
Well, that's all for now, will start feeding some more pics soon once I start the priming/painting next week.
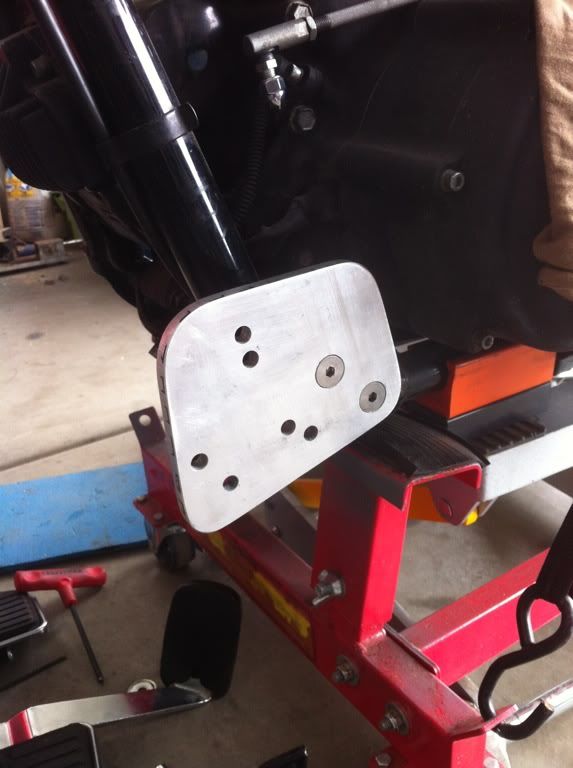
I am in the process, also, of painting my floorboard brackets, but aluminum is not easy to get a finish on, so thinking of delving into some home anodizing if my self-etch primer doesn't hold on the T6 very well. Here's a pic of the left hand floor board bracket before painting, it turned out a lot like Chops store bought bracket by virtue of some time-consuming cutting on a band saw and some sanding on a wide belt sander. The extra holes are not visible with the floor board bracket installed, and are the result of improper drilling. Well, actually, the holes were drilled correctly, but the angle was not to my liking with the lower set of holes. The right hand bracket only has the needed holes, but have no pic of that yet.