I have seen plenty of threads about sanding your forks to polish them. I just picked up this kit on Sunday and I think I am going to try and use it to polish the forks.
It's a lot of work, you are better off just swapping them out for chrome. You have to take them off anyhow to do a good job and apply a clear coat to them. There are vendors that will swap you chromed ones quite reasonably. Don't buy Harley's, they don't have a very nice finish anymore.
It's a lot of work, you are better off just swapping them out for chrome. You have to take them off anyhow to do a good job and apply a clear coat to them. There are vendors that will swap you chromed ones quite reasonably. Don't buy Harley's, they don't have a very nice finish anymore.
Not true, I did a set on my 02 Heritage & they turned out good.
Take the front tire & fender off - hopefully you have a lift? take caliper off fork & set off onto a make shift stand (no need to completely remove caliper).
I started with a coarse grit to get the plasti clear off the forks, I wanna say 150 - 200 grit??? kept sanding up to 800-1000 grit wet sand. its a little work but not bad, I used a small garbage can with water in it & lowered the lift down just enough to have the fork above the water & proceed to wet sand.
Now - you will basically feel like your jackin off an elephant, but one you get to a smooth finish use mothers aluminum polish & a micro fiber towel - they'll look awesome. if you have chrome uppers? - use painters tape to protect the edges!
depends on how particular you are, but - 4-5 hrs & a can of mothers beats what chrome lowers & the labor cost by a long shot!
Scudda - if you go to a thread I started called Heritage trunk options - I have a pic of my bike, not sure if you can zoom in on the fork side that's showing but that will give you an idea of what to expect.
BTW, that pic is on the BRP & bike traveled from Pittsburgh to little Switzerland - so there is some road grime but not much!
I think it will also depend on the existing aluminum finish.
I polished the aluminum fork lowers on my 01 Scout with Busch's Aluminum polish. Looks like chrome when I'm done. Very easy, wipe on wipe off.
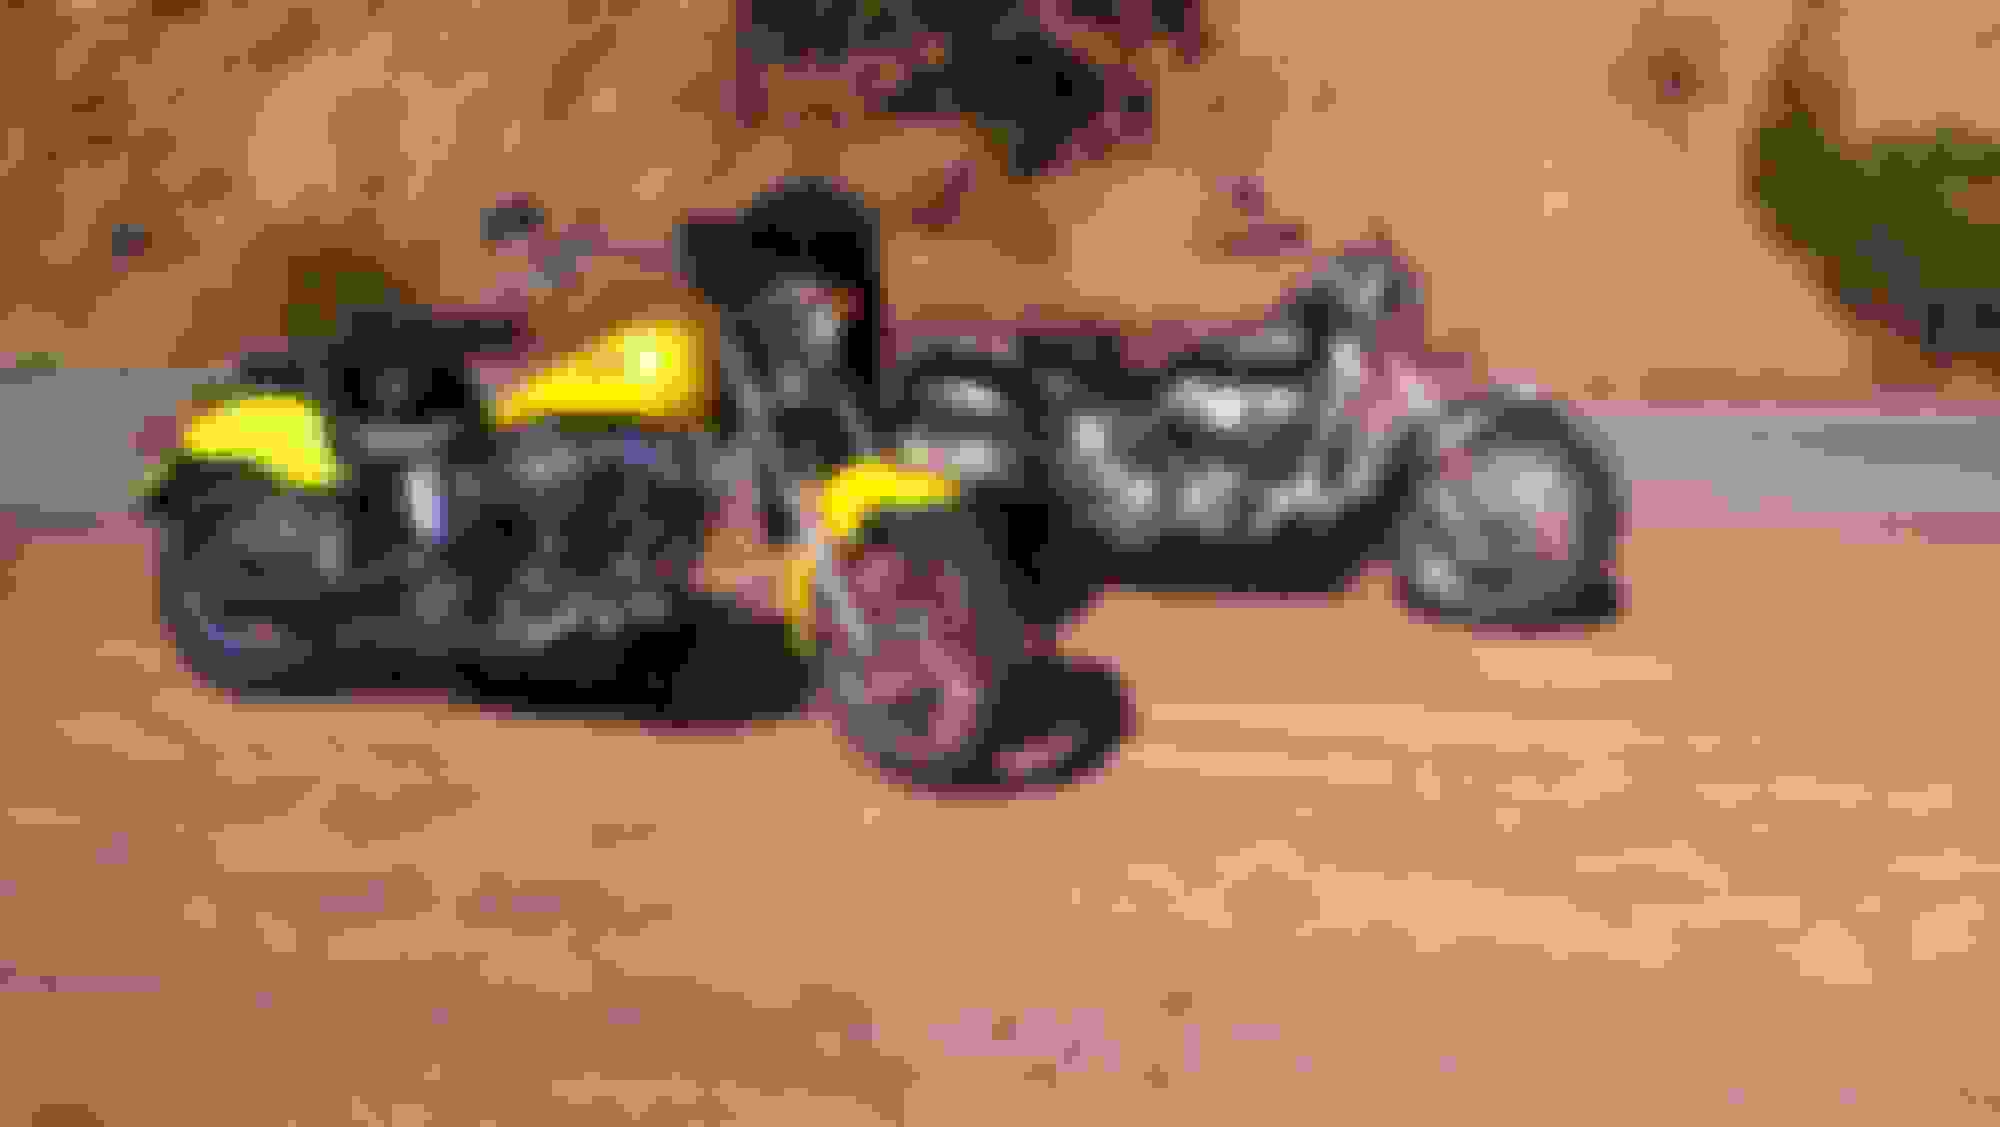
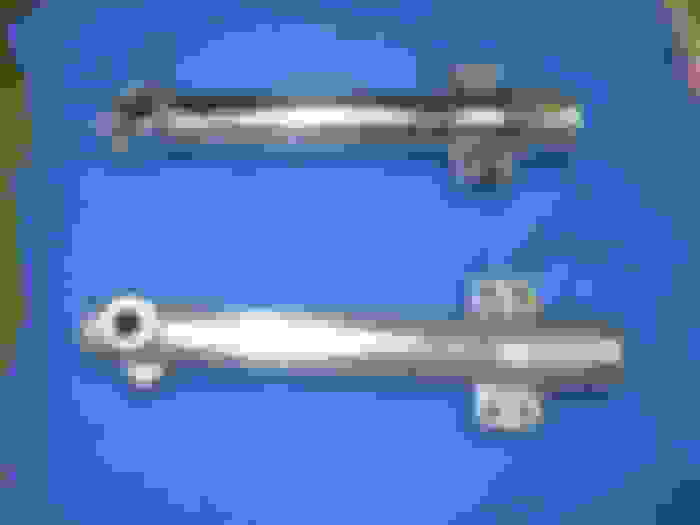
Now my brothers 01 Scout was different, almost like a plastic coating and it didn't make any difference on his. You can see the difference in this picture.
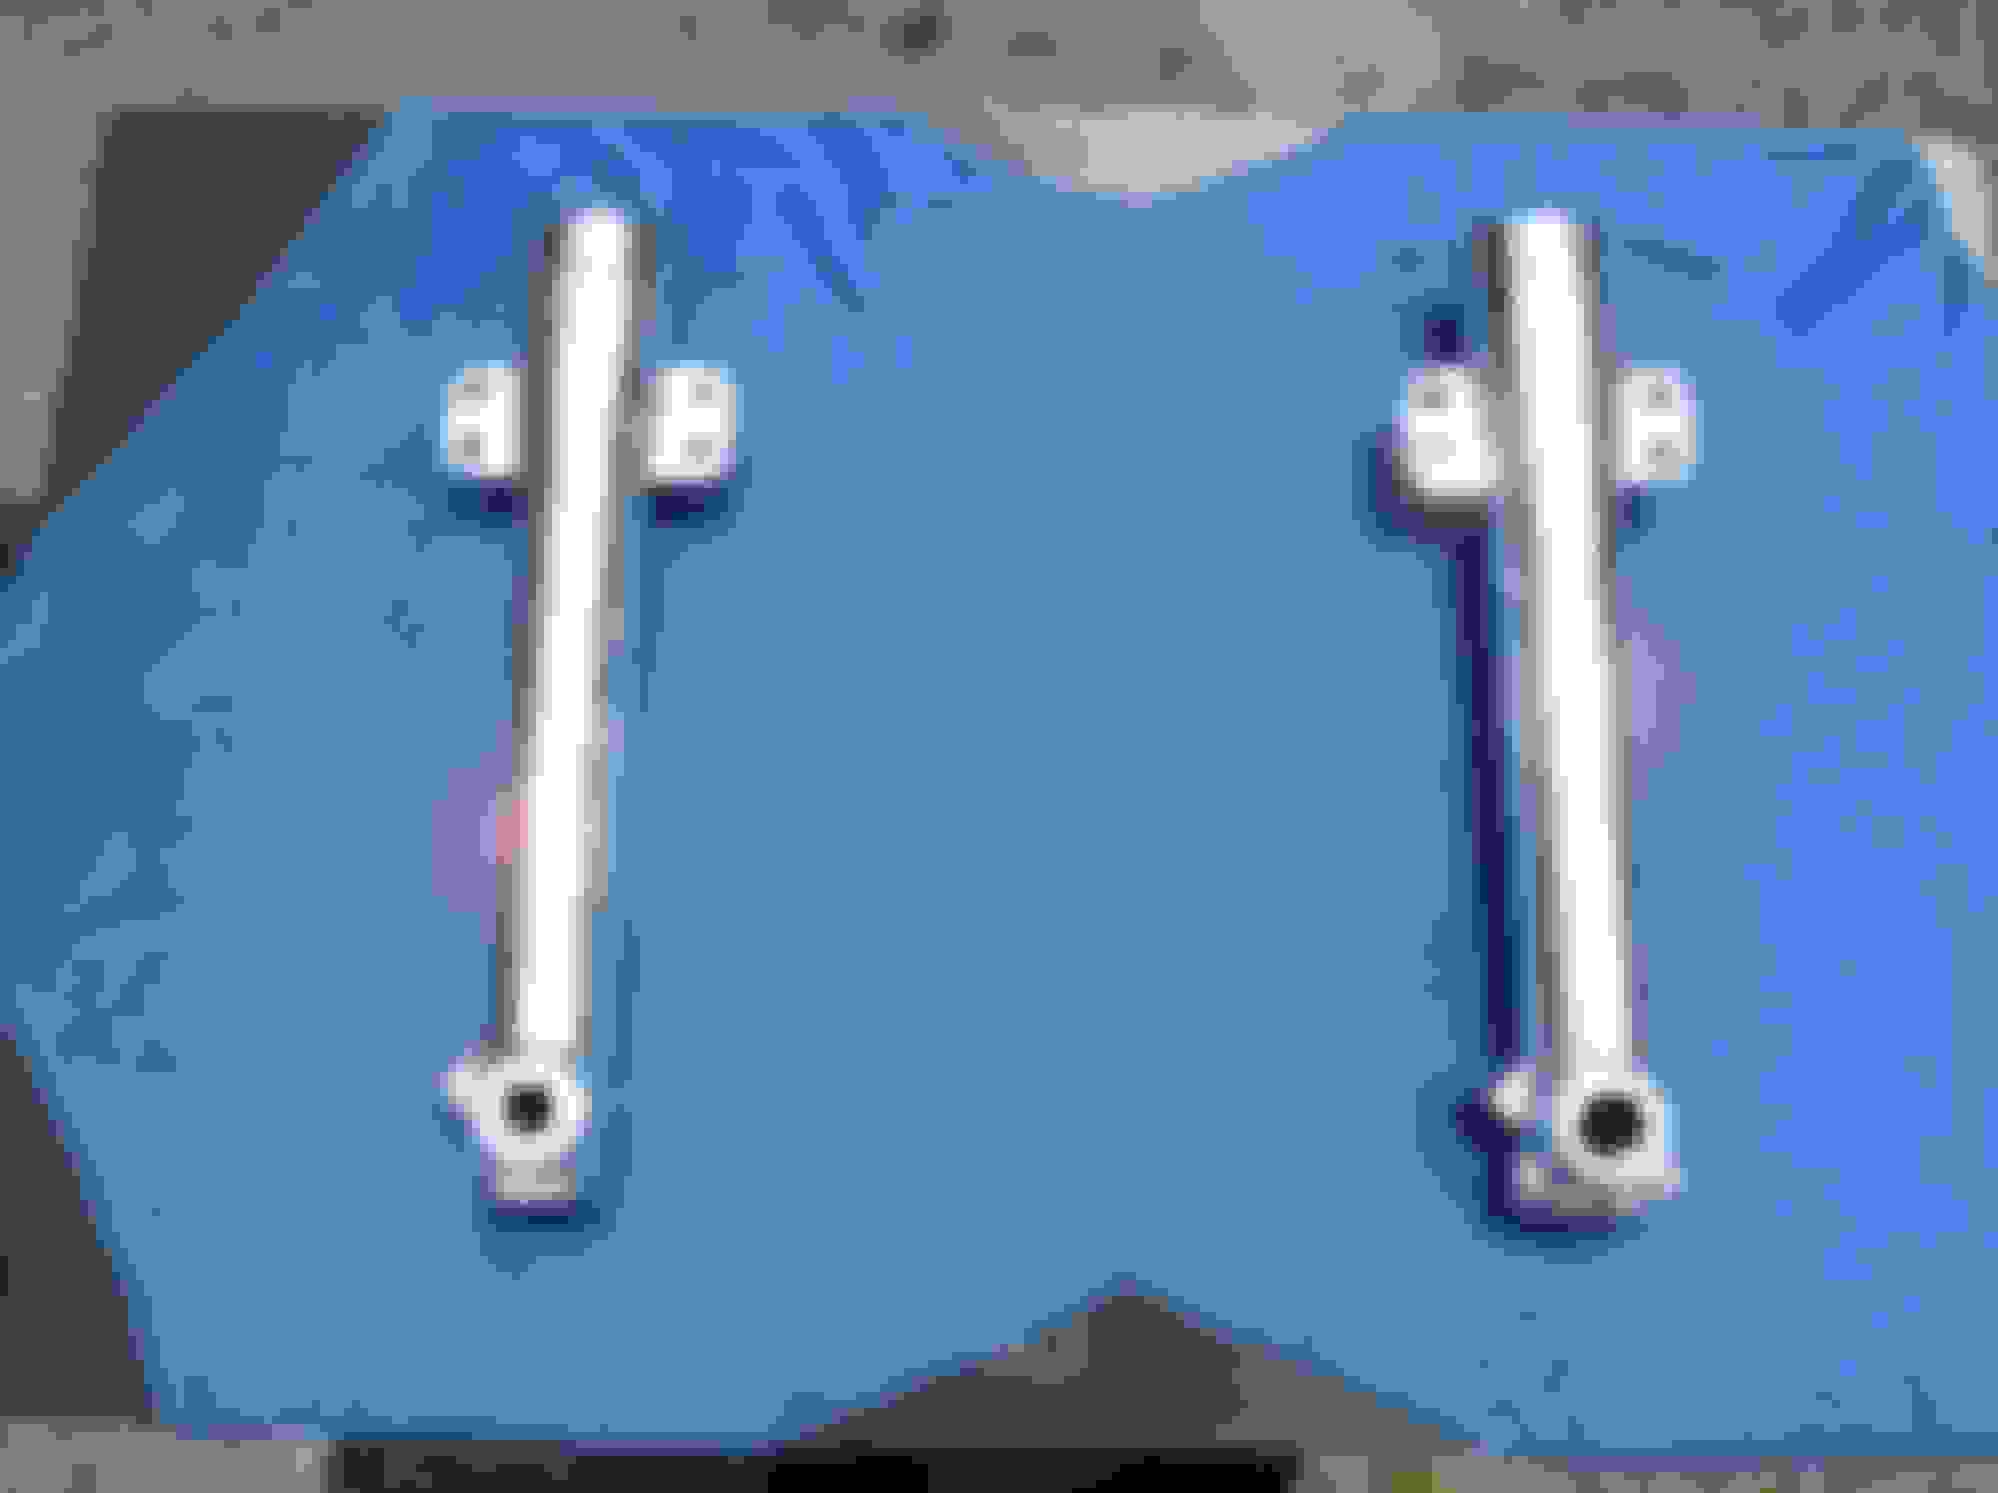
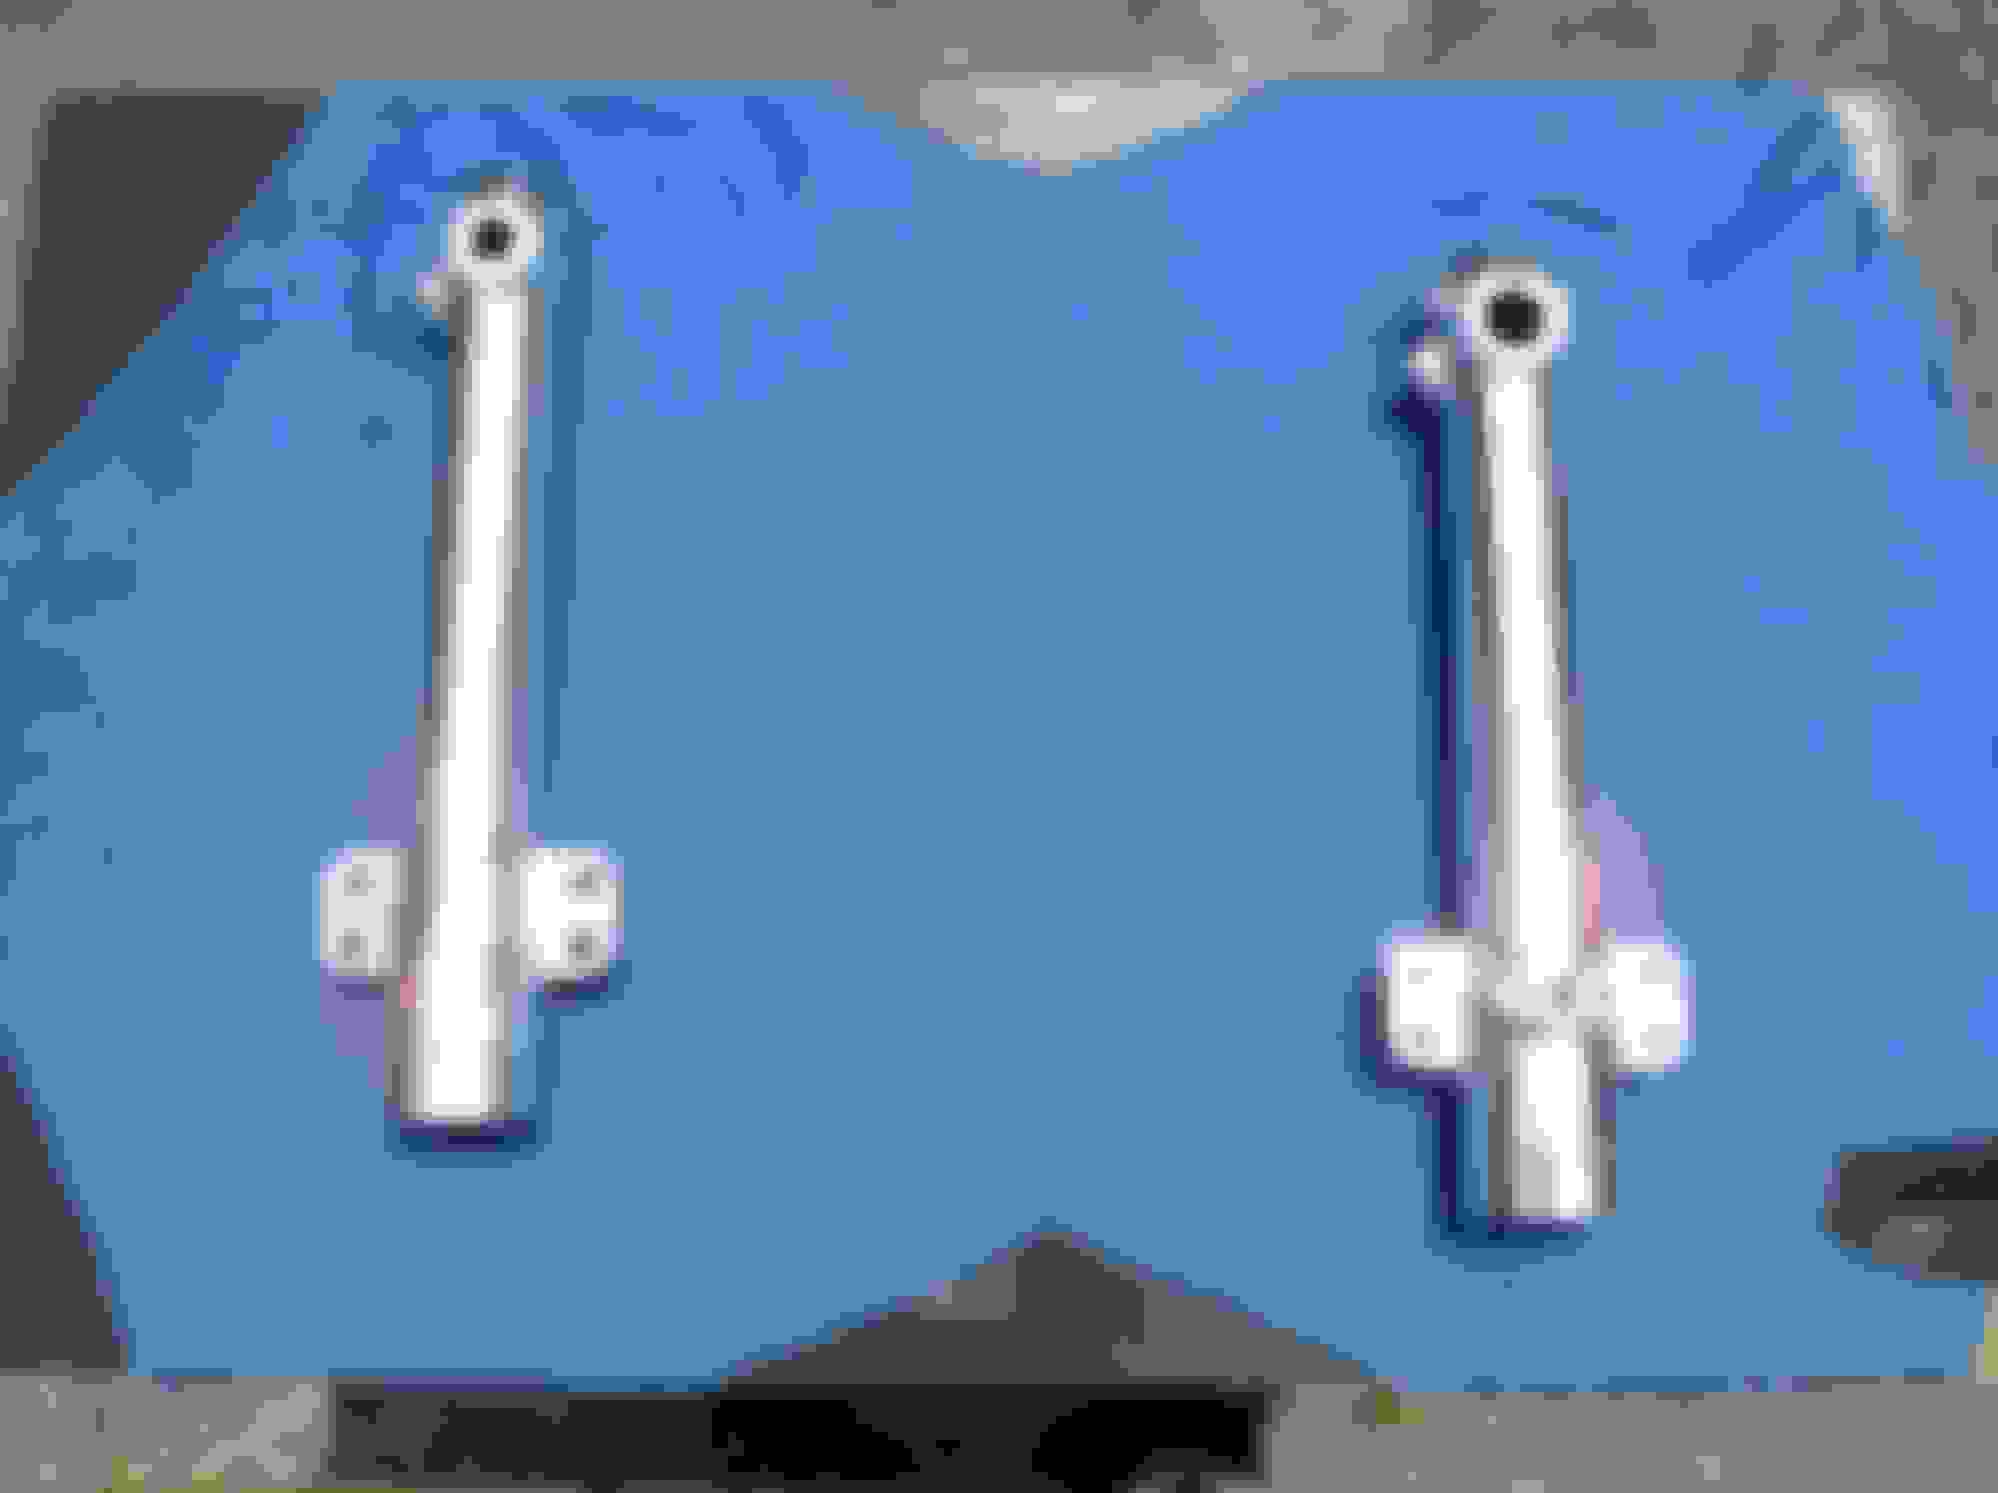
I polished these, they were badly pitted. I started with 120 grit to get down below the pitting, and worked up to 1200 grit. Yeah, it's a lot of work, and it wreaked havoc with my carpal tunnel. But, it's a high impact area for road debris, and unlike chrome, I can polish out any new knicks. Wait until tire change to do it, and kill two birds with one stone.
The rouge'll work, but you'll get better results from a polishing wheel instead of a drill.
It goes without saying, you gotta remove the forks..
Originally Posted by PeterV
#180 to get rid of the clearcoat and the chips and dimples.
#360 or 400 will begin the smoothing process
#1000 or higher to erase directional lines, will leave a smooth satin finish
Final step, polishing wheel. I used dark grey and white rouge, but can't remember in which order (did mine 2 years ago)
They look great when you're done
Lots of work to get them nice, and more work to keep them nice.
Clear coating is an option, but they must be SUPER clean or the residue
from the sanding and polishing process with come out when you clearcoat them.
I spent hours sanding and polishing an aluminum intake on another bike,
and thought I had done a good job in cleaning them until I sprayed on the clearcoat.
I ended up with brown crap coming out of the pores in the aluminum.
Not matter how much I cleaned them, the crap kept on coming out.
Not sure how to prevent this, other than cleaning, and more cleaning before using the clear.
These aluminum parts were done by a pro on another project I had.
They have stayed nice, but the bike doesn't get much use.
Cost for these parts was about $200 for ALL of these parts.
It would have taken me hours to even come close to a finish like this.
To me, it was money well spent.
Before pics on the kickstand
And the legs, the top pic was my attempt before I sent them out to the polisher
Before pic of the instrument pod, the best I could get it.
The little swirl type marks were in the aluminum, not from the sanding and polishing process.
I tried every grit and wheel I had, and gave up.
Compare that to what the pro did, and the difference is like night and day.
These aluminum parts were done by a pro on another project I had.
They have stayed nice, but the bike doesn't get much use.
Cost for these parts was about $200 for ALL of these parts.
It would have taken me hours to even come close to a finish like this.
To me, it was money well spent.

 01-15-2018 | 02:12 PM