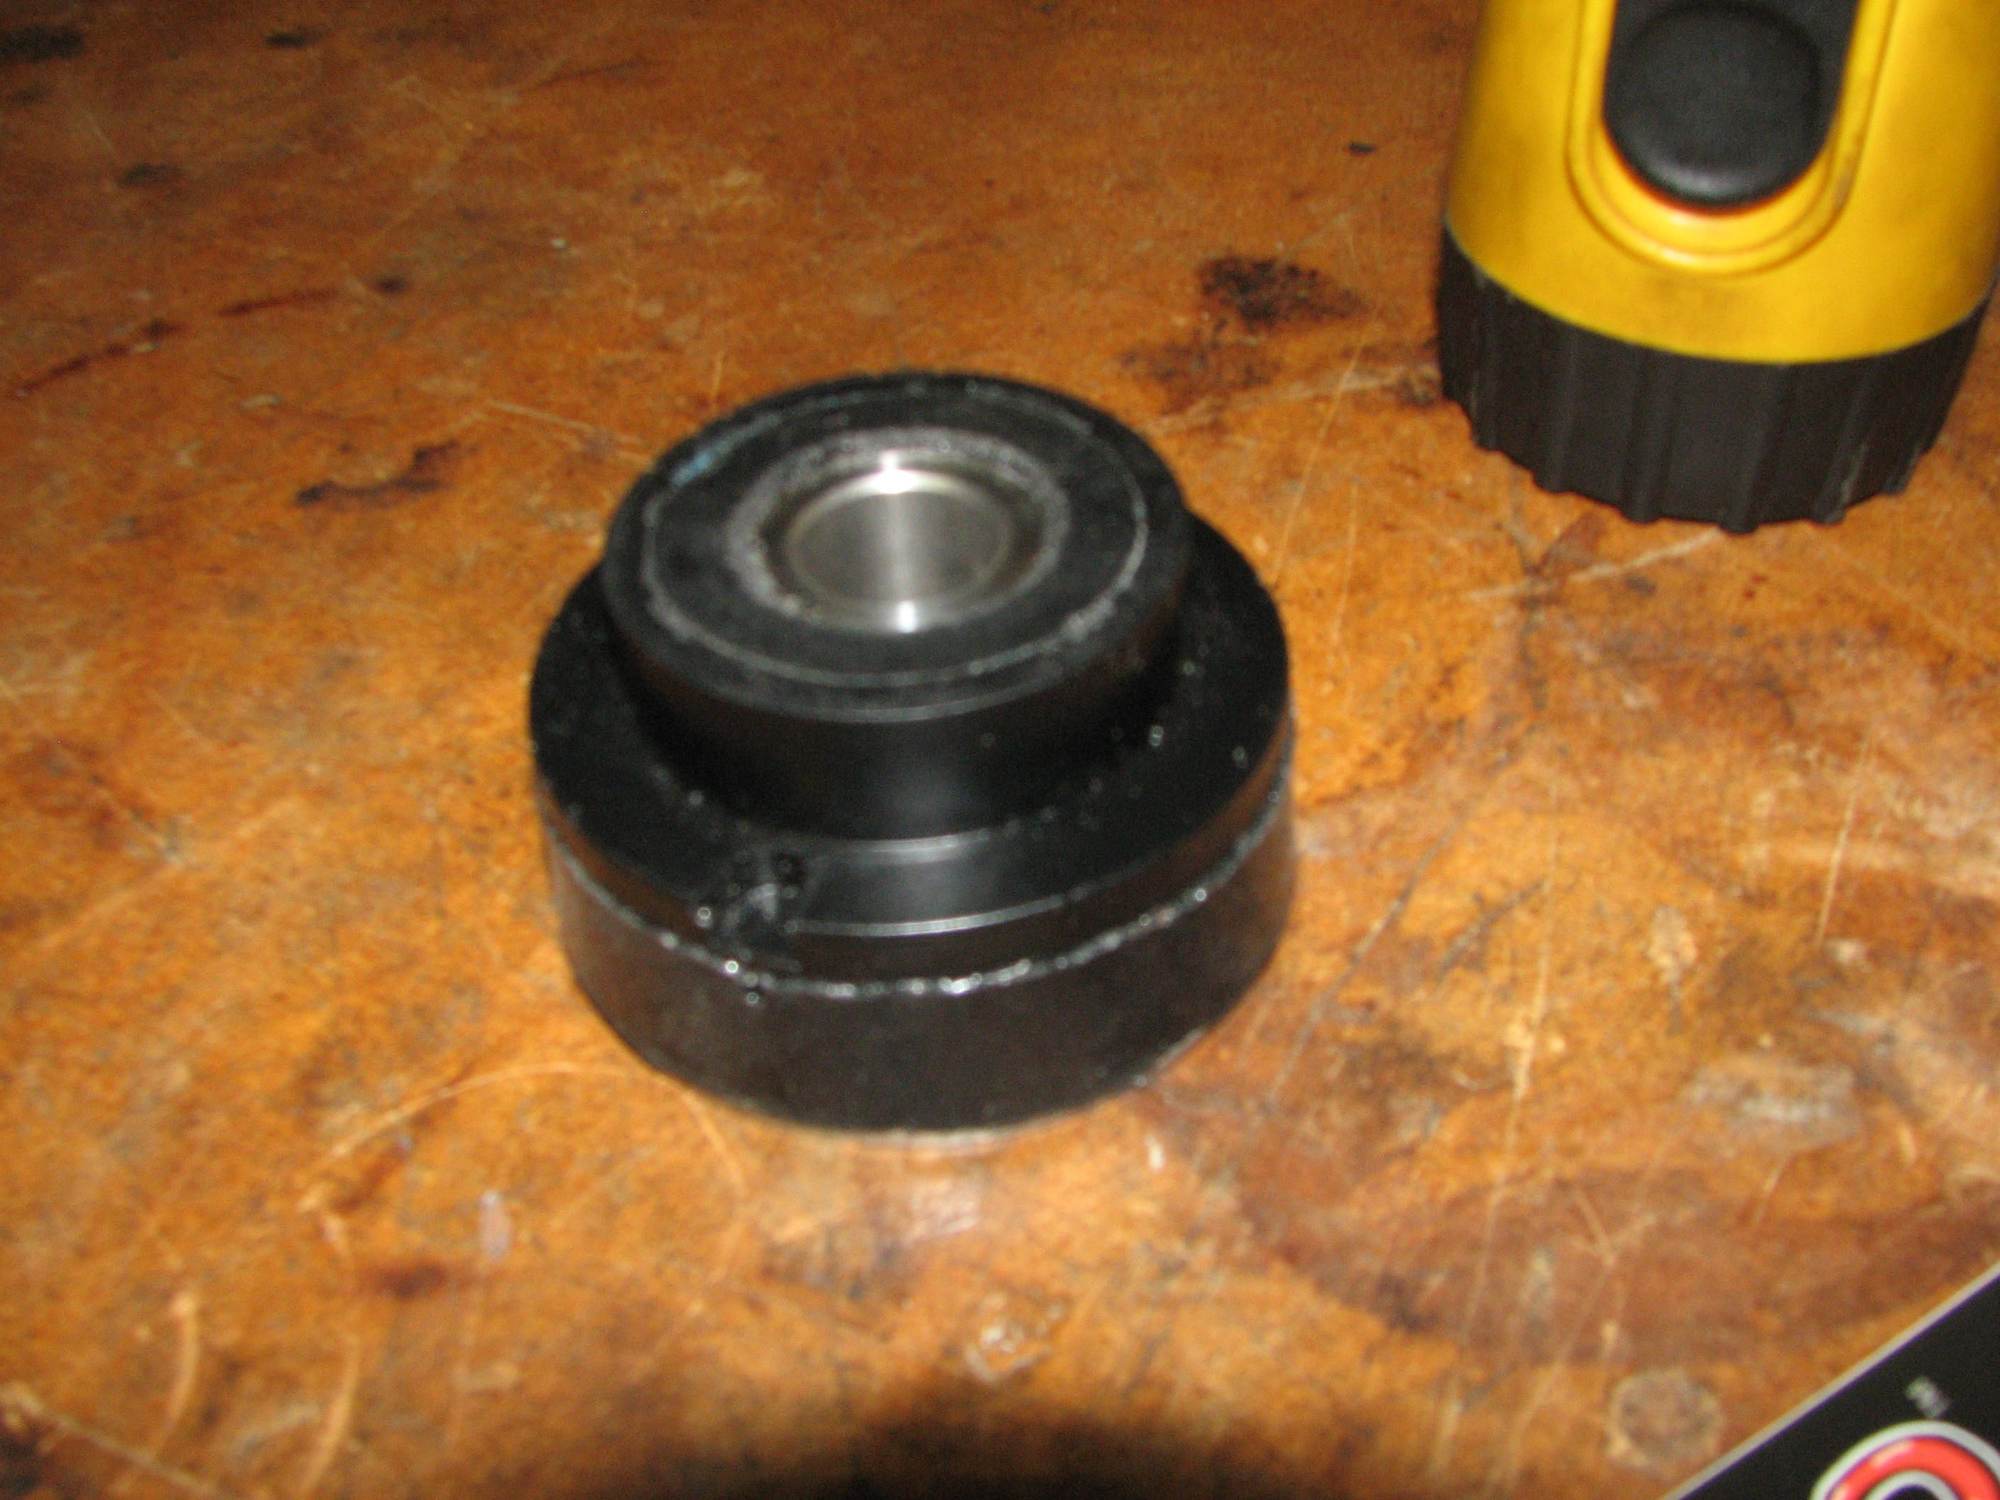
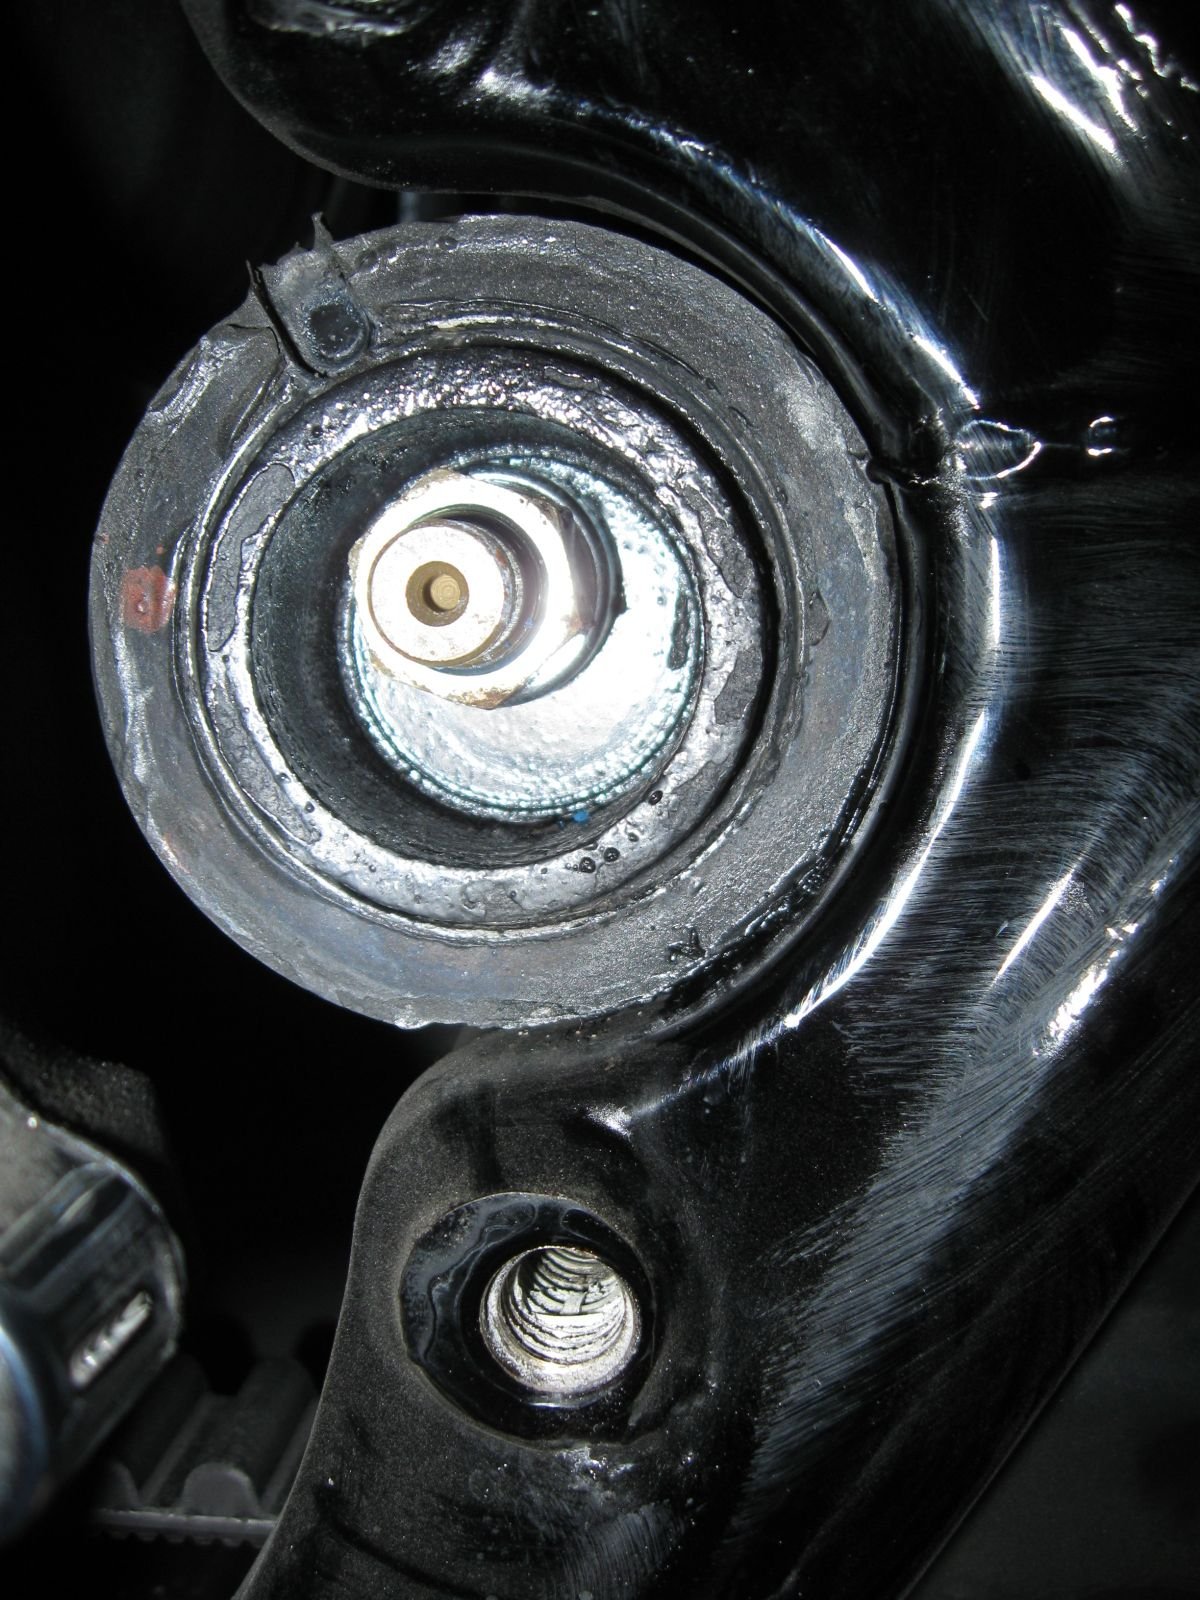
I took on the Glide-Pro Motor mount suspension upgrade.
#11
Now I can say I've done it too! It's been a couple of weeks since I've installed them and thought I would share my experience and lessons learned.
My justification for installing this kit was based on some instability issues. Once I had the back wheel off and everything disconnected from the swing arm, I checked for side to side movement. I think about a 1/8 to 1/4" was present. After the glide pro isolators were installed, it was gone. The handling is back to normal now.
After installing the motor mounts, the vibrations through the handlebars and foot boards increased dramatically. I thought I was going to have to go back to stock but after a 100 miles or so, it's almost back to normal. I'm guessing with a few more miles I won't notice it anymore.
Now for the lessons learned. I did this job by myself and took an evening and finished the following morning. If I had worked straight and knew then what I know now, it probably would have taken about 4 hours.
Removing the rear wheel and swing arm is straight forward. When removing the belt guard, you don't have to remove the forward mounting screw. Just loosen it up and slide the guard out of the slot. (makes sense when you see it)
When installing the new glide pro axle ensure it is centered. When inserting it from the left side until it stops, it will stick out about 1/4" too far on the right. You won't notice until you go to put the "decorative" chrome cap on. Put the nut on the right side and make it flush with the threads of the axle and torque down the left side nut. Then check the torque on the right side.
I had issues/concerns with the rear wheel alignment. When torqueing down the nut to a 100 ft lbs, the adjuster would move forward and out of sync with the left. I ended up just loosening it just a tad and it lined back up.
The front motor mounts/isolators were a pain and partly due to the instructions. The isolators are bolted to the motor mount. I can't remember verbatim what the instructions say but my advice: You don't have to remove the left side plate with the jiffy stand or the brake pedal. You can loosen the bolts and remove the forward one to the master cylinder and get to the plate mounting bolts. When you remove these three bolts that hold that plate on, you can make room to remove the motor mount. You will have to remove the voltage regulator for easier access to the mounting bolts (and probably the oil cooler if you have one). Once you remove the motor mount bolts, you should be able to slide the mount to the right, drop it and remove it. Then you can put it in a vice to loosen the isolator mounting bolts. Installation should go pretty smooth but if you can't get the motor mount bolts to line up (don't forget the dowel pins), disconnect the top engine stabilizer from the frame. This will give you some wiggle room. There are no alignment procedures that I'm aware of.
After I removed the engine isolators, I noticed that in quite a few places that the rubber was worn down to the metal. This is not a cheap upgrade and if I were to do it again, I would just replace with stock. The 09s and up have a different set up then previous years so keep that in mind if you're googling and pay attention to what year the bike is you're reading about.
#12
#13
Not sure what you are saying but stock rubbers are offset and GP rubbers are centered. Going from one to the other you need to loosen the front motor mount to let the motor / drive train shift.
#14
#15


#18
The new mounts should position the motor to where they hold the drivetrain.. Your mounts do look like the motor has moved back some so I would guess that they move the drivetrain forward..
Thread
Thread Starter
Forum
Replies
Last Post
Anthony8858
Touring Models
9
08-24-2009 11:41 AM


