How to: Replace broken shifter pawl spring.
#1
 09-05-2014, 08:33 PM


If you have some good insight, or correction, feel free to add your comments and i'll update the original post as i go. i am no expert, but simply like to fix what i can and research for the answer
i felt this may help someone in a similar situation. i bought this bike knowing the shifter pawl spring was broken. if your shift lever just falls down about 1" and won't return to the normal position, then the shifter pawl spring is likely broken. do not ride the bike anymore if this happens. The previous owner finished riding it to work by raising the shift lever back up to engage the next gear. that broken piece of metal from the spring is floating around in there and could chew up your gears.
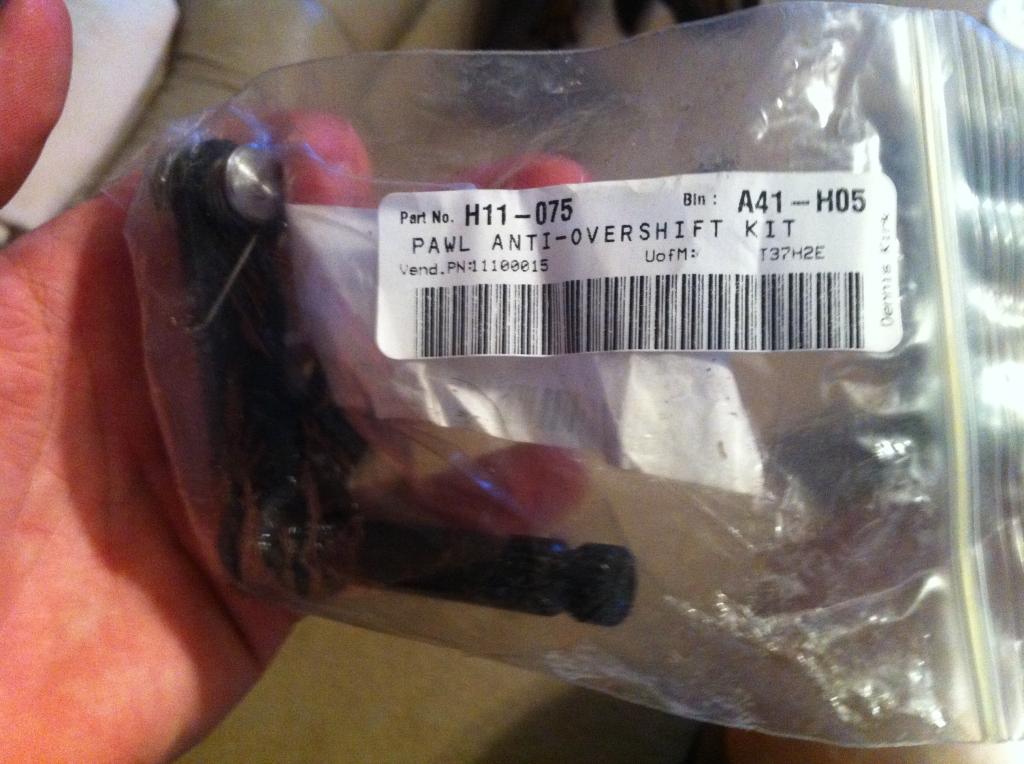
the replacement spring is $3.50. however, be prepared to spend plenty more. i decided to replace the shifter pawl completely with a unit from Baker. I also purchased a baker heavy duty bearing to replace the spacer on the main shaft (see below). then gaskets, seals, oil, final drive belt (mine was done) and whatever else you find worn out will need to be tended to.
on to some tech: please utilize your harley service manual.
my motor was out, but that doesn't change anything. i also would have just pulled the case to do this on my work bench. but the pivot shaft is seized.... more work, haha.
first remove your primary. plenty of threads on that.
drain the trans oil
get the exhaust out of the way
oil lines may need to be moved
shift linkage
whatever else you have that will prevent the trap door from coming out
you'll need to make your own, or purchase a 1 7/8 socket to remove the nut for the drive pulley/sprocket
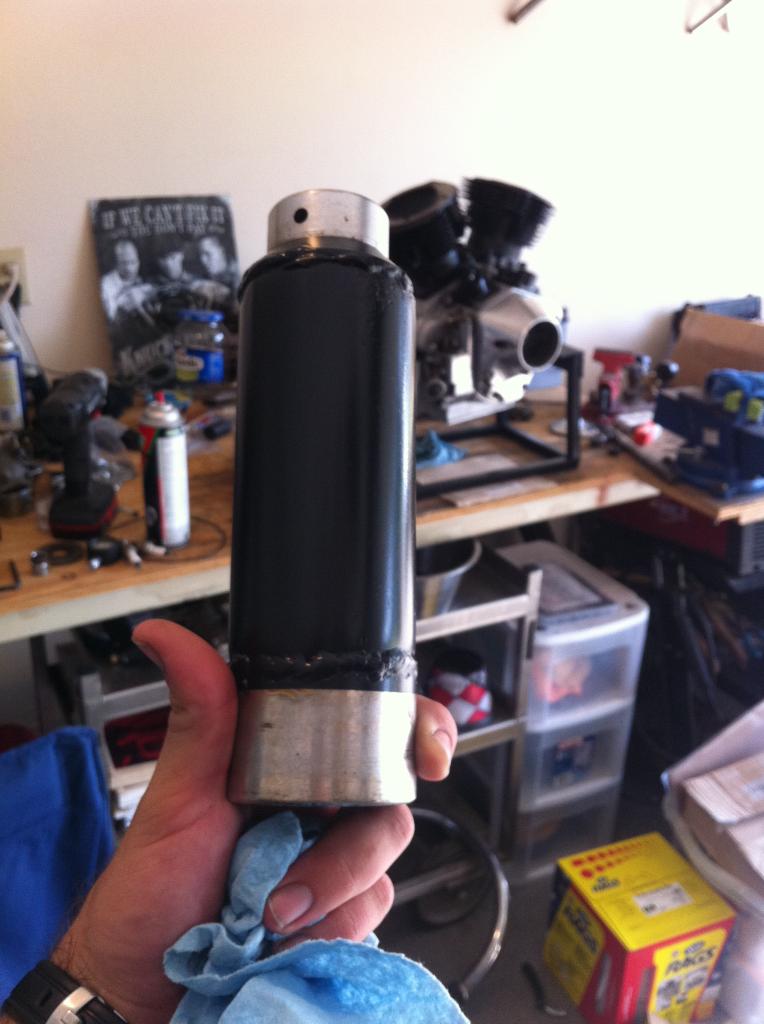
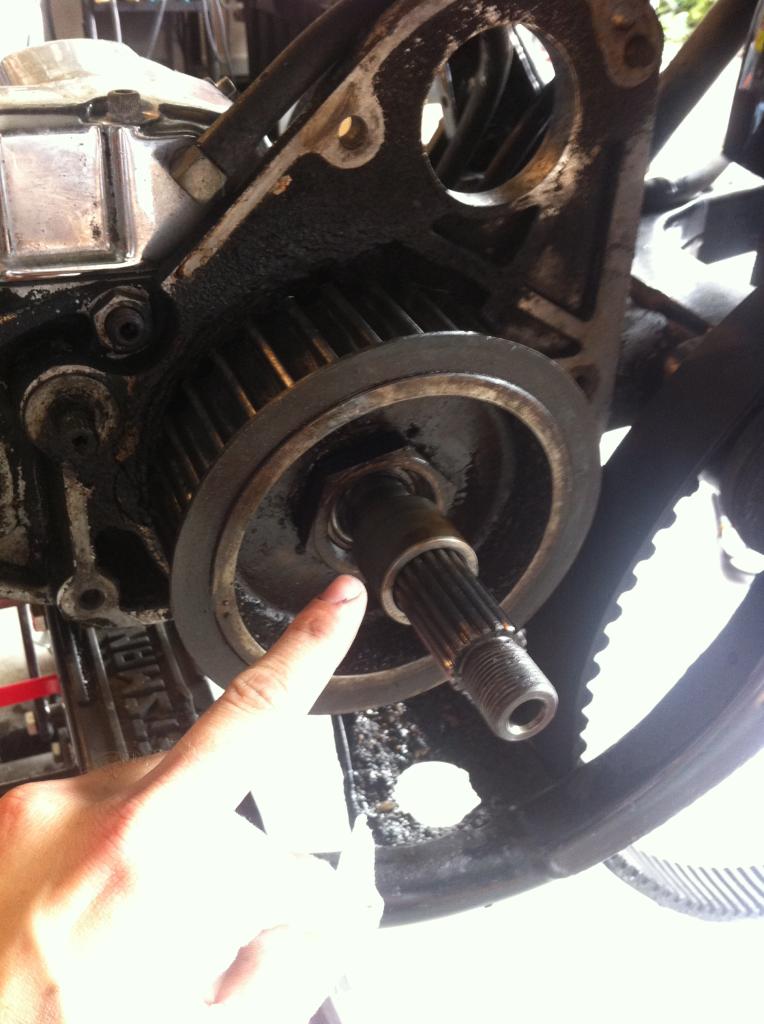
then you'll need a special puller to remove this spacer that's pressed on. These tend to walk in high power applications. if there's not approx 3/16" clearance behind the spacer to the seal, then it's walked and will be tough to remove. some choose to score it with a dremel and break it. but i didn't want to risk messing up the main shaft
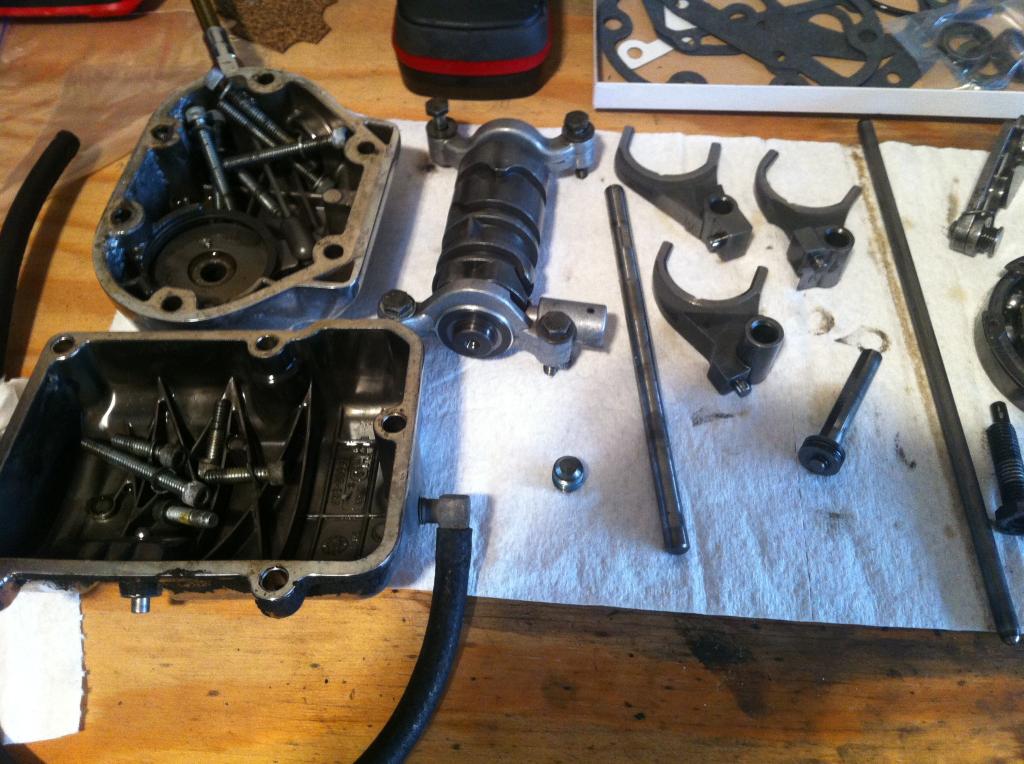
next you can remove the side cover and top cover
now you can see why i'm going to replace all the bearings after this metal has been rolling around
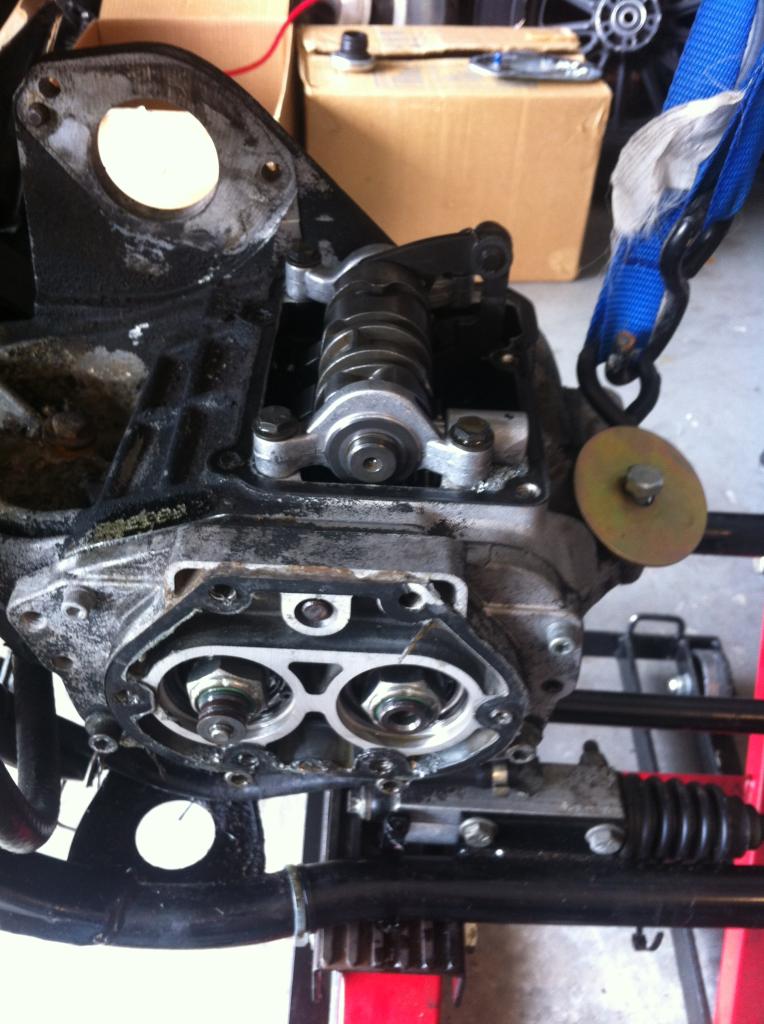
undo the 4 bolts and take the shift cam out. be careful as the end caps can rotate and the bolts/washers can fall into the trans on re-assembly
now you'll see a good look at the shifter pawl. unfortunately the gears are in the way and it can't be removed yet
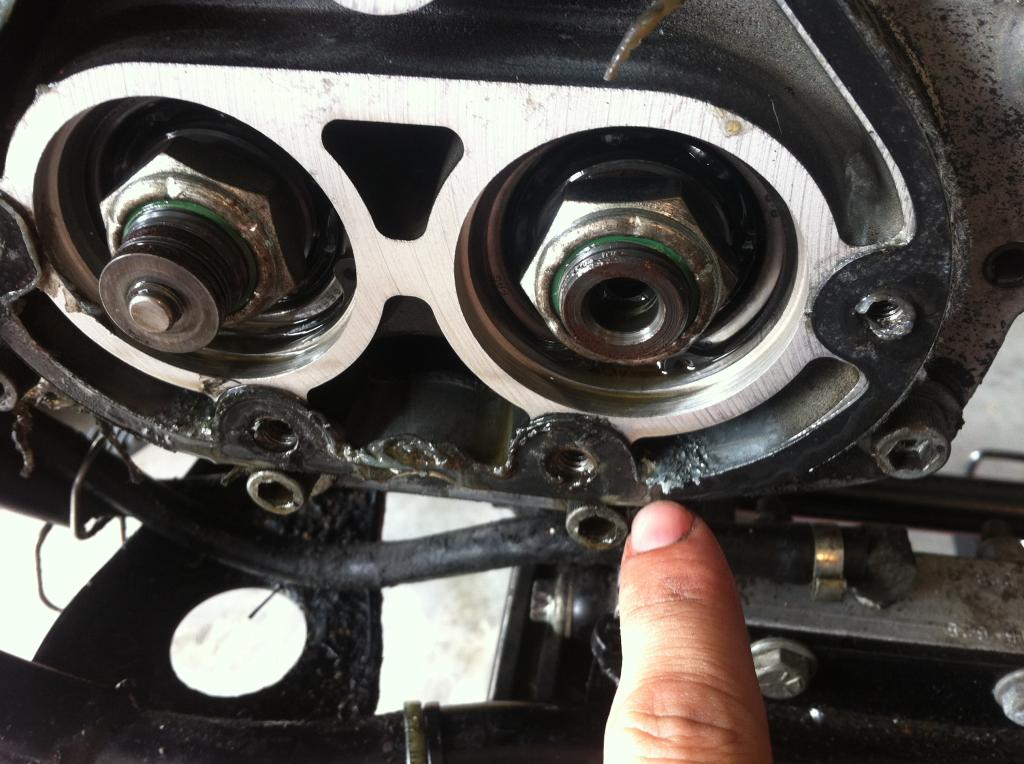
now is a good time to mark the shifter forks(left, right and middle). then pull this plug and you can remove the shifter fork shaft and shifter forks
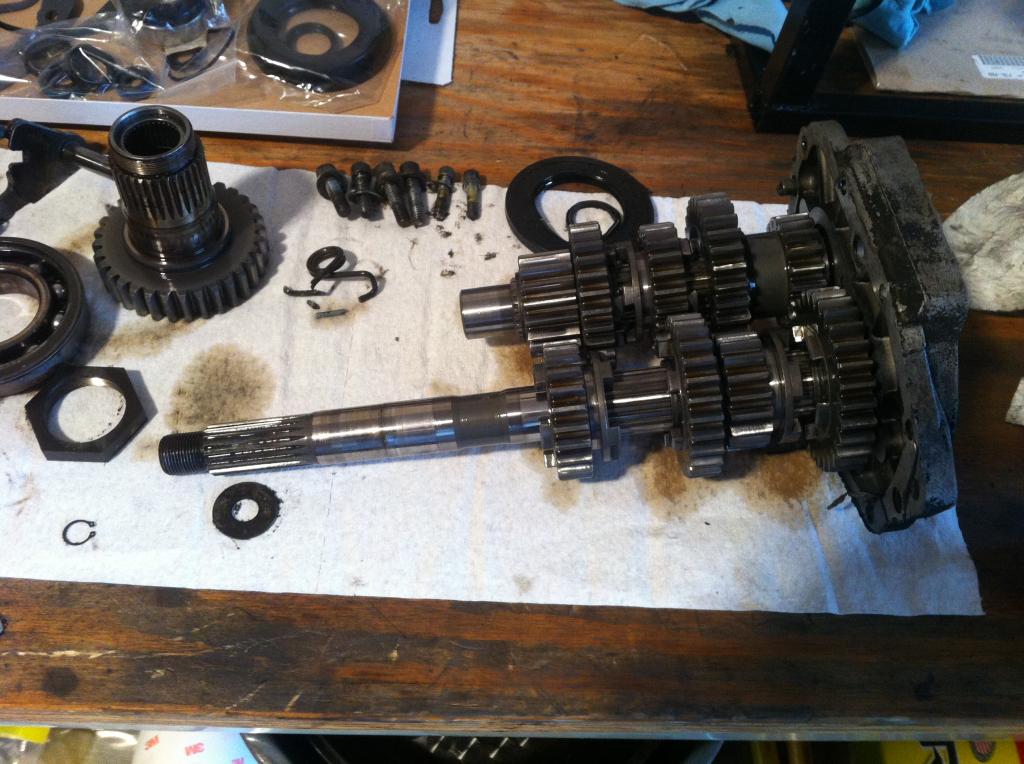
now you can unbolt the trap door and the entire gear set will slide right out.
the main drive gear will still be in the trans case. a bunch of taps with a plastic mallet pushed mine out. then a large snap ring will allow you to remove the main shaft bearing. i forgot to get one. so re-assembly will be next weekend.
keep your parts organized and CLEAN CLEAN CLEAN them
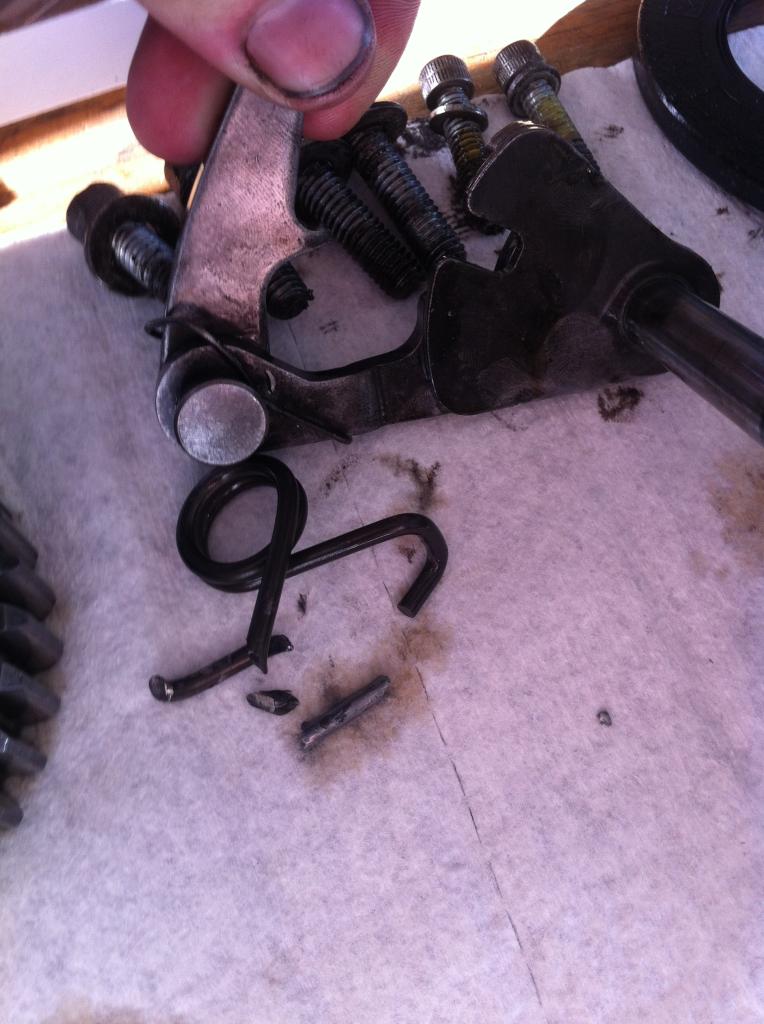
and here's the culprit that caused all this
here's your empty case to clean up

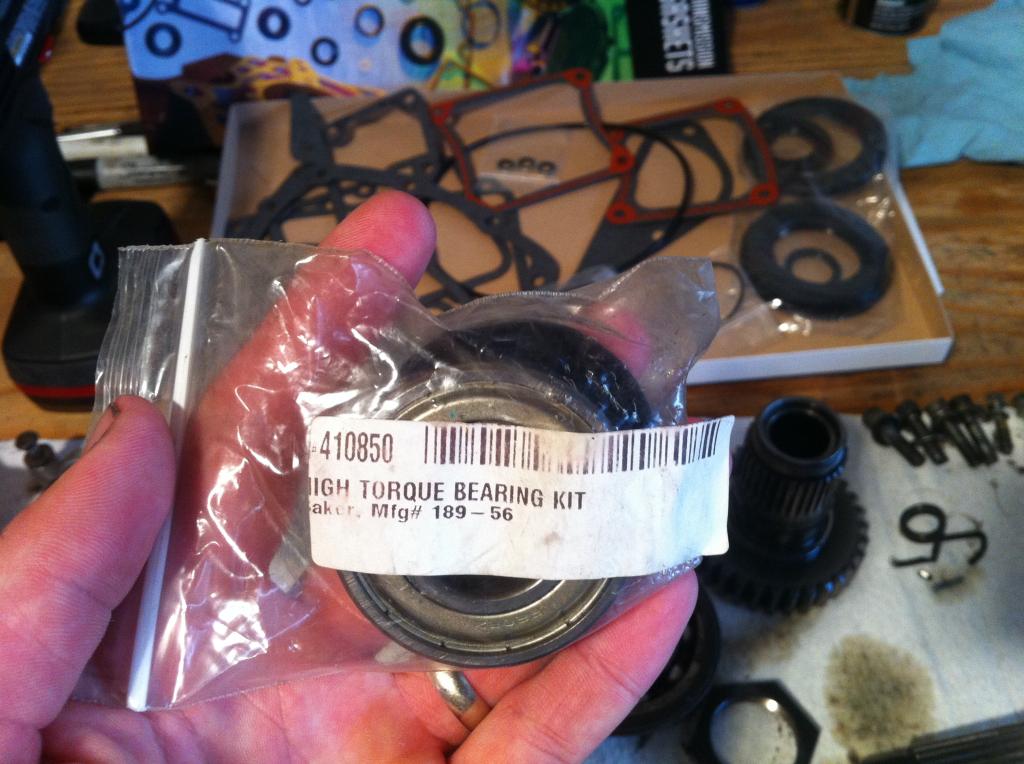
and this is the bearing from baker to replace the spacer on the main shaft and fits in the inner primary.
the new shifter pawl unit
that's where i left off. putting it back together is just as simple. i'll update when it happens though.
thanks
mike
i felt this may help someone in a similar situation. i bought this bike knowing the shifter pawl spring was broken. if your shift lever just falls down about 1" and won't return to the normal position, then the shifter pawl spring is likely broken. do not ride the bike anymore if this happens. The previous owner finished riding it to work by raising the shift lever back up to engage the next gear. that broken piece of metal from the spring is floating around in there and could chew up your gears.
the replacement spring is $3.50. however, be prepared to spend plenty more. i decided to replace the shifter pawl completely with a unit from Baker. I also purchased a baker heavy duty bearing to replace the spacer on the main shaft (see below). then gaskets, seals, oil, final drive belt (mine was done) and whatever else you find worn out will need to be tended to.
on to some tech: please utilize your harley service manual.
my motor was out, but that doesn't change anything. i also would have just pulled the case to do this on my work bench. but the pivot shaft is seized.... more work, haha.
first remove your primary. plenty of threads on that.
drain the trans oil
get the exhaust out of the way
oil lines may need to be moved
shift linkage
whatever else you have that will prevent the trap door from coming out
you'll need to make your own, or purchase a 1 7/8 socket to remove the nut for the drive pulley/sprocket

then you'll need a special puller to remove this spacer that's pressed on. These tend to walk in high power applications. if there's not approx 3/16" clearance behind the spacer to the seal, then it's walked and will be tough to remove. some choose to score it with a dremel and break it. but i didn't want to risk messing up the main shaft

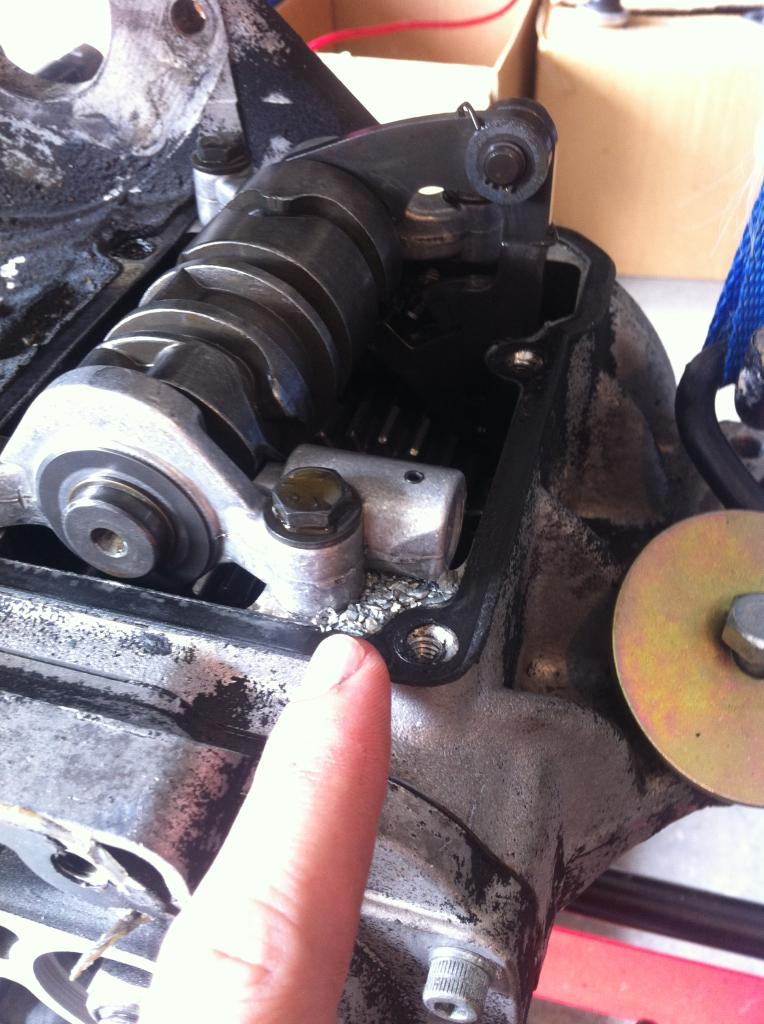
next you can remove the side cover and top cover

now you can see why i'm going to replace all the bearings after this metal has been rolling around


undo the 4 bolts and take the shift cam out. be careful as the end caps can rotate and the bolts/washers can fall into the trans on re-assembly
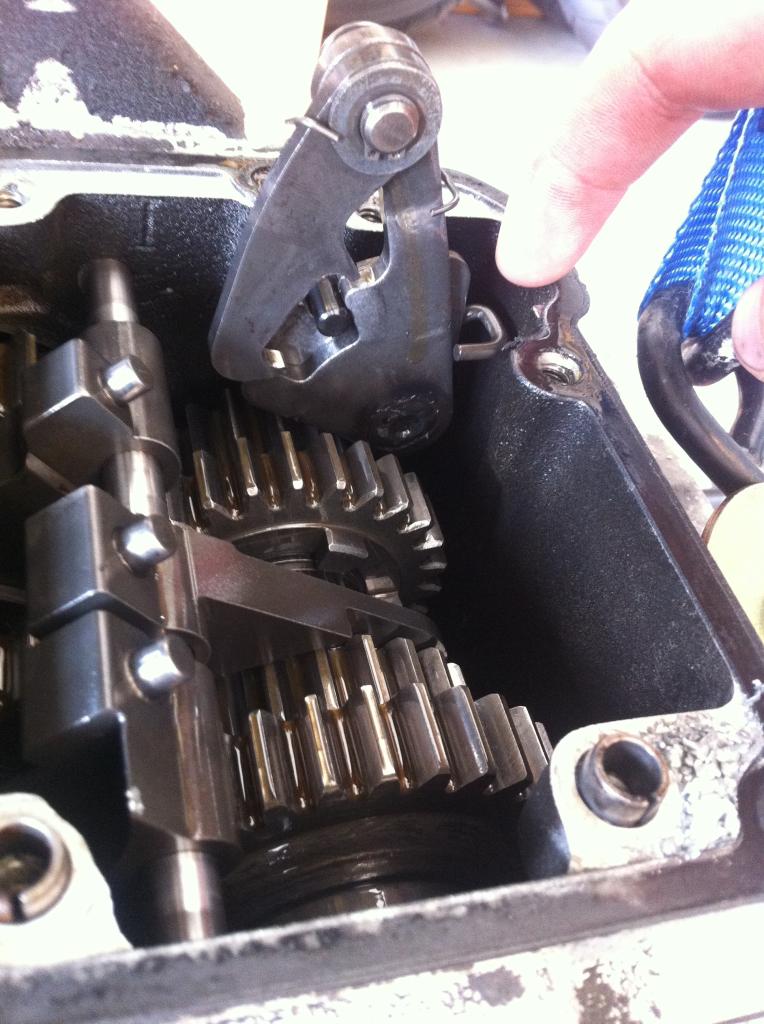
now you'll see a good look at the shifter pawl. unfortunately the gears are in the way and it can't be removed yet

now is a good time to mark the shifter forks(left, right and middle). then pull this plug and you can remove the shifter fork shaft and shifter forks

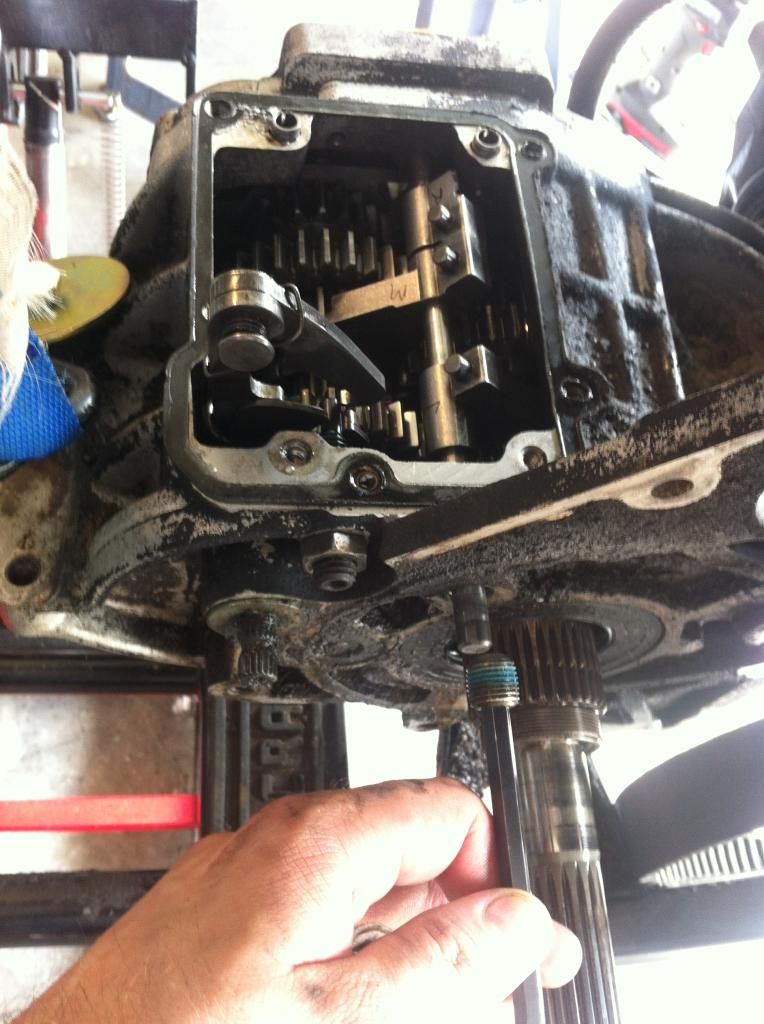
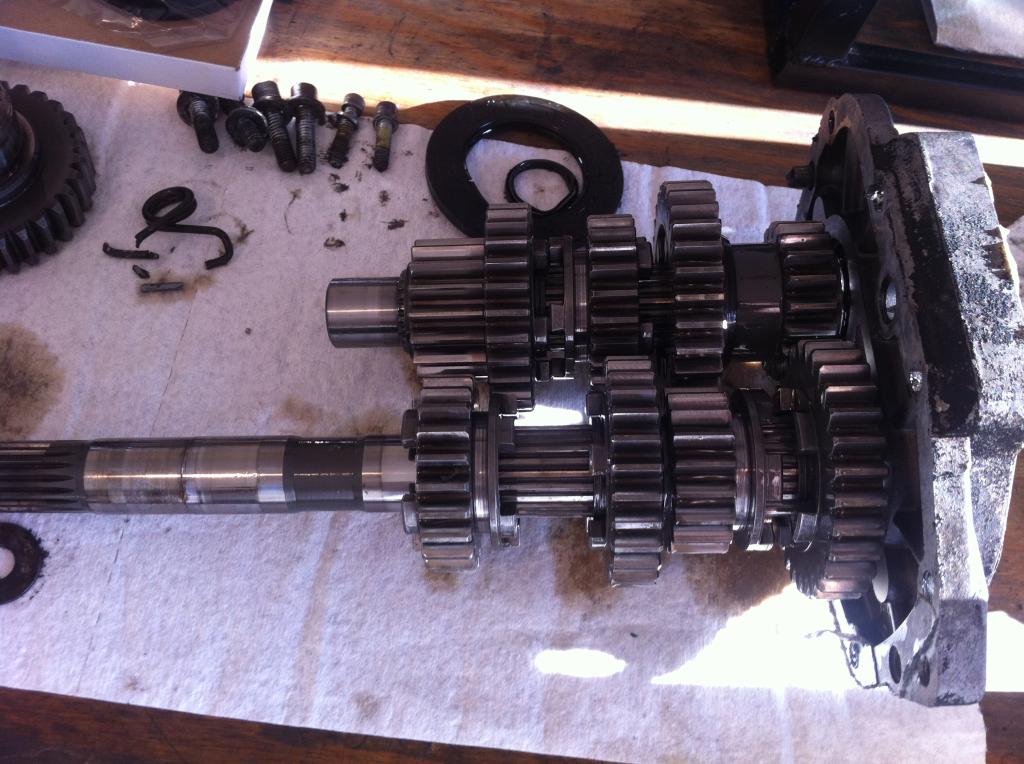
now you can unbolt the trap door and the entire gear set will slide right out.

the main drive gear will still be in the trans case. a bunch of taps with a plastic mallet pushed mine out. then a large snap ring will allow you to remove the main shaft bearing. i forgot to get one. so re-assembly will be next weekend.
keep your parts organized and CLEAN CLEAN CLEAN them


and here's the culprit that caused all this

here's your empty case to clean up

and this is the bearing from baker to replace the spacer on the main shaft and fits in the inner primary.

the new shifter pawl unit

that's where i left off. putting it back together is just as simple. i'll update when it happens though.
thanks
mike
Last edited by MIKE93SVT; 09-05-2014 at 08:54 PM.
The following 5 users liked this post by MIKE93SVT:
2kRoadKingRS (05-21-2017),
EvoBoy (09-27-2016),
Jim4601 (01-16-2018),
pgreer (07-19-2023),
stoneybagger (07-14-2016)
#3
09-05-2014, 09:07 PM
Seasoned HDF Member
The following users liked this post:
Jim4601 (01-16-2018)
#4
09-05-2014, 09:32 PM
#5
09-06-2014, 01:03 AM
Road Captain
#6
09-06-2014, 01:10 AM
Road Master
Great post I had to do that back in 93 on my 91 FXR, I still have the damn puller I bought in a box somewhere in the garage, I did it banging gears, learned something from that tho. 
From the pics looks like mine broke in the same spot, I was lucky and the piece went straight to the bottom of the case.
From the pics looks like mine broke in the same spot, I was lucky and the piece went straight to the bottom of the case.
Last edited by oldwarrior; 09-06-2014 at 01:12 AM.
#7
09-06-2014, 06:08 AM
Club Member
Trending Topics
#8
09-06-2014, 07:09 AM
Road Captain
#9
09-06-2014, 07:28 AM
Seasoned HDF Member
#10
09-06-2014, 10:06 AM

Seasoned HDF Member
Great write-up and pics...seems insane not to go ahead and pull the case to clean/paint/powdercoat...and replace the bushings on the pivot shaft while your that far in.