One issue you may have with the harnesses is that HD changed the connectors over time. I know my '91 has very different connectors than my '97. Not only are the plastic plugs different, the but the crimped on wire ends are also different. Hacking and splicing would of course work with time. I would ditch the Clymer door stop and get the correct factory wiring diagram for your bike and the donor harness.
Guys like NAMZ do not make new harnesses? I think I would give them a call.
If the biggest hurdle I have is to change out the crimped-on connectors, Id count that as a win lol. the clymer has been helpful with learning more about this bike and motor, haven't honestly looked too in depth at the wiring diagram in it, but its all in color. I also have the factory manual for my model that has a wiring diagram. will have to pick one up for whatever year harness i end up buying.
Thats one of the reason I was looking late 90s, I know they still made carbed versions so figured it would be one less wiring nightmare to deal with. I'll look for the late 90's harness and then split it open to pull out the few things I wont need. My clymer manual has a wiring diagram for a 96 flhtc I believe. If not ill look into getting one of those too. So you just used the two years and made your own so you only had what you needed? not really a specific reasoning due to year or anything?
Go to the FB page, join page then hit "files", in the search box, type 1998, or what ever year your looking for, hit the manual, save to your computer, the manuals are shared, not sold.
You could print the 1987 and 1998 wire diagram pages, then you can compare, figure and draw your wiring modification plans on them.
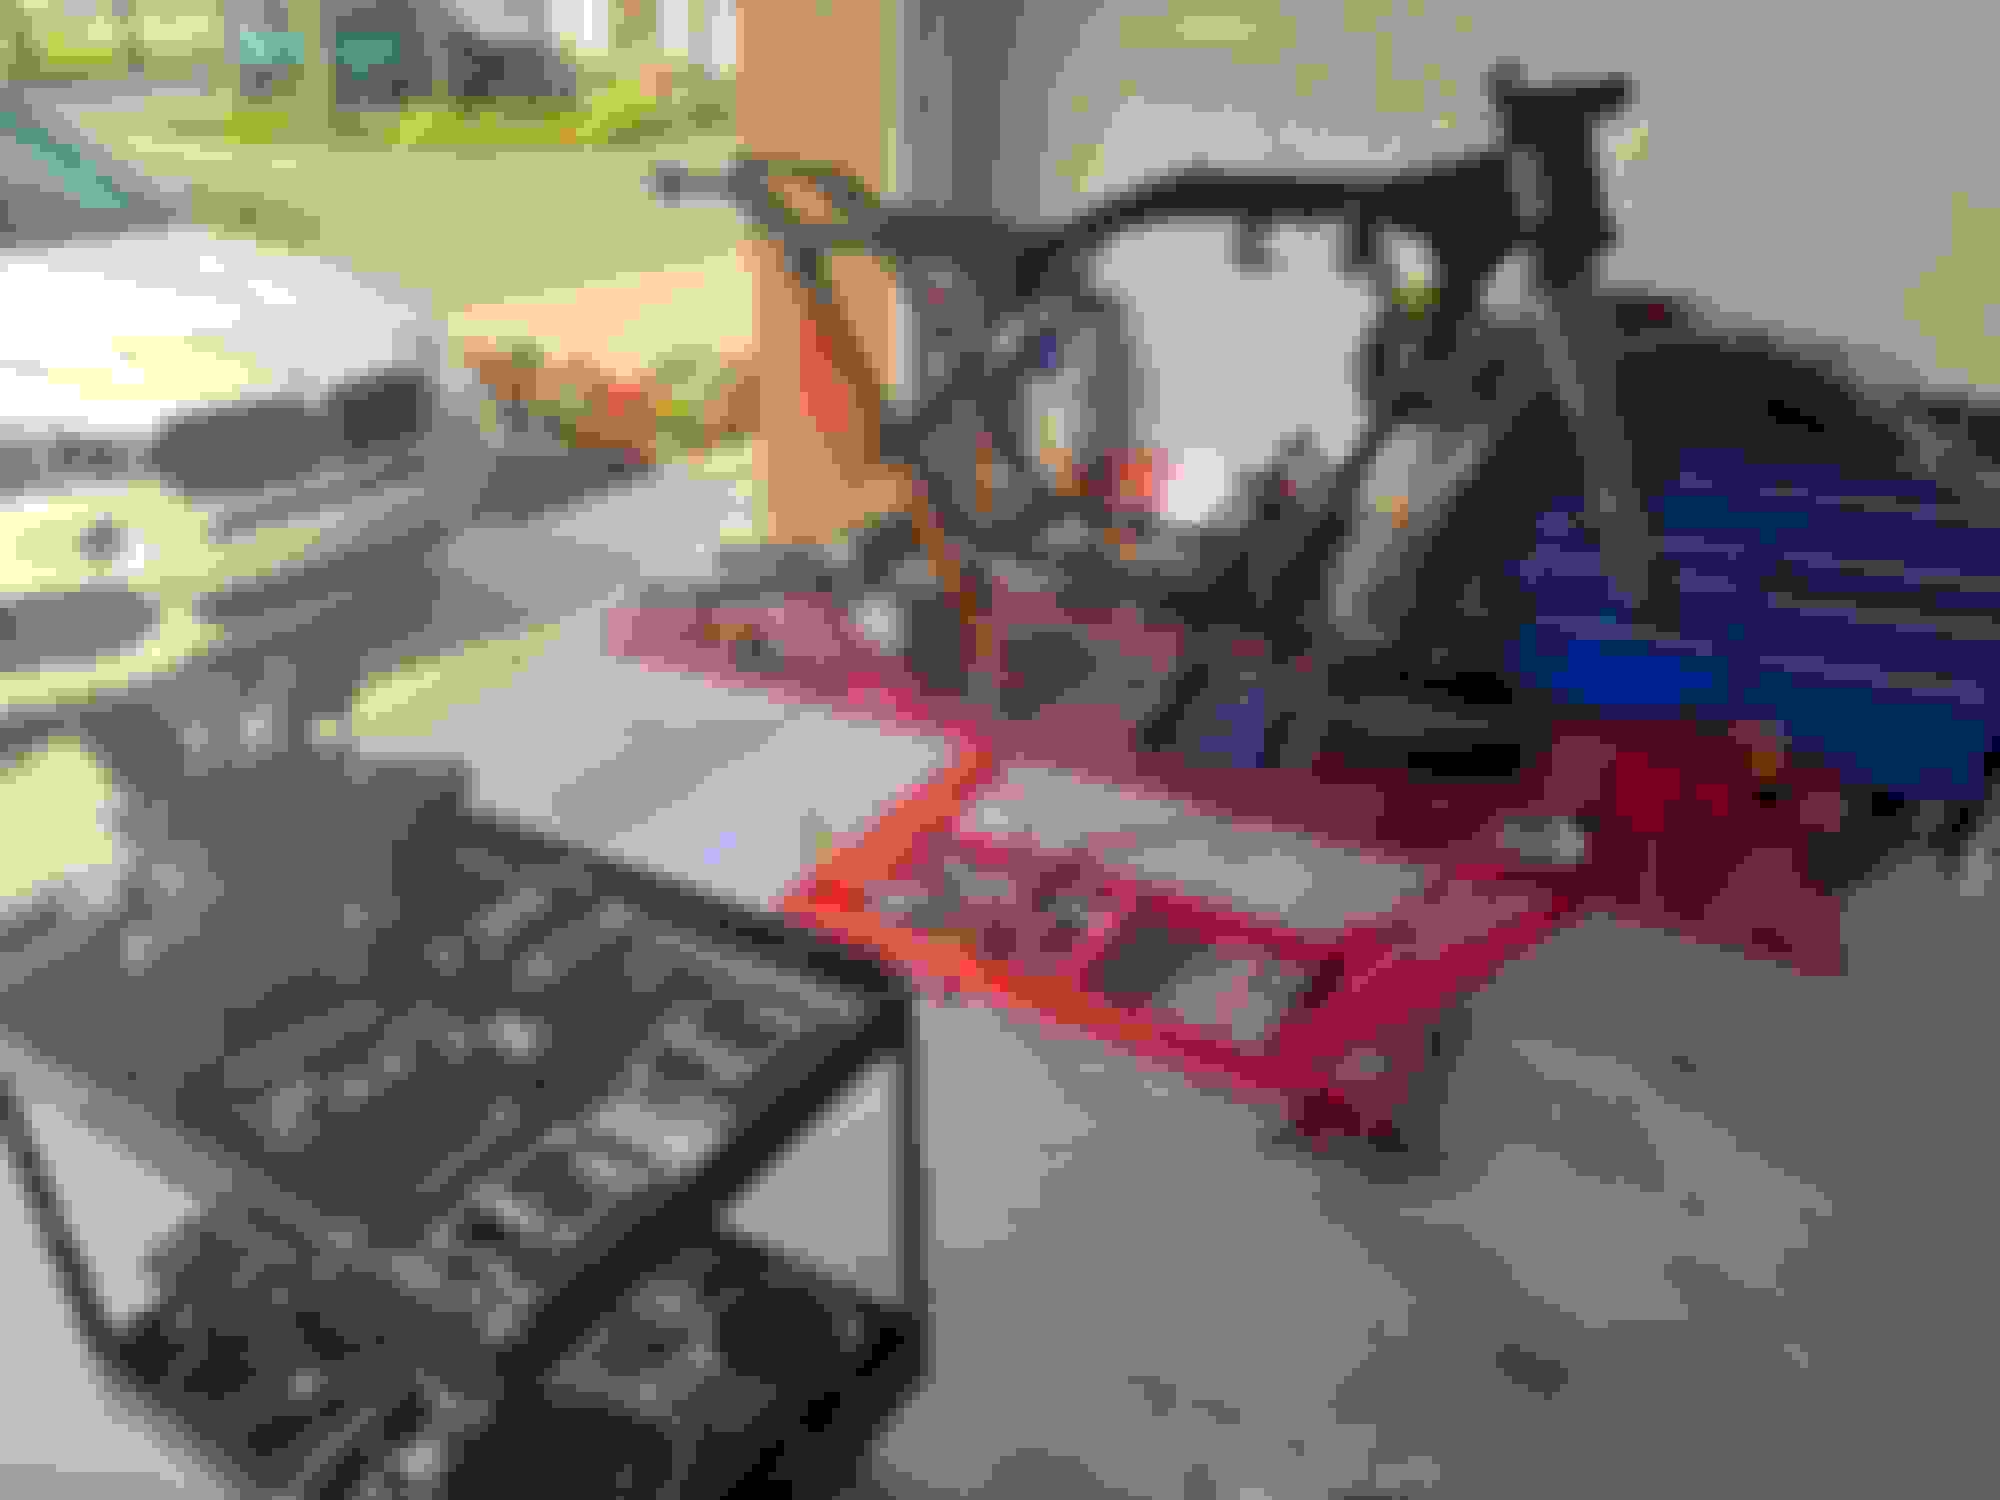
Been slowly chugging away at disassembly in my free time (this time of year as an accountant there is slim to none), but making progress nonetheless. All the wiring is out, and the engine is just about ready to be pulled. Also found a thunderheader system so have ordered that and it is on the way.
Had a "Christmas morning" experience when I got home from work, and the door was overflowing with packages.
putting the cart in front of the horse a little but was too excited to not open them. Extended footpegs, also shows a peak at the color scheme I have planned for the whole bike.
And an update on the wiring, I think I have a plan of attack, Im trying to source the pieces I will need and tie up the ends of my plan. Will post everything once I figure it all out.
Few little updates, I didn't get much done this week with the tax deadline on Monday. Had some trouble getting the compensator and clutch hub nuts off, luckily a friend with better tools than I, was able to swing by and help me get those off. Now just waiting on the clutch hub puller tool. Probably should have looked into and purchased all the special tools I need before I started but its fine, I got nothing but time.
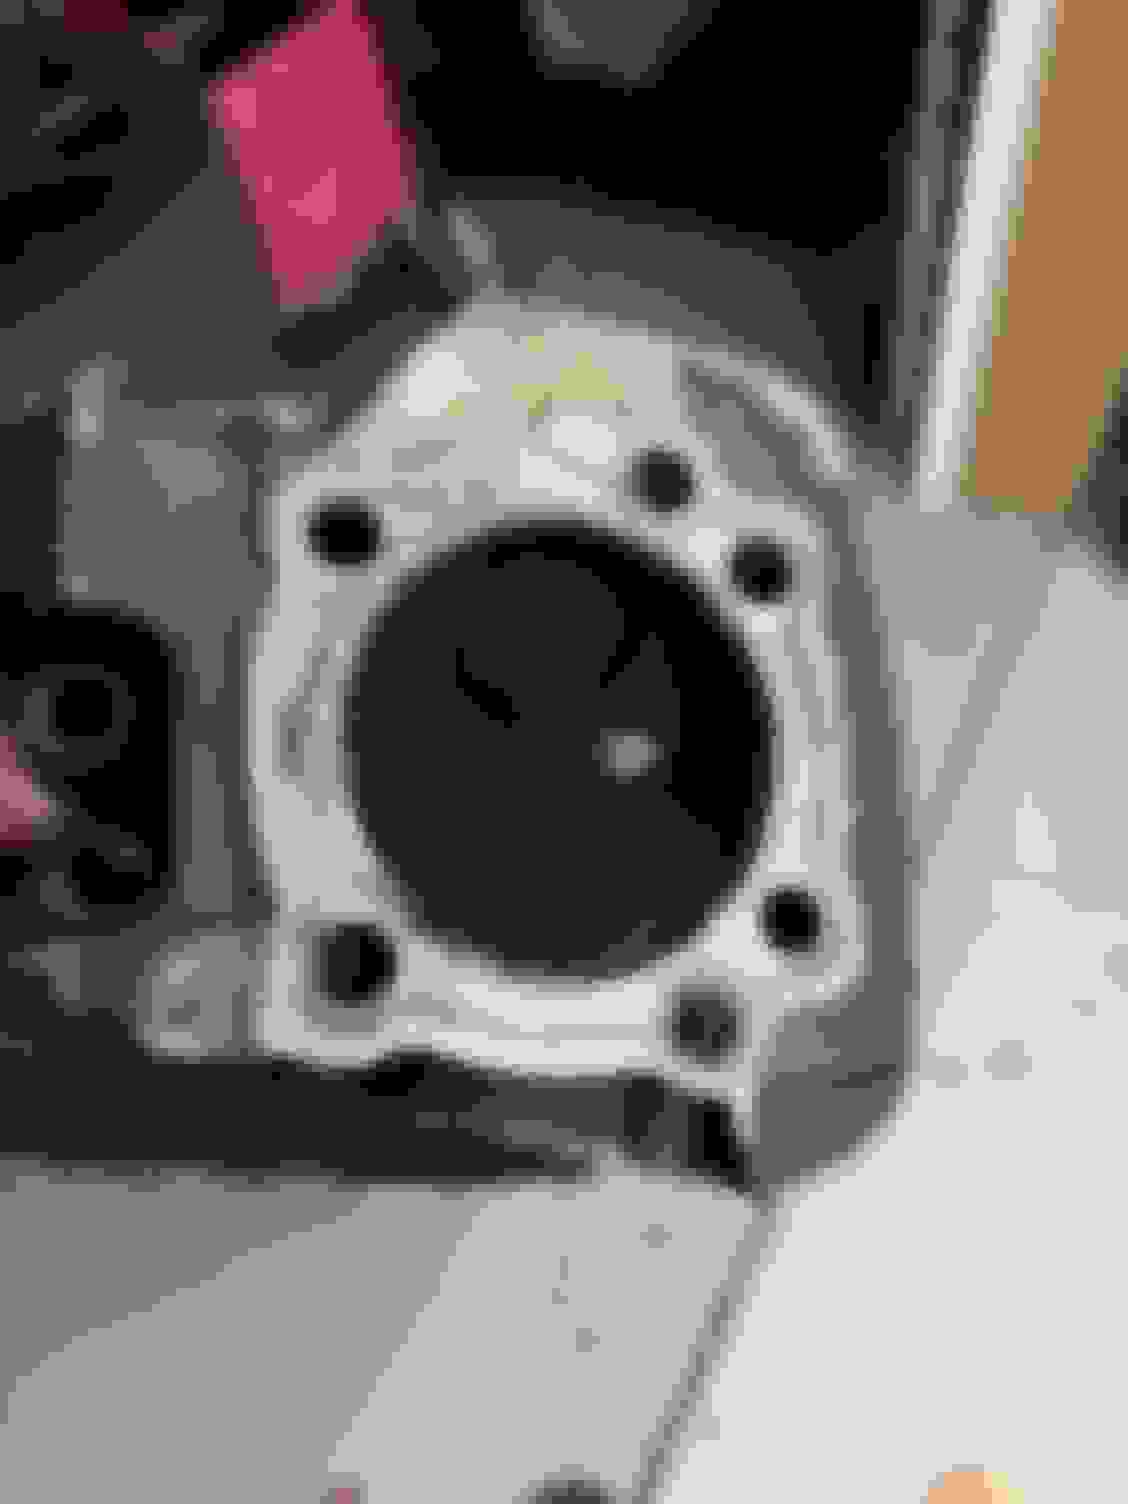
Clutch hub is cracking, and the screw posts snapped off when removing the bolts. Plates dont appear to be in bad shape, also not OEM if I'm not mistaken? clutch rod looks like its sheared off inside the transmission
Go ahead and order new discs and plates if you want the clutch to work correctly.
And, that's the best clutch ever made until the engines got entirely too big and idiots thought parking against a wall and burning the rear tire off was fun.
Reason everyone hates them is nobody takes a minute to learn how to disassemble, and they break the hub standoffs - just like that one. So order a new hub and bearing too...
Ya had planned on replacing the whole clutch assembly already. The hub itself has hairline cracks running through the whole thing. Not surprised the little standoffs broke off. took it apart per the manual and they still did that.
Ooops. Trick is to bottom out the puller bolts then back off 1/4 so they are all equal length. Tighten the center screw best you can, then give the center screw a swift smack with a solid hammer, usually pops right off. Never try to hold the hub with a bar thru the standoffs. I've R&R countless dozens over the years using a T bar puller and only 2 bolts in the hub. Never had one break. Call me lucky.
The hubs aren't too bad but the shell is the really pricey part and seldom needs replacement. Might want to look it over before ordering. Mine has 160k miles on original hub and shell, clutch works perfectly.
Have gotten the bike entirely stripped, just have to take front forks off. Then will be sending that over to a local shop for powder coating.
Took the engine apart, and boy was this thing running bad. wasn't going to but have decided that I probably should replace the flywheel assembly as well. Thing is that a replacement costs as much as a stroker does, so went back to the drawing board on engine plan. Originally had purchased new cylinders that were bored .04" and weistec pistons, so ill return those and get the s&s 96" big bore kit instead. The only difference in cost is the flywheel assembly itself and then the machining of my case, but for 13" more of displacement over the original plan, I think its worth it. Still planning on running the Woods w6h with that setup.
Have also been pouring over the wiring diagrams and the only difference seems to be the starter itself. They use a different style starter, but the wiring appears to be similar to where I could wire mine appropriately. Would there be any issues in that you guys think? I found and ordered a wiring harness from a '96, part #70985-96, I will also need #70232-96 the interconnect harness, but from the pictures it looked like that is still attached to the one I purchased. Ill see when it arrives. Also will need ignition harness #32435-94 I believe.
 04-04-2024, 06:50 AM