Aloha,
yesterday I start to reassemble my engine and it was not the worst decision when I see the cylinder walls and exhaust ports.
I know the engine burns some oil and lost a bit at the rear cylinder base.
That's why I start with this game.
I know from the former owner that the base gasket was replaced years ago and when I look at the marks in the cylinder wall and see the position of the rings.
I believe there was something went wrong with the ring position when they assembled it.
After removing the heads and valves I sandblast and pack them to ship to a guy who's doing the head work
means he will replace the valve guides and seats if necessary.
Thereafter he install the new Kibblewhite valve set.
In between I replace the pistons and cylinders and the cam shaft include bearing and ignition as described above.
Hopefully I receive the heads as soon that can finish my project before my holidays.
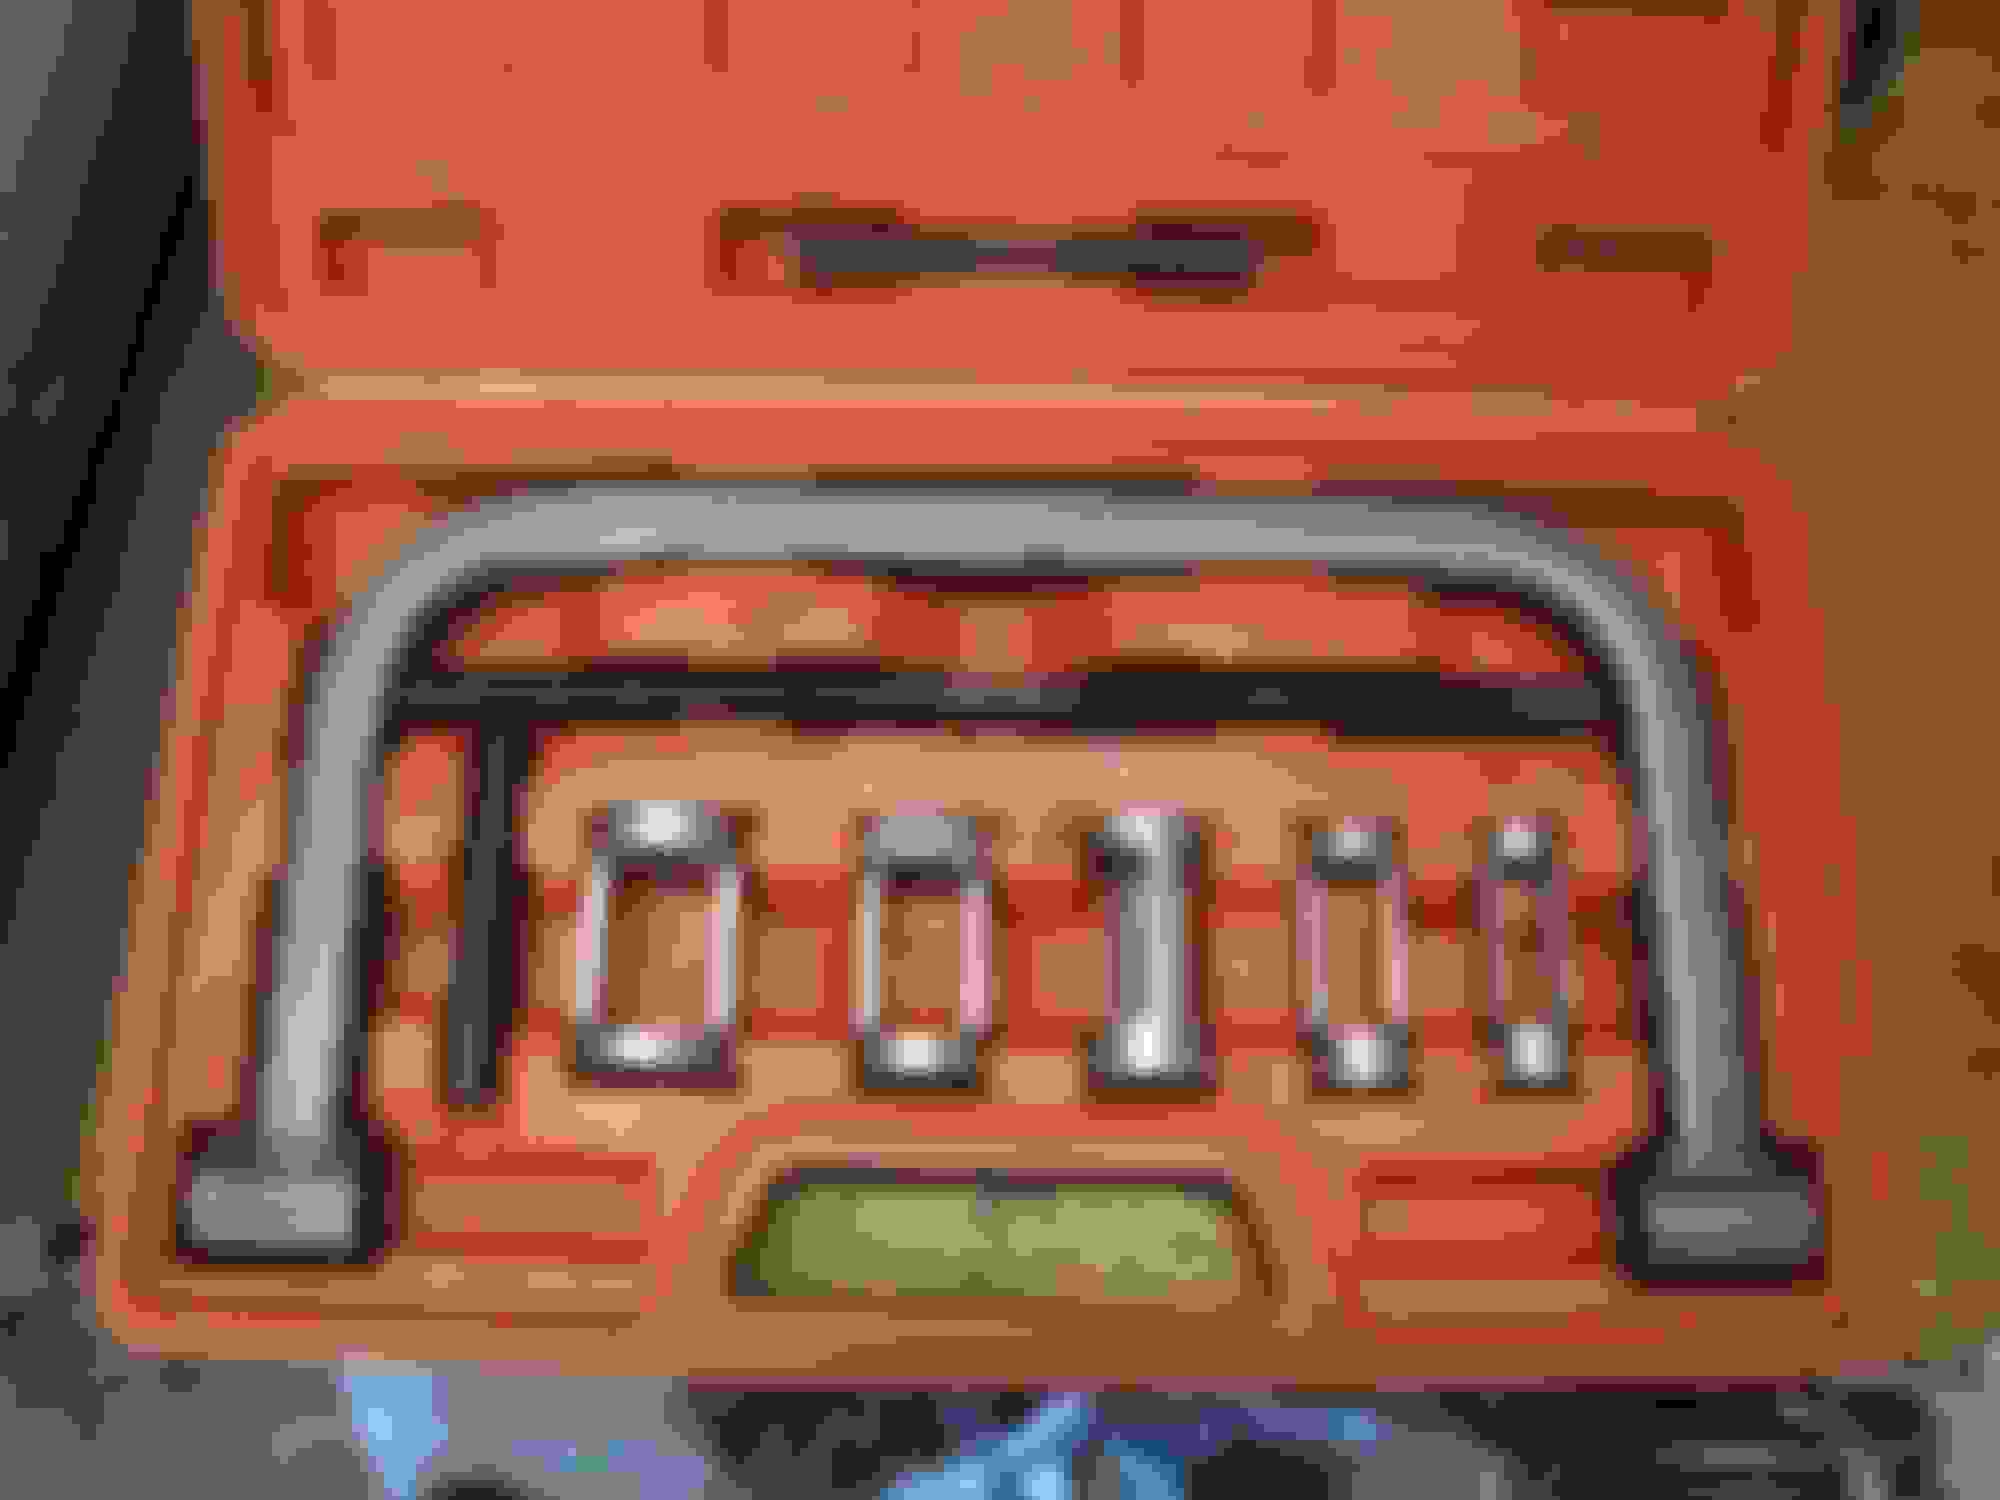
To remove the Valves i used the cheap chines automotive valve press from ali express.
My expectations about the quality were not that much.
But it looks fine and does the job well and easy.
I wouldn't recommend this tool for daily use in an professional work shop.
I think it's ok for several amateur mechanic use.
For more pictures you can check my album I will update it at the next milestone.
I use the following parts:
@98hotrodfatboy
your comment: You can open the chamber if you like but why do you think you need to do that? it will definitely mess with the chamber burn which can adversely affect the power. Before the input with the compression to high came from you.
Watch you compression. with that 30* ivc You really don't want to go over 9.7:1.. (9.5:1 Static will work very nicely).
That's the closing timing of the intake valve.. it is used in a formula to determine your dynamic compression based off of your static compression..
Sorry but I'm a little confused.
To explain your questions:
It would help us a lot if you gave us a complete list of engine mods,
including piston size (What part number on the Wiseco pistons),
cylinder bore? the outer packaging says 83"
The tag at the single cylinder box says 85"
Stock heads? combustion chamber size? yes stock heads the get rebuild with the Kibblewhite valve kit including new seats and new Ampco 45 sleeves
in combination with the S&S lifters
With the parts your assembling what will the compression be for this build etc..?.
Should be at 10-1 as I understand the description right when using a 0.045 head gasket
get another cam that's appropriate for both the compression and you're riding style. What should be wrong with the Andrews EV23?
Many Bikes use this cam with the normal setup and it's the right one for my riding style 2 persons on a bagger with the 34-65 rear drive pulleys
EV23 EVOLUTION CAM
Bolt-in cam for heavier touring bikes and high-geared bikes with 65-tooth rear pulleys
Crisp throttle response and strong pulling power from 1,500 to 6,000 rpm
Works well in higher altitudes
Uses stock springs; works with carbs or fuel injection
Fits all 1984-1999 Harley Davidson Evolution Big Twin models (excludes 1999 Twin Cams)
So on it goes.
On the one hand I don't have time to do everything in one piece, on the other hand I have enough time, because the heads are gone for revising.
So today I removed the ignition and the camshaft incl. lifter.
As you can see from the pictures, the case has never been opened and as for the ignition, it was about time, because the seal slowly began to melt away.
It will be replaced by an Ultima single fire anyway.
Normally you should use a puller to get the nose cone off.
But that wasn't necessary at all, a little slap with the hand on the case and it was loose and could be pulled off by hand without any problems.
The camshaft has only very fine running marks, the rollers of the lifter look almost like new and also have no play.
Could be reinstalled.
After all, almost 131,000 km run.
It was the "evil" Ina camshaft bearing installed, which did not look so "evil".
With the right tool, it was out in no time.
The Breather Valve also still looks top, I have a new lying, but do not know yet whether I use the old if necessary but further.
Looks good for 81k+ miles.. except for the heads.. Smart to send them out as well as replacing the INA bearing . I would definitely do new lifters.. the thing about the plastic breather is they can get hard and brittle and become out of shape and then treat up the case.. of you have a new one I wouldn't hesitate to install it.. An S&S steel one would be even better..
Of course I install the Andrews EV23 with the new S&S lifters.
And I'm putting in the new plastic breather valve.
I've heard the S&S vent valve is better, steel has a higher mas.
But at the end of the day the design is similar and steel is more durable, but for this job I think the plastic stuff is good enough and is less trouble if something breaks.
And if the plastic valve lasts the next 26 years like the old one it should be more than enough for me
Aloha,
let's go on.
The boys are back in town.
So the cylinder heads are back from machining, all half bad, was just valve guide lapping and fitting and grinding in the new Kibblewhite valve kit incl springs.
According to the mechanic, the engine has probably not run 131 TKm, which is also confirmed by the condition of the valve seats and the camshaft bearing as well as the camshaft.
According to him, 31 TKm is probably more likely.
Anyway, now it's going to be redone.
So there was a load of Wrinkle Finish Black from VHT on the heads as well as the previously stripped lifter blocks.
While the paint was drying, I installed new S&S tie rods.
On Saturday I installed the camshaft incl. S&S lifter and made the Ultima single fire ignition incl. new ignition wiring harness.
To time the ignition statically the one point in the showcase on the left has to be seen.
Since I haven't mounted the cylinders yet, I fixed the crankshaft in position with a couple of neodyn magnets and was able to set the ignition cleanly that way.
When the engine runs, assuming I have done everything correctly and it starts, then comes the dynamic adjustment with the strobe lamp and correction if necessary.
First I sanded the edges at the heads so that they shine silvery again.
Stupid idea, shi** work, because the paint hardens only at operating temperature.
Will rework the edges a bit after the first round.
Alternative would have been the home baking tube, but the duel with the cook, who has already been through a lot with me, I would probably have lost.big grin
Then piston rings and pistons mounted.
Cylinder put on as well as cylinder heads and rocker box mounted.
I'm not sure if you set the timing properly.. I don't believe you're supposed to use the Dot, you're supposed to use TDC line for front cylinder.. with power on to the ignition module and the front cylinder at TDC turn the ignition module to the right. Till the green light comes on. Then start turning it back to the left counterclockwise till the light just goes out, that's when your timing is set properly.. Tighten it down you're all done no need to dynamic time it..
Just did this today to my '93 Tour Glide. Correct hotrod....TDC but it's the RED light that signals the timing (at least on mine). At any rate....color... it's the STATUS LED.
Aloha,
on it goes.
Last week I was finally able to finish the engine and complete the project, I thought.
At first everything was fine.
Before starting the engine, I slowly turned it by hand to see if everything was running clean.
Tip top.
So first start and it ran immediately.
So tighten and test drive about 6-8 km without problems, first not higher than 2000 rpm, more was also not necessary.
During the test drive I found that I had connected an oil pressure cable incorrectly, the manometer showed full pressure.
So turned off the engine, replaced the cable, start the engine and there was suddenly a hard clack.
Crap, what is that supposed to be??????
So off to the workshop, again around the front cylinder made everything free, engine turned by hand and nothing seen.
So taken off the head whether possibly the piston, no everything well.
So new seal and reassembled.
Again turned by hand, clack.
Crap.
Since I had to go away for the weekend, the project stopped for now.
After a short exchange of ideas with the mechanic who had overhauled the heads for me, the thought was confirmed that possibly something is not good in the primary.
So today first the primary on, nothing found.
But so I could turn the engine by hand on the crankshaft and there it was again, the clacking.
but only after 2 crank revolutions.
The crankshaft was ruled out, so I took off the valve covers on both cylinders and turned the engine by hand.
The clacking came from the rear exhaust valve.
So I took out the pushrods, took off the camshaft cover and took out the lifter.
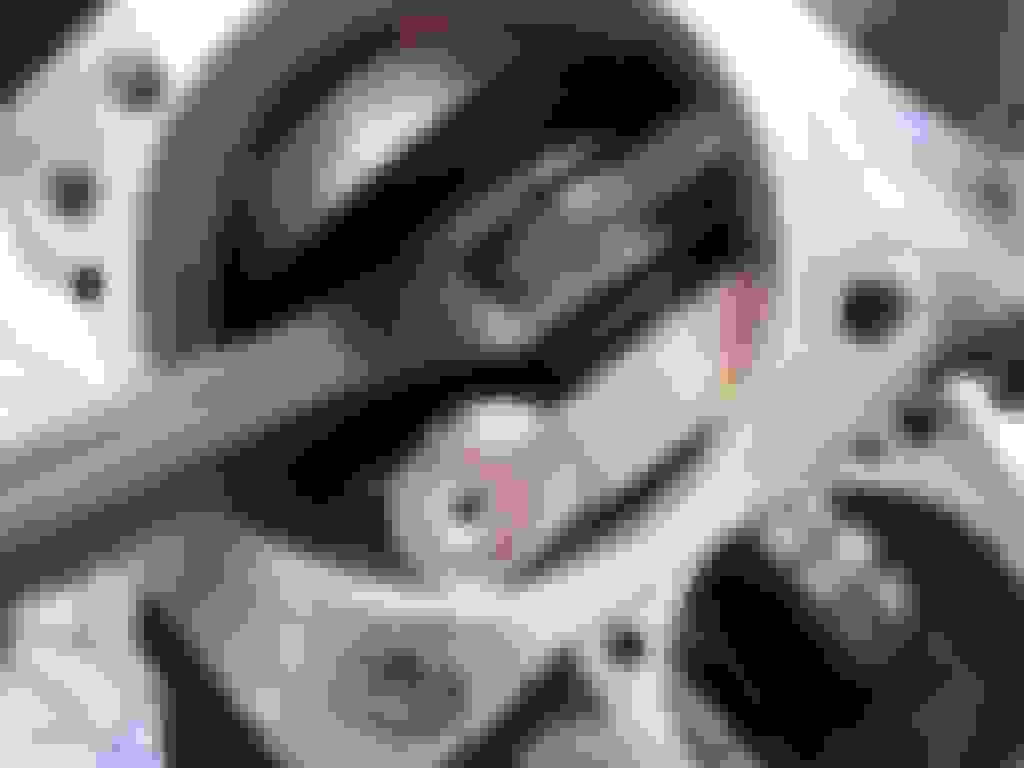
Lo and behold, a brand new S&S lifter had a defective roller bearing.:baby:
Luckily the needles haven't fallen into the gears yet.
The rocker arm also has massive pitting already.
So ordered new rocker arms, I'll make them all new right away especially since the valves are also new. and clarify with S&S what the cause may be.
I will report how S&S behaves.
There comes me again in the sense: Never change a running system.
On the other hand, you could see on the cylinders that it was good to change them and the handling by the new camshaft has also improved, you noticed that already on the few km.
The engine had significantly more power.
That sucks that you had a defective lifter.It’s good that you caught it in time and got all the bits.Replace the bad rocker and good luck with getting her up and running again.
 04-26-2021, 02:39 AM