Engine Mechanical TopicsDiscussion for motor builds, cams, head work, stripped bolts and other engine related issues. The good and the bad. If it goes round and around or up and down, post it here.
Okay! So, I had just glanced at the combustion chambers after pulling the heads the other day, but grabbed an hour this afternoon to decarbon them and pulled the rocker boxes to inspect the valves and seats (I'm replacing the springs as a matter of course because the bike sat for 15 years). The pics show the front head and its valves, then the rear, and finally a close-up of the sealing surface on one of the heads, which is typical of both... no wonder there was oil all over the place! Hmmmm... maybe I'll get these surfaced just a touch...
Surprisingly, the guides don't seem too sloppy, but I'll get out the gauges and see how far out of spec they are before R&Ring them. Need to confirm that I've got the right reamer in the drawer...
One thing as to oil usage and the amazing amount of buildup in the combustion chambers, though, is there were zero oil seals installed on the valve stems. I need to look over my books to make sure I bought guides that will take seals (which came in the gasket set), but on intake stems without seals they'll pull oil into the cylinders and muck things up while needlessly increasing consumption--which you can see here in spades on the intake valve tulips. Ugh. Too much guide-to-stem clearance on the intake valve does the same thing, I've read.
These Kibblewhite standard cast iron guides don't have grooves to retain the seals (last pic), but maybe someone can tell me if the seals will stay in place without my cutting grooves into them? I think they're the kind with little springs inside to grip the guides (came in the Cometic top end gasket kit).
Anyway, some initial impressions of these OEM 1966 Shovelheads:
First, no obvious cracks, warpage, etc. A small pice of one cooling fin looks like it was re-welded (presumably someone dropped the head or smacked it with a hammer in frustration), but no biggie. One helicoil insert for the spark plug hole on the rear head, as you can see, but it looks well done.
Second, it looks to me like the sealing rings on the seats are cut too wide, around .080" rather than .065", which in the exhaust valve's case can cause it to retain too much heat and wear prematurely or even burn. I was told this engine wasn't run much after a 'rebuild,' but all indications are that she was rode hard and put up wet.
Third, the valves had receded down into the seats to where the sealing rings are very near the edges of the valves' tulips.
Fourth, I need to clean up the seats so I can get a better look with my magnifiers, but if I'm seeing them right, it looks like they've been cut several times, such that it's difficult to discern an entry angle on some of them. You'll note the profile is very different from one head to the other, weird grooves cut either adjacent to or into the outer/upper edges of the seats... so either some really sloppy work or perhaps the wrong kind of seats were installed in one of them...?
Fifth, the rocker shafts don't have discernible slop, and I've got shims to correct the end-play in one of them, which is double the others. One of the shafts is the wrong year, as mentioned earlier, so I bought one replacement and have a baggie of bushes if needed. I need to check out some photos of new rockers to see whether the wear I'm seeing is excessive (installing new pushrods, as the adjusters were hopelessly buggered up on the old ones). Hope not!
All that said, I got a decent deal on new Kibblewhite valves and seats (the latter were only $7.50 each), so will revisit my initial conclusions when they come in and I can take some measurements with the micrometer, meet with the machinist, and confirm what I'm looking at. In the meantime, I'll disassemble and scrutinize the rockers and polish up the boxes.
Last edited by NM Pan-shovel; 02-22-2022 at 05:40 PM.
The answer is 16 psi in the rear tire.
Learned this years ago on a `49 with the STOCK seat
Even if the bumps didn`t bother you ( I was young then) the rear tended to hop sideways after hitting a bump
Trust me on this one
I've had others tell me this, and there is definitely uneven and sloppily repaired blacktop in the S-curve through the canyon leading up to my ranchito at the base of the mountains. So, sideways hopping would produce... well, undesirable excitement for me.
My only concern is that I'm running Michellin Commander II tires rather than vintage style meats, and Michellin is pretty adamant about excessive heat, premature wear, and cupping from serious under-inflation. Also, I worry a little about sidewall distortion with psi at ~50% of what they're recommending. Basically, what I've read is that with excessively low pressure, the rim can move sideways vis-a-vis the tread face. Have you never experienced any of these things?
Now, all that said, this is a chopper, so not nearly as heavy as the dresser Hogs that typically run this tire. Do you think the lighter weight of this bike will ameliorate some of the manufacturer's concerns with reduced pressure?
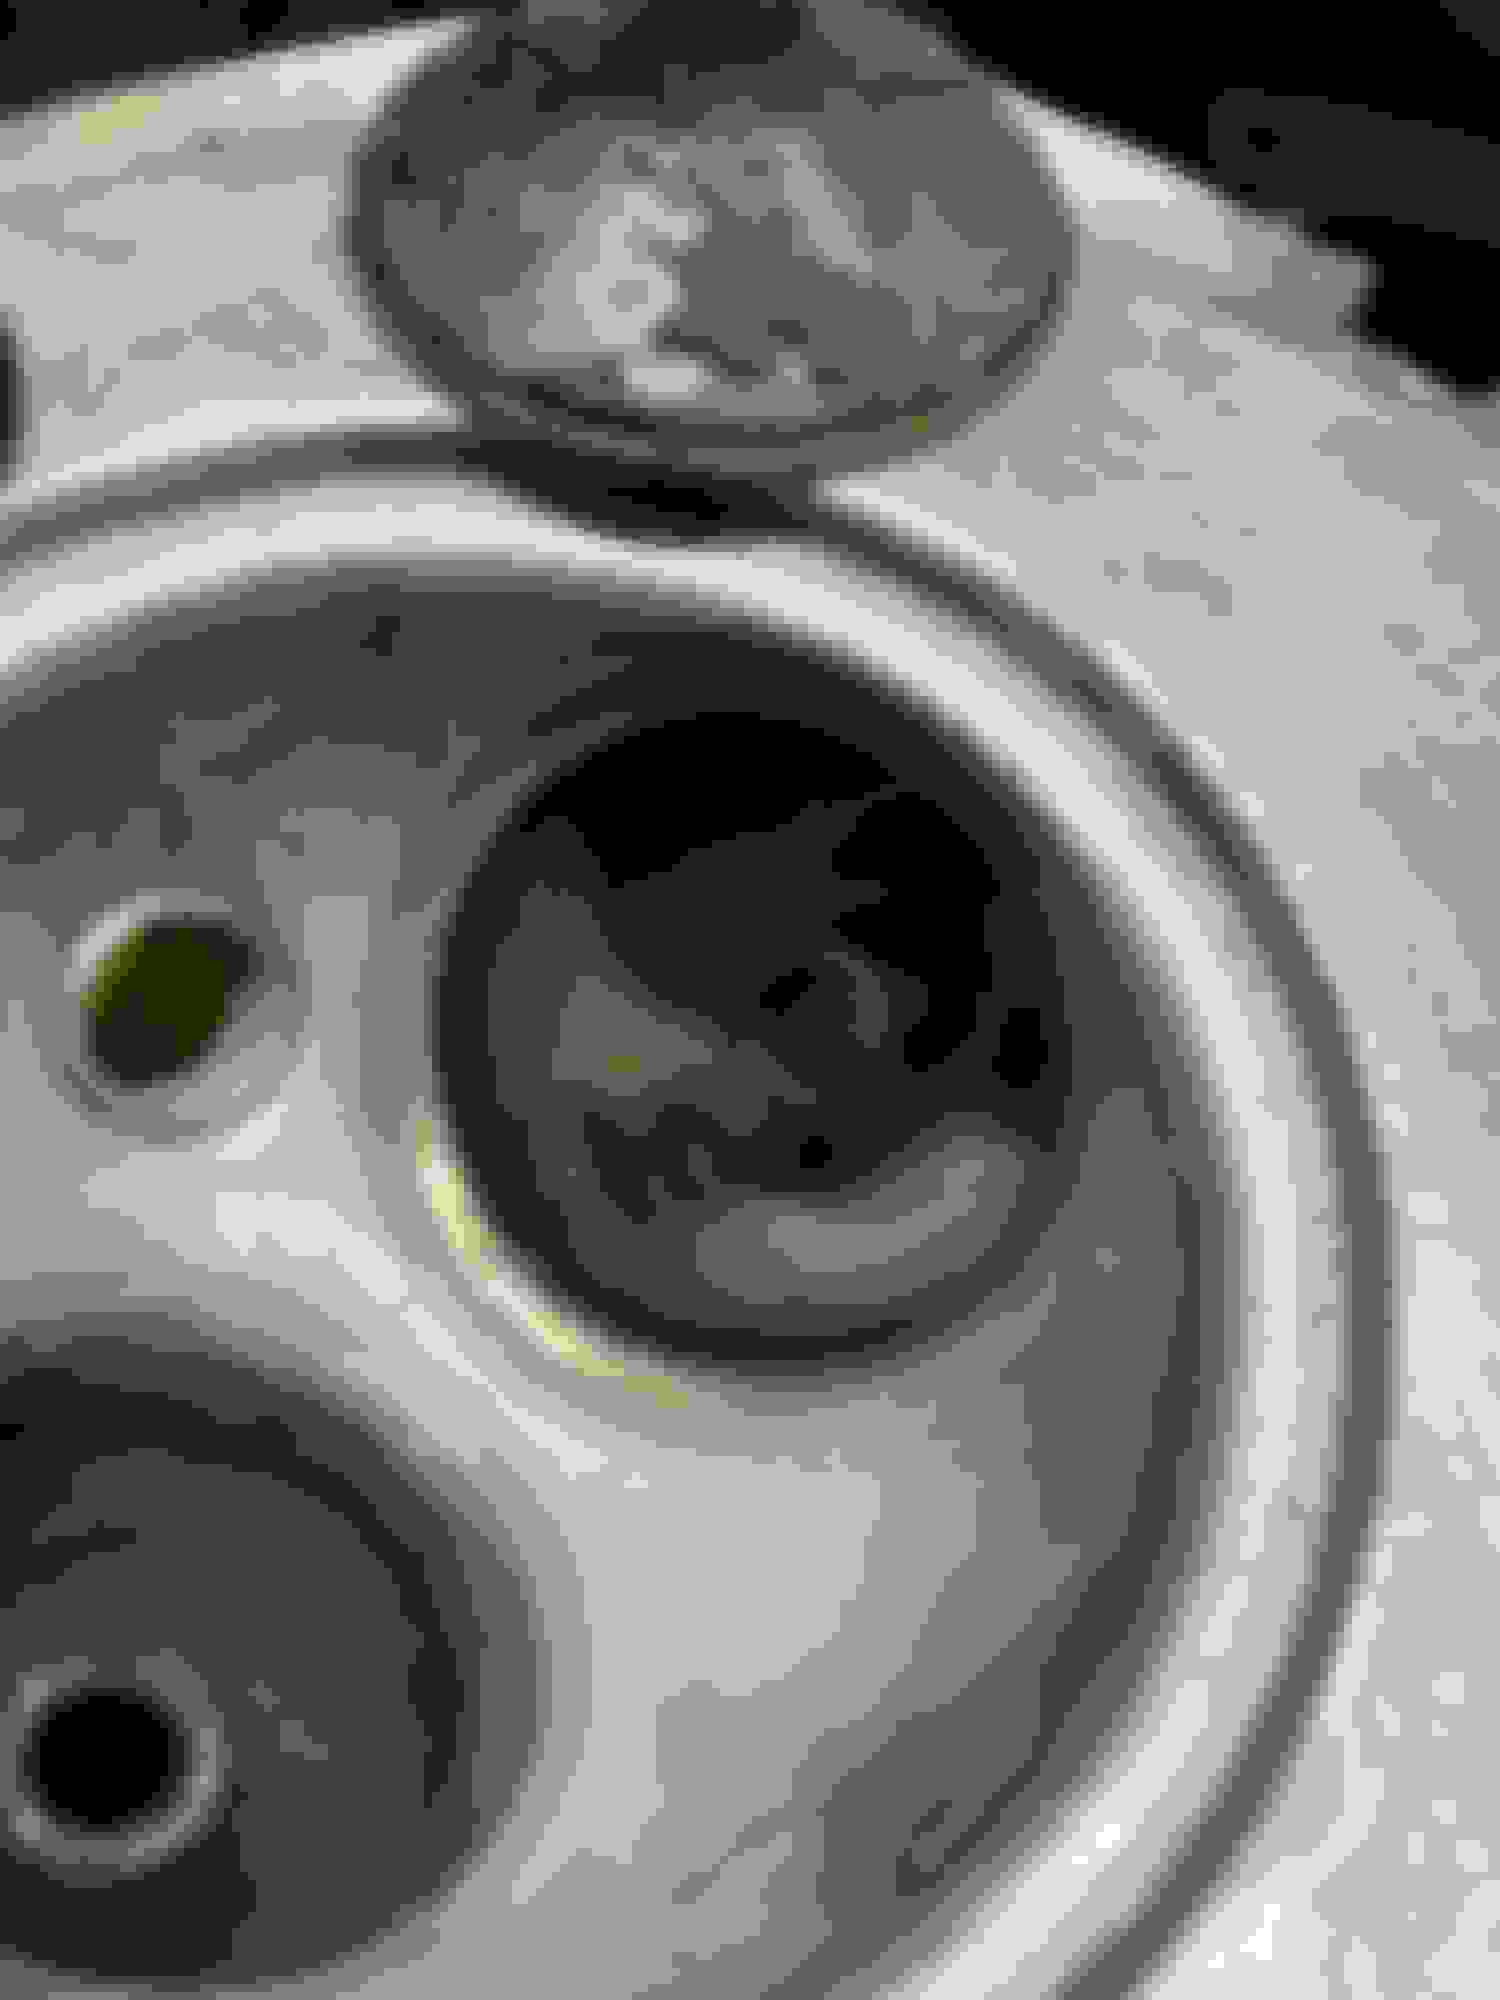
So, turns out that my heads' gasket surfaces are surprisingly flat. Badly corroded and pitted, as shown in earlier posts, but quite flat.
I was talking about resurfacing the heads to the machinist who does my CNC work for the side business, and also to the automotive machinist who will install new seats if I can't salvage the existing ones with my Neway carbide cutters. Long story short is that skimming these heads is a hassle for someone who doesn't do it regularly, primarily because setup is time consuming and expensive, due to the exhaust port that prevents a simple clamp-and-skim as with most automotive heads. (see 1st pic)
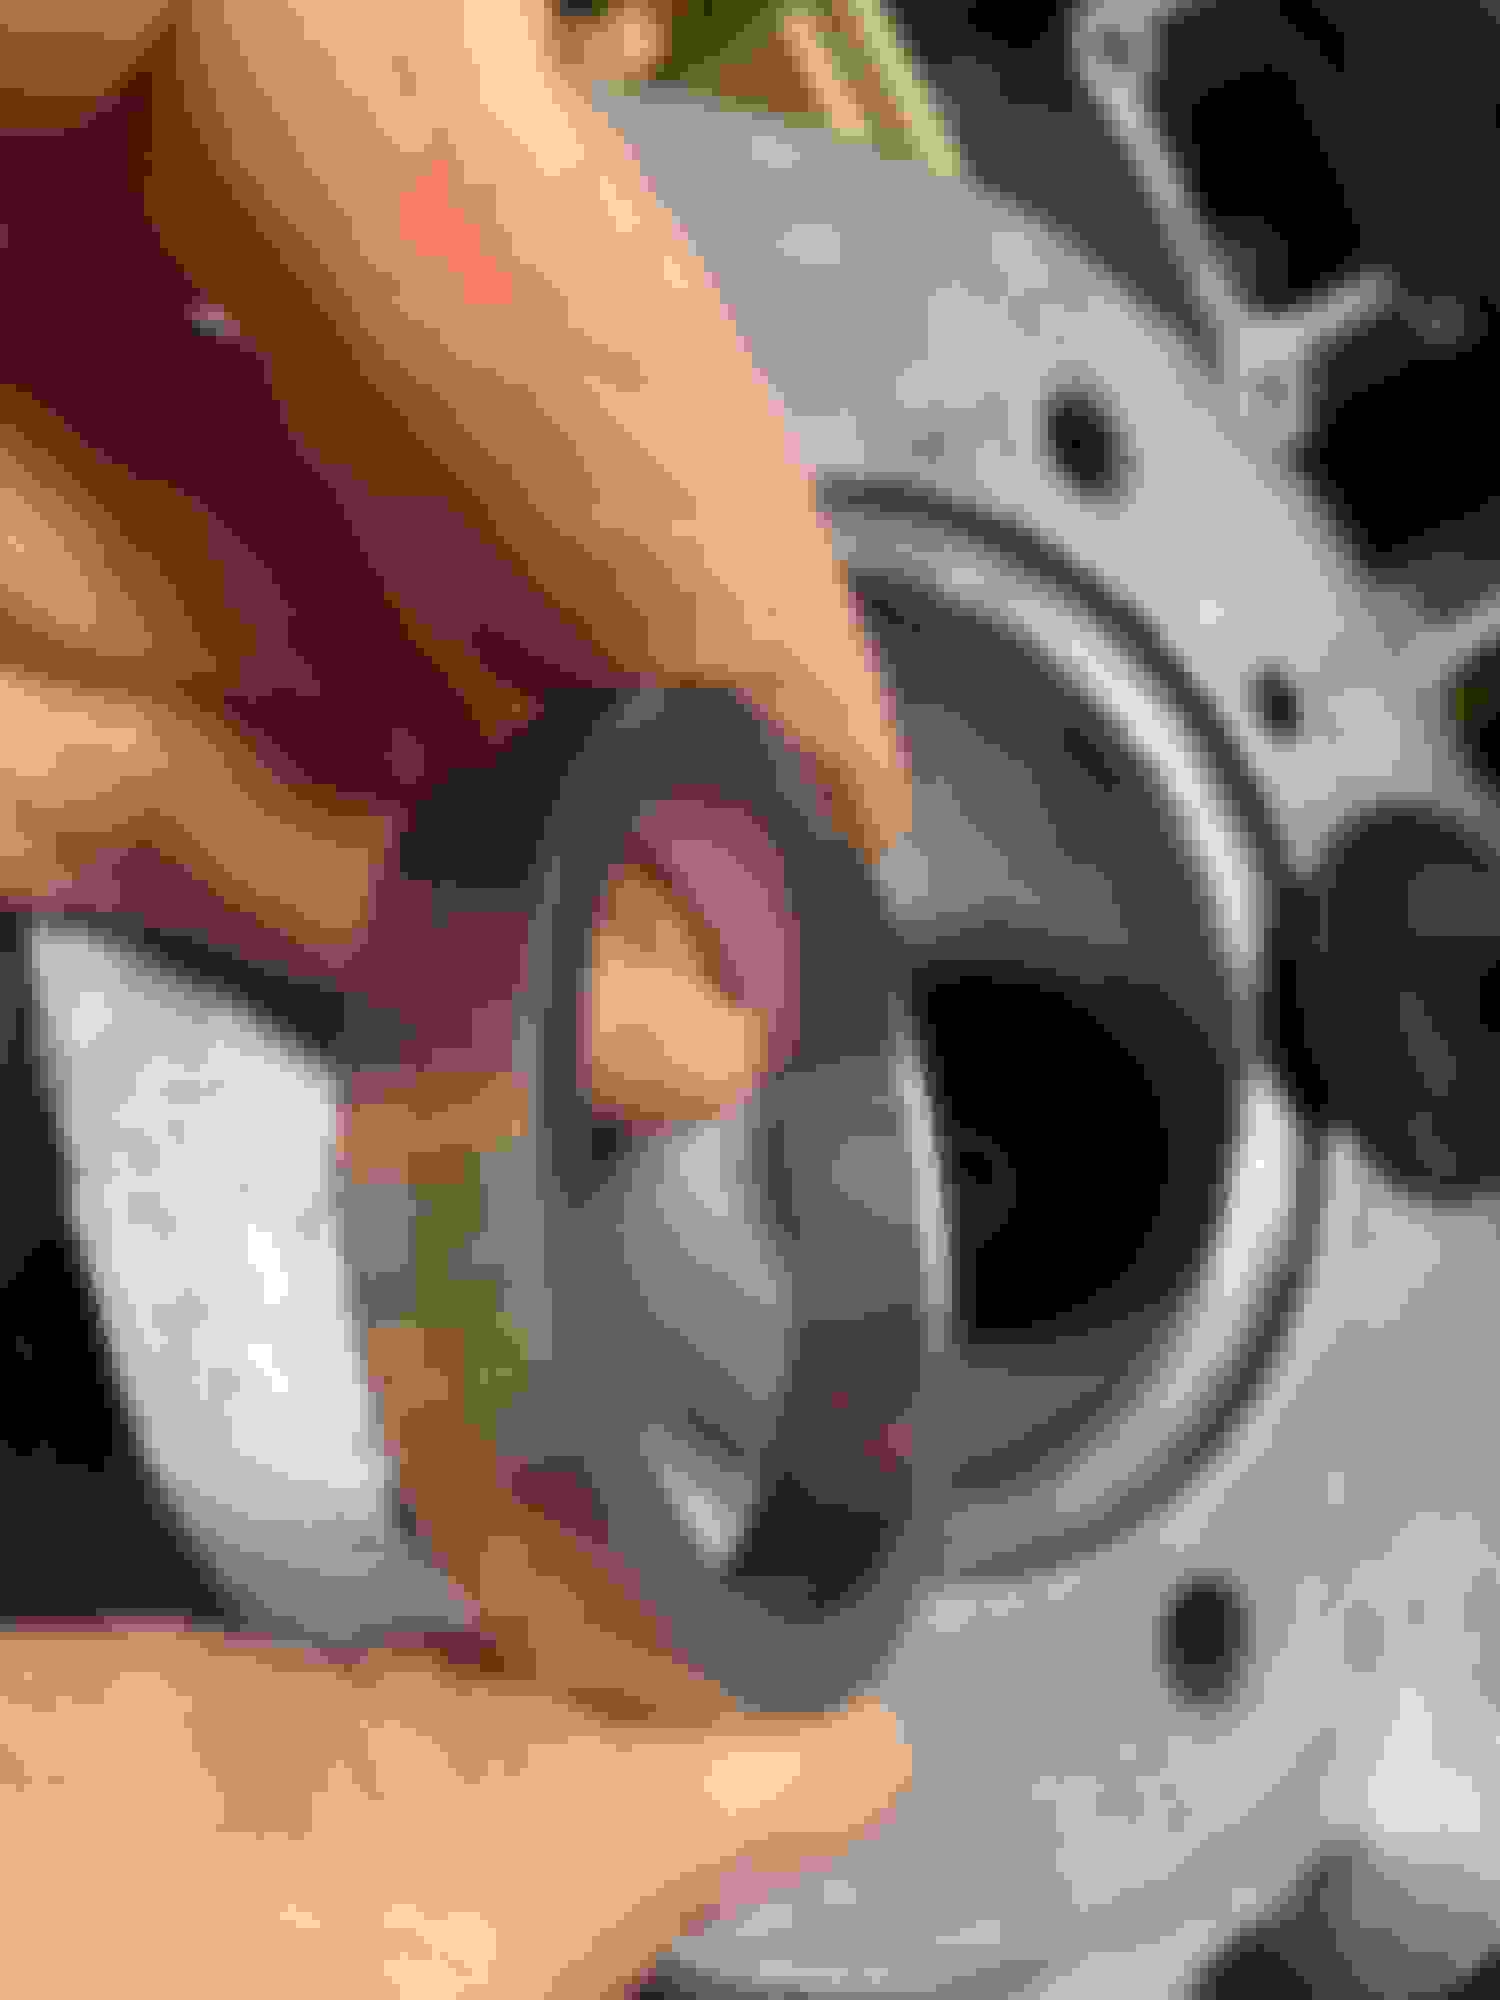
But there's another consideration. Upon measuring the centering ring that projects upward from the cylinders and protrudes into the recess in the head (see 2nd pic), with an old head like mine that has likely been skimmed over the years, there ain't much room for error.
In my case, even factoring in the .004" MLS-style Cometic gasket (which won't compress much at all after the higher crush profiles get squished), I can only afford ~.003" before I get uncomfortably close to the point where the cylinder lip will prevent the head from fully compressing the gasket. (note: Cometic will add shims to their MLS gaskets for a small extra charge, which is typically to reduce compression for forced-induction engines, so ultimately this wouldn't be fatal to having serviceable heads)
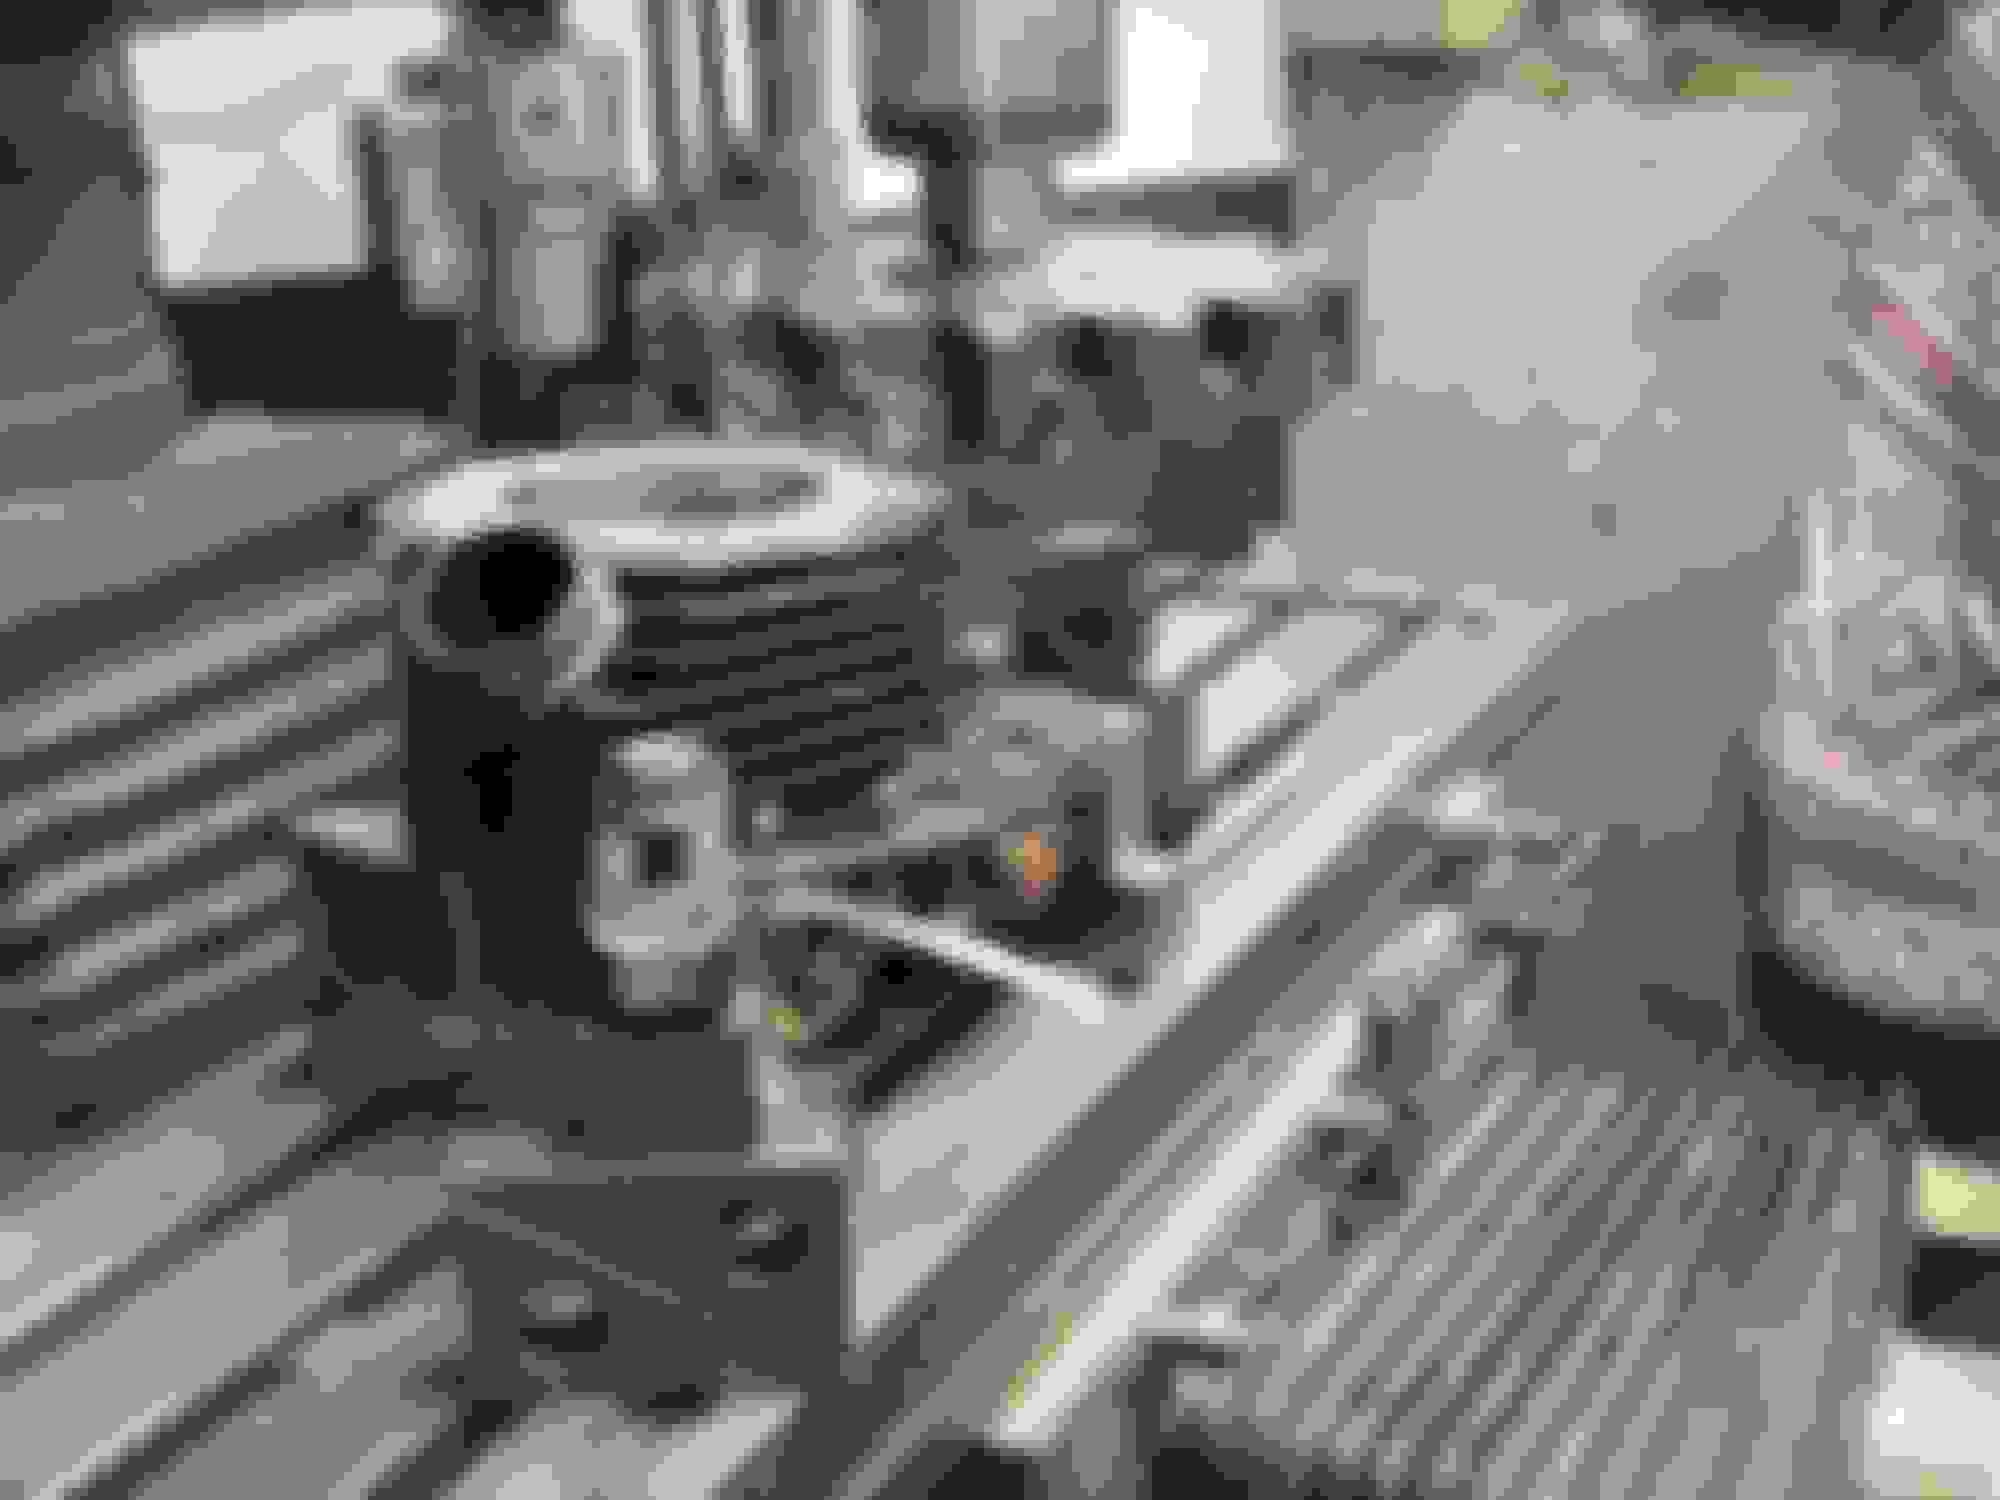
Also, on one of my heads, the factory insert for the head bolt threads is proud of the (badly pitted/corroded) mating surface by close to the MLS gasket thickness. It'd get taken down first pass on a mill, of course, but I was wondering whether I could DIY the whole job... and then came upon this video of a production shop
after they'd been skimmed on a mill (in what looked like a pretty coarse skim job).
Well, I can get a Polished Natural Stone Marble Floor and Wall Tile 12"x24" at Lowe's for $10, so when I get time, I'm going over there with a straight edge and feeler gauge to see whether they're dead flat. If so, seems to me that I could use the method in the video to take down my heads--perhaps after filing the insert a touch, to prevent that acting like a fulcrum and teeter-tottering the head. I made a 6' router table years ago that has clamping grooves in it, so easy-peasy to securely hold down the marble with the emery cloth on top.
Anyway, starting with aggressive grit emery cloth and then working down to finer paper, it might be that I can produce very flat gasket surfaces for pennies on the dollar.
Last edited by NM Pan-shovel; 02-24-2022 at 01:19 PM.
Any reason you can`t you shorten the cylinder lip to accommodate the surfaced heads
Seems like a quick lathe job
Agreed, that would be easy and inexpensive for my neighbor-machinist to do. What I don't know is whether the height of the lip is an ultimate, go/no-go to avoid piston-to-valve contact. I guess to eliminate that possibility, I'd have to measure the height from the head's gasket surface to valve, then compare with the distance from the cylinder's gasket surface to the piston's valve pockets...?
Go see the " 116" blew , building a 107" from Max Headflow
Post #120 will give a better idea of measuring piston to valve clearance
Your method doesn`t factor in valve lift
Go see the " 116" blew , building a 107" from Max Headflow
Post #120 will give a better idea of measuring piston to valve clearance
Your method doesn`t factor in valve lift
Okay, so he merely used modeling clay in the pockets on the piston, fitted the cylinder head without a gasket, then pressed the piston home - netting 1/10" (plus a few thou). Although my cylinders are already fitted to the case (don't want to buy a second set of Cometic base gaskets), this is easy for me to reproduce by putting each piston at TDC, adding some clay, and setting an assembled head in place without a gasket.
Of course, this is a static method, but I've observed the lifters while rotating the engine by hand after fitting the cylinders (I was timing the distributor to make sure I had installed it at a convenient angle), and the piston begins descending a hair before the lifter begins rising. So, all should be fine re: valve lift.
Last edited by NM Pan-shovel; 02-24-2022 at 02:43 PM.
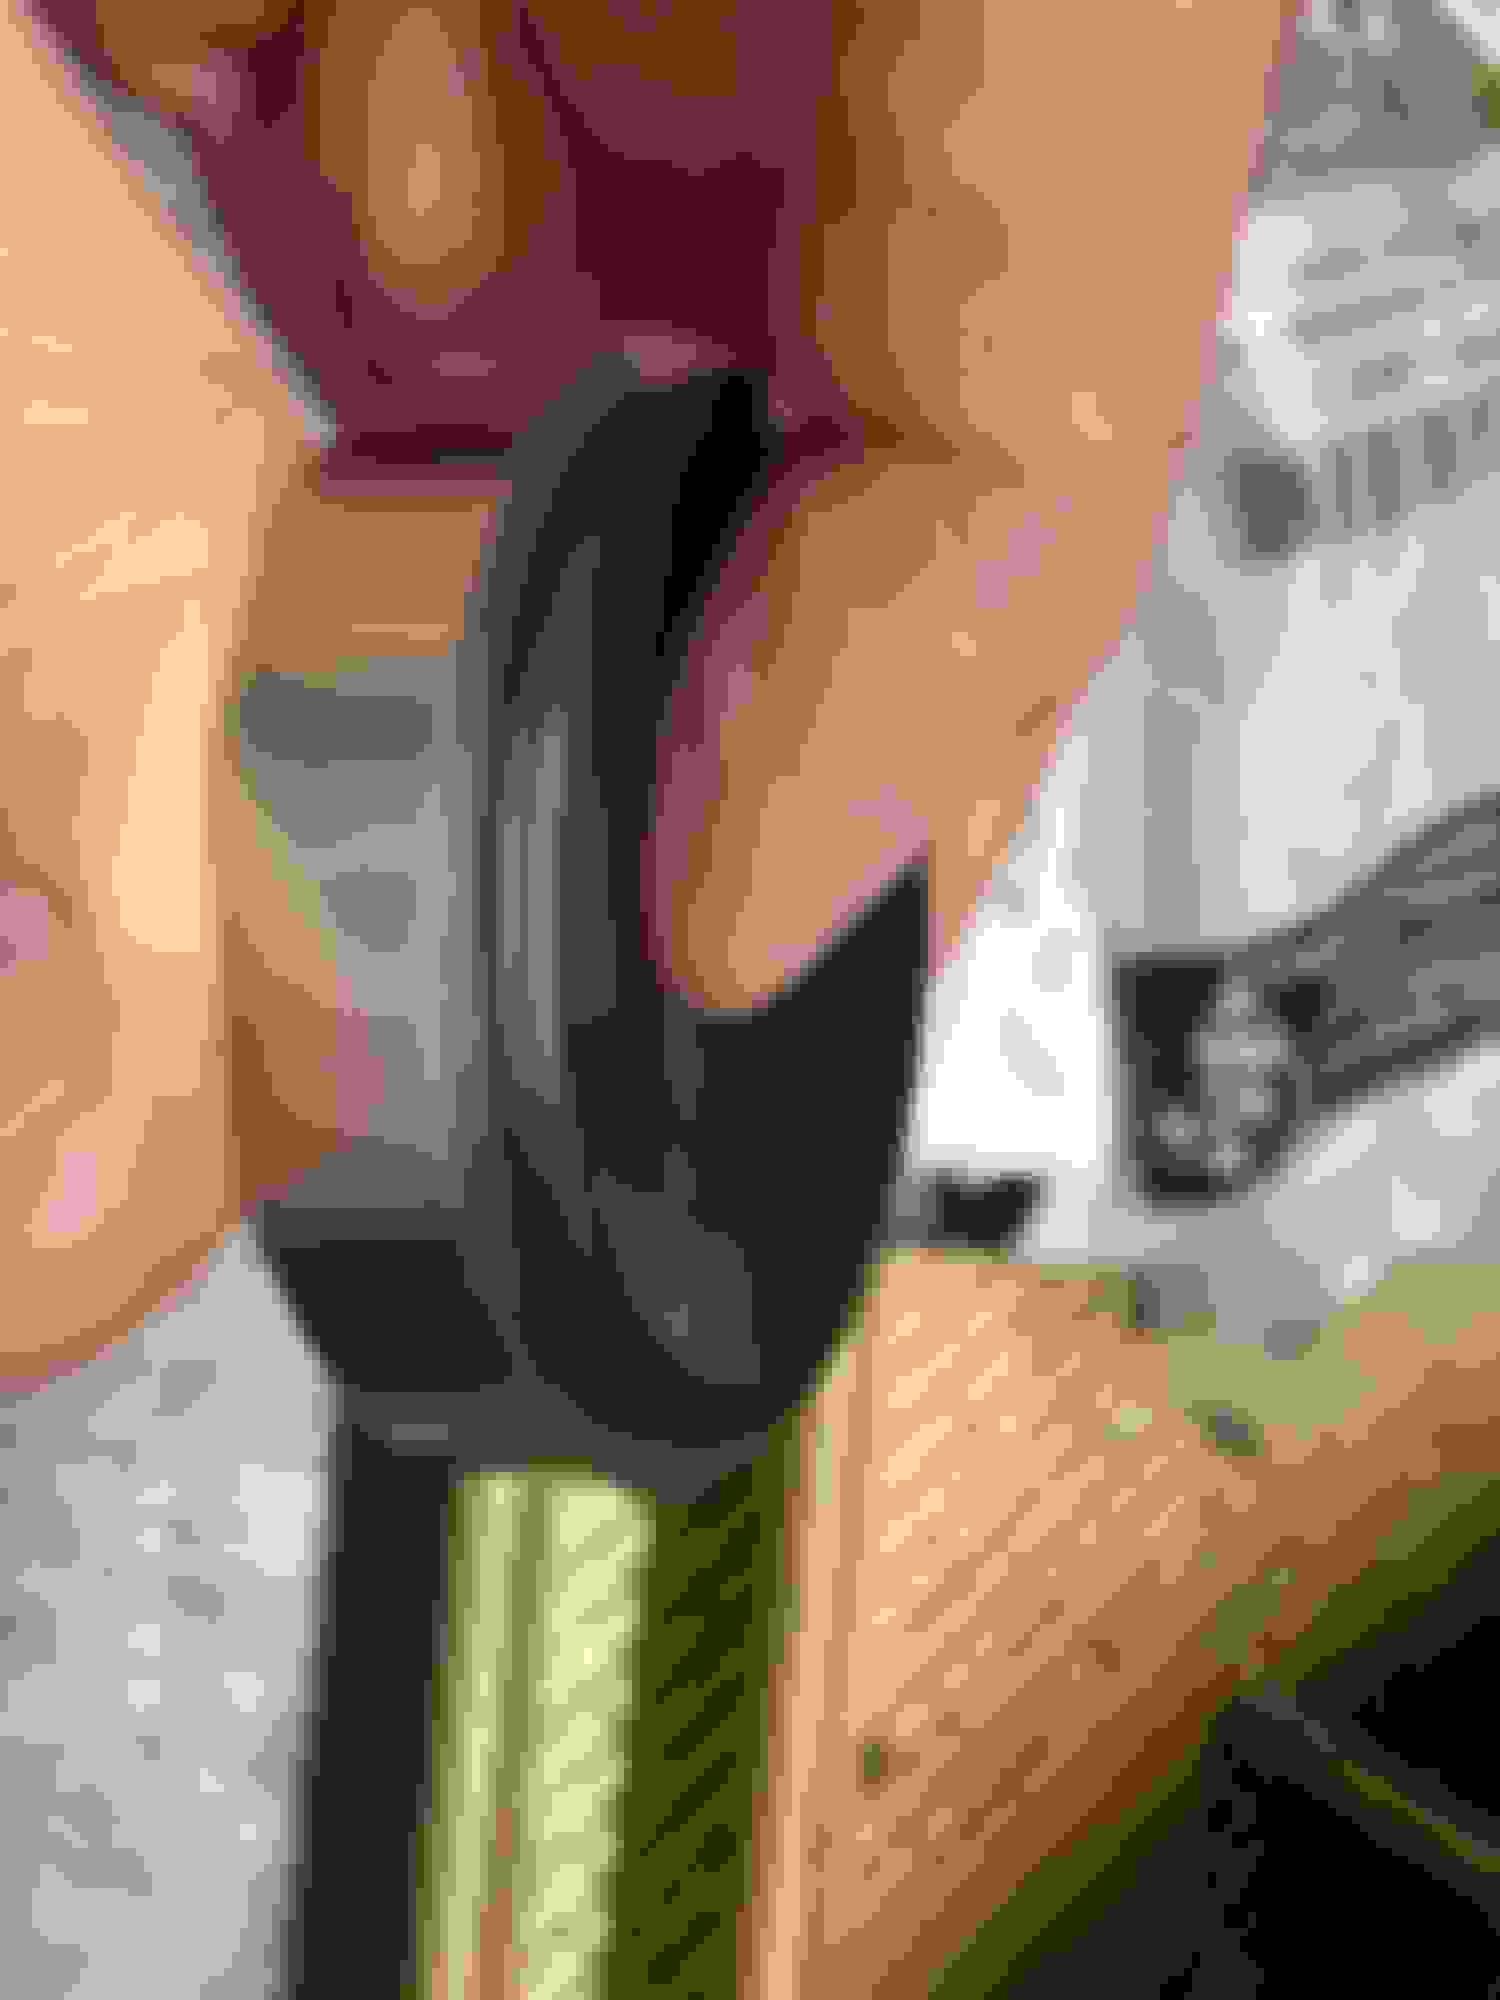
The 'high chrome steel' Kibblewhite intake seats came in and, yeah, a decent deal for $7.50, far superior to cast iron seats. Very nice material, small but adequate starter angle--even a fancy laser embossed part no. (though I don't care much about that). The exhaust seats are on backorder, but for this price and quality, I'll happily wait. Given that you can buy oversized valves, these seats will last a l-o-n-g time.
The pics (first 3) show the new seat with starter angle to cut the seat, and good sizing with new standard diameter Kibblewhite valves. Plenty of room to do a three-angle job. These valves have a slightly differently shaped tulip and face than the standard versions, which is supposed to improve performance somehow. They've also got Kibblewhite's special black hardened finish, for whatever that's worth...
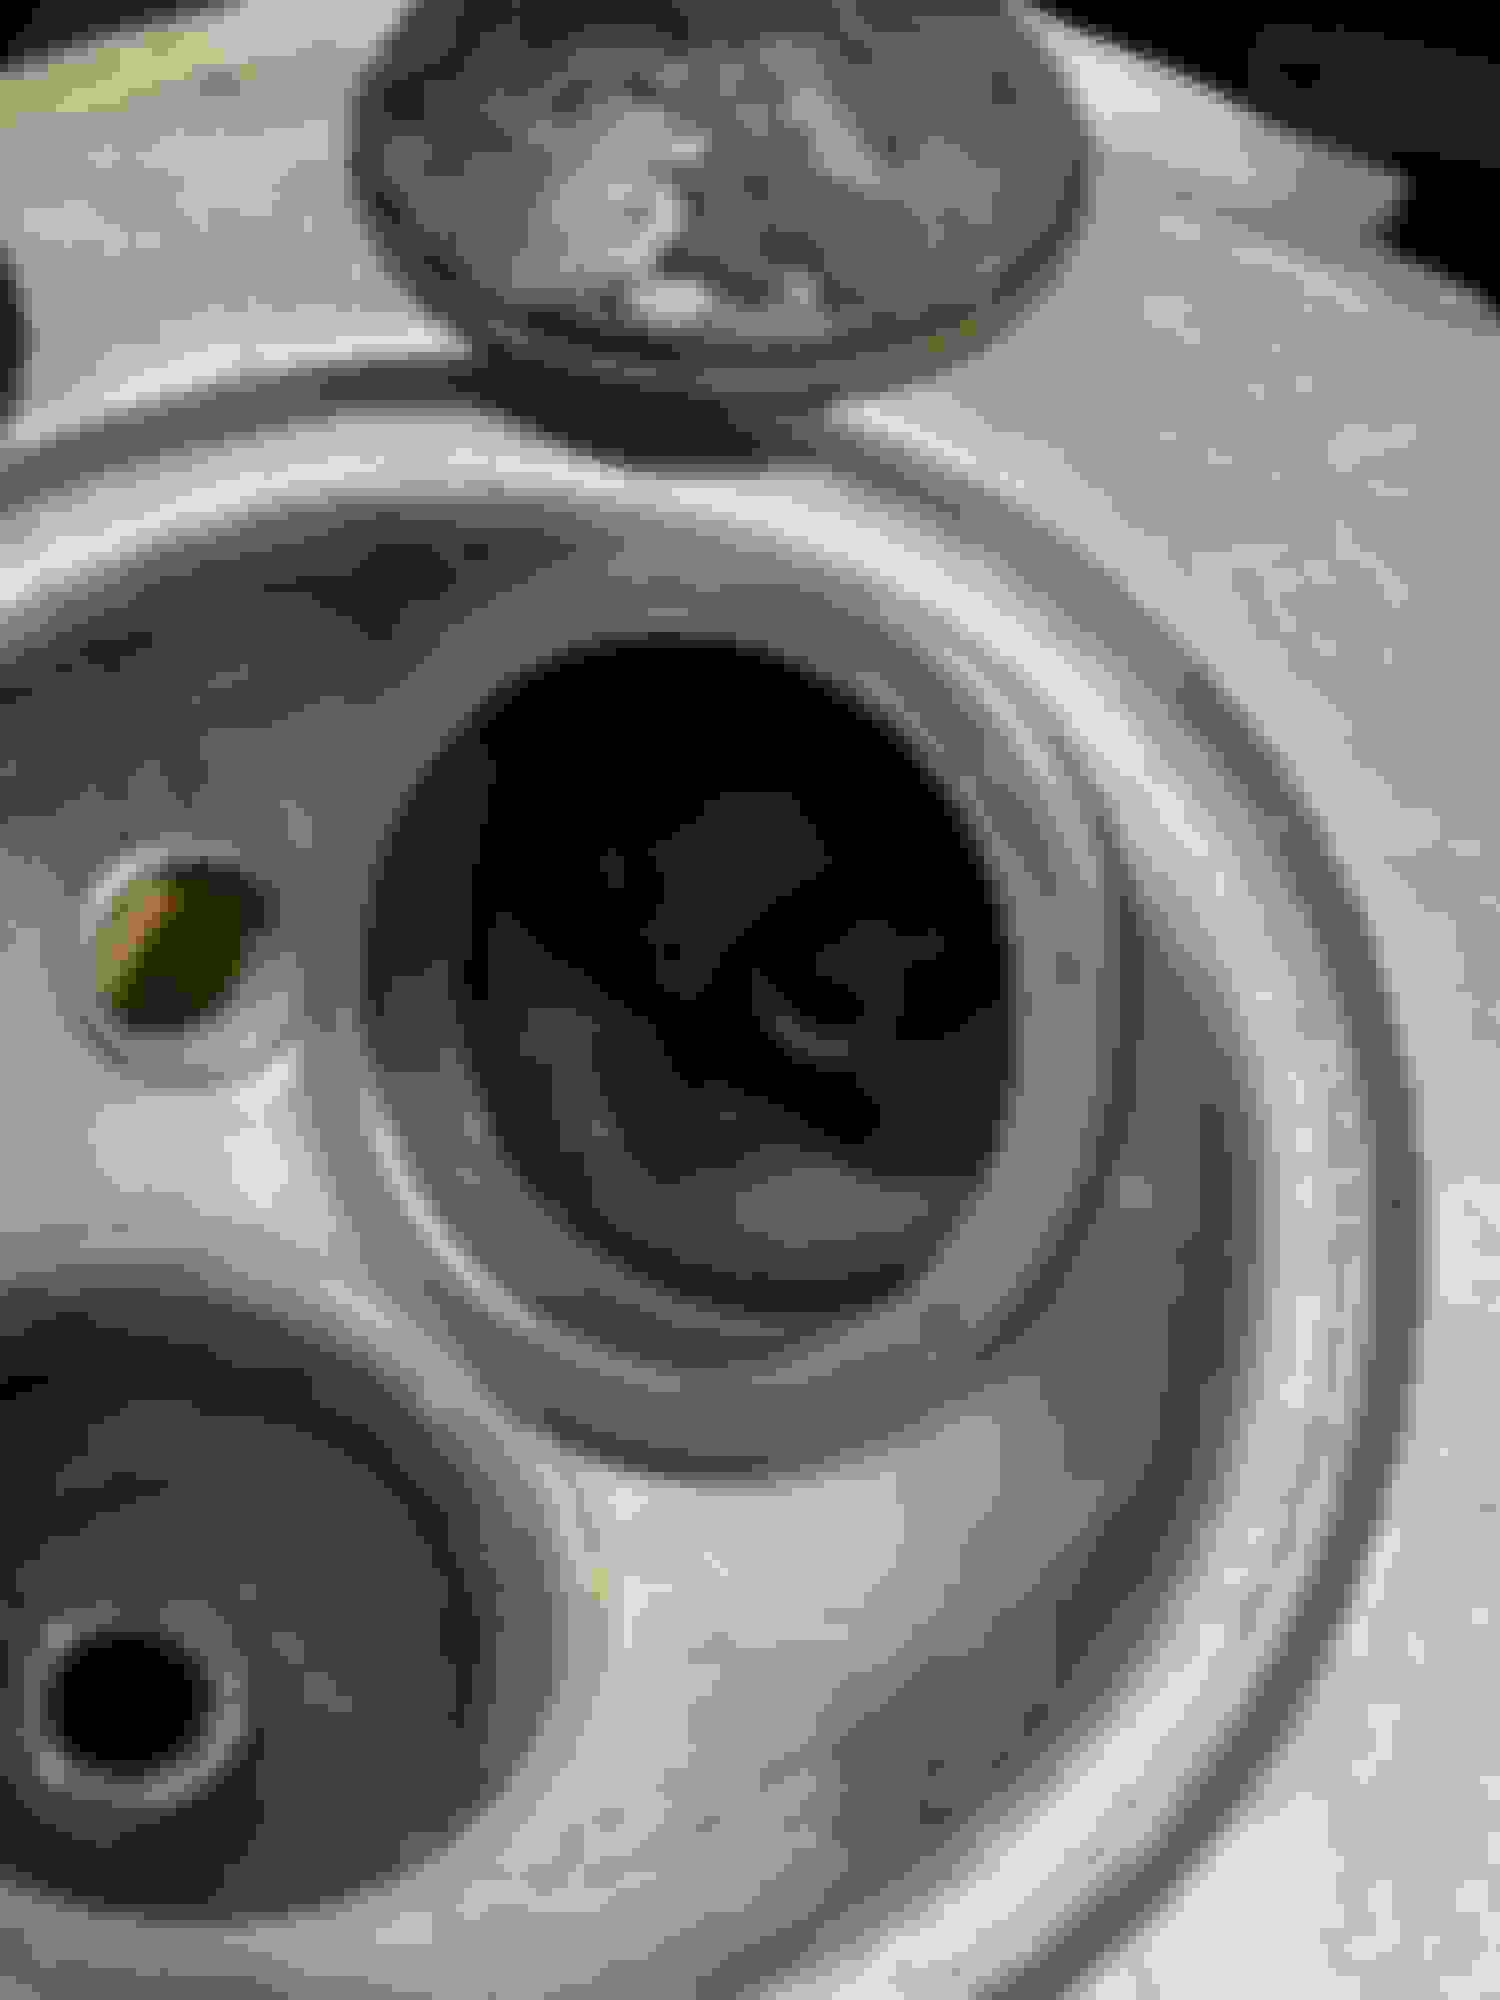
Judging from the thickness of the new seat resting on top of the existing one (last 2 pics), it indeed looks like the existing seats had been cut many times over, placing the valves way down into the head and making it impossible to do a true three-angle job--and probably reducing flow somewhat. It'll be interesting to do the modeling clay test to see what the valve-to-piston clearance is with the new seats.
 02-22-2022, 05:35 PM