Engine Mechanical TopicsDiscussion for motor builds, cams, head work, stripped bolts and other engine related issues. The good and the bad. If it goes round and around or up and down, post it here.
I noticed you have a shut-off valve in between your oil tank and engine. No doubt this controls wet sumping when you don't ride it often enough to keep the tank from emptying its contents into the crankcases. Over in the world of vintage British bikes this is a pretty big deal and subject of endless debate. One side insists that sooner or later you will forget to open the valve. The other side says they never will. I'm not taking sides here, but some pretty nice valves with alert/alarm capability have become available, something to consider for your bike to greatly reduce the likelihood of the valve being left closed.. The valves are fitted with an electric switch that can sound a buzzer or interrupt the power to your ignition. Here's a link to one offering. (And no, I won't judge you if you decide it's not needed.) I just thought I'd share in case you and others with bikes prone to wet sump while parked aren't aware this hardware is available.
Right you are. Several of the rides I am looking forward to doing in the SW are into remote areas, and coming back from a hike to find the tank dry (or having despoiled the trout habitat, etc.), would be a bitter pill. The engine is not consuming any oil, so I'd like to be able to carry just a small bottle for topping up in the rare event it needs that--not several quarts to make up for wet sumping!
This is very cool and much appreciated. I had no idea these had been developed. Since my oil pressure sender has never worked consistently (and I don't care, as these old engines are chiefly about oil volume not pressure), I'll just attach one of these to the oil light.
I have gotten in the routine of: petcock>oil valve>ignition>enricher when starting, but we all get distracted sometimes. You've likely saved my valve train--which I painstakingly set up as discussed earlier. So thank you!
I don`t follow this ^ after you start the engine the oil is going back to the tank
Add several qts and its going to overflow
Oh, sorry... what my engine has done when the relief valve sticks open is eject massive amounts of oil out of the breather pipe. On one occasion, nearly the entire contents of the tank sluiced down through the crankcase and onto the cookie sheet. While some did get sucked back into the tank on startup, a whole lot didn't, but instead was burped out until the engine warmed a bit and the relief valve started doing its job.
I could have R&R'd the pump and dressed the seat, etc., but this is a permanent solution--and I didn't have to R&R the timing cover... again. So, part laziness re: not wanting to R&R the cover and pump, and part just wanting to eliminate the issue--which I did. As Since 1968 notes, installing one of these is a matter of taste, but I like coming out to bone dry pavement after finishing my cheeseburger.
Worthy of consideration. FWIW, my EVO used to wet sump but it wasn't bad as long as I ran it about once a week. I never installed a valve, just lived with the mess once in a while if I let it sit too long. It was similar with my old Nortons, none had that bad a problem which came down to the clearances in the oil pump. In your situation I think I would go with a shutoff valve like you did. I've read that Jay Leno uses a valve wired to a buzzer on at least one of his many rides. It might take him several months to rotate through his bikes so they're sitting a lot longer than ours.
Worthy of consideration. FWIW, my EVO used to wet sump but it wasn't bad as long as I ran it about once a week. I never installed a valve, just lived with the mess once in a while if I let it sit too long. It was similar with my old Nortons, none had that bad a problem which came down to the clearances in the oil pump. In your situation I think I would go with a shutoff valve like you did. I've read that Jay Leno uses a valve wired to a buzzer on at least one of his many rides. It might take him several months to rotate through his bikes so they're sitting a lot longer than ours.
Understood, thanks. Yeah, the low-tech solution I've got now is fine... so long as I remember. But I've now got the neato upscale option should I so desire. I really appreciate it.
So, went for a test ride to see how the fork tube mods turned out... Perfect. No leaky, and the dampening over the uneven pavement in the S-curve in the canyon coming up from the Rio Grande, as well as the washboard dirt road spur off the highway, was great. I think after I hit 1,000 miles from the top end refresh, I'll adjust the valves, change the oil, and she'll be good to go for the El Cabezon half-day putt. Wish a bunch of you guys could join me. But I've got a five-hour external battery for the GoPro, so should get some cool footage.
Just incredible work - great job and it looks amazing.
Thanks very much. I'm sure it rides like a mule compared to your Road Glide, and when I got caught after sundown Saturday night in 53 degree weather, I found myself wishing I had a fairing. But after thawing out, I love it!
I should have mentioned that when installing these sliders initially, there was some leftover stuff in the bores. Either corrosion or scale from the plating process (they were shaved and chromed by an outfit that sells on eBay). The prep and plating job they had done was so beautiful (far superior to the brand new V-Twin units sold by the usual suspects, which had undulations if you sight down the surface along the long axis), that I didn't want to send them back.
So, I got a 1-5/8 (41mm) 240 grit silicone carbide Flex Hone (part no. BC158240SC) from Scamazon, and then crimped some 1/2" mild steel tube from a home improvement store onto the stem with a small sledge. Dipped the hone in motor oil and used my large hand drill to drive the hone, and... voila. Cleaned up the sliders' bores nicely.
I mention this tip just in case someone is rebuilding or trying to salvage a set of otherwise serviceable 41mm sliders. Works great.
Status of 'full floating' chopper/bobber saddle project:
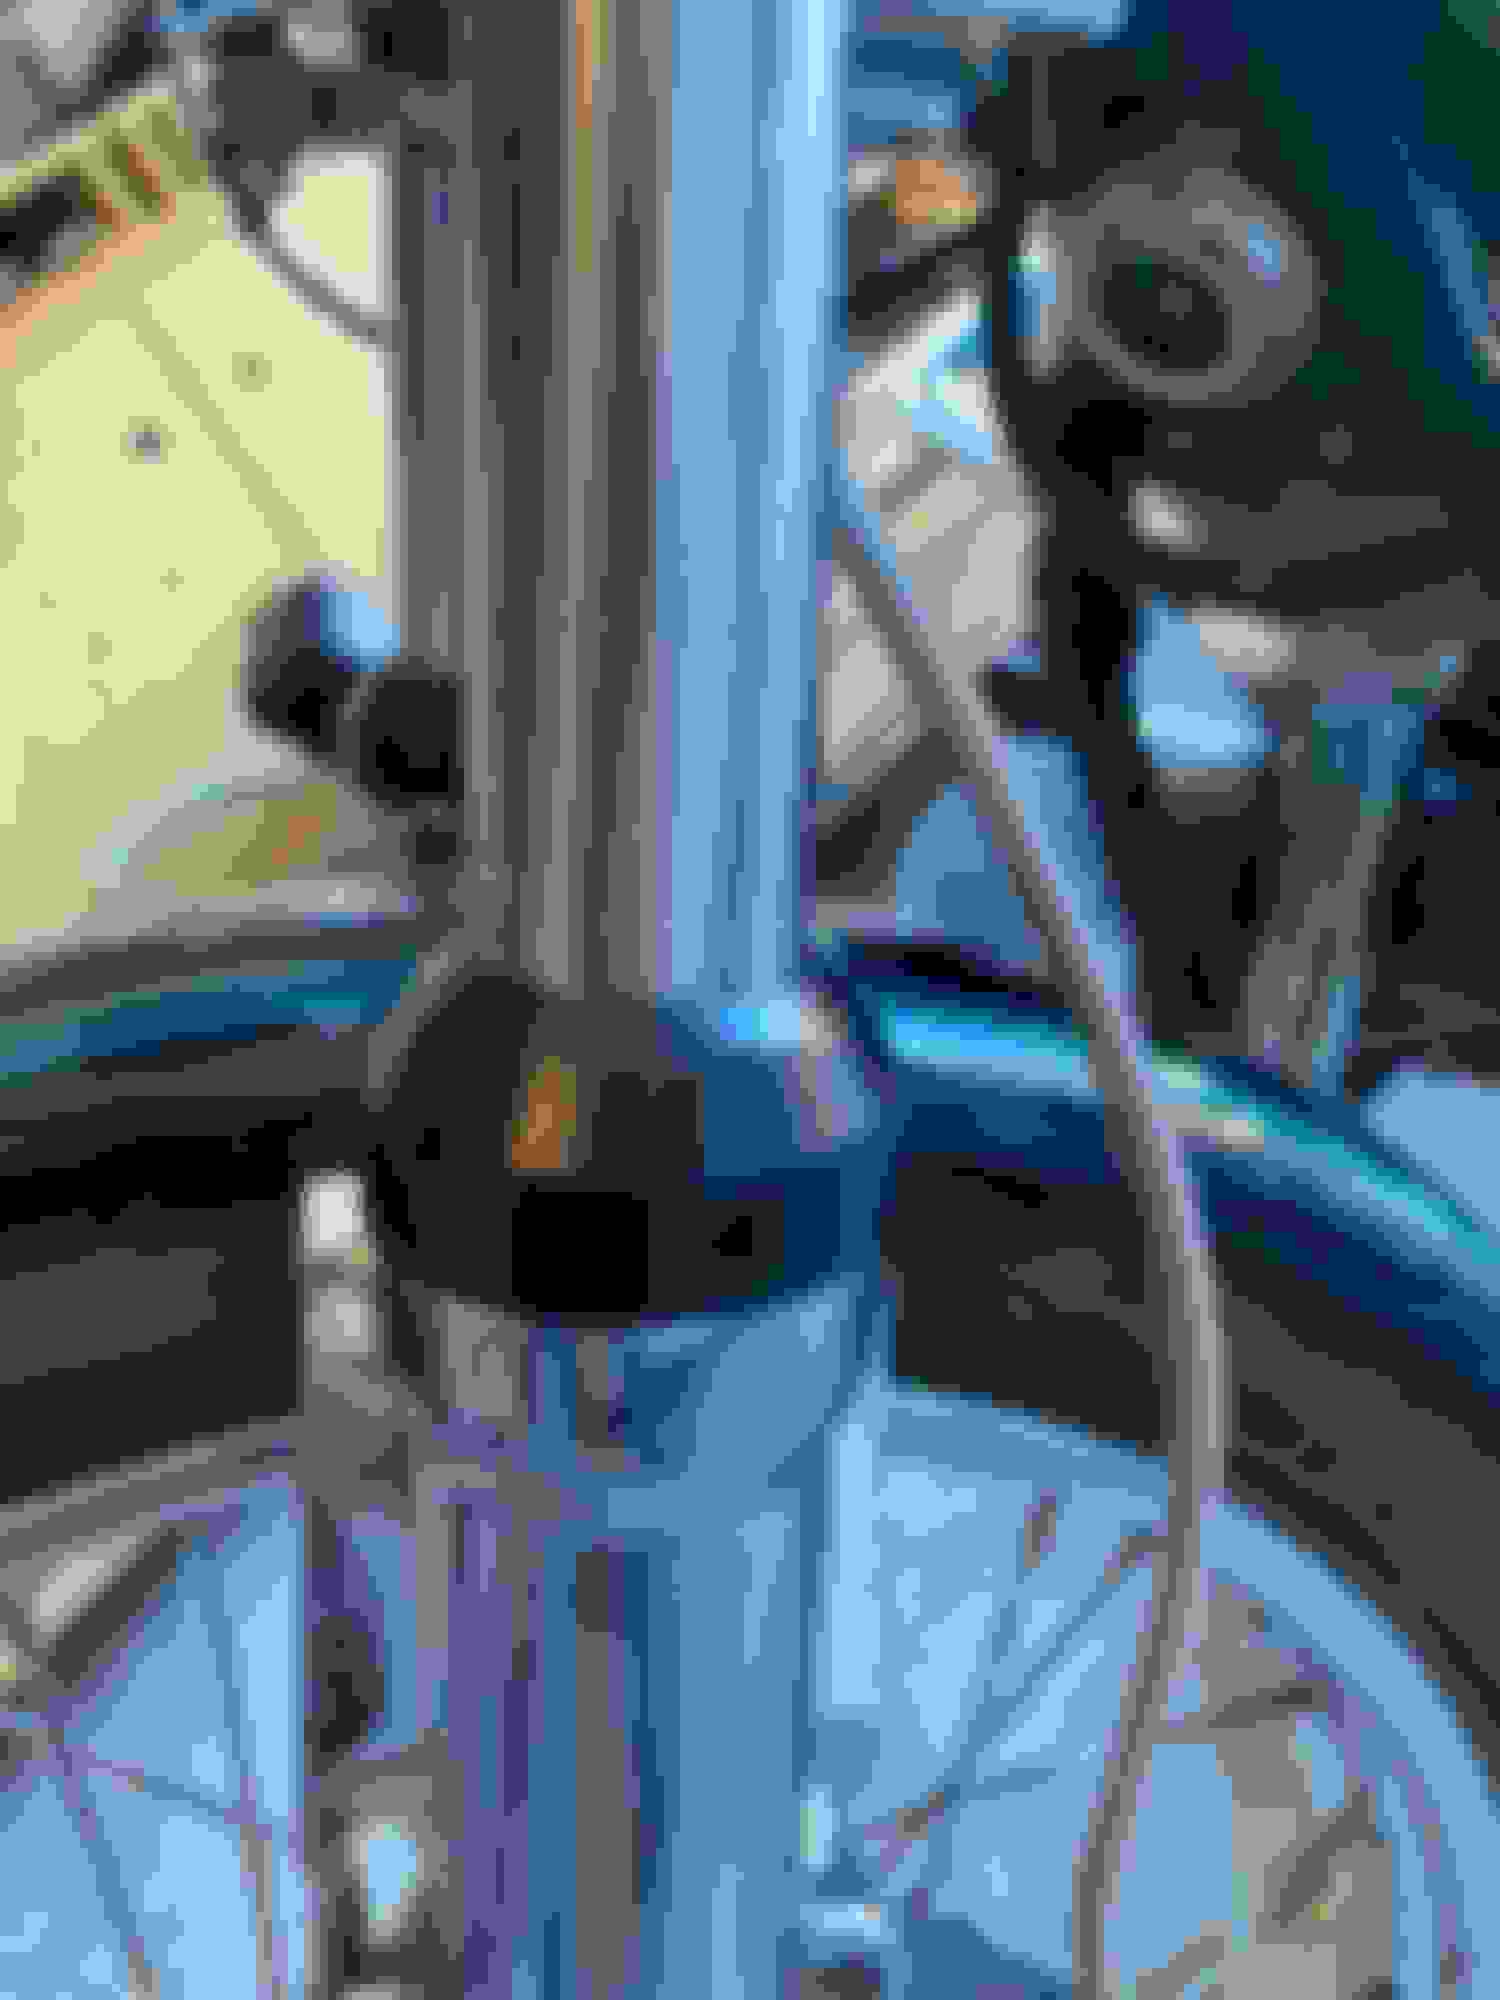
I took a look at the frame tube that takes the OEM 'pogo stick,' and it looks like there's a bushing in there--or something. The top edge isn't smooth, so I need to knock off the paint and see what we're dealing with. Hope that's not a bead of JB Weld or even real weld that I'm seeing... The hole for the zerk fitting at the rear of the frame tube appears intact, but we'll see.
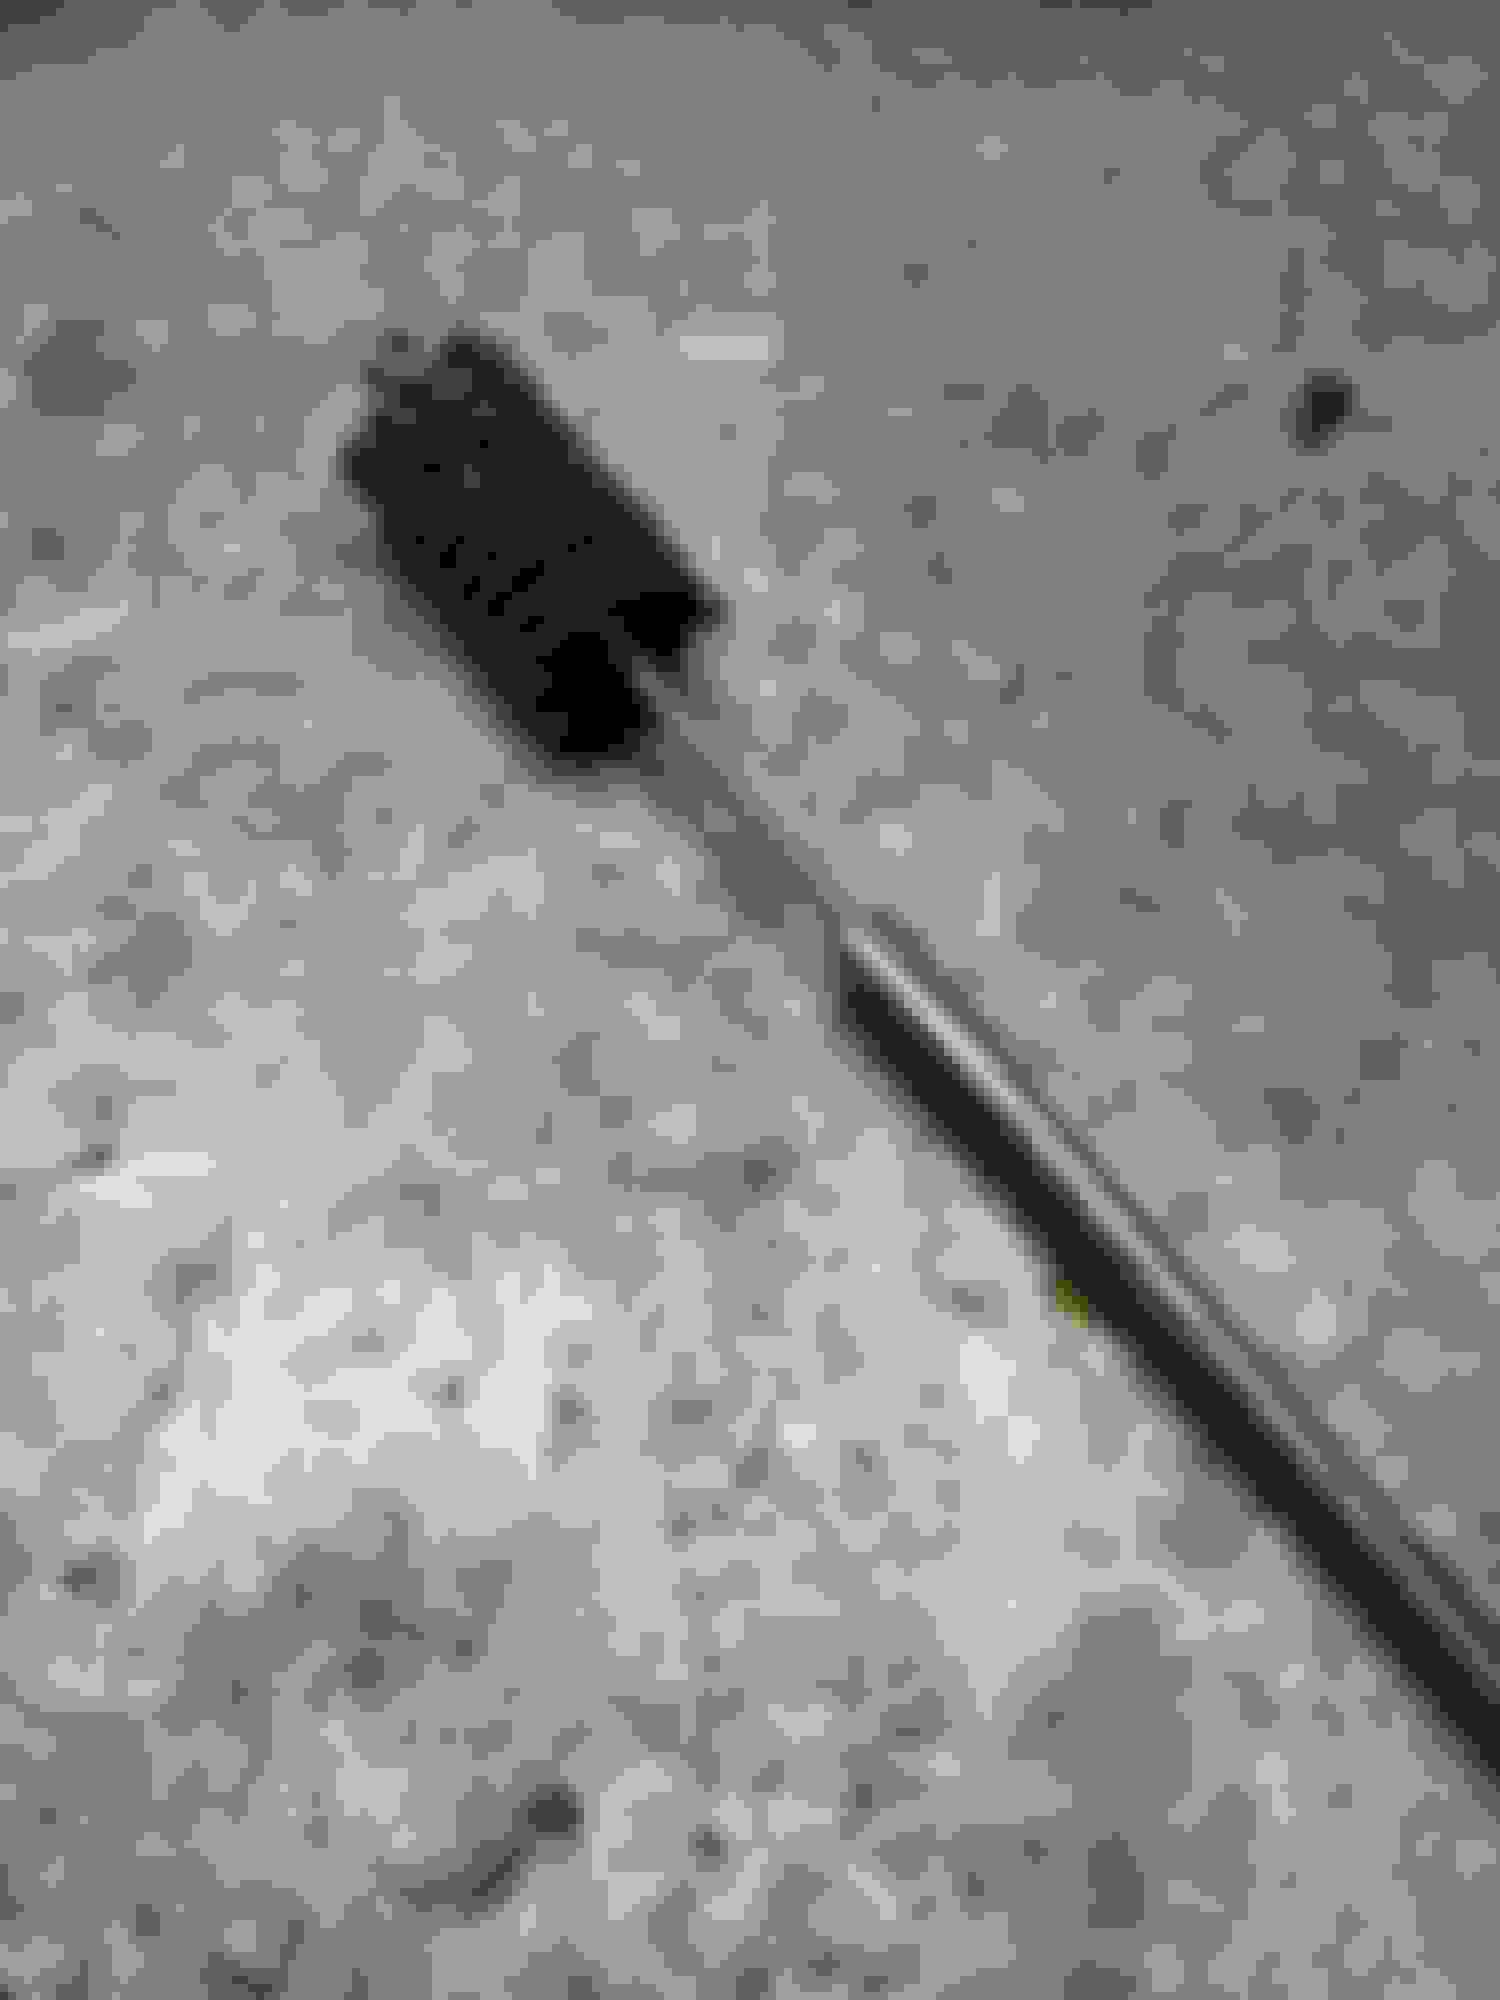
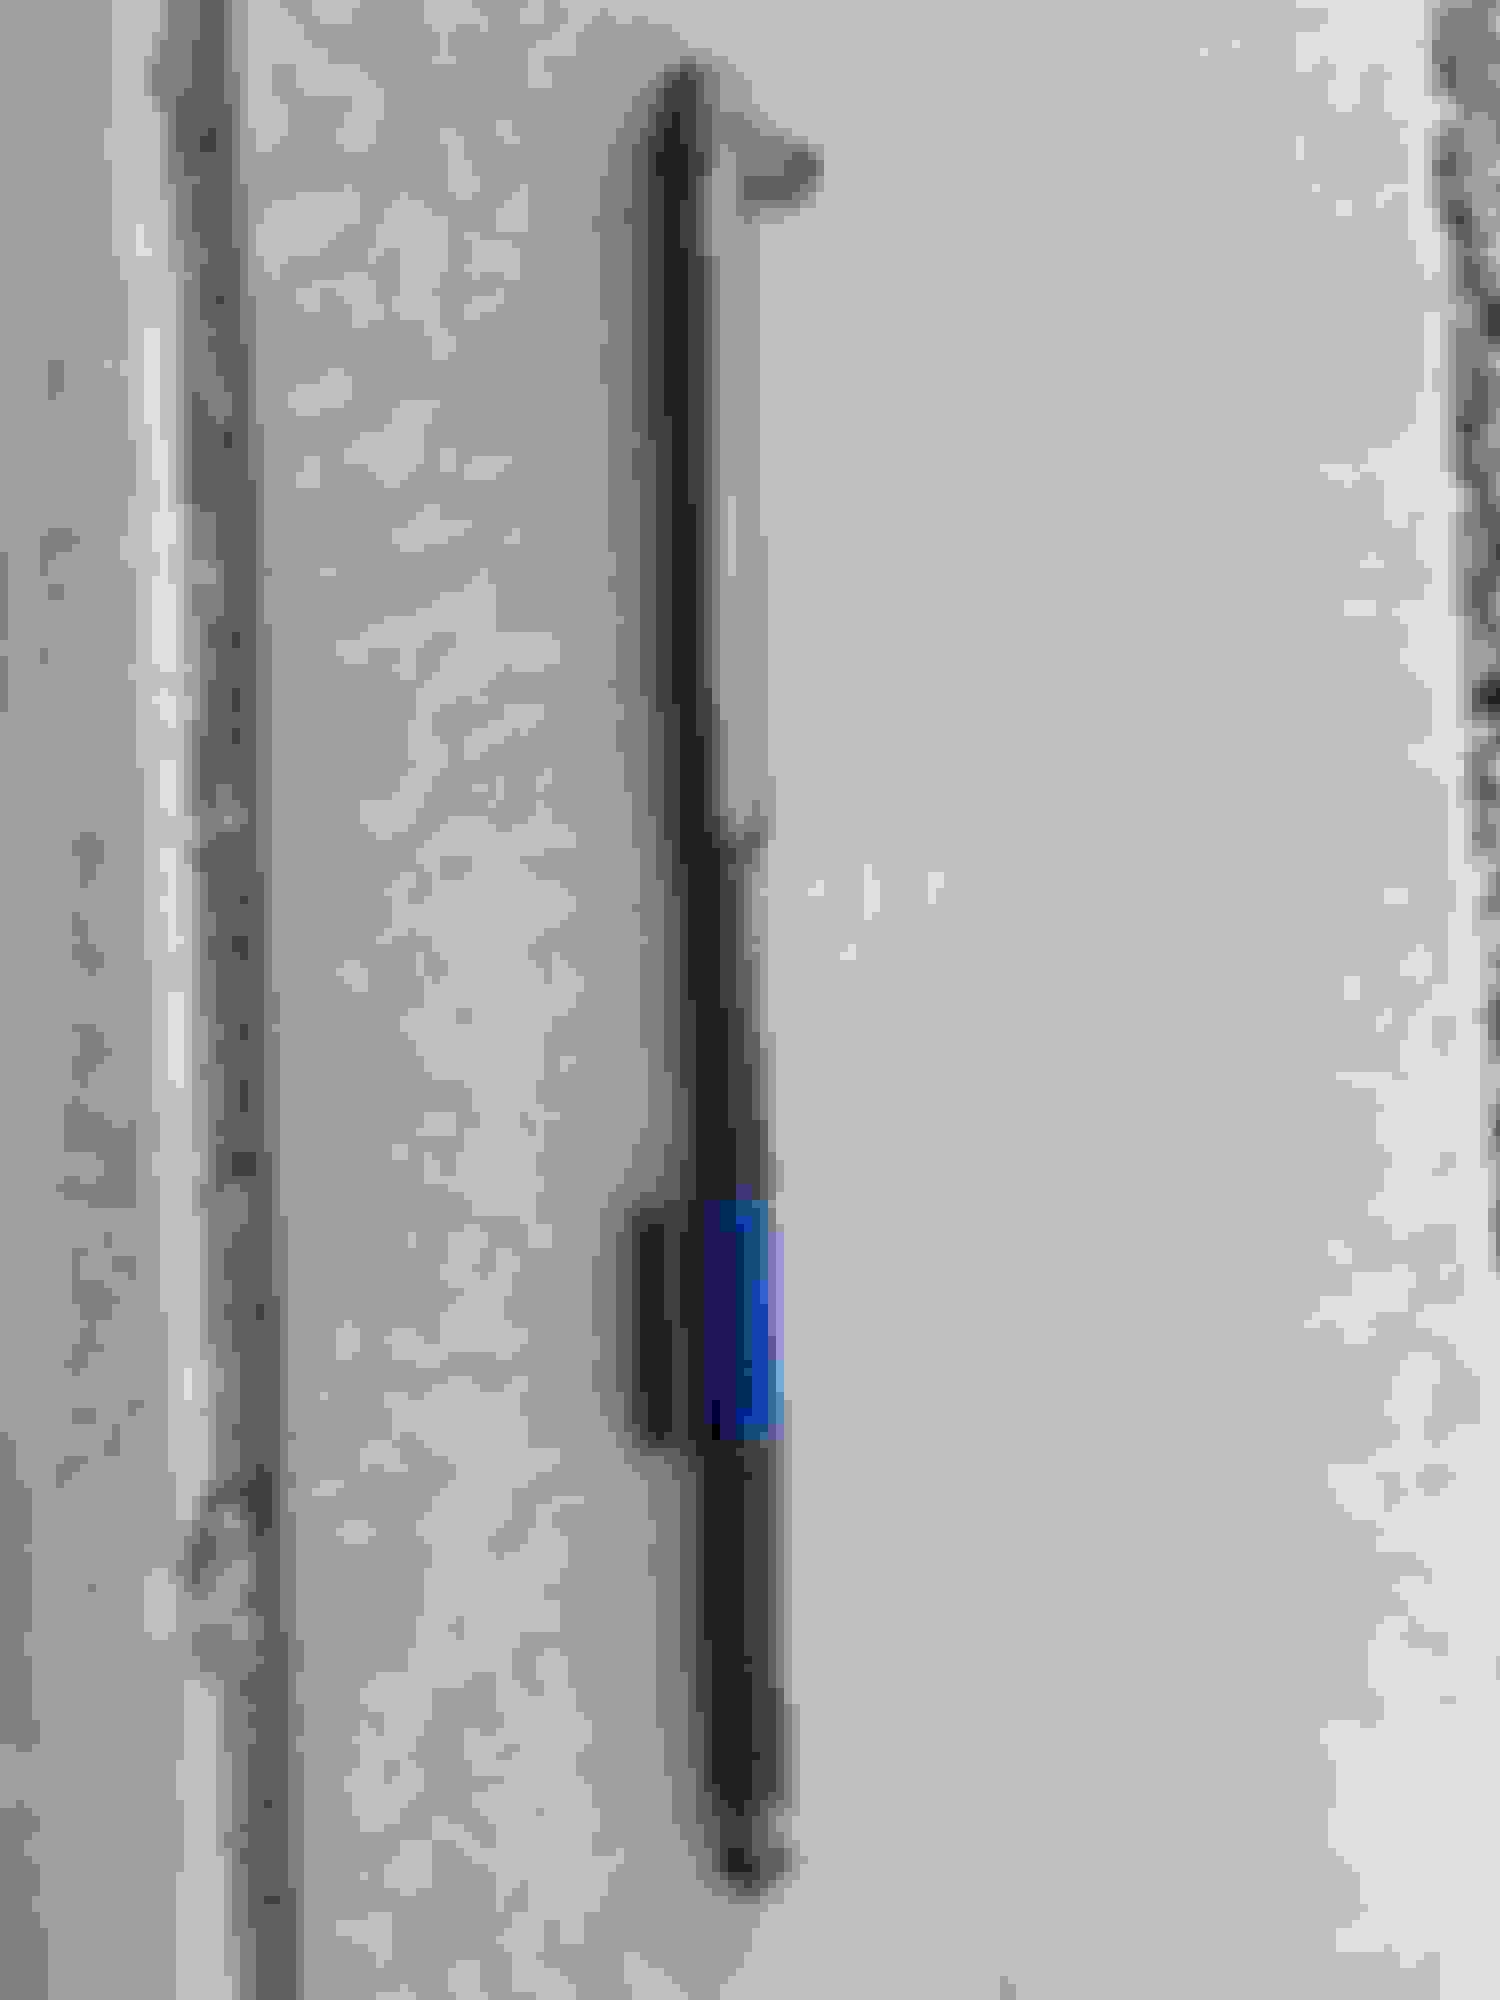
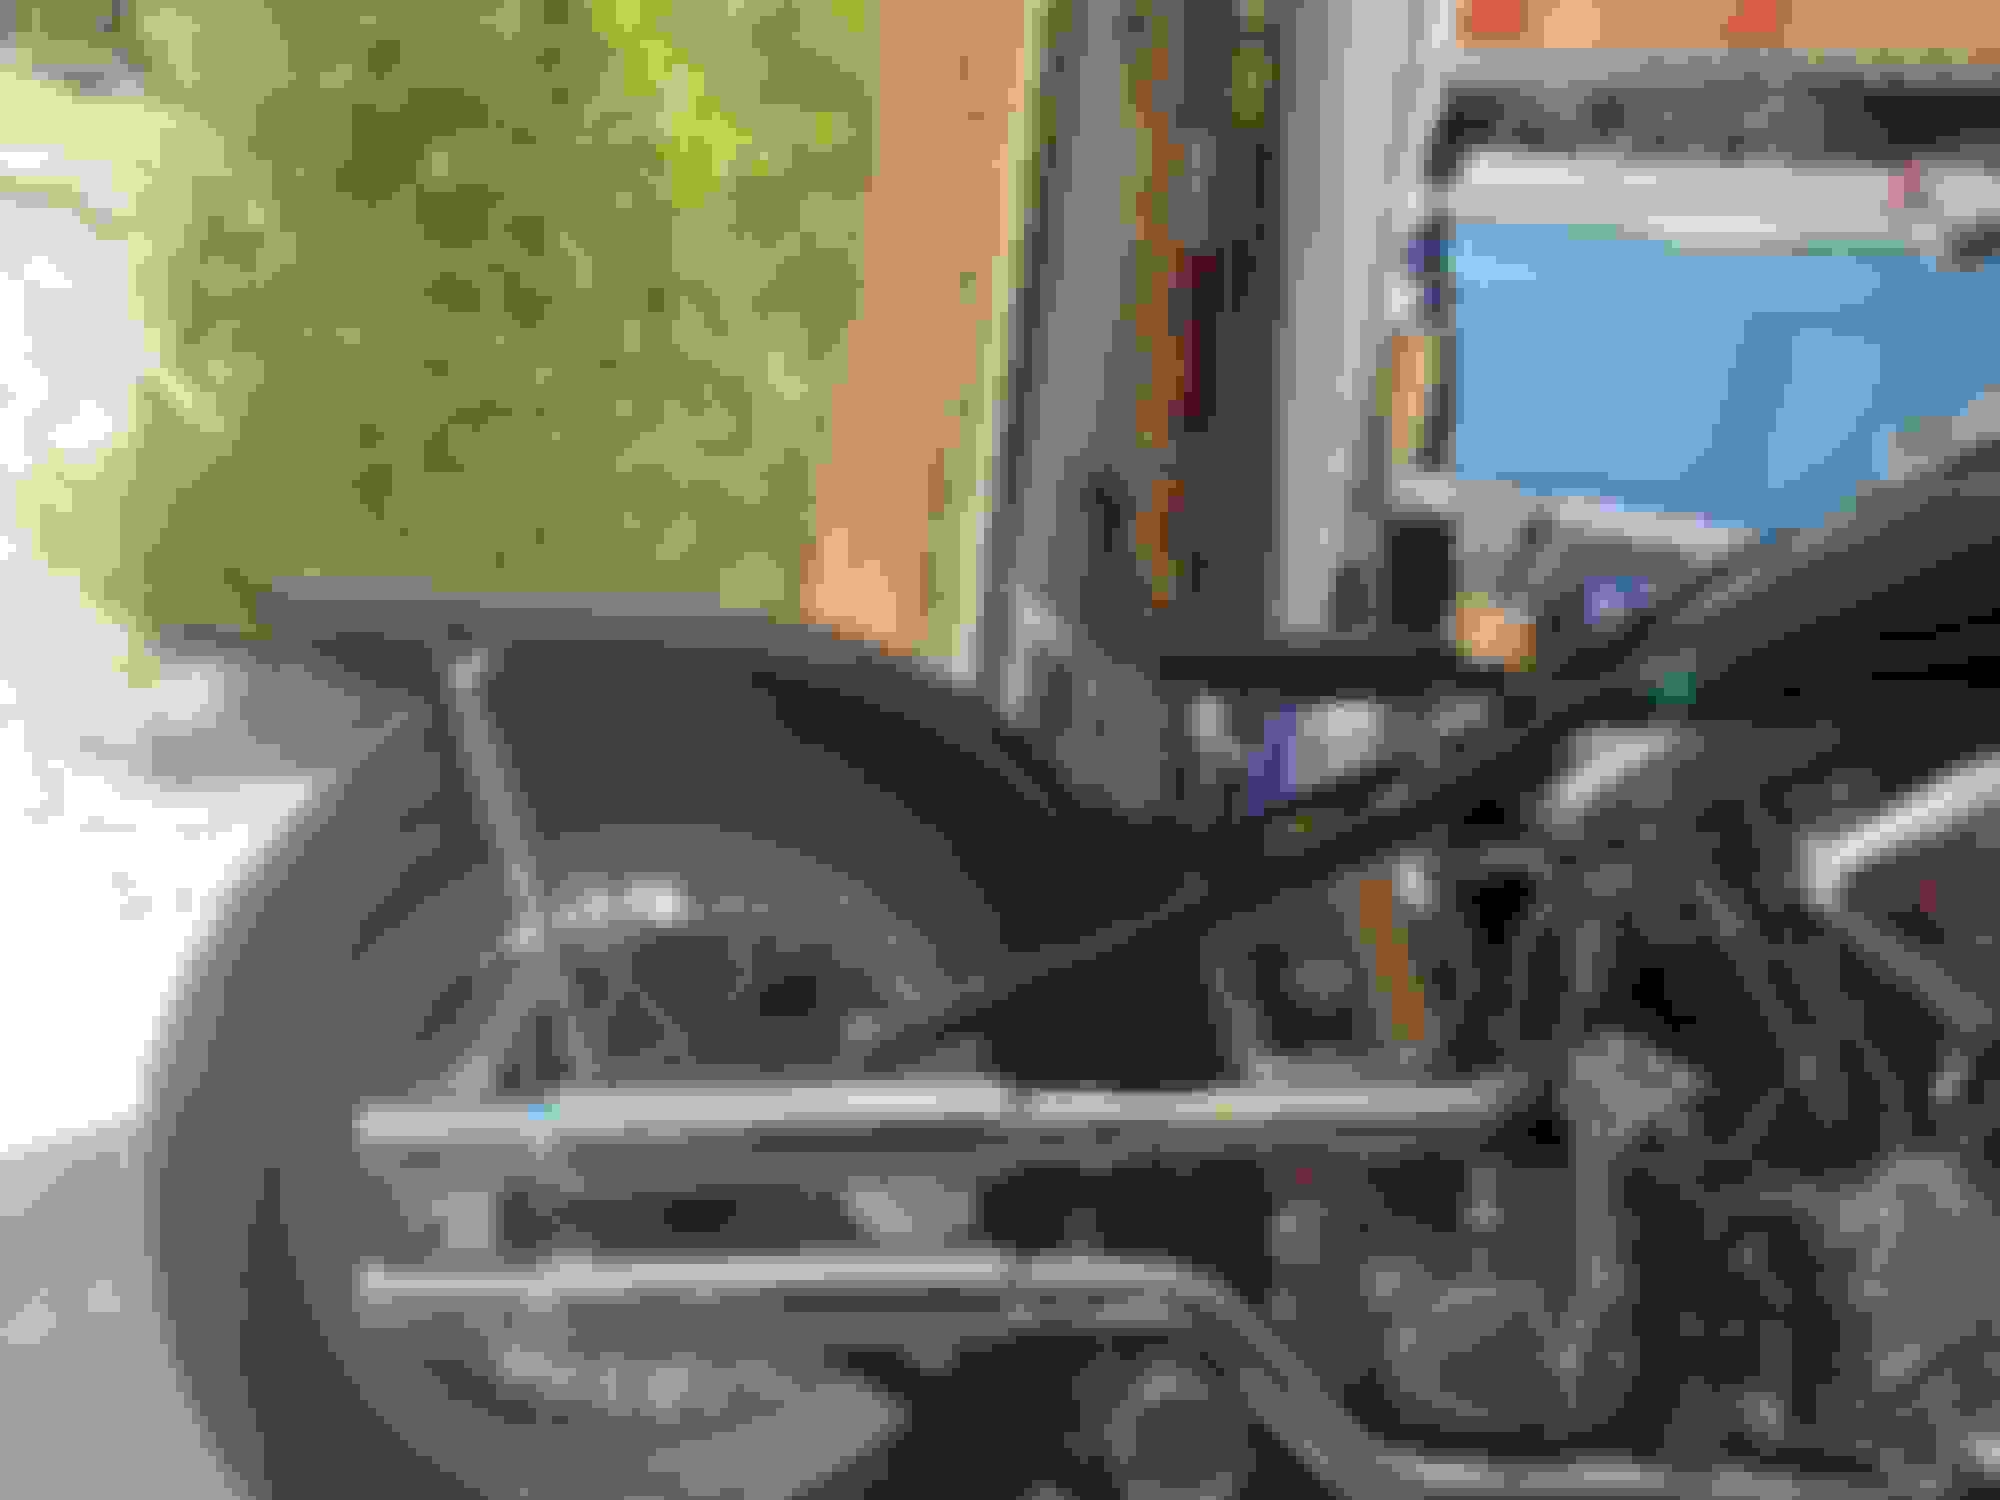
In the interim, Pacific Mike was nice enough to measure the distance that his OEM seat post protrudes from the bushing, which is 2-3/8" (uncompressed). I was envisioning a kind of cantilever to replace the existing solo saddle mount--which is basically a steel tongue with dual eyelets at the forward edge that act as a fulcrum for the spring action at the rear of the saddle--and which would attach to the pogo stick. But now that I scope things out, it's looking as if I may be able to drive out the pin that holds the swiveling tab onto the pogo stick (see 1st pic), and then simply run a bolt through the existing saddle mount's eyelets and the pogo stick's hole. With the 3" springs I'm using, and the height of the custom 'no weld' mount I made up (see 2nd pic), that would tilt the front of the saddle upward just a bit (it's level now), but not too bad. They also make 4" springs if needed to re-establish a level saddle.
Ordinarily, it looks like you'd want the hole in the pogo stick that takes the pin to be able to descend into the bushing when encountering a big pothole unprepared...? I'm really not sure what hooks onto that swiveling tab in the OEM setup. But in our situation, the pogo stick wouldn't be carrying 100% of the rider's weight, so the roughly 1-3/4" of travel before I'd hit the eyelets should be sufficient. So, when I find time to knock off the paint and see if the bushing can be pulled out with a slide hammer or something, I'll replace the HD spring currently in the pogo stick (blue) with the regular spring, install the unit and see if the saddle's eyelets will bolt right up.
If so, it'll be interesting to see what kind of action the different spring rates fore and aft (presumably stiffer in the pogo stick than the 3" coils at the back of the saddle) produce. If I don't like it, I'll go ahead and make up the aluminum cantilever I had envisioned from the git-go. But it would be cool if it's as easy as bolting the solo saddle's front eyelets to the pogo stick.
 10-28-2022, 09:16 AM