2010 SB cheap mods w/pics
#21
 10-25-2010, 07:18 PM

Elite HDF Member
1. I would remove and disassemble the light housings leaving only the shell to be painted.
2. Wet sand exterior surface (to a dull finish) using 300 grit wet sand paper.
3. Dry the part completely, wipe id one with a tack wipeand then clean it with lacquer thinner. This removes and oils or contaminants that might be on te surface that could damage the pain job.
4. If the part is metal and not plastic, I would apply a few coats of "self ecthing primer", dry and repeat step 2 lightly and then step 3. If part is plastic then I would skip this step.
5. Apply a light coat (dusting, not a complete coat, this will help prevent runs from over spraying the part) of desired color, letting color dry to a tacky coating but not 100% dry, then apply another coat, after 2-3 coats part should be 100% covered by color, if not apply a 4th, but you shouldn't need to if you sprayed the color evenly and not to heavy.
6. Let dry completly so there will not be any damage done while handling carefully.
Hope this was helpful and not to overboard.
#22
10-25-2010, 09:04 PM

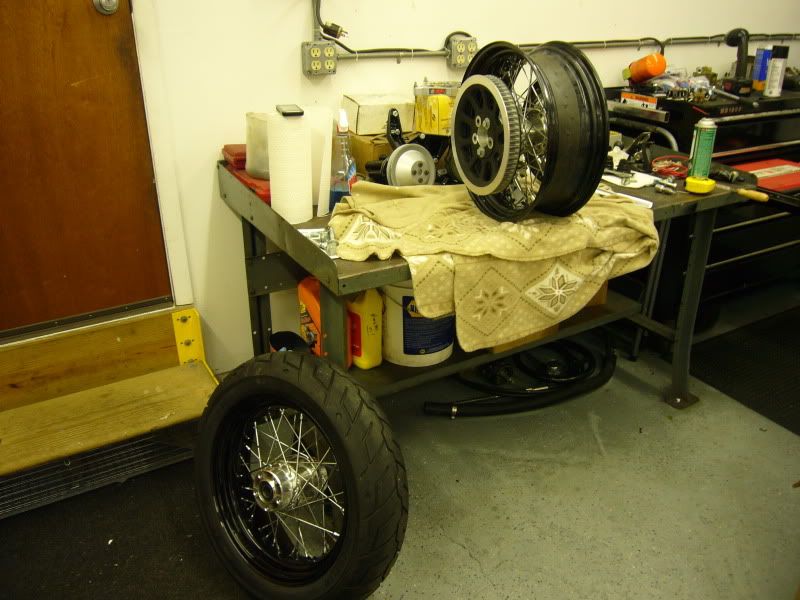
I've been wanting that table for a while, did you wait for the coupons? I thought about just building my own wheel chock but that one looks pretty decent, what was the price if you don't mind me asking?.
Looking forward to the CB wheel mod, my pops is wanting a 200mm on his WG and I mentioned hearing that people are using those take off wheels to do it, be interesting to see what you need to do it. Thanks for sharing.
Looking forward to the CB wheel mod, my pops is wanting a 200mm on his WG and I mentioned hearing that people are using those take off wheels to do it, be interesting to see what you need to do it.
Table and stand was $328 plus tax! This was after the 20% discount
http://www.harborfreightusa.com/html...mages/20_c.jpg
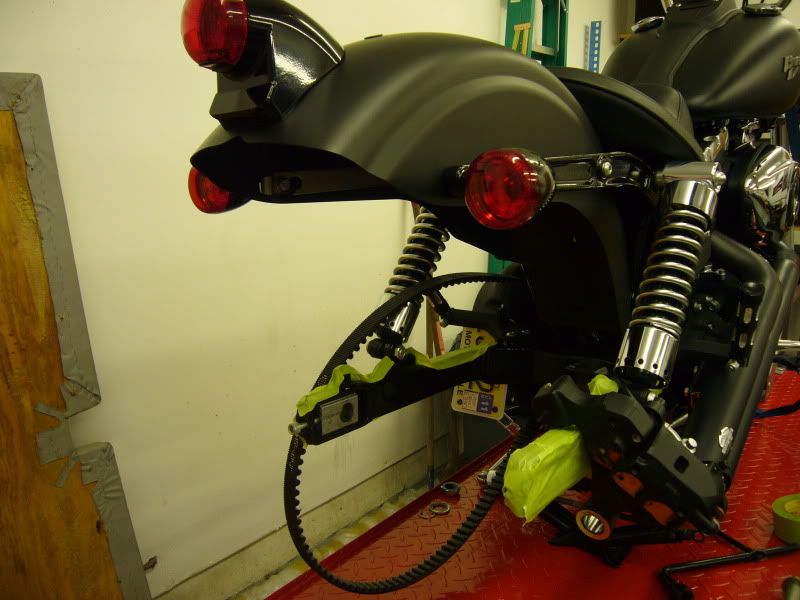
All I did was pop the red lens off and remove the buld, tape off the inside area of the blinks. The brake light lens dosn't come off so I took my time taping off the red lens. Then just scuffed up the blink and brake light housing with 400 grit, degreased with grease remover. Then just did 3 coats using some gloss black spray paint nothing special and then let it dry for 24 hours.
Last edited by crapr6; 10-25-2010 at 09:08 PM.
#23
10-26-2010, 12:01 AM
Update,
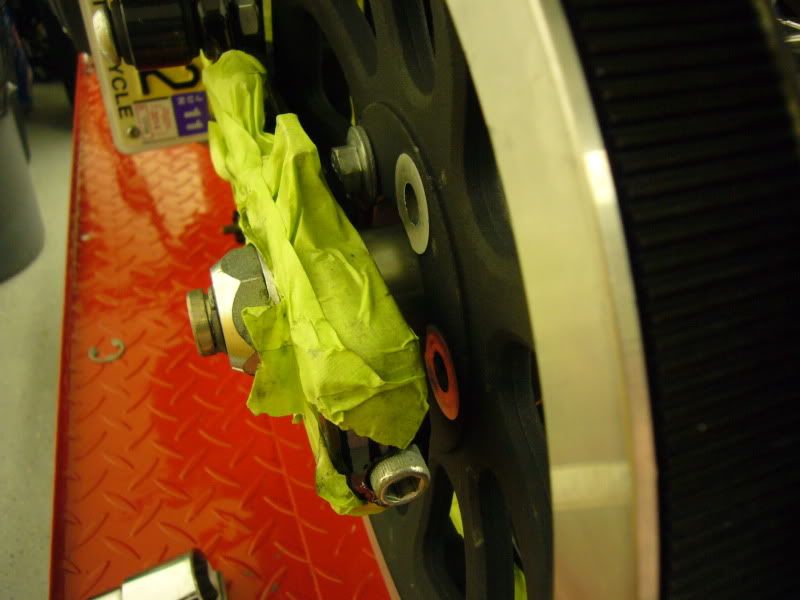
Well there goes putting off the install of the Cross Bones rim. I mocked up the rim only tonight to get the spacers milled down to the correct thickness and get the rim centered in the swingarm/fender. I knew that I was only going to mill down the spacer on the belt side since you do not want to remove anything from the brake caliper side. The reason you do not want to remove anything from the brake caliper side spacer is the rotor will be pulled closer to the brake caliper bracket and will not be centered in it.
This is the stock rim with the stock spacers...
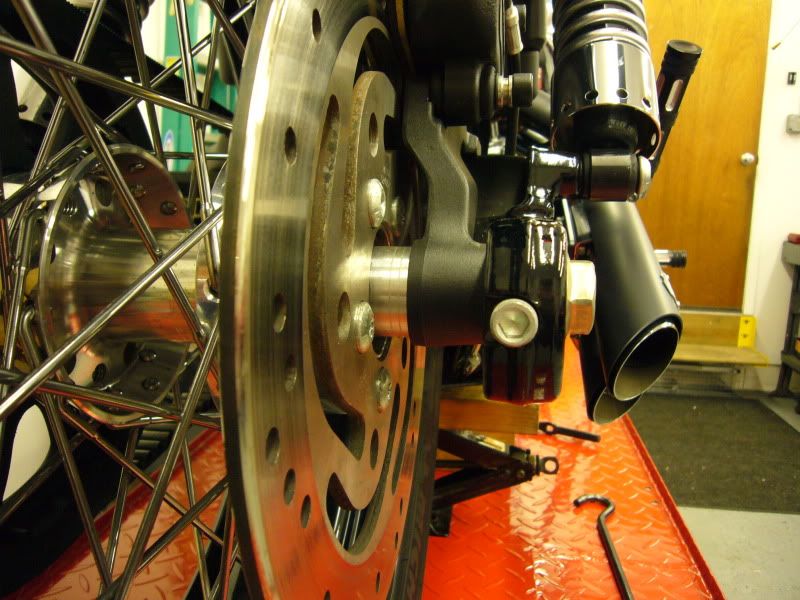
Here I measured out .400 to mill off the spacer for the belt sprocket side.

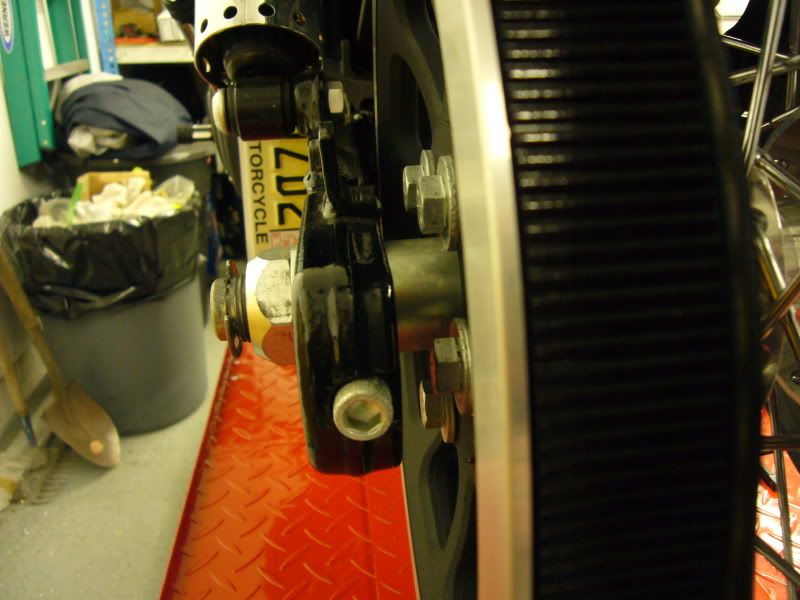
Spacer installed..
The rim is now centered in the fender..
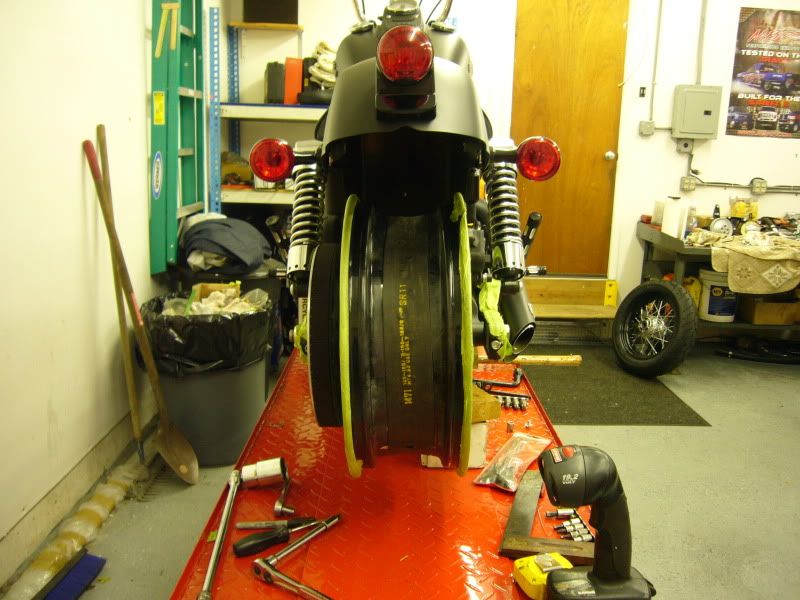
Only issue is with the rim being centered in the fender the sprocket is now to close to the swing arm and the belt is against the inner primary cover..
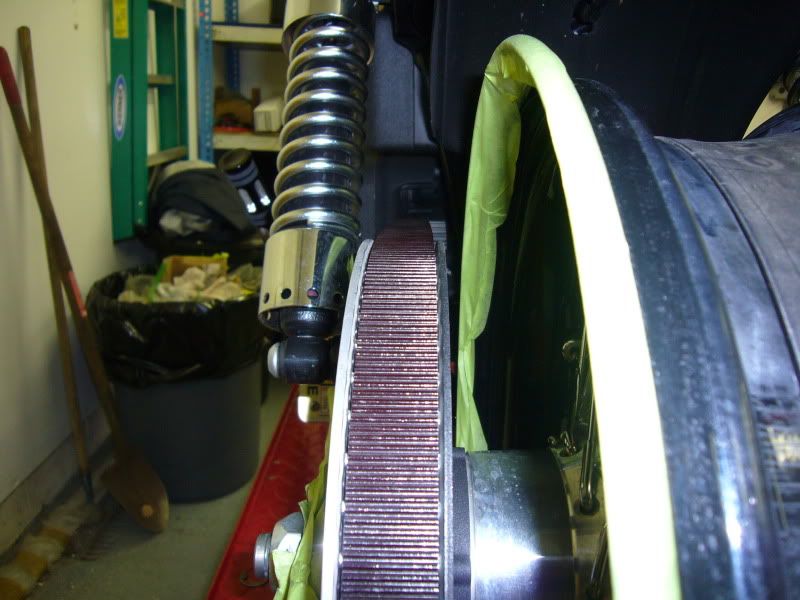
I will most likely mill down the sprocket now on the inside edge where it sits flat against the rim's hub. Iam not doing this until I have a tire mounted and know how much I can mill off the sprocket with out the sprocket getting to close to the tire.
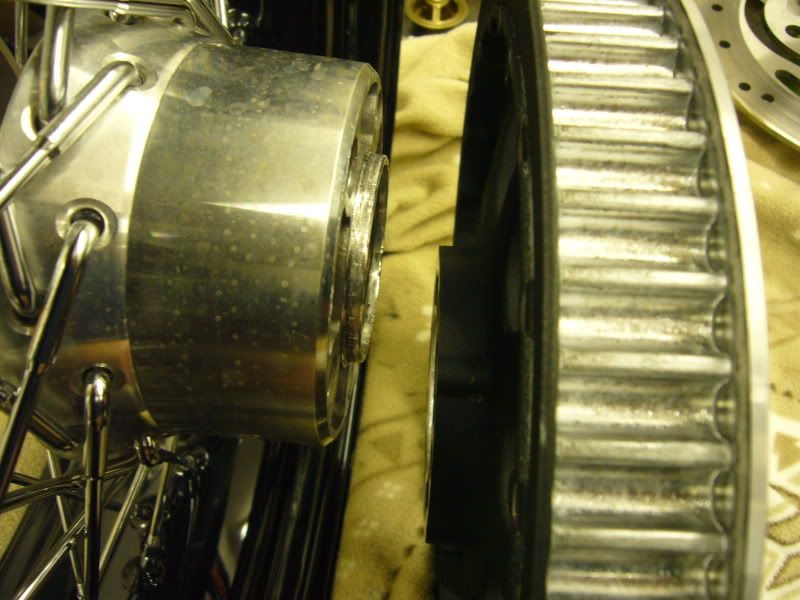
Iam going to grab a tire and tube tomm and install them and if I have time i'll mount the rim/tire up in the bike to see how much I can remove from the sprocket...
Erik
Well there goes putting off the install of the Cross Bones rim. I mocked up the rim only tonight to get the spacers milled down to the correct thickness and get the rim centered in the swingarm/fender. I knew that I was only going to mill down the spacer on the belt side since you do not want to remove anything from the brake caliper side. The reason you do not want to remove anything from the brake caliper side spacer is the rotor will be pulled closer to the brake caliper bracket and will not be centered in it.
This is the stock rim with the stock spacers...
Here I measured out .400 to mill off the spacer for the belt sprocket side.
Spacer installed..
The rim is now centered in the fender..
Only issue is with the rim being centered in the fender the sprocket is now to close to the swing arm and the belt is against the inner primary cover..
I will most likely mill down the sprocket now on the inside edge where it sits flat against the rim's hub. Iam not doing this until I have a tire mounted and know how much I can mill off the sprocket with out the sprocket getting to close to the tire.
Iam going to grab a tire and tube tomm and install them and if I have time i'll mount the rim/tire up in the bike to see how much I can remove from the sprocket...
Erik
Last edited by crapr6; 10-26-2010 at 12:06 AM.

#25
10-26-2010, 12:38 PM

Outstanding HDF Member
Just to bump for a great thread I figured some guys might be interested to know that you can buy just the rim from HD and have it laced to your hub. The spoke part numbers were almost identical with maybe an A at the end which I dunno what that designates. Considering the stock spokes from the StreetBob can be used this is a low cost alternative. The rim is about 230 bux new.
The last guy that did the crossbones wheel said he had to mill down the pulley and use a narrow belt for that Primary issue. I hope the way you are planning on milling the pulley hub gives you enough clearance as that will save the cost of a new belt,and I dont like skinny belts.
Great writeup,thanks for sharing it with us!!
#26
10-26-2010, 12:57 PM
Outstanding HDF Member
#27
10-26-2010, 01:00 PM
Elite HDF Member
Man I wish I had a mills and lathe just sitting around. My bike would no longer be a Dyna, it would be a Mine-a.
I can't wait to see how this setup looks. Are you planning on riding two up. I want to remove my struts so I can go with a wider tire, I just need to figure out how to support the rear fender so I can still ride two up.
I can't wait to see how this setup looks. Are you planning on riding two up. I want to remove my struts so I can go with a wider tire, I just need to figure out how to support the rear fender so I can still ride two up.
#28
10-26-2010, 01:13 PM

Thanks again

#30
10-26-2010, 02:33 PM
Outstanding HDF Member
Man I wish I had a mills and lathe just sitting around. My bike would no longer be a Dyna, it would be a Mine-a.
I can't wait to see how this setup looks. Are you planning on riding two up. I want to remove my struts so I can go with a wider tire, I just need to figure out how to support the rear fender so I can still ride two up.
I can't wait to see how this setup looks. Are you planning on riding two up. I want to remove my struts so I can go with a wider tire, I just need to figure out how to support the rear fender so I can still ride two up.