More work on "Susie"
#51
 10-16-2010 | 11:43 AM
Thread Starter
|
Seasoned HDF Member
Joined: Jun 2005
Posts: 12,944
Likes: 29
From: Colorado Springs, CO


#53
10-16-2010 | 12:00 PM

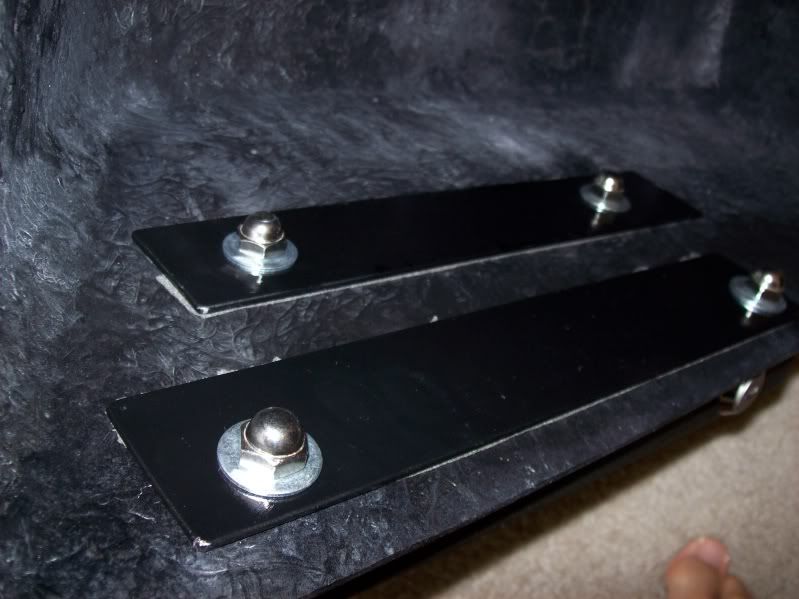
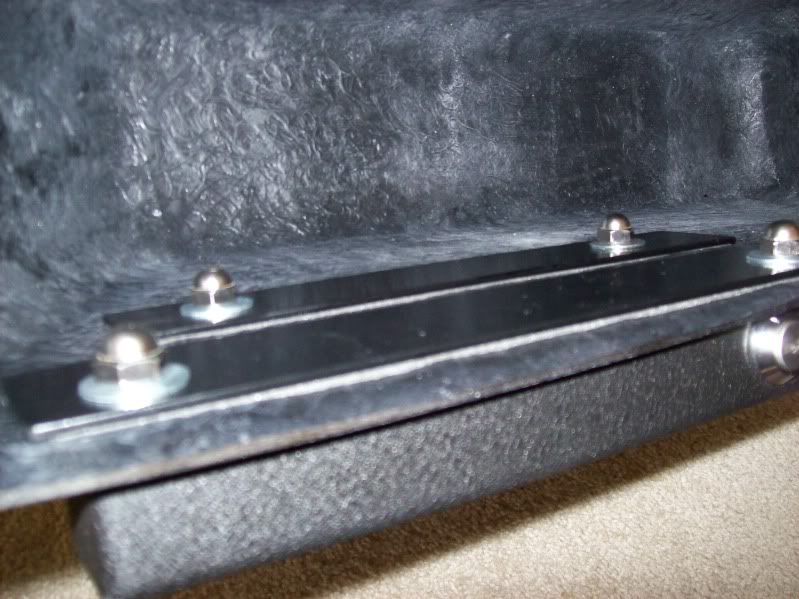
looks great joe! one thing i am going to do after my bags are repainted is line the inside with some fleece, it stretches super easy and will really clean up the look inside the bags. you can use some spray adhesive... also you may want to hit up pep boys and get some black door trim to run around the lips of the bags to keep the paint work and glass from fraying up on the edges when i would set the lid down when i was in the bag, i had some issues with mine when i first got them and this trim will really help to save your paint... this kind works well and it even comes in gloss black (i used chrome on mine at the time cause i did not know about the black) you can get it in pretty good size rolls...
we used it on my brohters wing build as well... looks like this

mine with chrome trim on the bags

we used it on my brohters wing build as well... looks like this
mine with chrome trim on the bags
#54
10-16-2010 | 12:04 PM
Thread Starter
|
Seasoned HDF Member
Joined: Jun 2005
Posts: 12,944
Likes: 29
From: Colorado Springs, CO
Thanks, Joe.
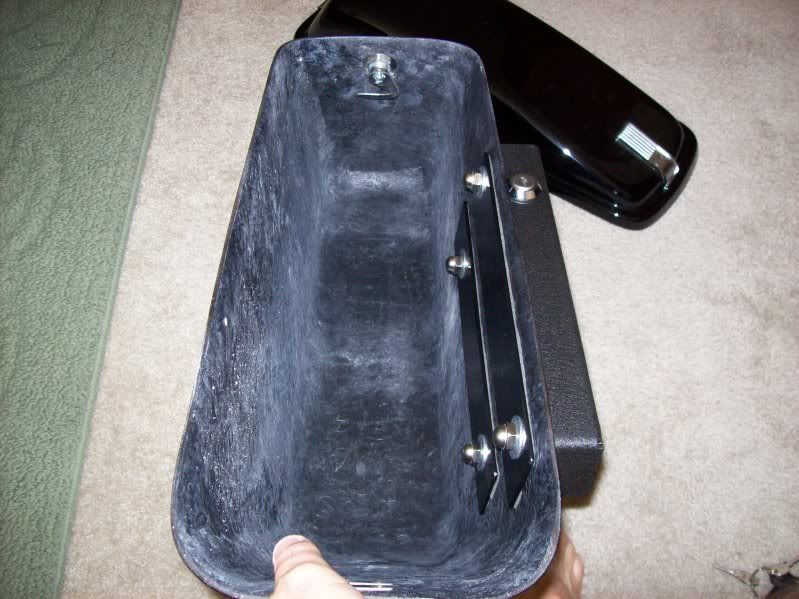
I was hoping someone might have a sourece for drop in liners, like they have for the larger, newer bags. I was going to have the inners painted, but the body man said it would peel, and be a nightmare, so I passed.
The trim edging sounds great.....just not sure I could do it "right" .....if it wasn't perfect, it would look like crap....but something to look into.
~Joe
#55
10-16-2010 | 12:09 PM
just undo the latches when you run it around the lip, then I used a small nail to push though the trim so i could use the latch (lip thing from the front of the bag) to hold the trim in place. it comes wiht a tacky inside, and if you dont like it you can pull it up wihtout harming your paint no problem... i could not find any drop ins... that is when my dad sugested the fleece. it was SUPER easy to do, and keeps junk from rattling around in there and driving me nuts!
#56
10-16-2010 | 12:10 PM
ooh ya! i shot the inside of my bags with some rubber under coating like you use on trucks... i taped off all the outside wiht blue tape and newspaper so i did not hurt the paint and went to town... did wonders for cleaning up the look and sounds that come out of there... no peel yet and it has been over 6 months
#57
10-16-2010 | 12:19 PM
Thread Starter
|
Seasoned HDF Member
Joined: Jun 2005
Posts: 12,944
Likes: 29
From: Colorado Springs, CO
Funny, I was thinking spray on bed liner myself a few days ago.
Fleece sounds badass, but how do you go around the corners etc, without wrinkles/folds. That's why I wanted the molded drop in style. But since we have the older AMF/Bowling Ball Company fiberglass bags, there dosen't seem to be a demand to cause a company to make them. Shame, really.
Next time you get a chance, go into a bowling alley, and look at the fiberglass stuff on assorted stuff. it is identical to the style/quality of our bags. You will never be able to go into a bowling alley again, without getting mental images on FLH's with the unfinished look on the inside of FLH fairings, bags, etc.
~Joe
#58
10-16-2010 | 12:57 PM
Elite HDF Member
Joined: Mar 2010
Posts: 3,947
Likes: 148
From: South of Mordor
Joe and Joe, (haha)
You two have done a kick *** job on you bags!!!
How much would you say the total investment was before paint.
I want to do the same thing on mine, I am looking into the cost of putting those, a dagger style rear fender and a cow catcher style front fender on my ride. Only I want to run the tail lamps in the bags and have them flush with the bag hidden by paint all the tins and bags vivid black (not the lights) and then spraying everything (light also) with a black candy coat. That way the lights only show when they are on (i.e. the bike is powered up, but when the bike is just sitting the light are hidden. I am hopping that I can put the $$$$ together to make this my winter project.
After they are done it will be off to the races to try and figure out how to build a set of true duel (both sides) exhaust. I think I have come up with a way to do this, I just need to fab the brackets for the left side, right side is easy, just have to mod the stock bracket or make a new one that mounts in the same place. I will have to do a little more mod work to the bags so I can make hanger points (rubber bushing, like they use on car exhaust, to obsorb the vibration and not damage the bags) for the pipes. Running the pipes like they do on the new touring models is what I am thinking, I will just have to relocate the rear brake resivour (how ever that is spelled).
#59
10-16-2010 | 02:38 PM
i have $150 into mine total with bags, and supports (quick release) i only shot them wiht some color matched rattle can and a few coats of clear... i am powdering my tins and adding a bit of gold and red flake to it... so i want to color match the powder on the tins to my bags, trunk, and fairing...
i would guess i will have another 150 in paint prob
so around 300-400 i would say i have in mine
for the fleece Joe that is why i went with fleece cause it stretches really easy and is one of the best to get wrinkles and crap out... i work with fabrics like this alot making custom seats for cafes and brats... trick is to do small parts at a time, do the bottom and work your way up. i cut the fleece on all the corners of the bags as well to make it easier
#60
10-16-2010 | 02:42 PM
flusing in tail lamps is really pretty easy! i am going to do them on my saddlebag fills i made, just need some epoxy (craft store), candy red paint, led strip, and a small box...
cut out the shape you want, make a box that will fit behind that, put your led strip in the box facing out... then mix your epoxy and pour that into the box, add a bit of candy red to darken it how you want... use something to stir it as it sets so that you can get all the bubbles out... once they are out let it harden. then sand it till it is flush and smooth, and go though wet sanding till it is shiny and clean... you can then use a translucent paint right over the top of it. the light vanishes till it is on... old hot rod trick, a fella did it for his wifes bike and walked me though it... was alot easier than i thought and came out awesome...
when i do my fills ill take some pics of the process...