Great Biker Gear and 2010 FXDWG
#1
 07-03-2010, 05:47 PM


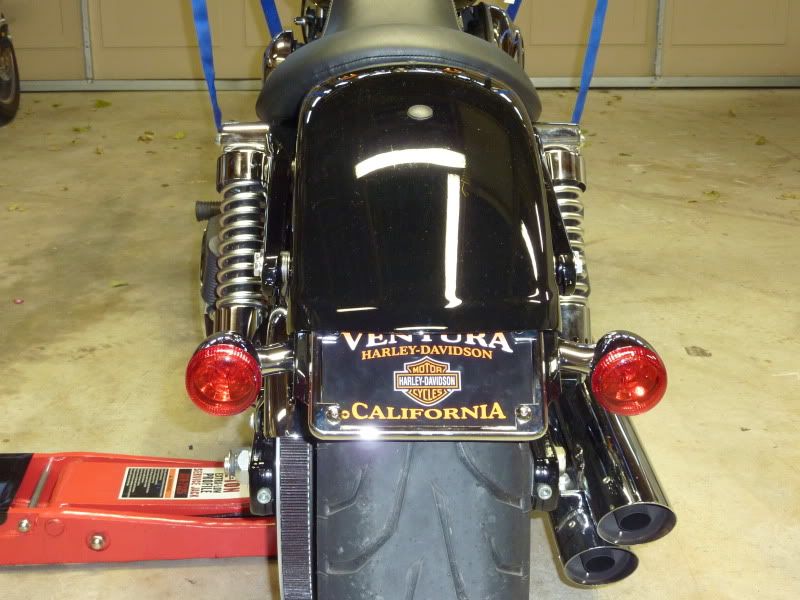
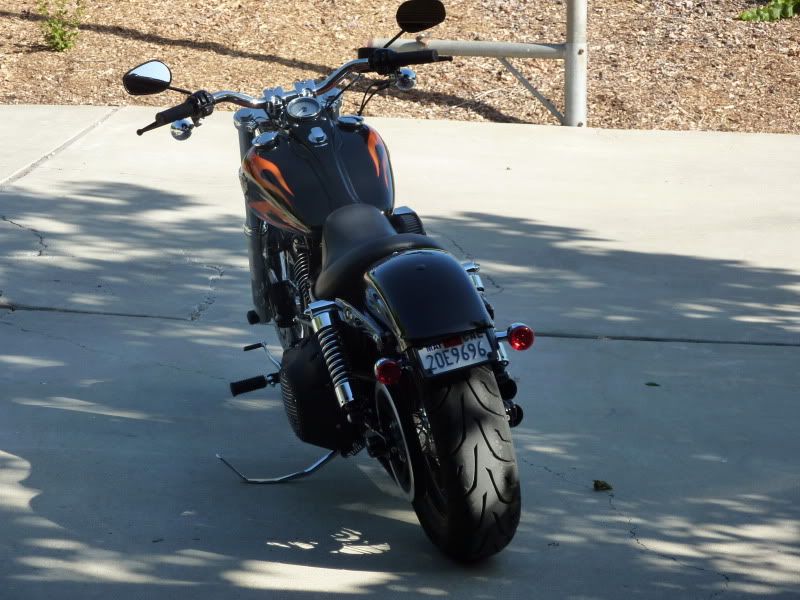
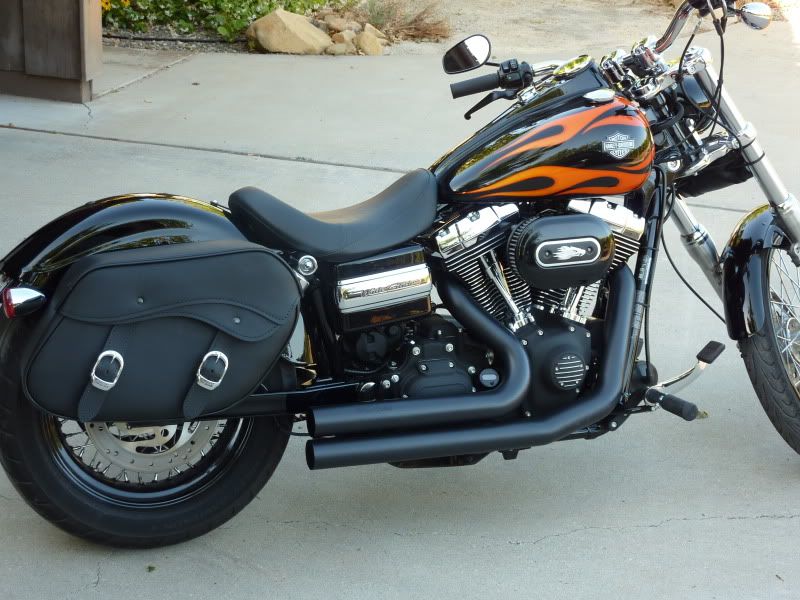
Just finished installing the turn signal relocation kit from Great Biker Gear, part #(DWGMS-01). I had my HD Synthetic Leather Saddlebags from my 07 SB and didnt like the look of the HD kit so I tried the GBG one. I also had their kit on my SB and liked the look of it. This one works out really nice, although with my bags and the kit I had to make a lot of mods to get the two to work. Many beers, many bloody knuckles, and tons of swear words, here is the finished product. The plate gets tucked up under the fender real nice, and the license plate light works really good too. I took a lot of pictures while installing and will try to get the pics up if anyone is interested how to mount the two. My mistakes could save you tons of time. Man I wish I had a bike lift.


#6
07-03-2010, 08:36 PM
#7
07-03-2010, 09:38 PM


Trending Topics
#8
07-04-2010, 08:23 PM
[QUOTE=pcbunn;6951224]Same kit different bike. Also took a few mod to get it all to go together, like drilling out the too small holes and using different bolts and low profile nylocks. Fortunately I used my floor jack to help give me some room under the fender. Now if I could suggest; move that cowbell!
I had to drill those holes out too, used a dremel. Had to use the original fender struts and knock off the posts that the bolt goes through, longer bolts and nylon lock nuts. Where did your cowbell go?
I had to drill those holes out too, used a dremel. Had to use the original fender struts and knock off the posts that the bolt goes through, longer bolts and nylon lock nuts. Where did your cowbell go?
#9
07-04-2010, 10:07 PM
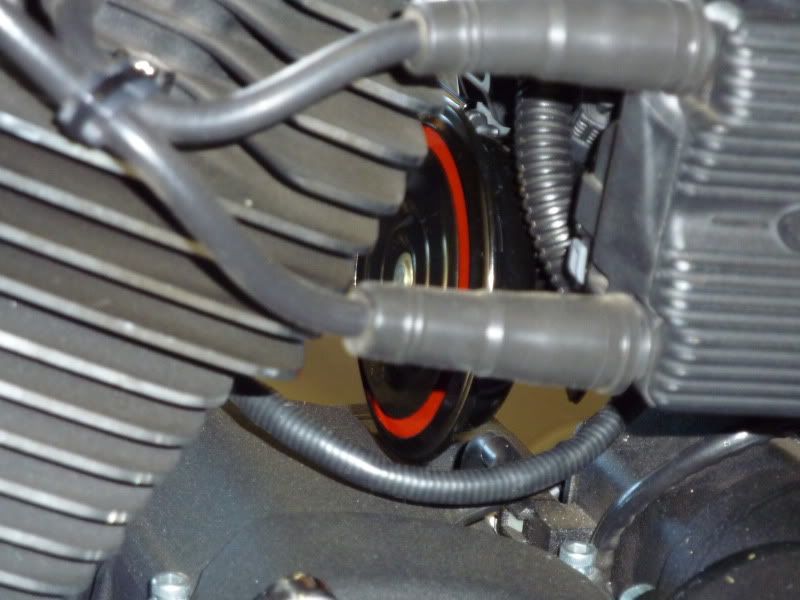
I was hoping you would ask as I think it makes the WG look 100% better. Look closely and you will see it behind the rear cylinder. Its a super simple mod but you need to buy a pancake horn from any car parts store, mine came from ORiley and cost $14. There are better horns out there but you'll pay more. The horn comes with a mounting bracket which you can bolt into the embedded nut in the battery box. I took the battery out just to make sure the bolt didn't go too far in, actually ground it off flush with my Dremel. Then just extend the horn wires to the new horn. You can remove the existing horn mount with a set of vice grips and channel locks. The bolt is secured with red thread locker but it will turn off with effort. Then I just secured a disk brake medallion to the bracket. That's it. Sometime in the future I will get a better horn but the cheap one works ok for now although it could be louder.