Dyna Glide ModelsSuper Glide, Super Glide Sport, Super Glide Custom, Dyna Glide Convertible, Super Glide T-Sport, Dyna Glide Police, Dyna Switchback, Low Rider, Street Bob, Fat Bob and Wide Glide.
Here's a few pics of my 2012 FatBob. Just put the 16" LA Choppers Tree Huggers on yesterday and relocated front turn signals to the fork tubes, via the Drag Specialties kit. Friggin love these bars on the bike.
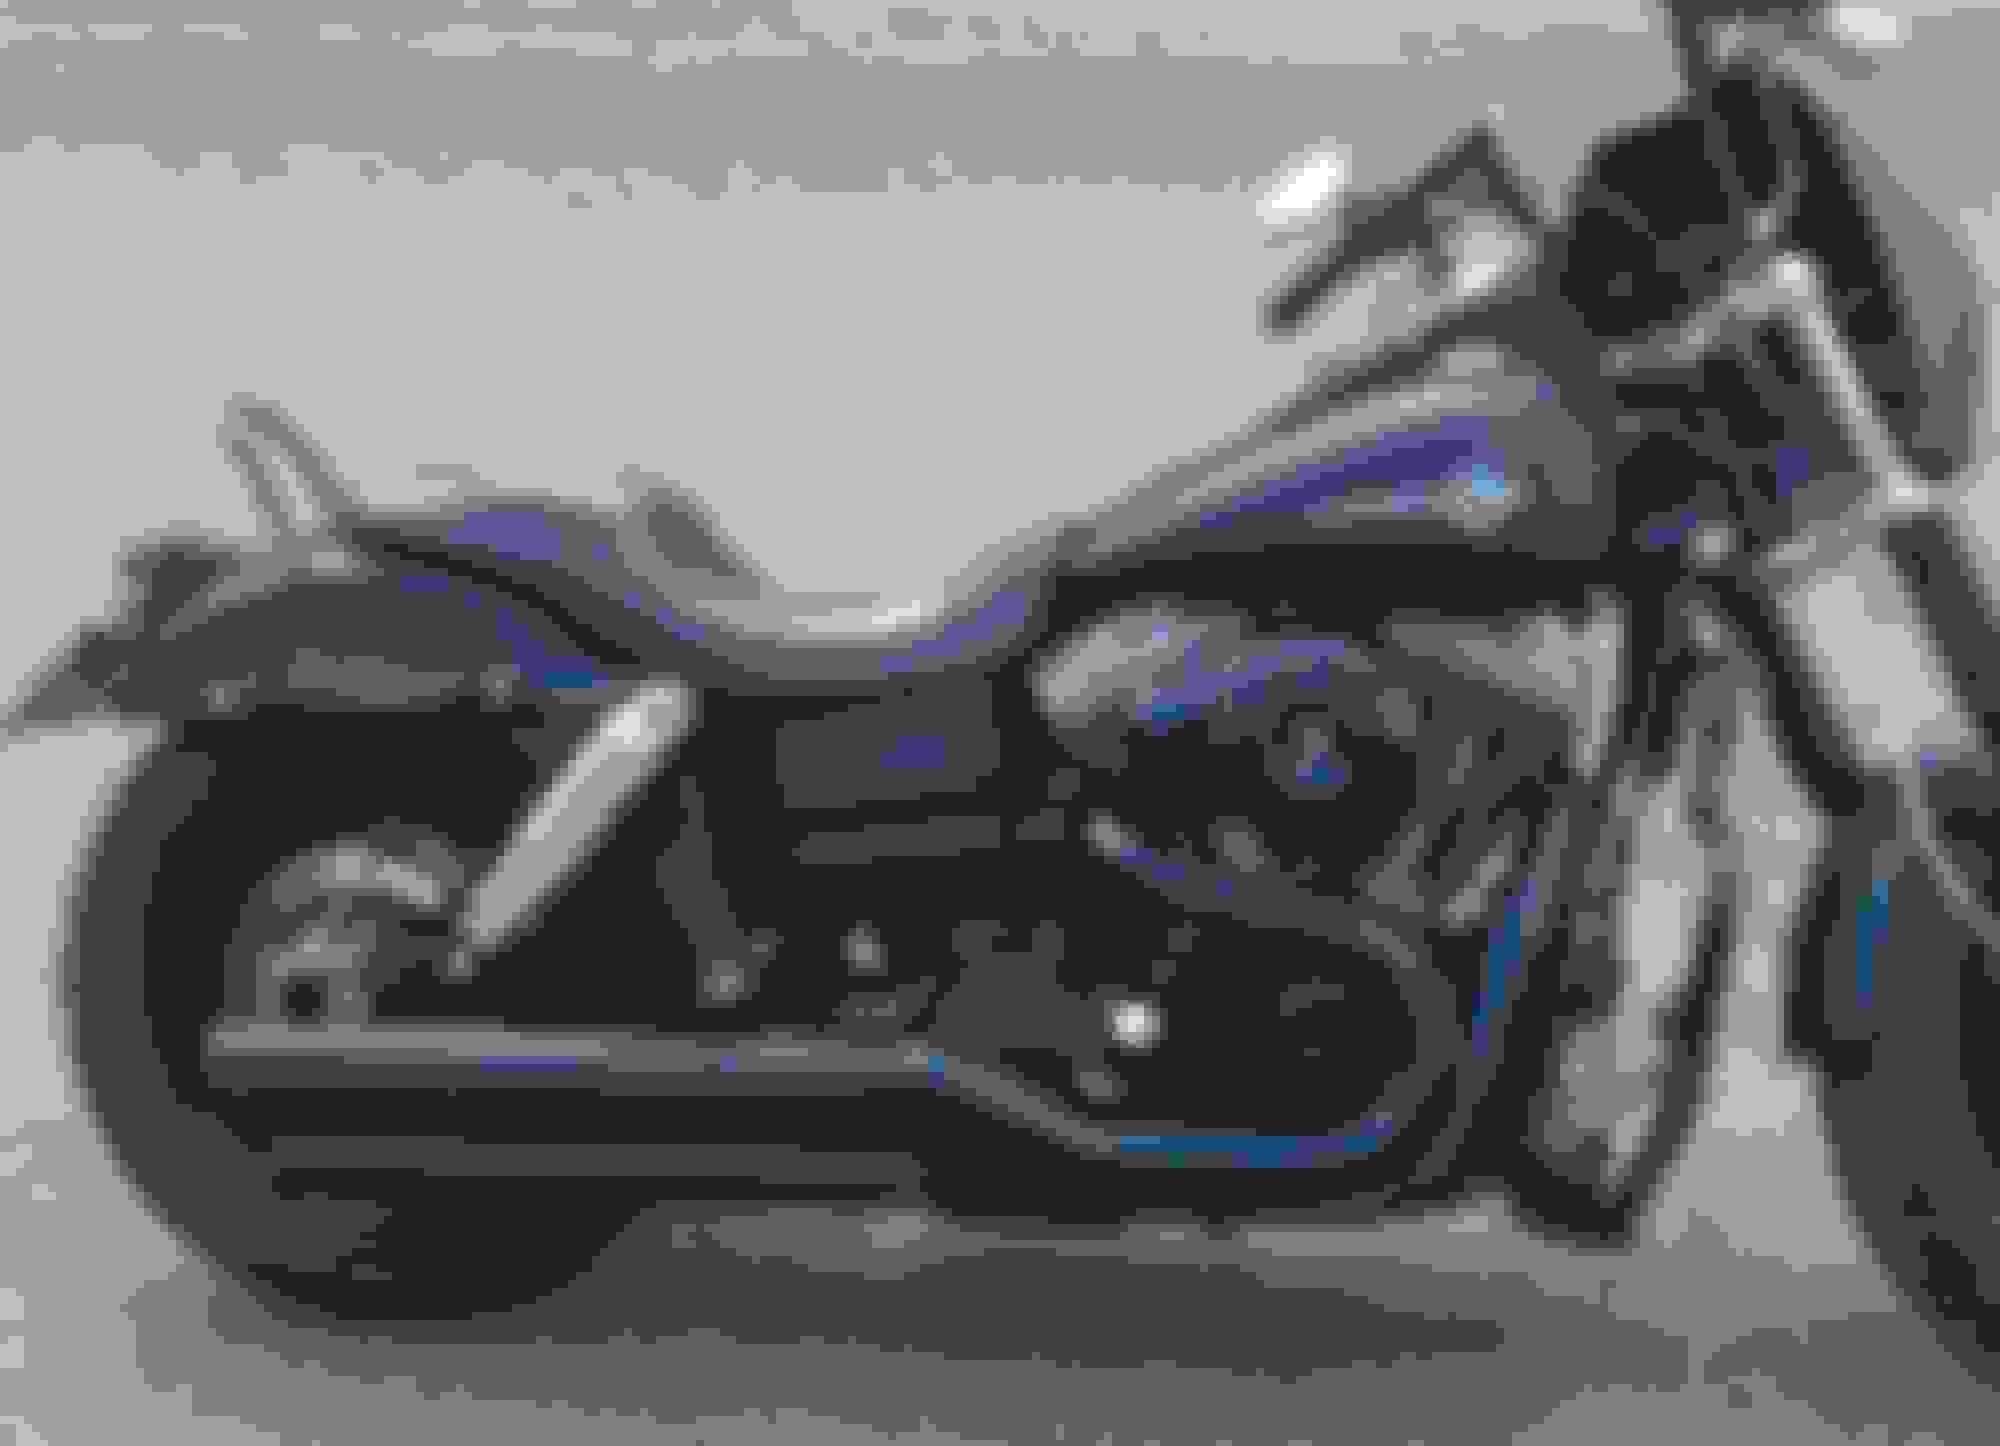
2014 fat bob - stealth custom dynamics turn signals
Picked this '14 fat bob up a couple weeks ago. latest mod is removing front turn signals and going with the custom dynamics LED rings. They are sweet....very bright running lights and turn signals, way stealthlike. will work well with the Dougz fairing when it gets here. Now to get the stage 1 done...going to either go with D & D or VH pro pipe in black.
Last edited by soldierbot; 04-02-2021 at 07:46 AM.
Wanted to update my post, and share my new upgrades..................
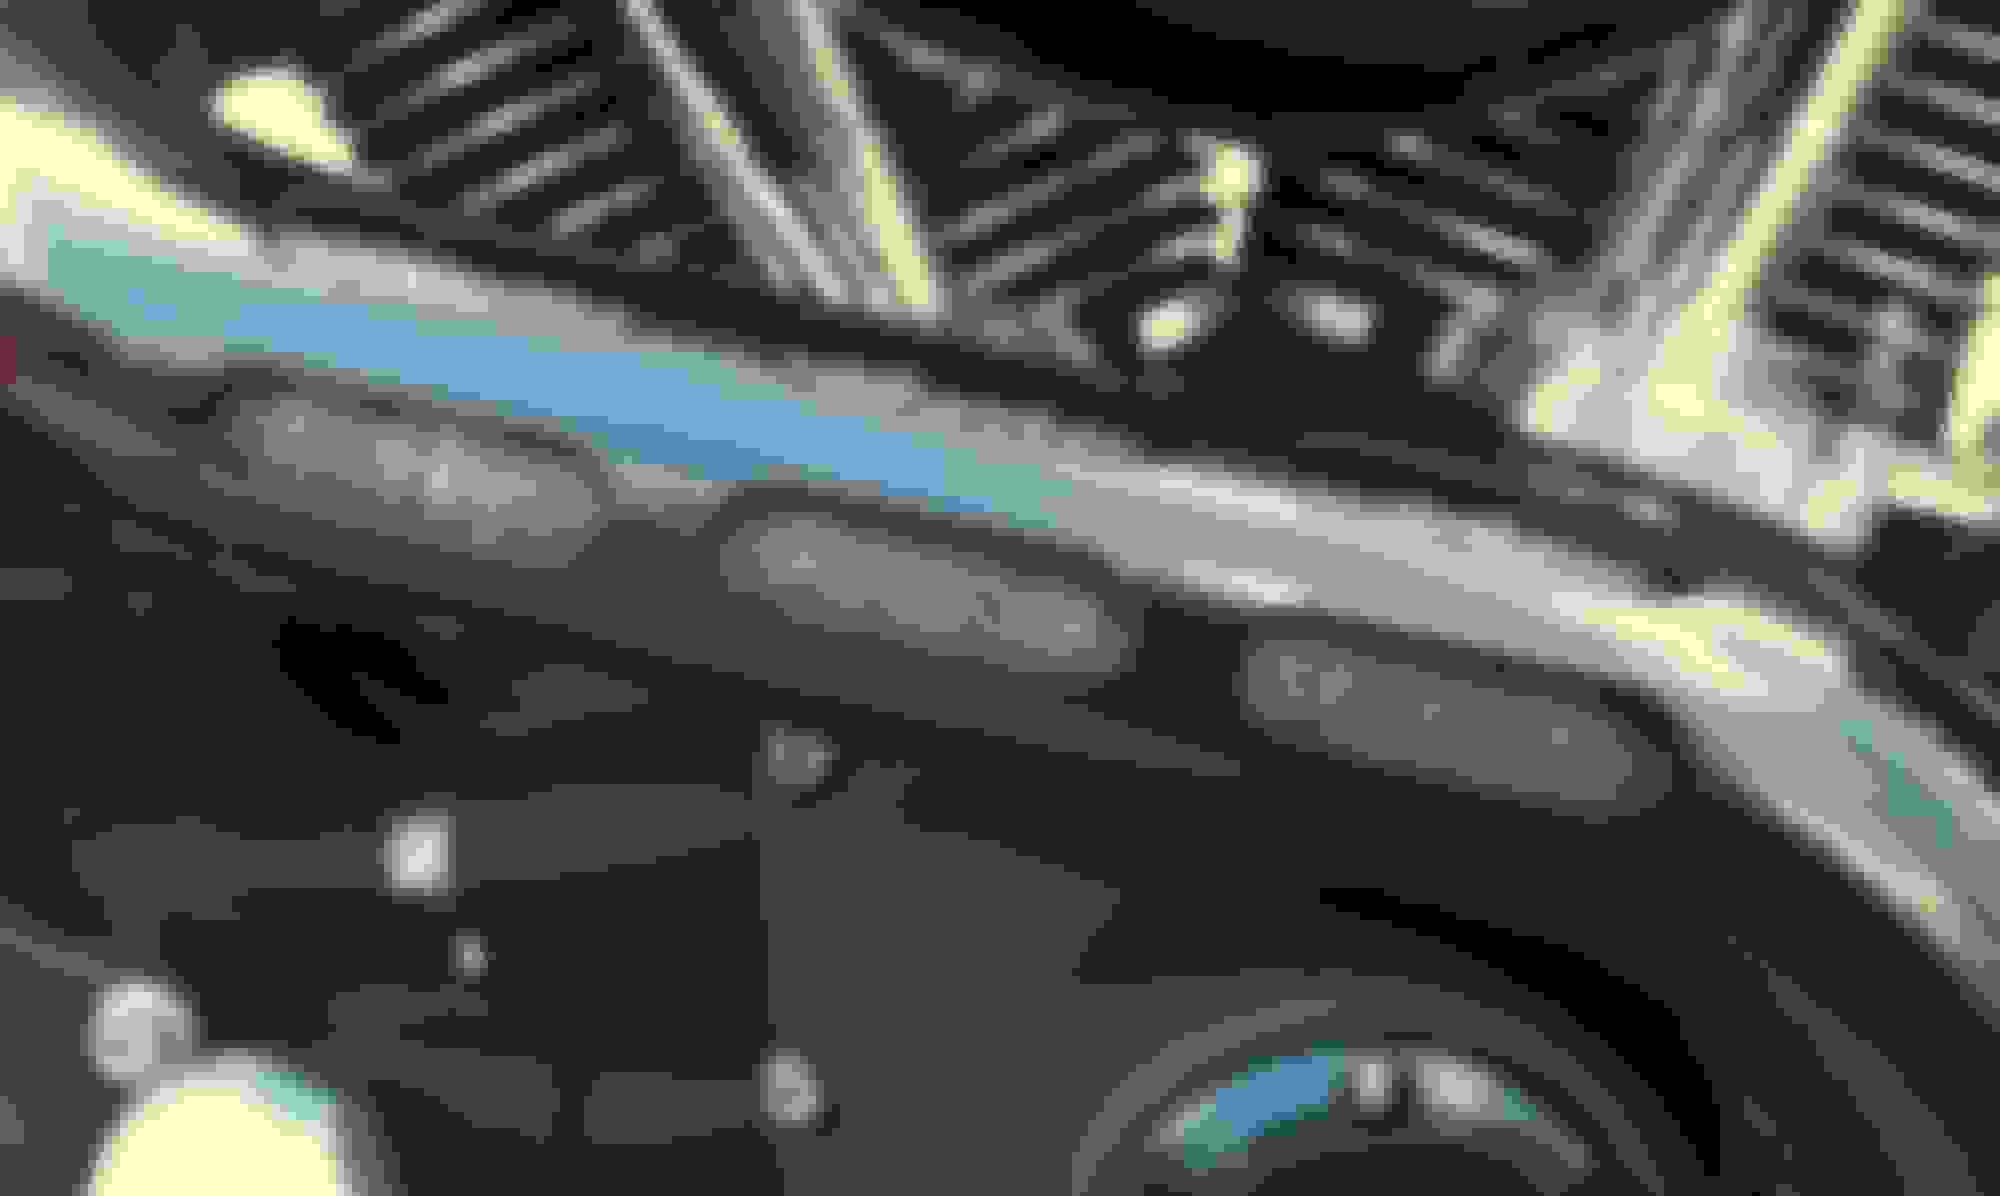
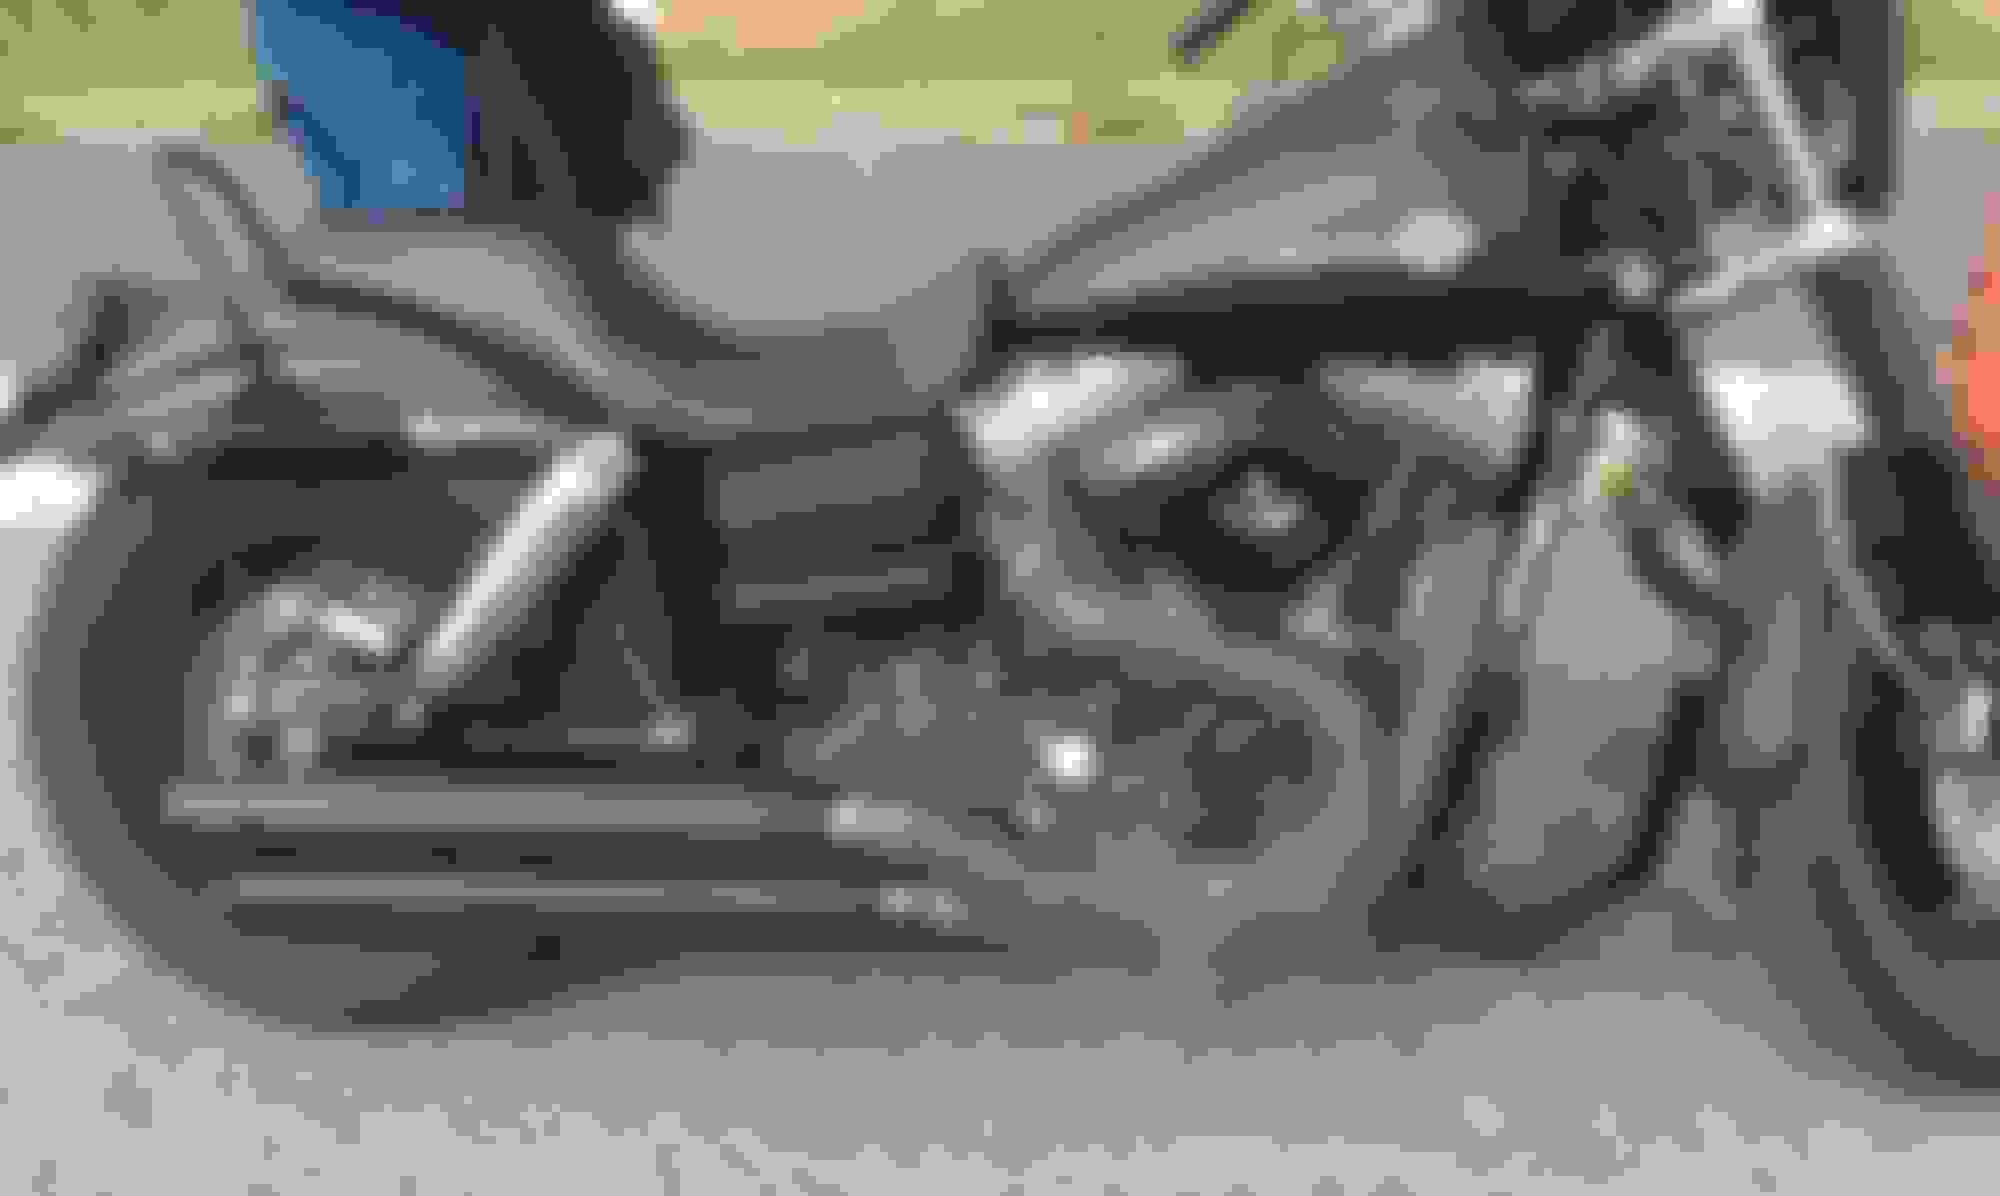
2013 Fatbob - Vivid Black - 103 Ci. -
ThunderMax Auto tuner #309-382
Rineheart 2 into 1 Chrome.
Screamin Eagle Stage 1 Air Intake kit.
Ricor Intiminators - Progressive Springs - RSD Pre load adjusters -
Progressive 970 rear shock's
Vibratechnics front motor mount
Jagg 10 row low mount oil cooler
Airblade Flyscreen with Harley quick disconnect fork mount's.
Chrome 103 Derby cover.
Harley LCD Oil Level/Temp Dipstick
I do have a few more upgrades to do, but they will have to wait for winter...
Looks like you are going to have to remove the bolts that go thru the struts, as it appears you have the hard-mount type. Best way to do this is to raise the bike in order to take the weight off the rear suspension enough to remove the shock. Then raise it a little more so you can get your hand and a wrench under the fender. I believe there are just the two bolts that hold the sissy bar bracket on. Pretty easy job if you have a jack.
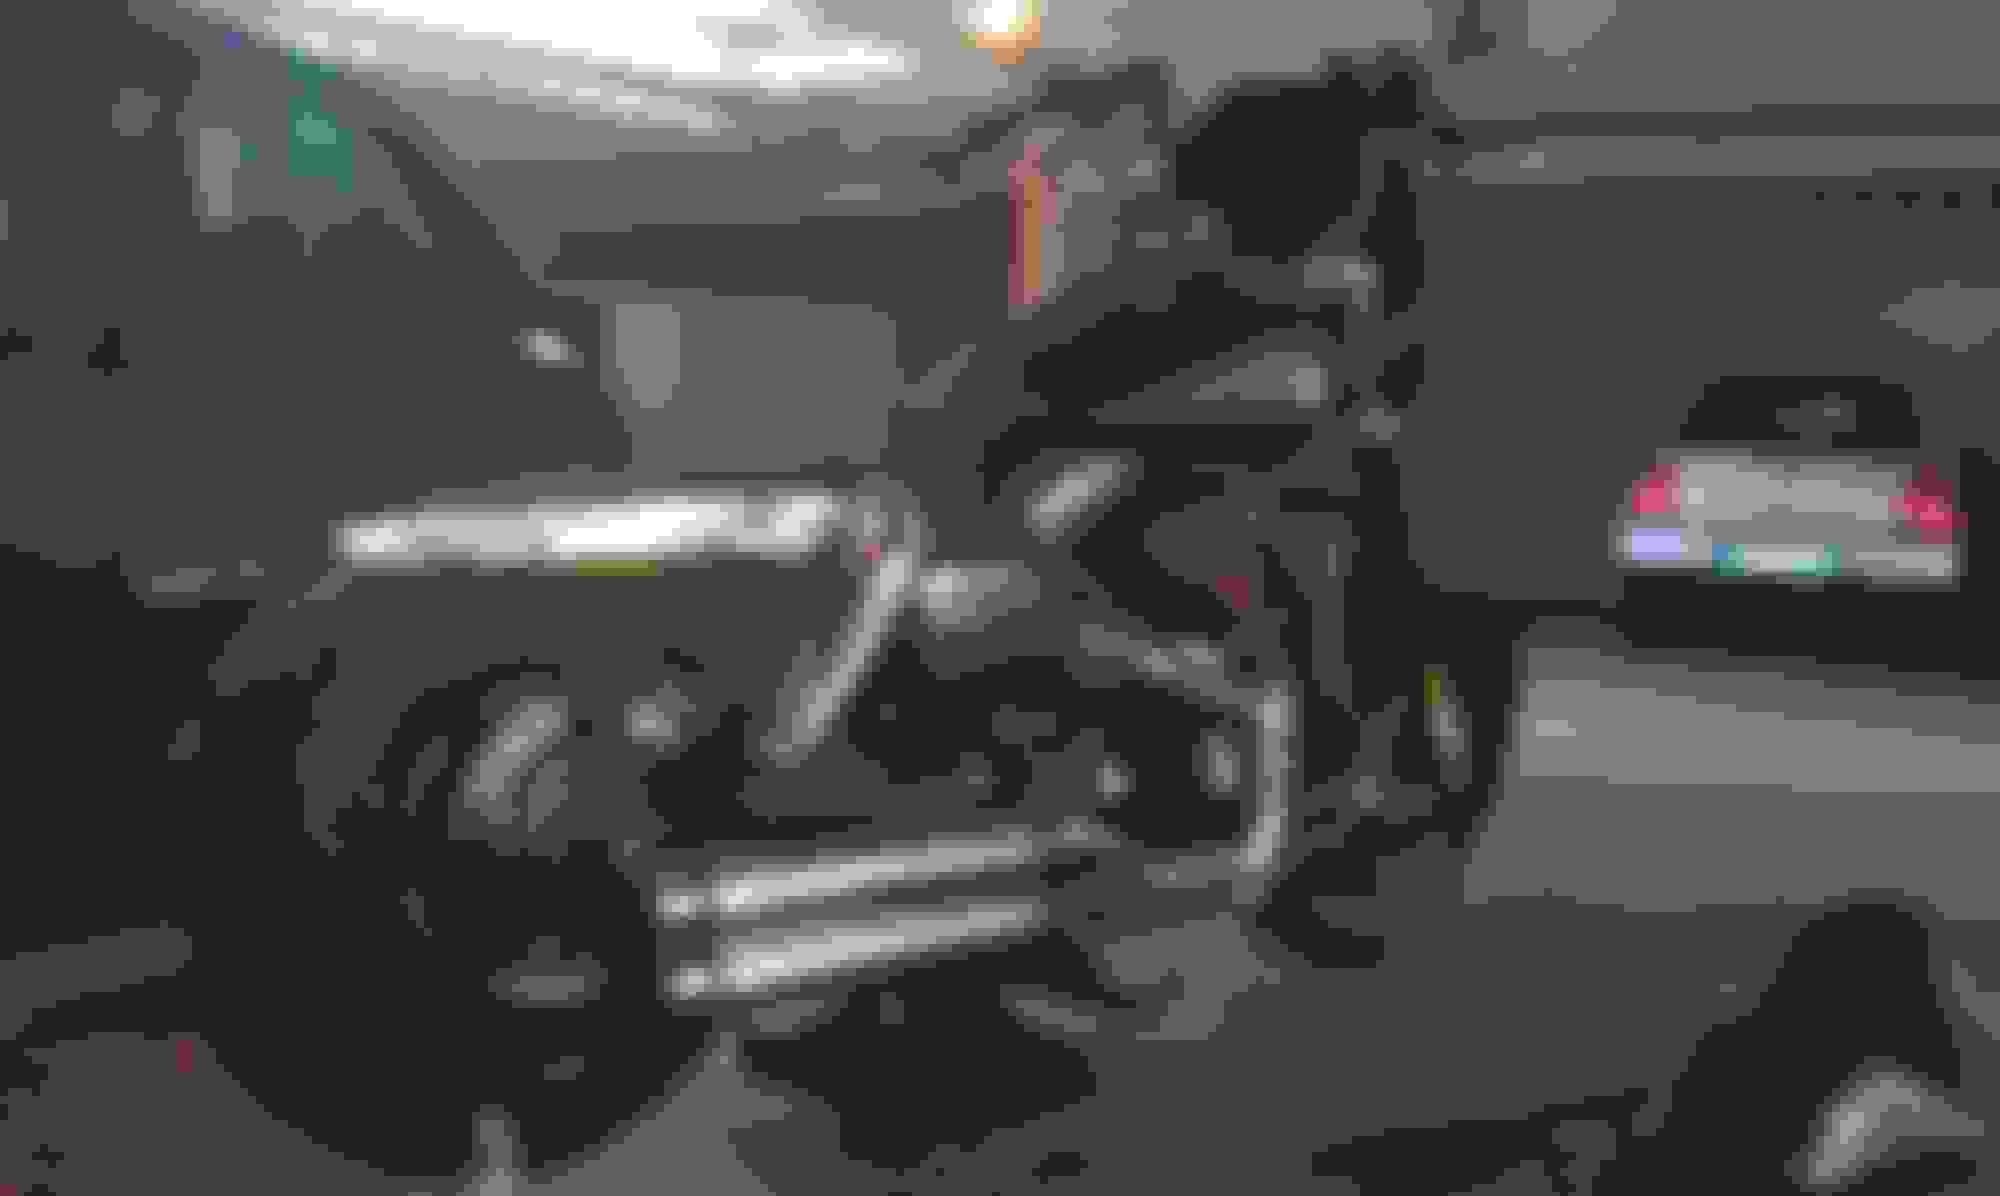
[IMG][/IMG]How ya goin fellas. Just thought I'd drop a pic of my ol stage4 in the mix, Its had a few things changed besides the obvious motor upgrade, Currently putting together a R&R 124 for it over the Aussie winter.
a 124 will be fun, whats the make of the pipes i have a V&H 2 into 1 big radius and have had it for a while but if something happens to it your pipes look like something i would try ?
Wide glide fender on a fat bob: less bob more fat.
Hi guys,
I did some work on my bike:
changed to a wide glide rear fender
installed a joker machine tail light
exhaust wrapped my exhaust
installed powder painted heat shields
powder painted a bunch of bike parts.
Hope you like my bike and do take a look at my profile pics for details.
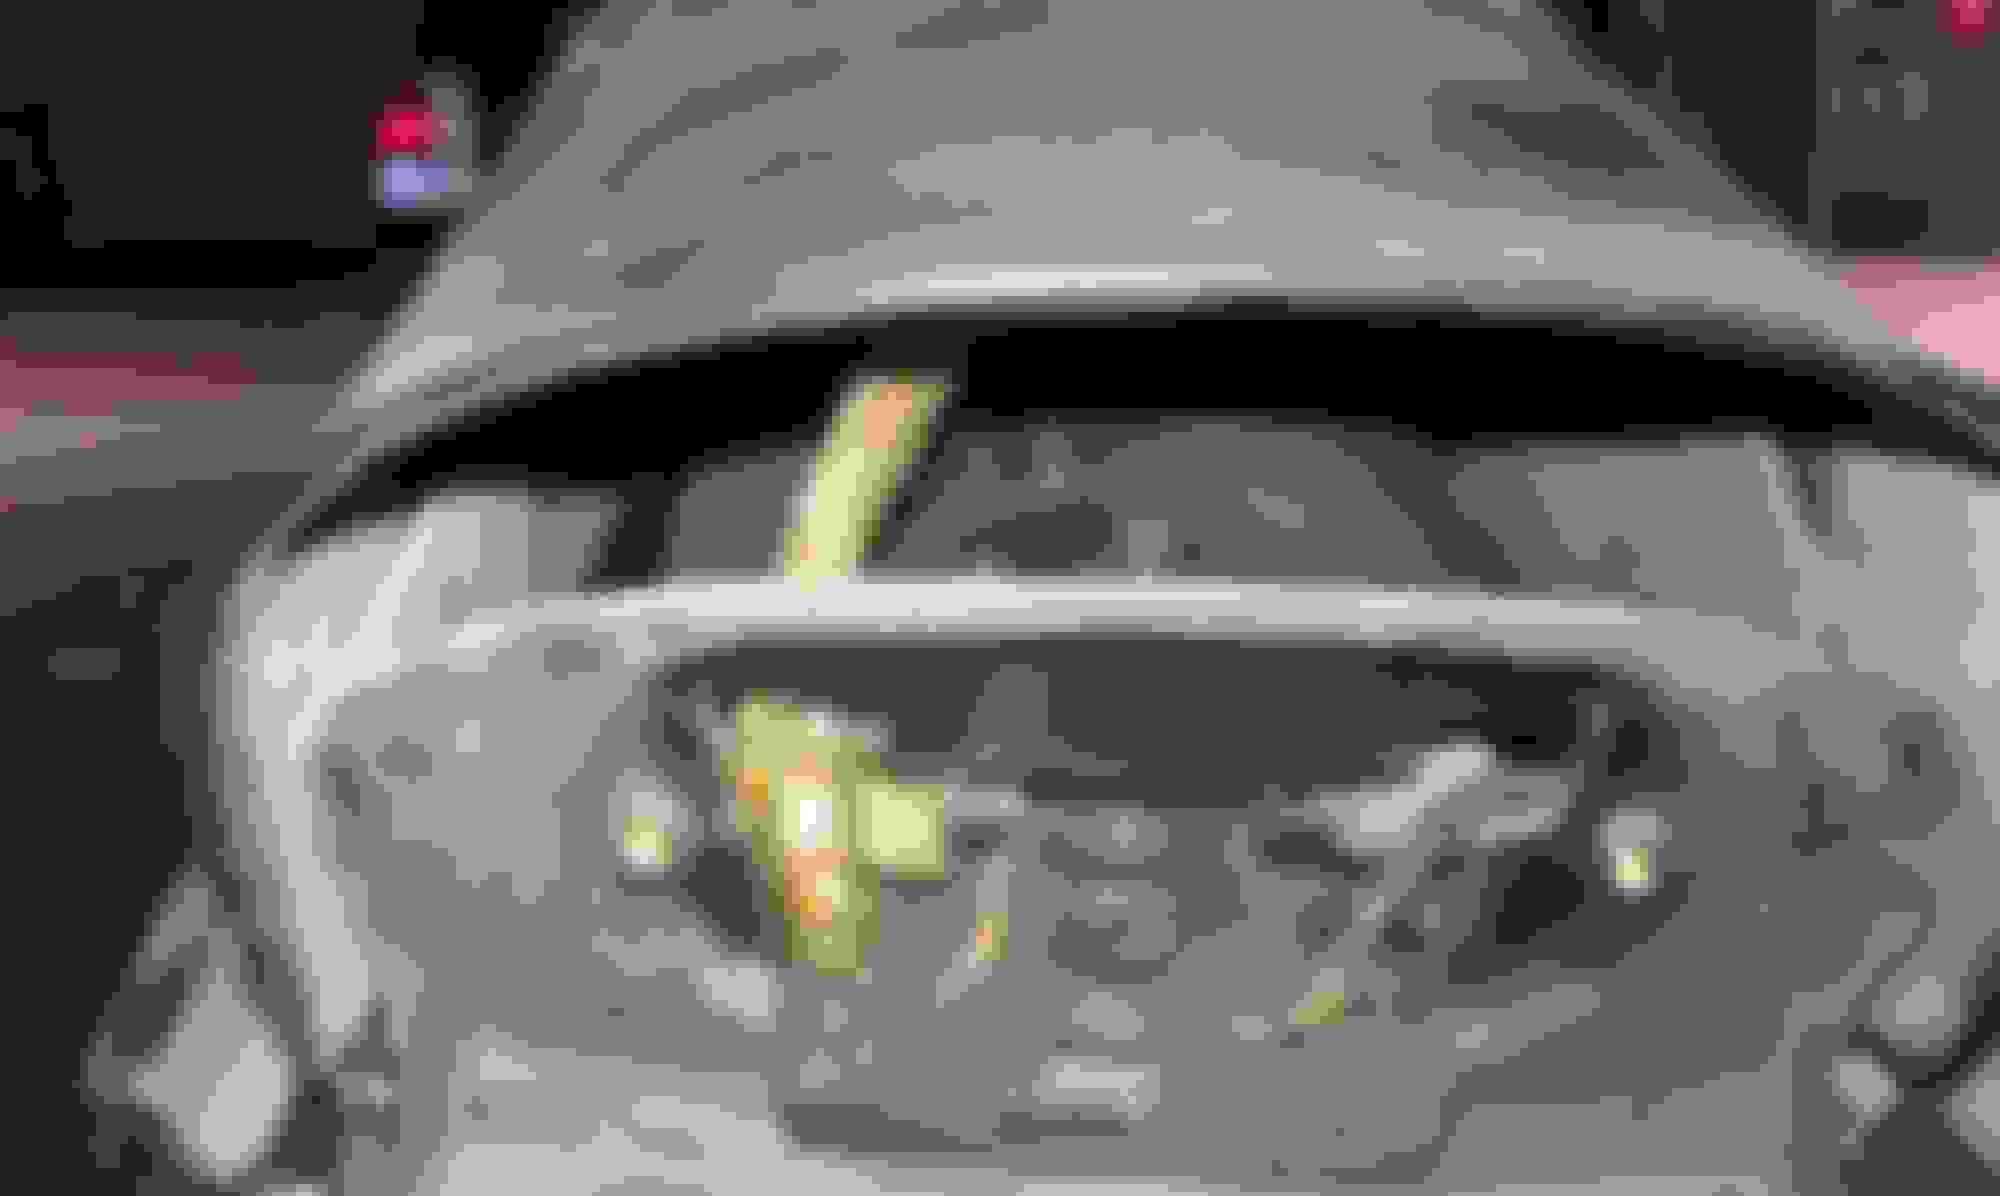
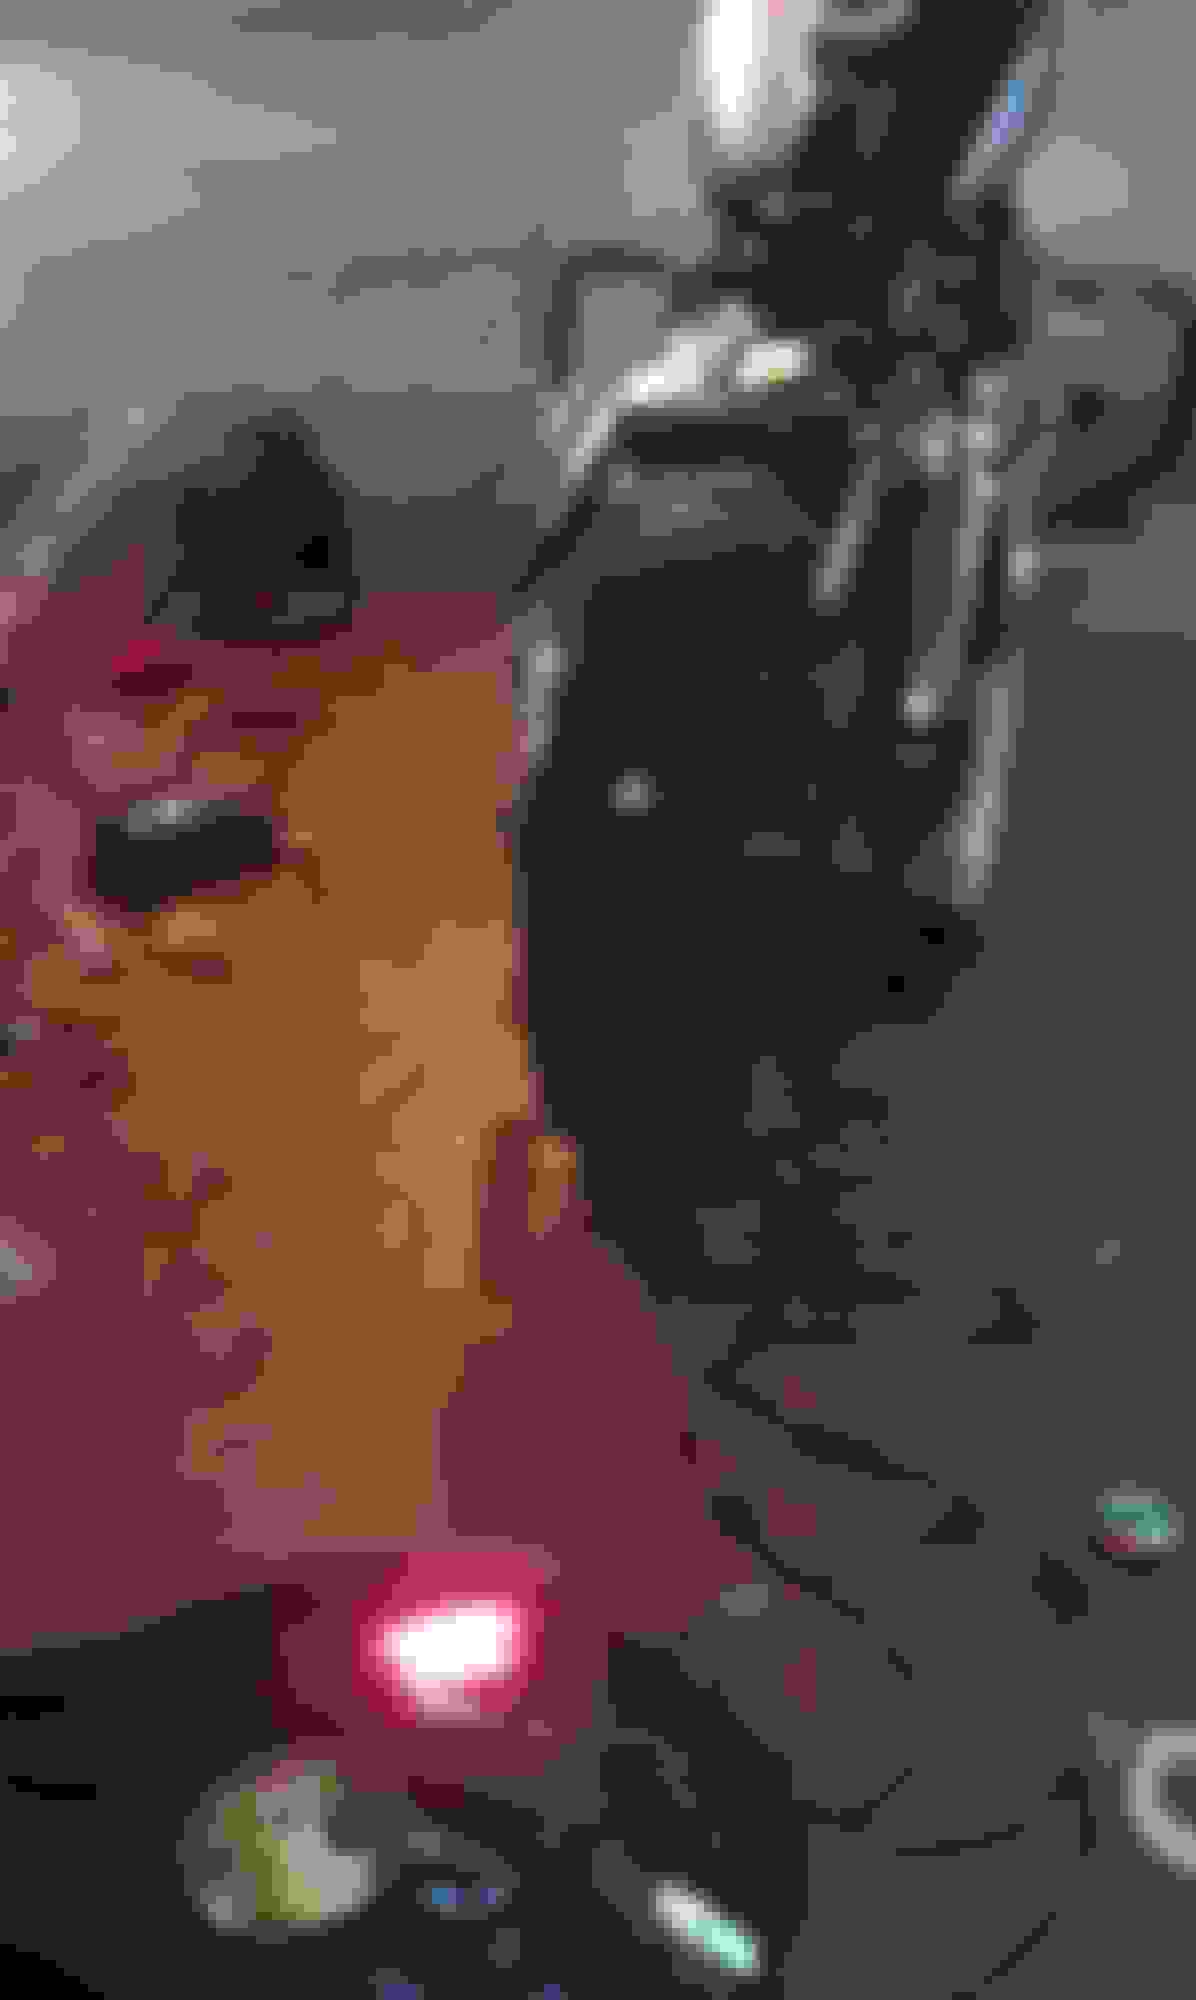
Rear fender is off. Have a beer and relax!
Signal lights brackets are off.
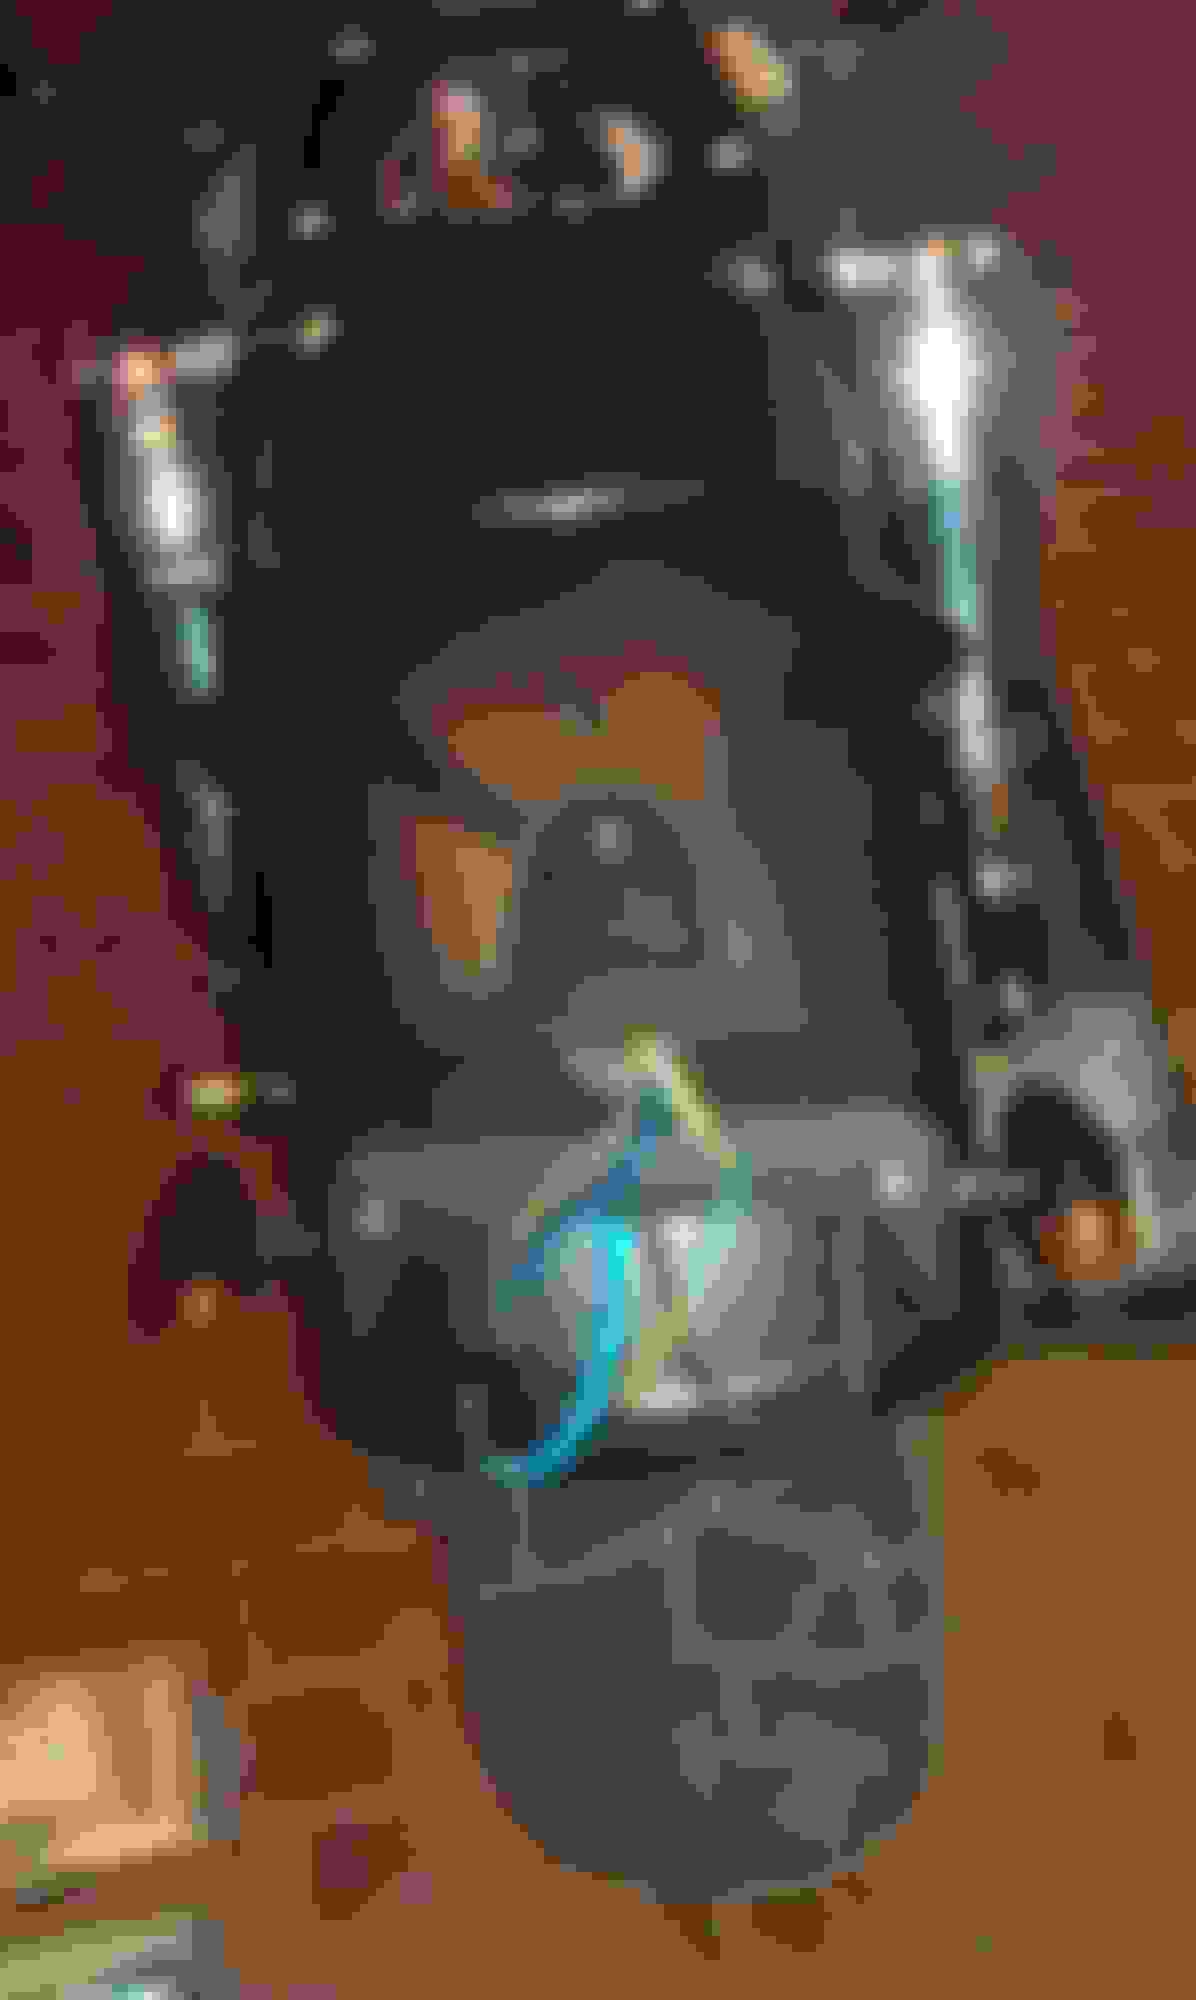
Use the same circuit from the original tail light and extend the wires. Put the circuit under the seat. Don't be an *** like me cutting the wires off! Had a night's sleep before I decided that was NOT the way to go.
I used new cables running under the fender and attached them to the tail light and turn signal lights.
As I hope you can see the circuit is under the seat. It is going to be messy but with patience and beer you're ultimately going to find room for the cable and the relay.
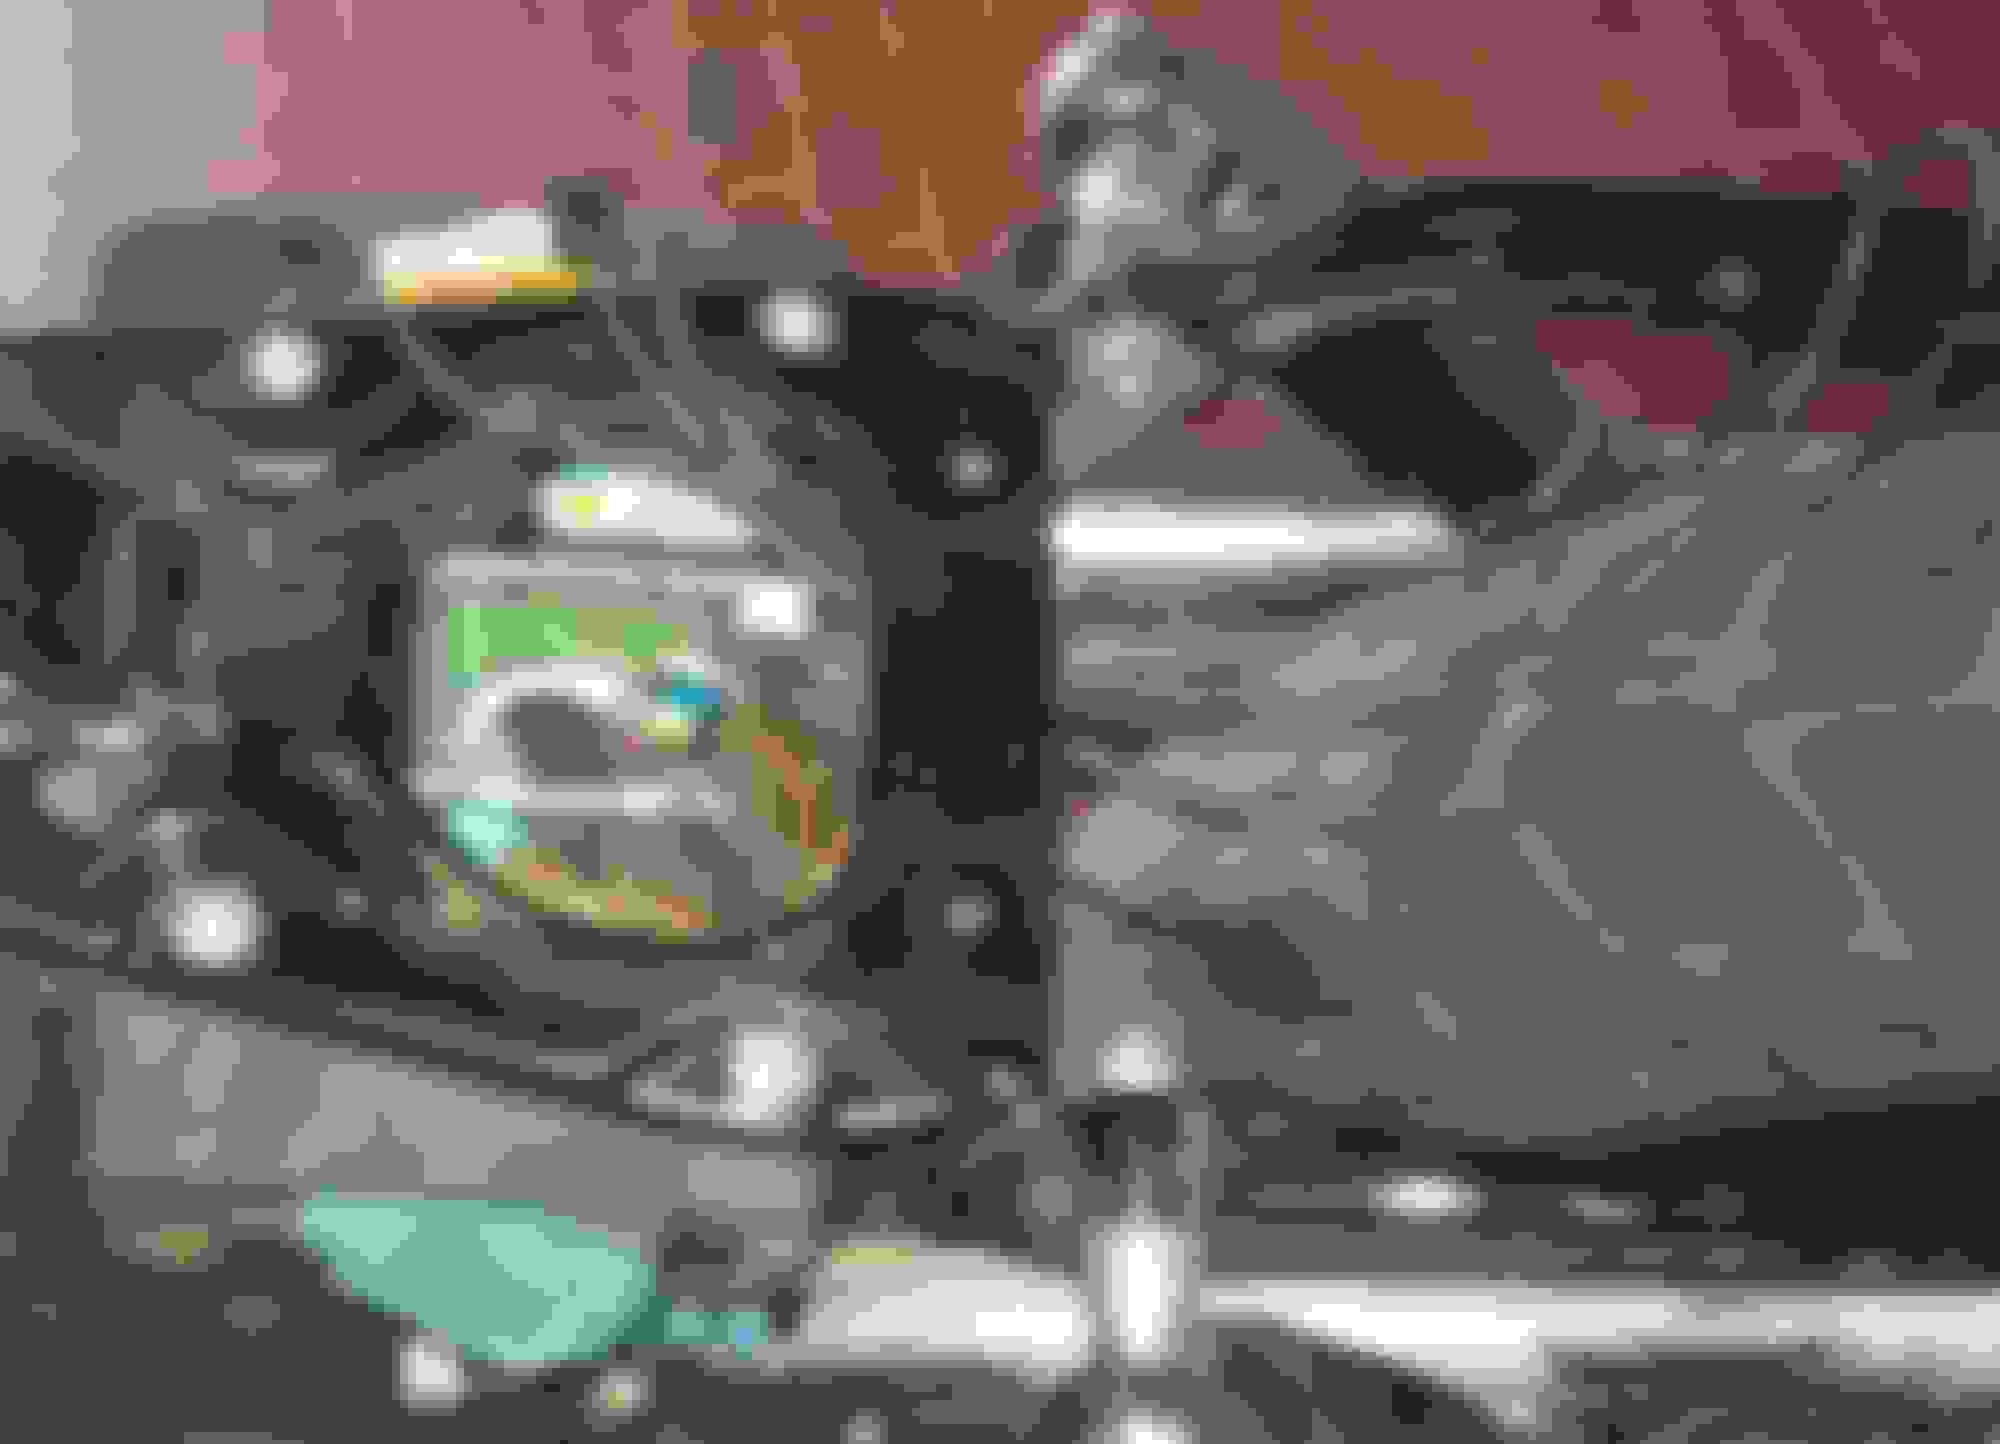
This harness will protect the cables under the rear fender. You can glue it back up with double sided tape.
Check the lights before re-assembling.
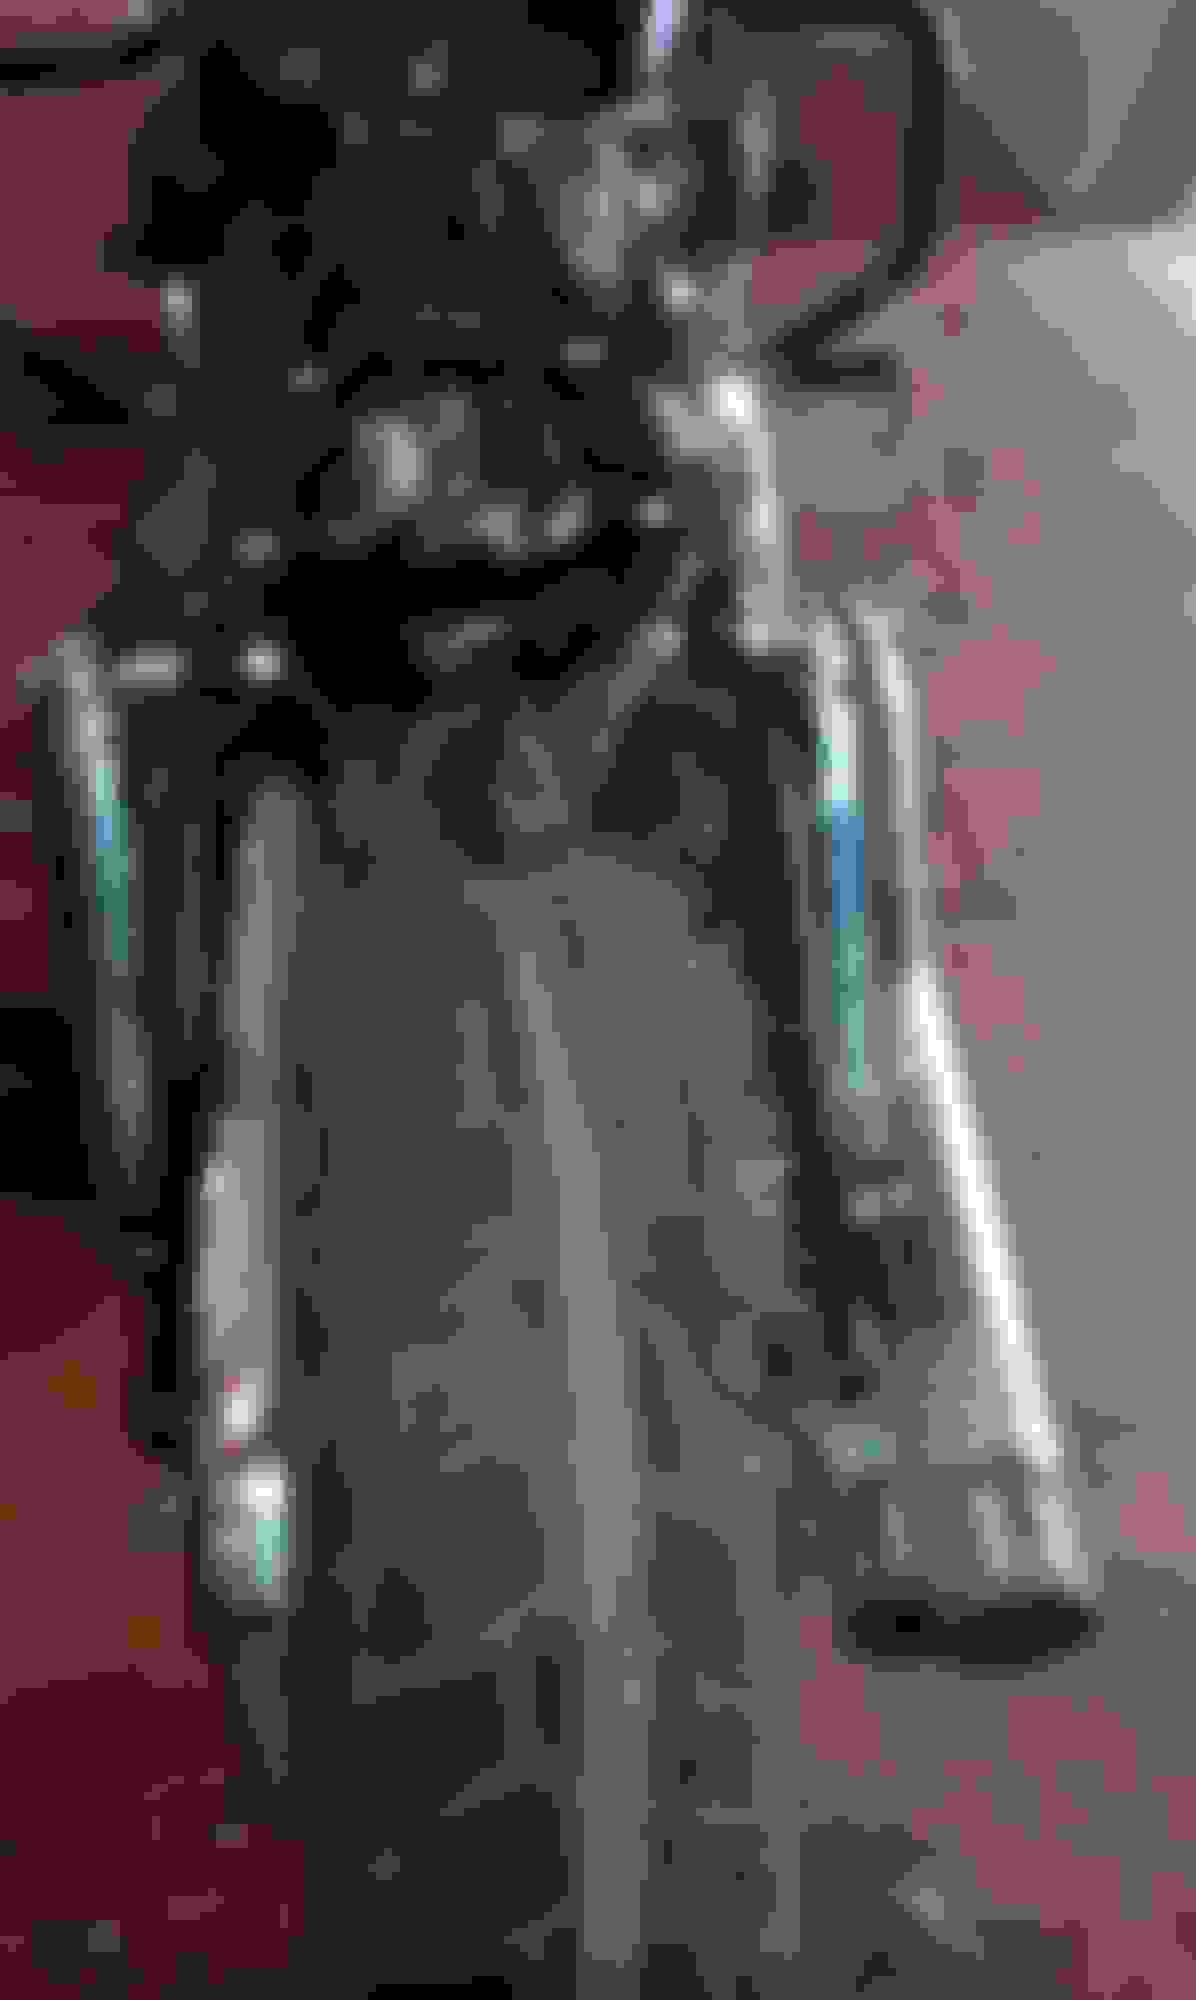
All is set to go!
Bike parts are back for the powder painted. The exhaust pipe was sanded since I was going to do the painting myself.
VHT flame proof primer.
Paint and clear coat. FOLLOW THE INSTRUCTIONS CAREFULLY. Don't drip the paint like i did!Have a beer. Take it easy!
Next I heat wrapped my exhaust. I did this by NOT taking off the exhaust system (Yes, I do know thats the recommended way). Nevertheless the job came out fine just the same. Moreover, by keeping the exhaust bolted on the bike you can wrap it tightly around the pipes by pulling the tape: You won't have the easeness of manoeuvre you have the by taking them off but in the end I did not have the time to take the system off. Start wrapping at the end off the pipe and not from the engine part. In this way the wraps will last longer. I wrapped my pipes not for aesthetics sake but for a practical reason. Powder pained heat shields will not stand high temperatures. The wrap will lower the temp of the pipes.
Next cure the VHT paint as indicated. Follow the indications strictly. The wraps will smoke like hell and the smell of both paint and wraps is very intoxicating (though it resembles for some reason the smell of a fresh baked pizza )! Don't get near. It is not a pizza!
This is how it looks in the end. Heat shield and exhaust wrap.
Let me know what you think of the new looks!
Cheers from Rome!
 05-09-2014, 11:02 AM


 Had a night's sleep before I decided that was NOT the way to go.
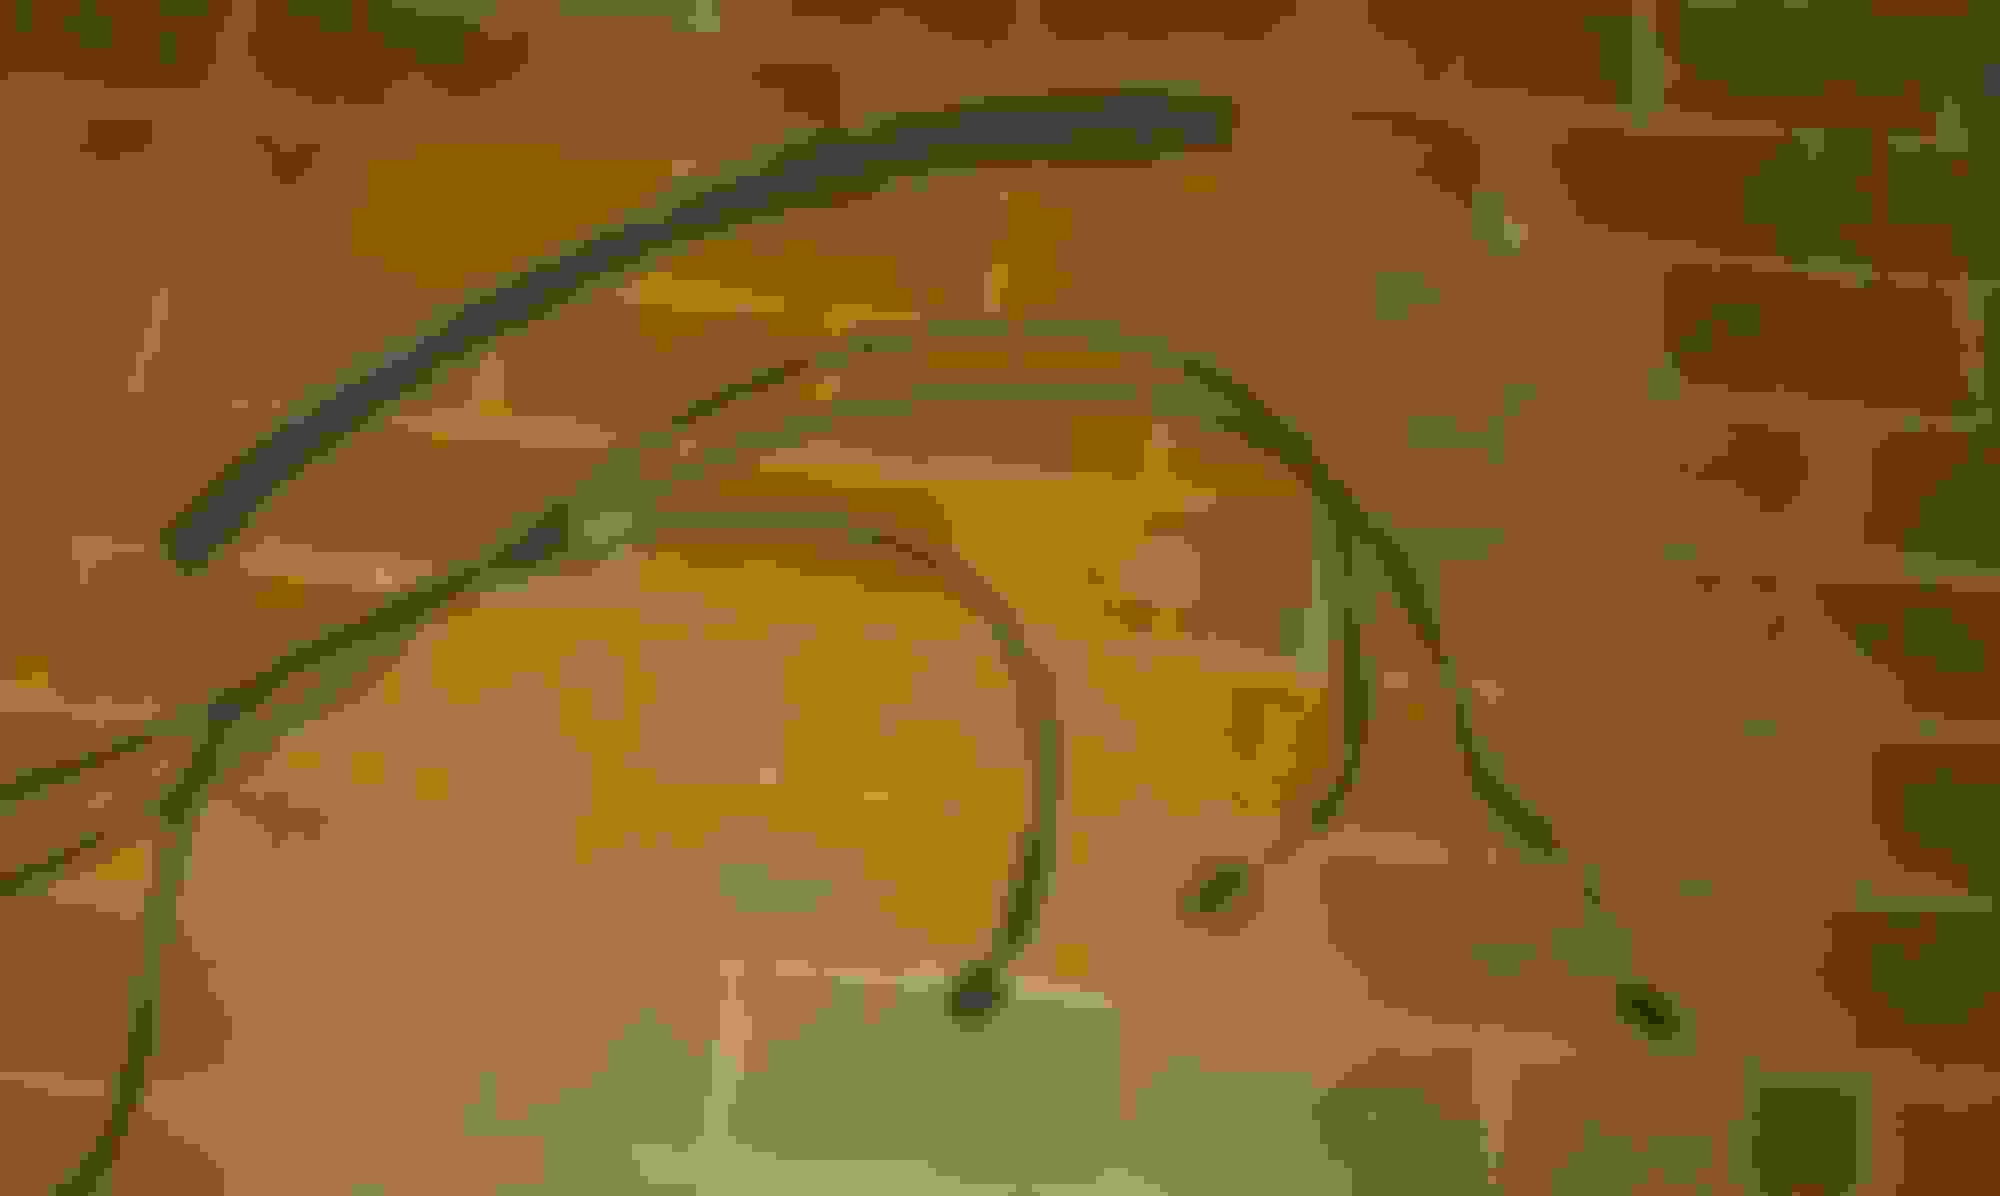

 Have a beer. Take it easy!
 )! Don't get near. It is not a pizza!