* HOW TO * under fifty bux *
#771
 03-27-2008, 12:07 AM


#772
03-28-2008, 01:13 AM

#773
03-29-2008, 10:34 AM
ORIGINAL: JRK5892
Mud I AM IN! you give me a step by step... I will build it!
now i am pumped! in the past i have taped off and but TONS of front fenders
to shorten them up but they where always chrome...
i am intrested in this one... i really dig it!
Mud I AM IN! you give me a step by step... I will build it!
now i am pumped! in the past i have taped off and but TONS of front fenders
to shorten them up but they where always chrome...
i am intrested in this one... i really dig it!
.
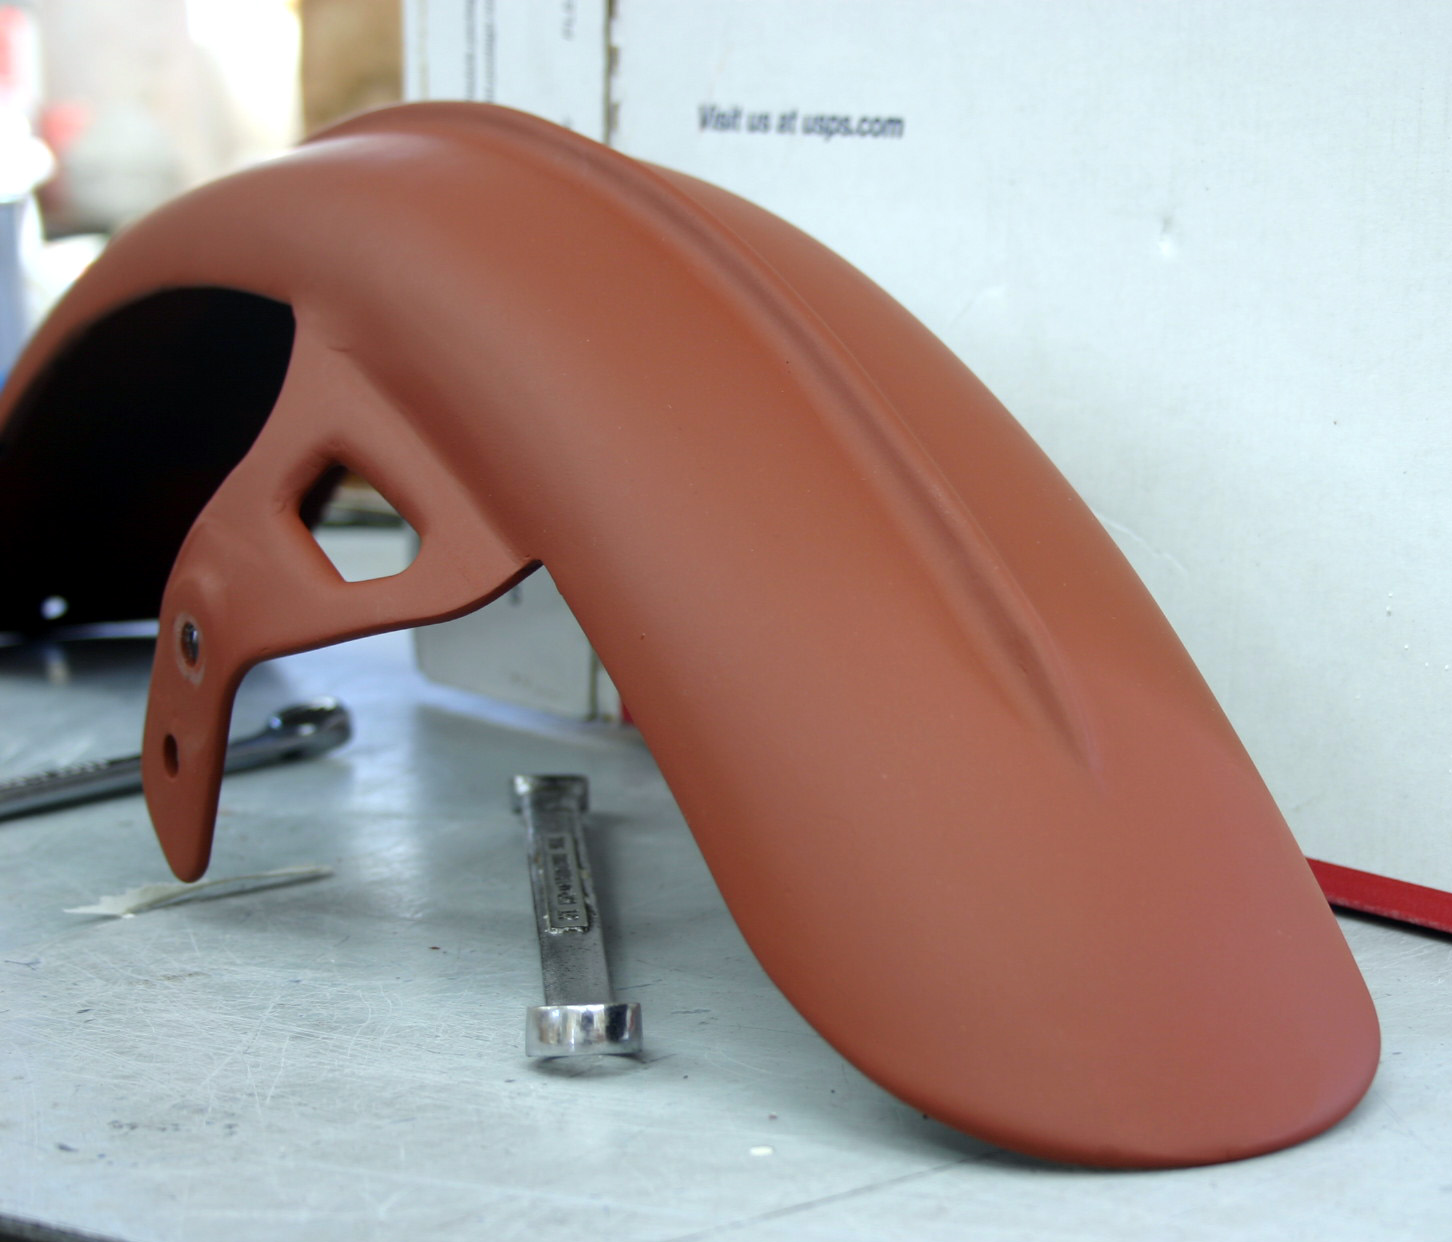
Here ya go JRK.
First, I drilled the four rivets out
and moved the fender back about three and a half inches on the bracket.
.
.

.

.
Welded the fender to the bracket and welded the original rivet holes closed,
and added a radiused piece at the bracket/fender intersection (red arrow below).
Quarter inch round stock welded on as a center rib.
Also shown is a duckbill at the lower end.
.
.

.
.
The rib is welded about every inch and a half on each side,
welds on the other side are in between, splitting the difference.
Below is also shown the holding fixture I made for this project.
.
.

.

.
I road tested this for 5-6 months last year,
suspecting there would be a problem with fracturing.
Yep, fracturing on both sides where the red line is in the image above.
So I welded the cracks, and added an inner rib, shown below.
.
.

.
.
I don't like the duckbill.
.
.

.
.
Pain in the ***, but I removed it
.
.

.
.

.
.
Now this end of the rib is terminated with about a half an erection.
The filler I like for this sort of operation is called All Metal, an Aluminized resin.
It gets so hard a cat can't scratch it, just like last night.
Any shaping, tooling, sanding, is best done SOON after the initial set.
.
.

.
.
I diminished the leading end of the rib to disappear into a thin point.
.
.
.
.
I still want to reposition the fender a bit closer to the tire.
I'll get to that soon, I guess.........
.
.

.
.

.
.
Last edited by mud; 01-24-2020 at 07:31 AM. Reason: ....reload missing pix
#774
03-29-2008, 07:26 PM

#776
03-30-2008, 11:16 AM
ORIGINAL: JRK5892
THANKS BUD! I am on it! i will start in about a week! thanks! not sure i will do the rib down the middle but i love everything else about it! thanks mud!
THANKS BUD! I am on it! i will start in about a week! thanks! not sure i will do the rib down the middle but i love everything else about it! thanks mud!

seriously ... How about an LED mod from you for a front LED marker light to go on the front ... the bagger lights look out of scale on a Dyna but an extra centre light would be a useful safety aid ...
Mat
#777
03-30-2008, 03:14 PM

#778
03-30-2008, 04:35 PM
#779
03-30-2008, 06:22 PM
Dang Mud I wish I lived next door to you....
Heres a stupid little trick or two worth its time to do
On long rides I find a 12volt power supply really handy. You can buy one at checkers for about 10 bucks, it even has a cap on it. Find a place to zip tie it off wire it into the battery and you've got 12v power everywhere you ride. Mine is under my seat, you don't even see it.
On the other side of my seat I took a garage door opener, wrapper it in plastic and zip tied it up, also can't hardly see it. No cost at all.
Last edited by soldierbot; 04-02-2021 at 07:46 AM.
#780
03-30-2008, 06:24 PM
I'm a short chit and find it hard to keep my feet on the forward pegs at high speed and i always feel like my feet are slowly sliding off the pegs Even at low speed. another member is sending me a how to for making new brackets but for now i tried this.
found some 1/8' thick leather and cut a small wedge to work up into bottom gap between peg and mount using a small screw driver.
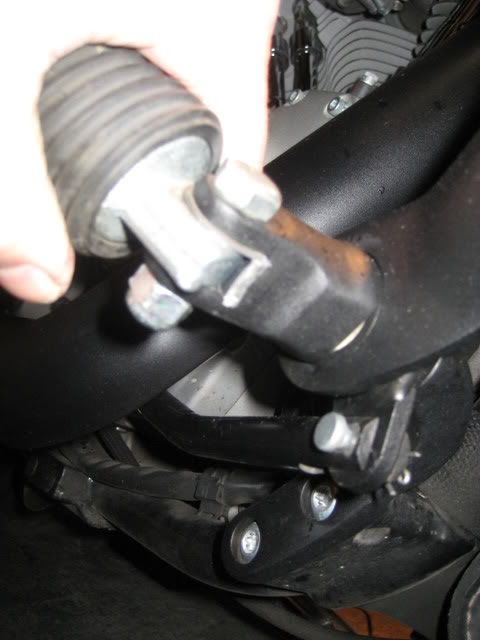
lifted the outside of the peg just a little
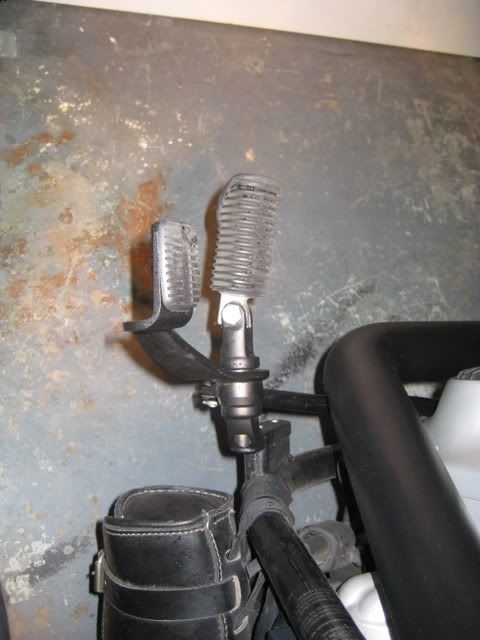
i haven't ridden it yet (nasty a$$ weather) butjust sitting on itfeels much better. if it cures the problem i'll probably just leave it instead of building new brackets.
found some 1/8' thick leather and cut a small wedge to work up into bottom gap between peg and mount using a small screw driver.
lifted the outside of the peg just a little
i haven't ridden it yet (nasty a$$ weather) butjust sitting on itfeels much better. if it cures the problem i'll probably just leave it instead of building new brackets.