Dyna Glide ModelsSuper Glide, Super Glide Sport, Super Glide Custom, Dyna Glide Convertible, Super Glide T-Sport, Dyna Glide Police, Dyna Switchback, Low Rider, Street Bob, Fat Bob and Wide Glide.
Producing the "pan" to fit for stock frame, custom fender.
mud..............
Mud ... really impressive ...
I've tried this and failed as the result was way too uncomfortable
... will be copying your technique ...
prob next winter now as I'm between workshops ...
Please keep this one updated ... you doing the stitching too ?
Mat
Mat I had thought you had done one??
Apparently it was not to your satisfaction.
I may or may not do the stiching and all.
I'm sure I could,
but, I would probably be wise to let someone else have at it.
We'll see.
mud
My simple mod of foam reshaping (page 1) is great and a cheap mod, I'm going to recover in leather at some point soon when the duct tape gives up !
My seat pan out of fibreglass was very pretty but almost crippled me when I rode it ... was thrown in the trash in a temper ... you are using a lot more modeling skills from your day job which will create a much better solution, I am keen to try again for myself so am watching yours with interest ... don't like failing but that's the best way to learn ... try and try again ...
ORIGINAL: matkiwi
I guess i'm one of the five ... I have a couple of hunting knives made from car leaf springs during my apprenticeship 20+ yr ago which is excellent carbon steel for blades. For this application it would be ideal as its going to be kept oiled ... its easy to shape once heat treated and softened.
Then the skill is keeping the metal slightly flexible while maintaining an good edge for the blade through the annealing process
Thanks for the link. I never knewas much of the technical detailsofwhat I was doingas that article explaines. My exposure to knife making was a long time ago and fairly basic. It wasn't much more than a byproduct of learing to makecold chisels during my Tool& Die training over 30 years ago in HS. But I did have a couple of good teachers,myTool & Die instructor and my father (a metallergical engineer).Between the two of them I managed to learn enough to turntool materials (mostly files and saw blades) into servicable if unattractive cutting tools.
Never did it enough to get really good at it and haven't even tried since then. But mud's pics reminded me that I have a large pair ofOxy-Acetylene tanksin the garage to feed"Smoky the Blue Tipped Wrench". Now I'm going to have to think about using "Ol Smokey"formore "creative" things than just removingold rustynuts, bolts and mufflers out of my vehicles.
Frank
Frank, I'm with you, that is really a well written article.
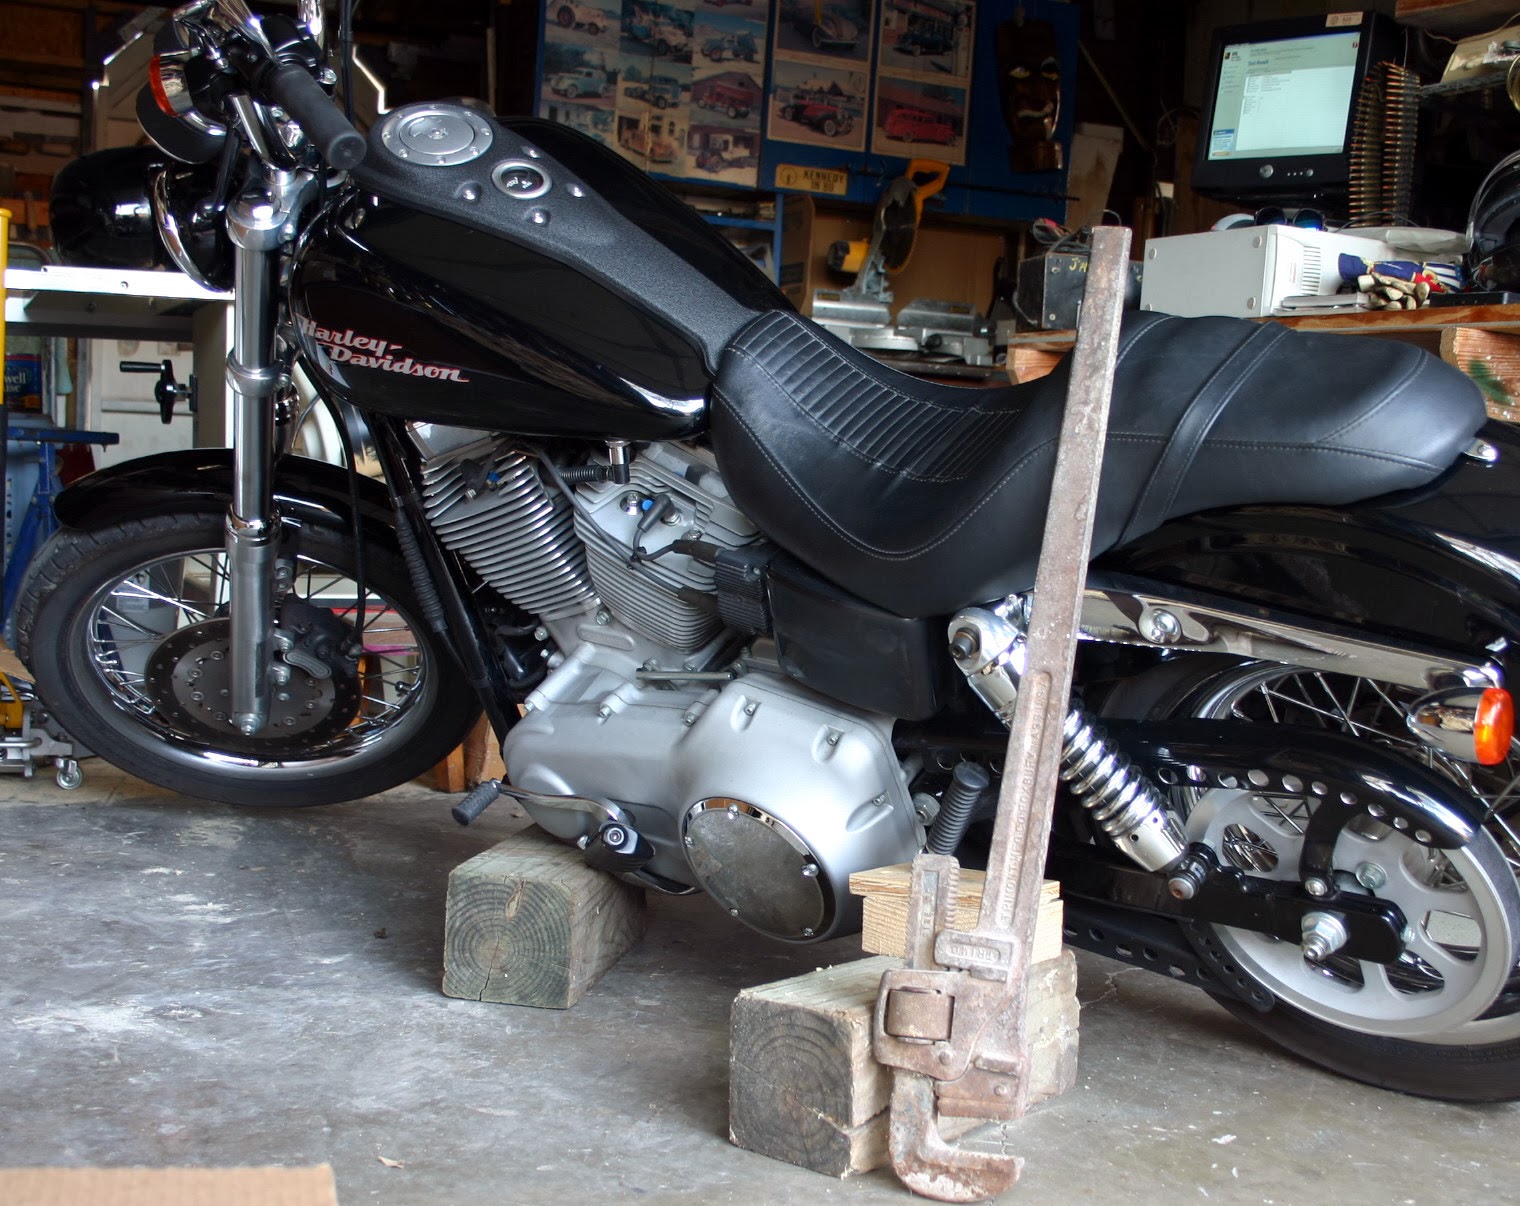
Here's my techniques for leaning the machine way over
to more easily access any operation on the underside.
Or, the once a year greasy side cleanup.
As you see, I'm due for that procedure now.
.
.
.
.
Place the front block diagonally and bridging from Downtube
and over to Primary Housing and Footpeg Bracket.
Rear block under the end of the Rear Footpeg Bracket.
.
.
.
.
This will lean the machine way over.
Front tire is about two inches off the floor.
Rear tire is on the floor.
Proceed with this one carefully,
and don't blame me if you fork it up.
Check the balance before you get away.
.
.
.
.
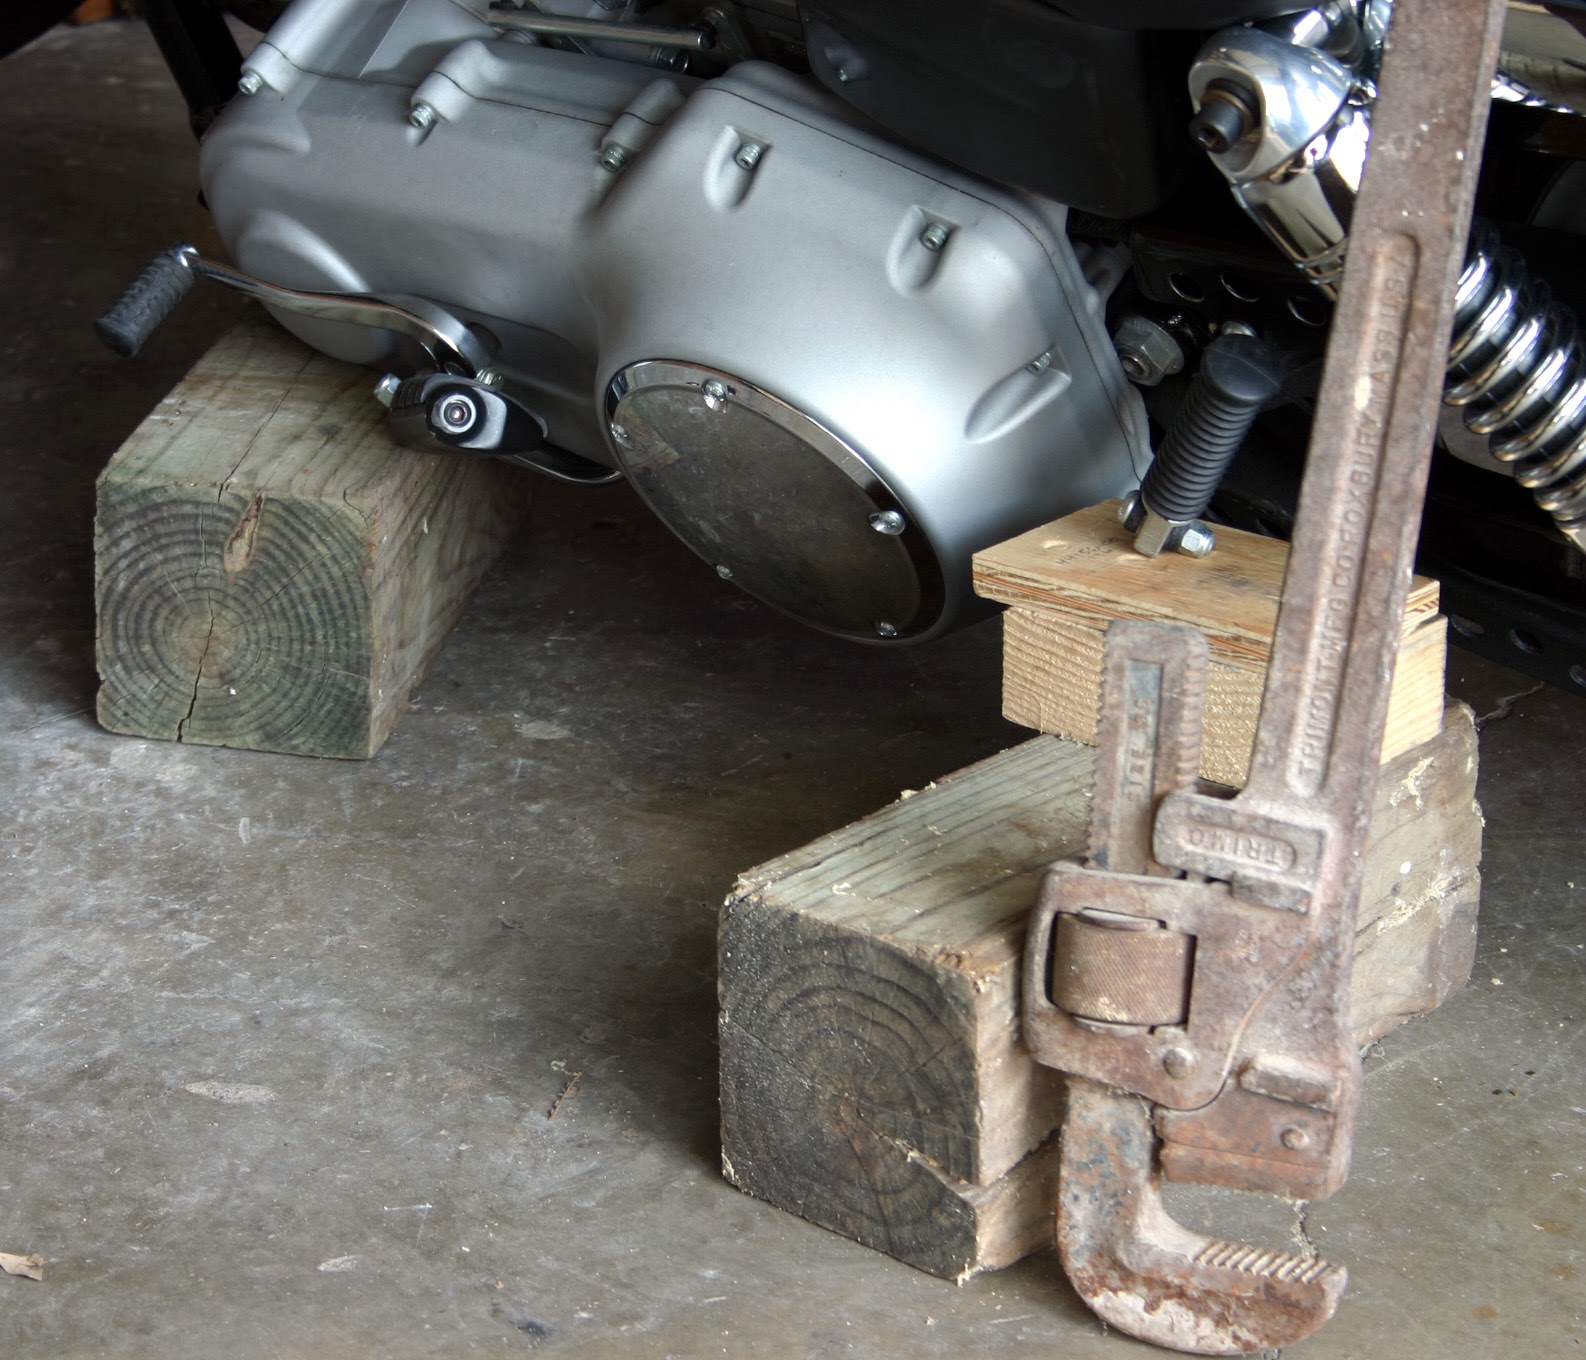
Shown below, you can see under and get in with tools easily.
.
.
.
.
Another technique, not recommended,
unless emergency on the road situation comes up.
Just lay it over in the dirt.
A week or so ago, I was riding through a big caliche parking lot.
It had been raining a few daze before, and I didn't see a wet area,
the sun had slightly crusted the mudpuddle over,
so it was camouflaged the same color as the dry surrounding area.
As soon as I got there, about 5-10 MPH,
the machine dumped over on the pipe side.
A friend riding behind said it went down so fast
he didn't even have time to enjoy (watching me go over).
I only got my shoes muddy up to about three inches,
but I gotta tell you this -
it ain't easy to clean that clay off the pipe wrap.
continued in posting #686.......
.
.
Last edited by mud; 01-20-2020 at 08:06 AM.
Reason: reload missing pix
Glad you and or the bike were not hurt.
I have done the tipping thing too, but instead of tipping it over on blocks. I use a pair of tow straps hung from a stout overhead beam. It lets me safely tip it over as far as it will go without worring aboutthe bikes balance.
A friend does the same thing but uses his engine lift. Its strong enough to physically pick the bike upoff the floor if necessary.
BTW I think you should quickly update your gallery and check out the newBOTM thread.
Glad you and or the bike were not hurt.
I have done the tipping thing too, but instead of tipping it over on blocks. I use a pair of tow straps hung from a stout overhead beam. It lets me safely tip it over as far as it will go without worrying about the bikes balance.
A friend does the same thing but uses his engine lift. Its strong enough to physically pick the bike up off the floor if necessary.
BTW I think you should quickly update your gallery and check out the new BOTM thread.
Frank, thanks for the second nod at BOTM.
Respectfully decline. I do appreciate the consideration.
As to balancing on my lean over technique,
I did say you should check carefully.
Note below, front tire is off the ground,
and the machine is safely planted on the rear tire,
and the two timber blox -
.
.
.
.
Gotta love the South Texas winters.
For a positive measure of insurance I may strap to one of the anchors
I implanted in my concrete drive -
.
.
.
.
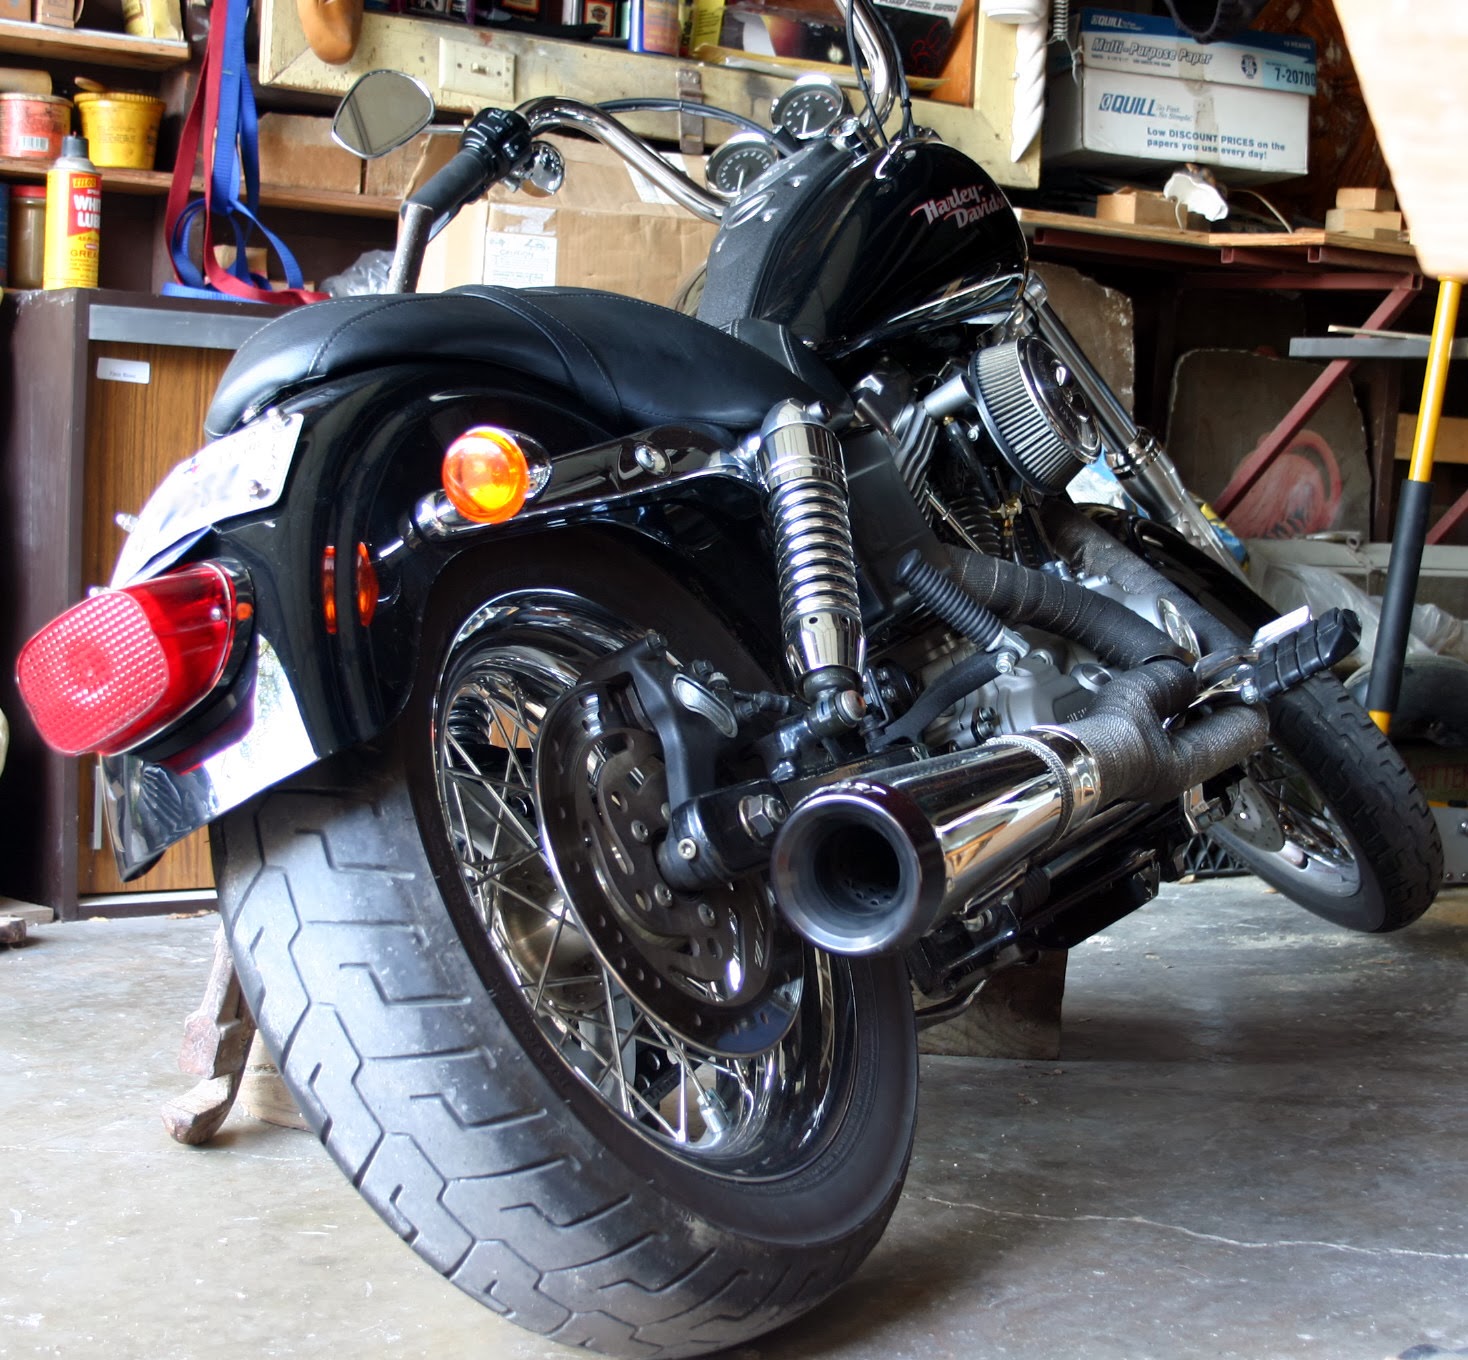
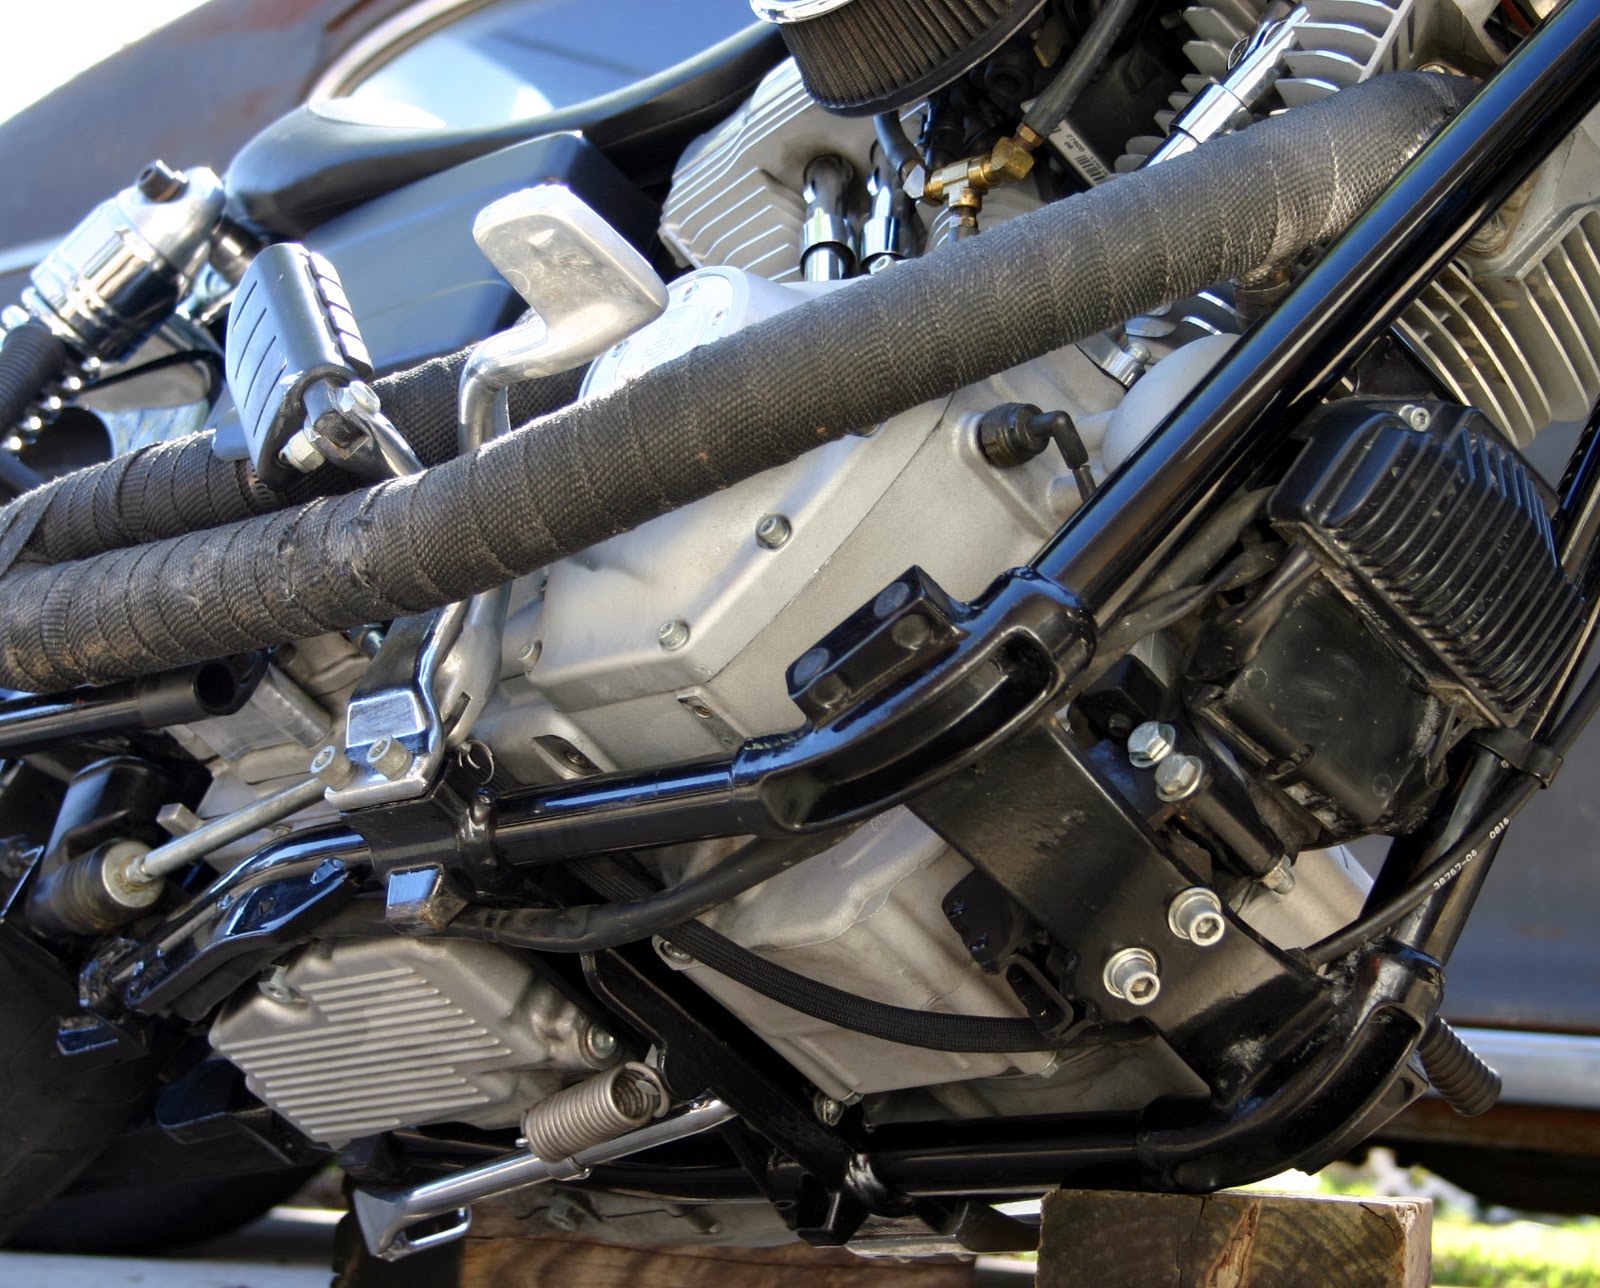
Below, the annual under clean makes a big difference -
.
.
.
.
before -
.
.
.
.
closer shot added for reynolds............
Last edited by mud; 11-08-2013 at 07:36 AM.
Reason: reload missing pix
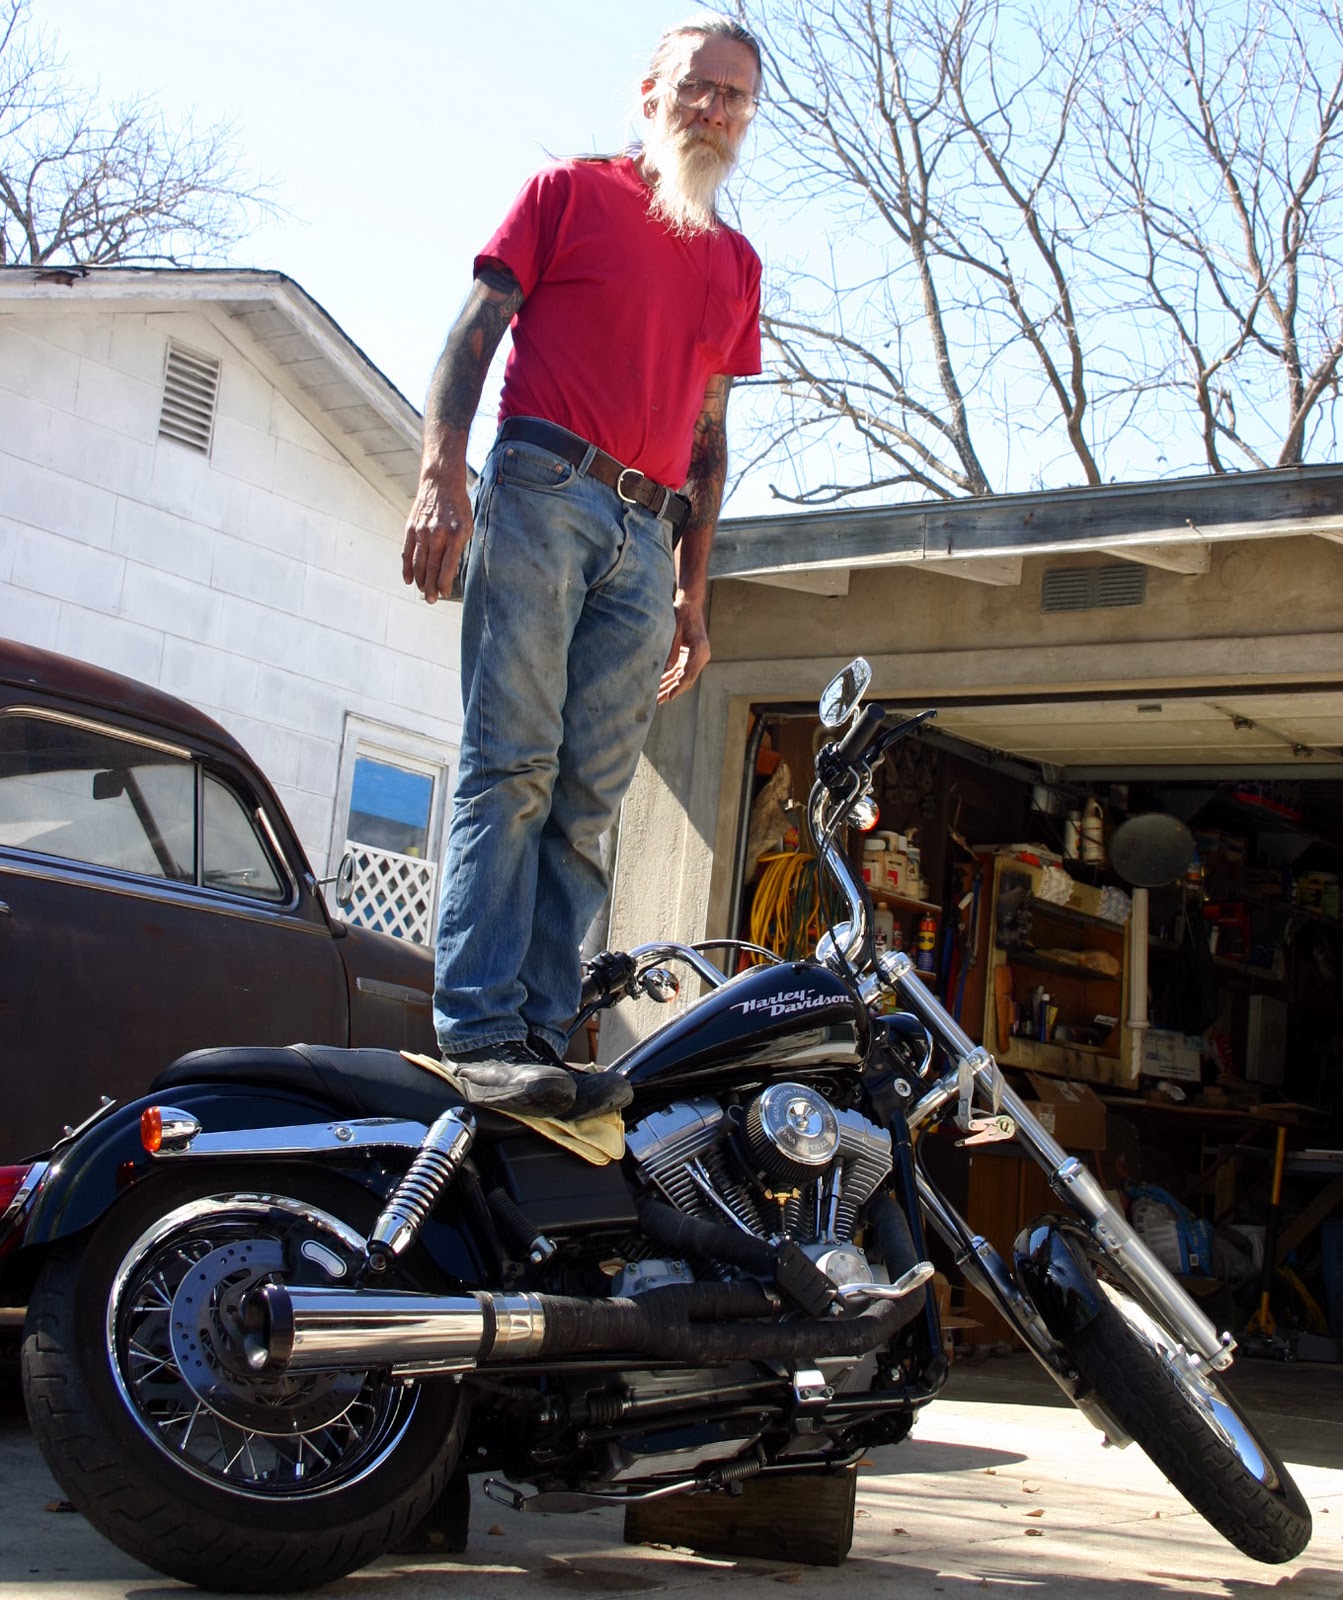
Good how-to on the tipping safely thing guys. But, there is one more way to accomplish this task (the RD way ).
Once I was visiting a friend and ended up moving the bike to the grass because his wife had to take the kids somewhere. A short while later it started to rain (pouring in buckets) and I decided to stick around for a few more beverages (forgetting the bike was on the grass). After another few beverages I looked outside and saw the bike 3/4 of the way down to lying flat on the grass (both tires planted firmly on the ground) with the jiffy stand planted firmly in the ground.
It seems the rain coupled with the weight of the bike caused it to, ever so slowly, sink into the soil nicely exposing the underside of the bike which I hadn't washed since I bought it. Needless to say I didn't take the time to wash it at that point in time. I simply (yeah right, simply, in the muck?) righted the bike and eased it on over to more firm ground (the concrete area of the lot) with absolutely no damage. Sorry, I didn't take any pictures of me standing on the seat.
 02-26-2008, 12:34 AM


 ).
).