Dyna Glide ModelsSuper Glide, Super Glide Sport, Super Glide Custom, Dyna Glide Convertible, Super Glide T-Sport, Dyna Glide Police, Dyna Switchback, Low Rider, Street Bob, Fat Bob and Wide Glide.
I dont see why you could not get a strong rubber gasket,
a 3/4 one to fill the hole that the ball came out of,
cut a slit in it to slide your blade into
and fill the whole rubber gasket with resin.
It looks simple...
I could be wrong I dont have one in my hand yet.
Looks simple huh.
I don't quite follow your proposal for solution,
but,
I do have a question for you -
are you listening to me when I say -
"Keep in mind what I say about swinging and rotating."??
does it HAVE to swing and rotate??? I added a diagram above but I dont know now...
edit: OK if it HAS to swing and rotate... not so simple anymore get a ballbearing the same size as that plastic ball
drill a hole in it with your press large enough to get the blade shaft through and crimp,C clamp, cotter pin or fastner of that nature
it above the BB so it can swing? ill make another drawing. and editit in here.
ORIGINAL: x2lee
get a ballbearing the same size as that plastic ball drill a hole in it with your press large enough to get the blade shaft through and crimp,C clamp, cotter pin or fastner of that nature
it above the BB so it can swing? ill make another drawing. and editit in here.
I had the same idea, but BB's are generallyhardened chunks of steel and might not be so easy to drill through. As an alternative how aboutgrinding a flat on one side and welding the blade to that.
if he could spotweld a half circle to it so that the flat spot wouldnt catch and not swing? On the blade side a spotweld that could be filed half round...
LOL, I gathered as much from Clitors post. I wonder if theres any kind of steel ball that already has a threaded hole? A **** of some kind? I think like the tensioners on a sailing rig that tightens the guy wires, the one on my boat has a barrel like piece of stainless steel that surrounds a threaded rod....then if you could thread the end of the blade or weld a threaded rod to it? So I am assuming the stick has to swing like I asked above also?
Maybe just a round headed nut facing the blade with a threaded rod thro it... Just tossing thoughts...
or a regular nut ground into a half circle on the bottom. That might work, grind the blade to about 1/4 wide and let it pass thro a stainless nut and grind one side of the nut half round facing the blade and spot it on the top?
ORIGINAL: mudpuddle
Tom,
Ever tried to drill a ball bearing??
Bout like two monkeys trying to make a sandwich out of a football.
mud
I worked asa tool & die maker before I went into the Army and learned electronics, that's why I suggested the grind and weld.
I KNOW how hard it is to drill into a hardened ball, and your monkey/football/sandwich while funny as hell isn't far off.
Something we overlooked in the thought process that makes it tons easier and makes my #2 diagram work again, the ball dont have to be steel, hardened plastic is all HD used. Another thought... if the blade is dangling you need to grind at least a 3 1/2 hand hold in the blade just so you could use it.
I think a straight razor would look great like that. Its got the flat spot to grab then a mean looking, sharp blade.
ORIGINAL: mudpuddle
ORIGINAL: x2lee
get a ballbearing the same size as that plastic ball
drill a hole in it with your press
Tom,
Ever tried to drill a ball bearing??
Bout like two monkeys trying to make a sandwich out of a football.
Producing the "pan" to fit for stock frame, custom fender.
First of all, tape off the surface where the resin will lay,
and drape the rest of your machine with plastic sheeting.
Draw the perimeter shape onto the tape,
then build a clay fence on that line.
The clay fence is 3/8", that's how thick I want the resin.
You can see I put a one inch wide thin cardboard under the outer edge,
so the upholstery can tuck under for attachment, when the time comes.
.
.
Below, the front mounting tab is one inch wide by eighth inch cold rolled strap.
Perforated so the resin will lock it in good.
Stubby little bolt at the rear, holds it up a bit so the resin will fully encapsulate it.
The front end of the strap simply slides in under the rear tank bolt,
just as the factory mounting.
(red lines - draft)
.
.
The two perforated tabs shown below are welded to a short piece of tubing with a nut welded on the end, for seat attachment.
Draft everything, so the finished pan will release when you're done.
You can see the draft below dropping down from the shock mount tube,
and above, you see it there near the front where the main frame backbone is.
(red lines - draft).
.
.
The middle points for this two up seat mounting are shown by the black dot below.
This mounting point will also serve as the rear attachment when I build a solo seat.
.
.
Rear mounting tab for the two up seat shown below.
Also, notice the inside of the clay wall should be smooth.
The outside, only needs to be neat.
Also notice along the bottom edge where the clay wall intersects the taped off surface,
the clay radiuses slightly, so the finished resin edge is not sharp.
.
.
This next picture, I've already started removing the plastic sheeting,
tape, etc that keeps the wet resin off of the machine.
The resin sets in about 45 minutes, that's the "pot life".
This resin, you want to leave it where it lies for 24 hours,
it's a slow cure, and stays slightly flexible, until fully cured.
.
.
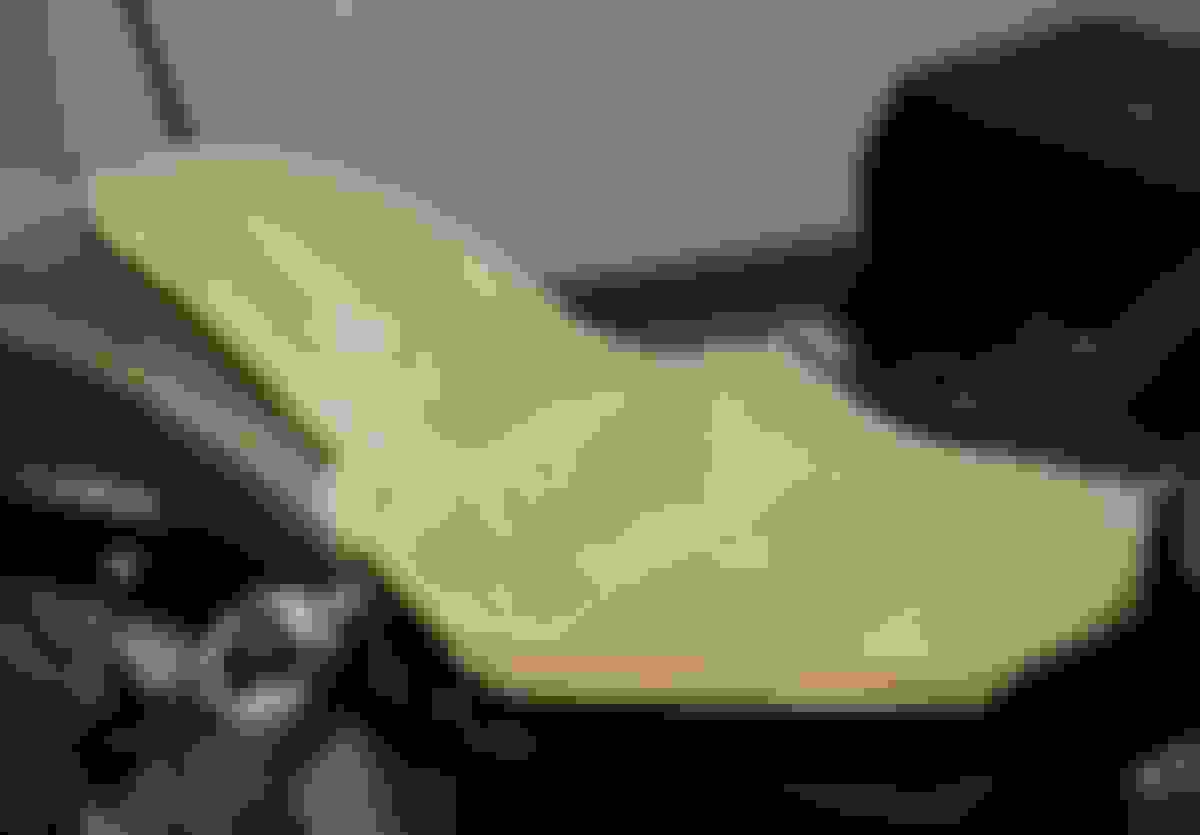
Now, below, the clay and tape etc has been removed,
and the pan is ready for upholstery,
(except for roughing up the surface to bond the padding).
.
.
Here's a shot from farther back.
.
.
Now, I am going to produce a full size clay model
to roughly visualize the final shape I am after.
Below is a plaster armature laid up on my new pan.
.
.
Now I've started the clay mockup on the armature and pan.
.
.
Below, a view from the back as I rough out the clay model.
One of the guys I ride with looked at my name on the back, and said -
"if it was me, I'd put Harley Davidson there".
I got a real good laugh out of that one.
.
.
Another view -
.
.
.
july 09..... threw on some cheap foam and a piece of scrap leather for now.........
.
.
.
.
.
Below, I'm looking for someone to tool my seat cover to this level....
.
.
.
.
Last edited by mud; 01-21-2020 at 05:36 AM.
Reason: add current picture
 02-22-2008, 10:24 PM


 get a ballbearing the same size as that plastic ball