Dyna Glide ModelsSuper Glide, Super Glide Sport, Super Glide Custom, Dyna Glide Convertible, Super Glide T-Sport, Dyna Glide Police, Dyna Switchback, Low Rider, Street Bob, Fat Bob and Wide Glide.
.
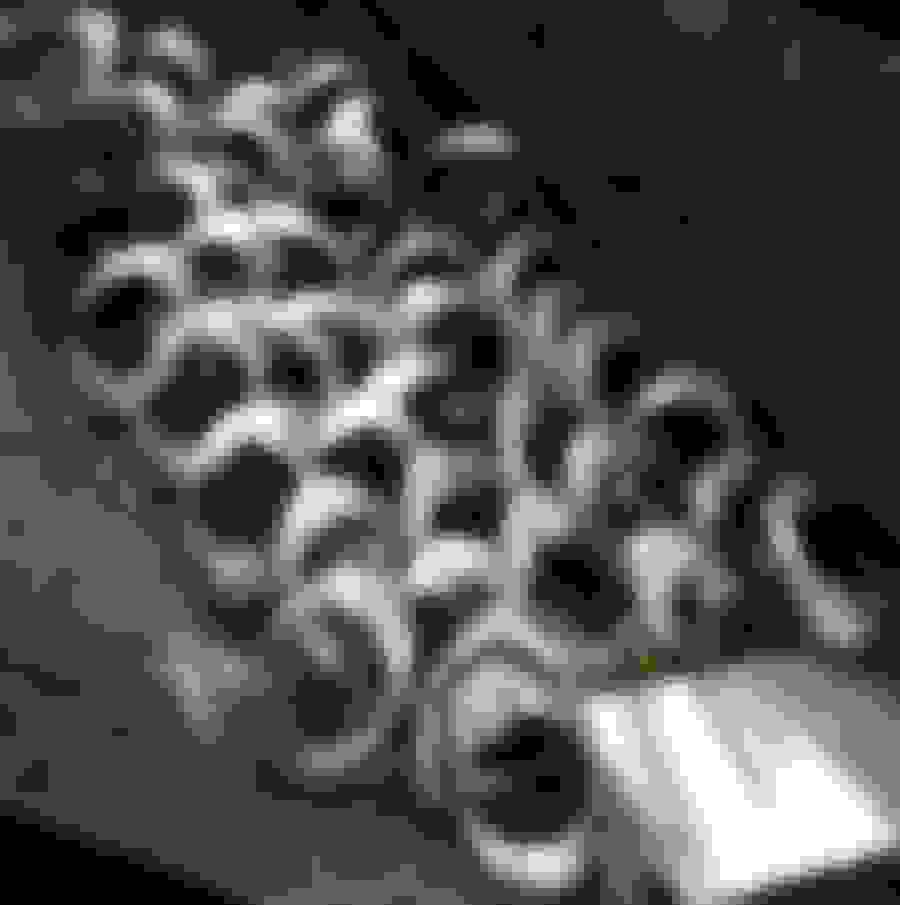
First snapshot here is Bill's New York bound SofTailer
installed on my machine.
.
.
. .
Now, here is a step by step of my technique.
Takes about one hour to execute this procedure, taking your time.
Be really careful, it would be very easy to slip up and fork the hole operation.
First I identify the target for cutLine,
by marking with a blue felt tip pen.
On the 07s, I wrap a piece of 12 gauge wire,
then mark with felt tip pen
.
.
. .
Next shot illustrates what's left after the trim on the 07s.
approximately 3/16s
.
.
. .
The 06 and back,mark the target all the way around,
right in the crotch, as shown below.
.
.
. .
This next picture shows the way they are stamped out
by HD in 07 with the ribbed surround,
as opposed to the slick surfaced 06 surround, on the right.
.
.
. .
The two types above work out fine...... commonly know as The FootBall.
Shown below is the TearDrop style..... this type WILL NOT work well..............
.
.
. .
Below, I am showing my taping technique.
First I use the blue no residue tape to protect the insert's finish.
Then, over that another layer of the heavier brown masking
for added protection in case of a fork up.
.
.
. .
Below in the red box,
I leave a little section cut only partially through.
Here, and also at 180 degrees.
After cutting the remainder of the circumference all the way through,
these two areas get cut last, then the knockout.
.
.
. .
I use a thin 2" or 3" cutoff wheel in my high speed die grinder, 18,000 RPM.
One wheel will do three or four "footballs".
The piece of wood is not part of the procedure,
only to mock up the die grinder for this snapshot.
.
.
. .
Below, you see the amputation has been relegated to a prestigious perch,
at the top of the bonePile.
I like this perforated table top for cutting operations.
Most of the **** just falls through.
.
.
. .
After the center was separated, I nutted this onto
a short piece of 3/8" all thread, then chuck it up
in my drill press.
.
.
. .
Now I use my trusty MilWaukee 4" angle grinder to size it down
to the blue line, while spinning by hand in the drill press.
.
.
. .
Action shot below -
I turned off all the lights, and left the lens open for about 10 seconds.
Wasn't sure if I could catch the fire, came out pretty good.
Keep that chuck moving while grinding,
so you don't develop flats around the perimeter of your work.
Power sand a few full revolutions,
then stop and have a looksee.
Then zero in on any area that may still be "fat".
.
.
. .
Then, shown below, wet sand polish with 100 grit wore out wet/dry paper.
Large corner mount mopSink in my studio,
the water is not running directly on the cleanup action,
I just leave it dripping a little so I can reLubricate and rinse the paper occasionally.
.
.
. .
Below, I did about 50 amputations..........
.
.
. .
Below, installed on my 2006 121 inch FXDI.......
.
.
.
.
Last edited by mud; 01-20-2020 at 07:55 AM.
Reason: reload missing pictures
Its just steel epoxy from home depot, it comes in a round tube and it has the 2 epoxies, one wrapped around the other and you mash it together till its the same color then you have 10 mins till it sets. theres a pic of it in the knife thread a couple posts up...
Appreciate the compliment JRK.
Nice to hear feedback.
I have another one just about ready for tomorrow -
build seat for the mudSickle.
Also, I am going to document -
4x8 lifter
move ignition switch, no key
sitting box
building rear fender for the mudSickle
building shock mount lowering for the mudSickle
hidden mount sissy bar for the mudSickle
tools to make for electrical, fork assembly, etc
another style tank lift
another style sidemount
polishing aluminum
a second style breather assembly
reLocation of stock HD oil pressure gauge
special tool for 3rd and 4th deCompression valves
and some others that I have photoDocumented
but I can't remember cause cause uh uh........
I can't remember.
I dont see why you could not get a strong rubber gasket, a 3/4 one to fill the hole that the ball came out of, cut a slit in it to slide your blade into and fill the whole rubberpiece that fits into the oil tankwith resin. I could be wrong I dont have one in my hand yet.
heres what I mean in a diagram...
ORIGINAL: mudpuddle
So, now onto solving the new design.
Ideas??
mud
 02-22-2008, 12:22 PM