Dyna Glide ModelsSuper Glide, Super Glide Sport, Super Glide Custom, Dyna Glide Convertible, Super Glide T-Sport, Dyna Glide Police, Dyna Switchback, Low Rider, Street Bob, Fat Bob and Wide Glide.
i've been itching to reply to your thread Mud but I wanted to wait till I had my "current" project far along enouugh to post some pictures (although the dates on the pictures are a bit off).
Great thread you've got going here!
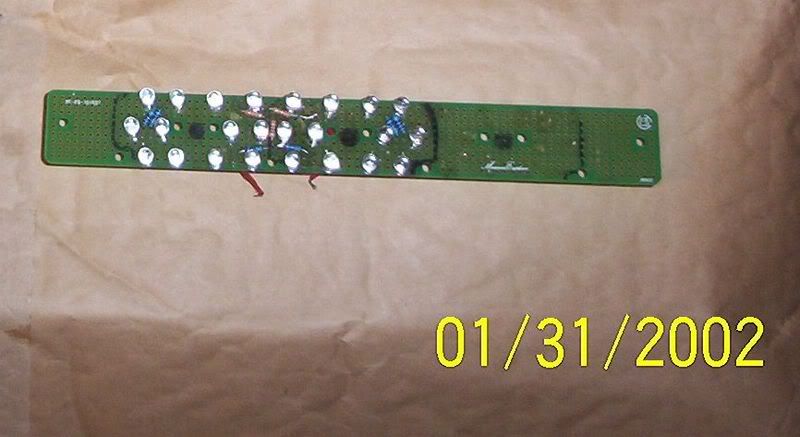
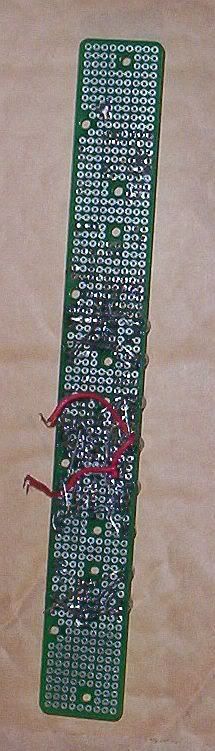
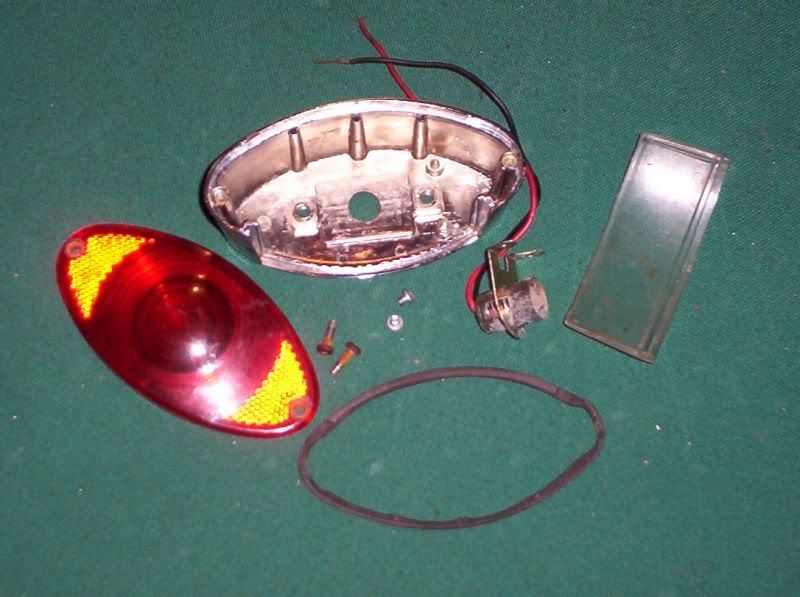
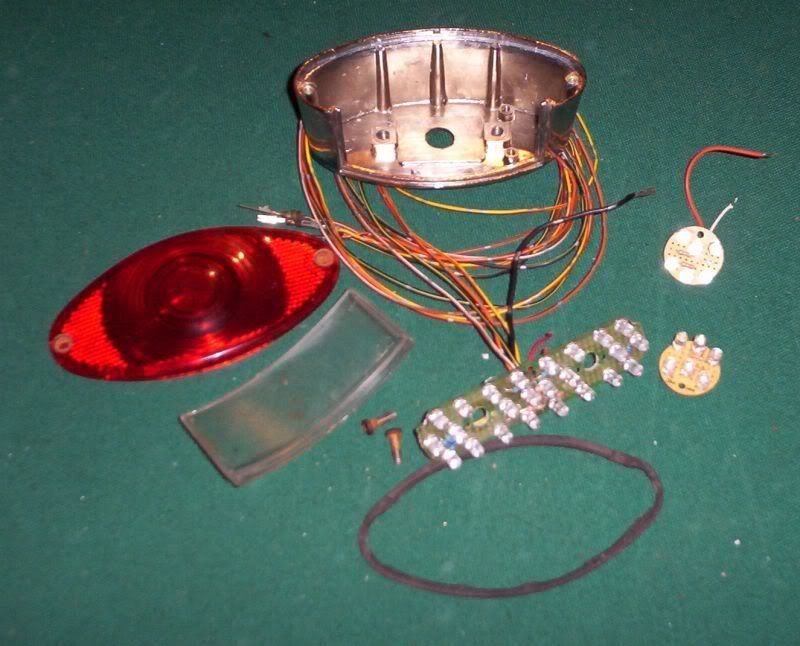
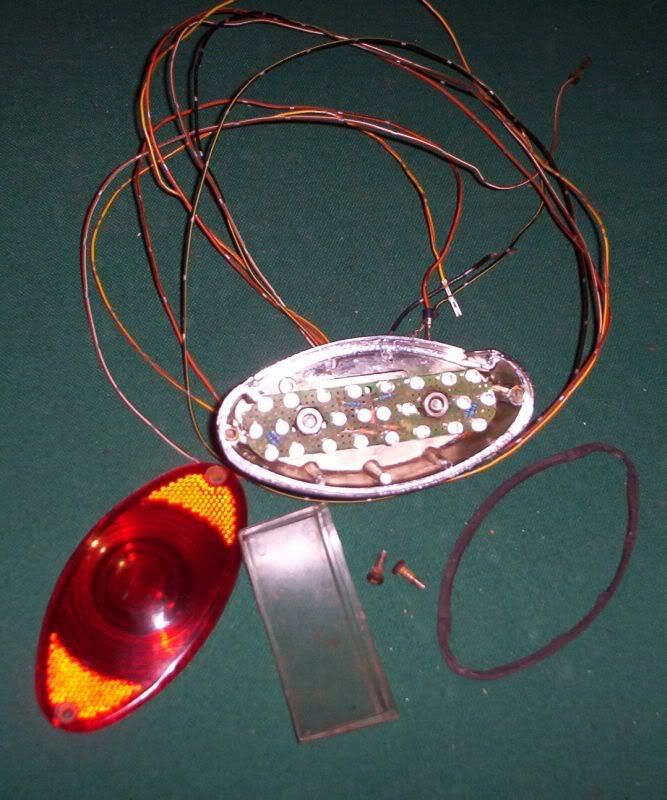
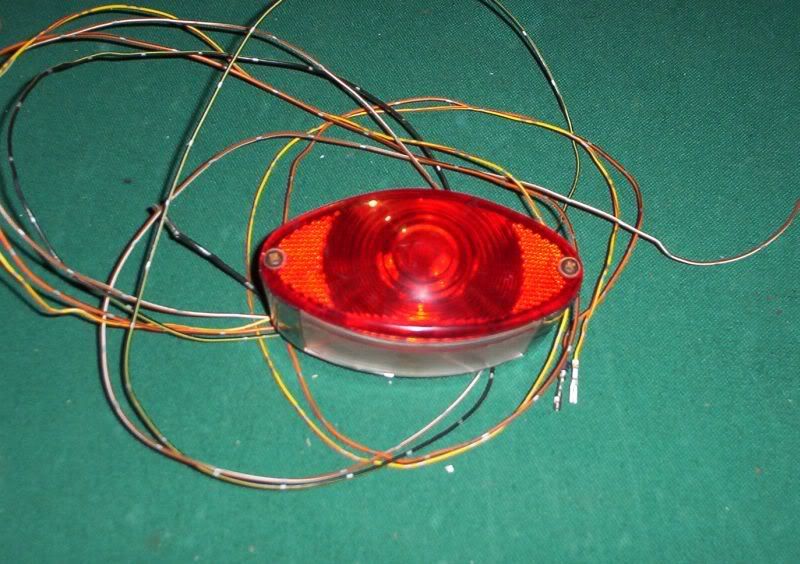
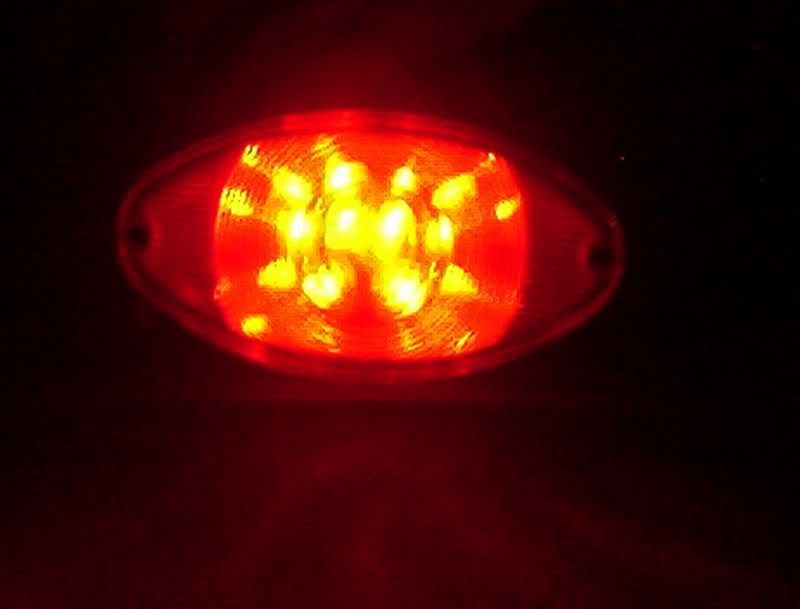
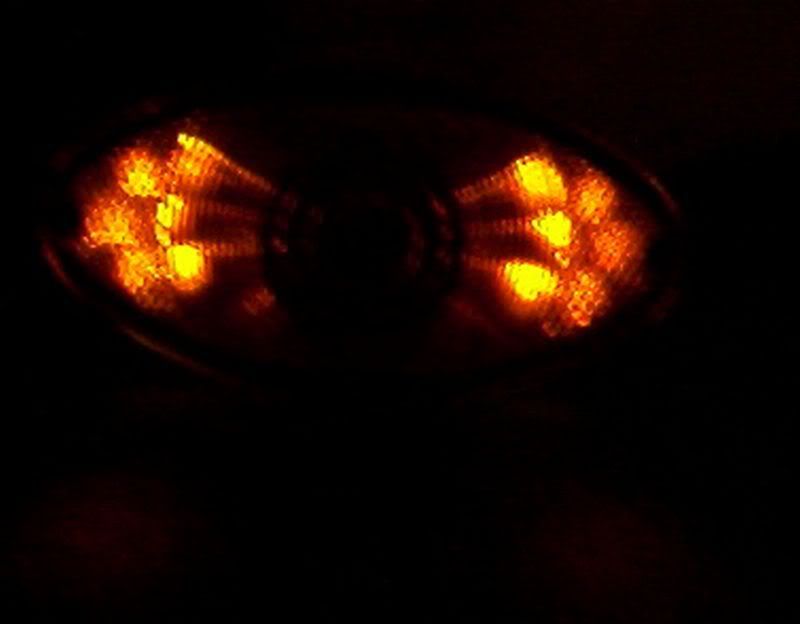
Here's my tailight mod for the Sporty project. I started with a cats eye tailight housing that xcame with the project and I decided to stick some LEDs in there but I needed LEDs and a circuit board to do it. Ebay helped me out with finding the parts:
$20.00 = 200 red and 200 yellow lights
$15.00 = 6 1X8" circuit boards (tailight) and 24 1" round circuit boards (front turn sigs)
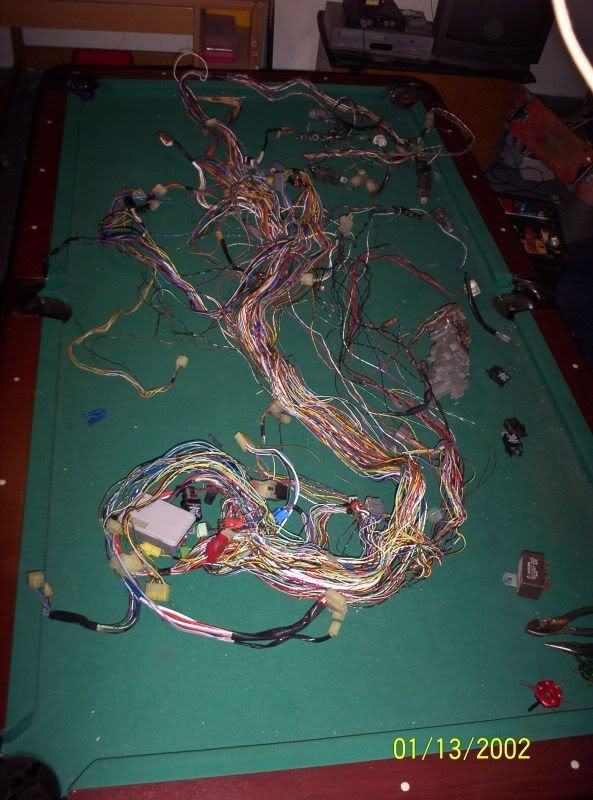
$10.00 = 1 complete wiring harness off a '94 Acura
Total = $45.00 for enough to screw up alot of times.
6 lights right for turn sig, 6 left for turn sigs, 6 top stop lights, 6 bottom running lights:
I've received several emails over the last two years asking about
extracting wires from the ever so popular AMP connectors.
HD uses these in several locations on their machines.
Here's the last one:
mud,
I picked up the short standoffs at the dealer today and wanted to
install them tonight but am unsure about the process.
Someone on the forum said you cut the wire for each signal and splice into it,
but the directions don't say anything to that effect.
They mention something about undoing the plug from the rear tail light area instead.
I've never done any electrical work on my bike before
so I'm not really sure if these mod is out of my league.
Any chance you might be able to decipher the instructions
and give me some tips on doing the install?
Thanks,
******, yeah nice to hear from you.
I am a strong believer in NOT cutting wires.
Yes, remove the lens, then unplug the fitting.
Really very simple to disassemble the electrical connectors
so you can pull the wires thru the standoffs.
I've heard quite a few folks on the forums
brag on how fast they can cut the wire and then solder.
Sadly, that bit of misinformation is a joke.
I can extract several before you can even get out
the snips, soldering gun, solder, shrink wrap, heat gun, etc.
Patience is a virtue while mastering this technique on the first wire.
After that, they get easier.
I can release them in a matter of seconds now.
Same is true for the other connectors that HD uses -
Deutsch, Packard, Delphi -
NO need to BUY SPECIAL extraction tools for any of these.
Here ya go:
.
.
.
.....01 30 2012 edit to add two links to videos.....
.
Remove the two screws that hold the taillight to it's housing.
Use a small screwdriver to push the lock tab down a little,
and pull the fitting out.
.
.
.
.
This image below shows the 2 hole AMP and the tip of the 16 gauge wire I use.
Blue arrow shows a slight bend, and the tip is hammered flat.
Red is the first lock to undo. This is what holds the wires in the fitting.
Green is the tab that you released in the first step above,
it locks the fitting to it's receiver.
Green on the right is opened way up for some of the pix farther down.
Don't bend it out or you will ruin the fitting.
They are cheap, fifty cents or so.
.
.
.
.
Blue below, better shot of the 16 ga tip.
.
.
.
.
Next image you see I put an S bend in my release tool so I can control it better.
Also here you see that I have the turn indicator wire pushed fully IN
while raising the lock tang inside.
.
.
.
.
Now, below, once you have the lock tang lifted,
extract the wire.
.
.
.
.
Don't forget to pay attention to which wire comes from which side of the fitting.
There are small numbers on the housing.
In this case. 1 is purple, 2 is black.
Next two images illustrate where the tang is, and where the tip of my tool needs to be.
Green is pulled way up here simply for the photo.
.
.
.
.
I suggest buying a couple of new sockets so you can fold this way wide open
for your first try at this. If need be.
Little blue arrow indicates how far the end of the tang lifting wire needs to be.
.
.
.
.
These are great fittings, but, they are not watertight.
Green below shows a generous dab of dielectric compound on the tip of a little brush.
Red - the fitting is full
.
.
.
.
.
.
.
.
.
Above - HD rear standoffs.
Below - close standoff on left. Stock on right.
.
.
.
.
I know I have a softail, but I am working on modifying my air cleaner bolt as per Mud's specs. Where can I get an ooga booga? Thanks. This thread rocks.
I realize I should have gone a little more indepth with my project so here it goes...
Gather up all the required items; LEDs, light housing, circuit board, wiring, solder, pencil iron, soldering flux, needle nose pliers (to manipulate the LED ends where you want them to make contact), 7/16" nut driver (to mount the circuit board in the housing), and a phillips screw driver (to remove/replace the tailight lens).
I know I have a softail, but I am working on modifying my air cleaner bolt as per Mud's specs.
Where can I get an ooga booga? Thanks. This thread rocks.
I realize I should have gone a little more indepth with my project so here it goes...
Gather up all the required items;
LEDs, light housing, circuit board, wiring, solder, pencil iron,
soldering flux, needle nose pliers (to manipulate the LED ends
where you want them to make contact),
7/16" nut driver (to mount the circuit board in the housing),
and a phillips screw driver (to remove/replace the tailight lens).
It turned out to be a pretty bright idea.
Good job Dog. Came out great.
Thanks in particular for those links to the LED tutorials.
here is how i cut down my levers...
pull them off the bike... from there just mark where you want to cut them off... i used a hack saw and then a belt sander to smooth it all off and square... then some high grit sand paper... once it was done i powder coated it all black... here are the pics.
Got my bullits in the mail today. they are federal roundsand say 38 special on the casing, they are exactly 1-9/16 long overall and 1-1/8 just the casing...
ORIGINAL: Citoriplus
x2lee,
Just for grins, when you get those measure it from the top of the rim to the case mouth.
Judging from the ruler in the picture its not a .38 Special, but a .357 Mag.
.38's are @ 1/8" (exactly .100") shorter.
Little history lesson. When the .357 Magnum was first developed back in 1935. They made the case .100" longer not to hold more powder, the original .38 Special case is more than big enough. They made it longer to prevent people from stuffing it into older .38's that could easily blow up with the much higher pressures of the magnum loading.
 01-12-2008, 10:31 PM