Dyna Glide ModelsSuper Glide, Super Glide Sport, Super Glide Custom, Dyna Glide Convertible, Super Glide T-Sport, Dyna Glide Police, Dyna Switchback, Low Rider, Street Bob, Fat Bob and Wide Glide.
Just missed it! I ordered everything yesterday. I'm actually going to detail out in a new thread the process of going from Forward's BACK to Mids, as I have a lot of friends that've purchased Dyna's with forwards on them that want to convert back. Unfortunately, it's not a cheap / easy process. All told, it's going to cost me about $500, and that's NOT including the new primary case cover I had to purchase (that had a hole in it to facilitate the shifter shaft). That's going with the cheapest parts I can find, and then the necessities (miscellaneous but important items like the shifter shaft arm) I'm purchasing from Harley. Believe it or not, there IS no kit to do this.
Stay tuned I'm going to provide pics and info!
Youre not kidding. Whenever Ive looked at buying another bike I have always looked right over anything that had forwards on it. I lucked out on my first street bob, when I purchased it the Original owner had put FWDs on but luckily for me did the smart mans set up and left the entire mid guts intact and didn't change the primary just used the cap on the spline shaft. Gave me the OEM mids and I was back to mid controls in 30 min with the brake side giving me a little bit of sweat. I switched up to the Further Fwd Mids about 6 months later and never looked back. I get on my buddies super glide with standard mids on it, and Im not a huge fan, however I would love standard mids on an older model pre 06 dyna for more of an attack stance in the seat.
Also just saw your other comments about floor boards, I run the gold fire MX mini floor boards with my further forwards and I love them.
That's PRECISELY what I'm doing man. Further Fwd Mids looks like they're the way to go... at least to transition, for a guy like me who's ALWAYS had forwards on every HD I've owned. And not really on purpose, just that's what all my bikes had when i purchased. Honestly, didn't really notice a problem - until like hours 2 and 3 in the saddle.
Every MIDS guy I know claims there's much more control with mids. That's not a bad thing either.
And yeah NOBODY keeps their OEM mids. They always get sold off - so you got REALLY lucky. Plus, they usually fetch a nice price on ebay if they're in good shape why the hell wouldn't they.
Those gold MX's look pretty! I can't imagine they're not comfortable too. Which bike do you have exactly? So you run these floorboards with further forward mid controls on your bike?
My current scoot is a 2016 FXDLS. Right now Im running the SDC V2 Mini Floorboards but id wanted something with more grip in the boards. I wasn't about the pay the insane markup so my pegs so FLO motorsports on them. I found the Goldfire minis while I was just searching Amazon one night, and also picked up a set of their beefy *** 10" risers too that look like the Big Als and Thrashin Supply risers. Im waiting for the weather to break in PA and then im gonna swap the mini floorboards, the risers/bars set up and put on my new FXRT fairing set up.
and you hit the nail on the head, there is almost an immeasurable increase in control by pulling your legs back to a more natural position. You don't see dirt bikes and sport bikes with forwards controls for a reason. Yea it may be comfy(but its not)but it is not indicative of safe or smart ride.
Man, going through exact same thing here! Have fwd�s and mini boards on my �06. Found them comfortable about town, but tiring (even at 5�10�) on the highway or for long periods.
Just ordered the chrome V-Twin further forward kit on eBay. $230ish, plus another $65ish for brake rod and shift linkage.
End goal is to throw on a crash bar and have a place to throw the feet up. Just looking for a little more control, and it will be nice to free up that forward position mounting spot!
I had the further forward mids on my streetbob and liked them . My Lowrider has regular mids theres not as much room but not horrible . I just ordered hiway pegs to put on it to give me two positions to put my feet. That was alot cheaper than the further forward mids .
I just installed these Harley brand further forwards for my 06 Dyna. Perfect. Im 6'1" and shrinking and this makes me want to remove the forward pegs.Dont think I need em and don't like the cluttered look.
Ok! So a few weekends back I finally, FINALLY had the time to tackle this swap. I'll admit, I had help from an ENORMOUSLY helpful YouTube video that literally shows the entire process step by step by some kid who definitely knew what the F he was doing. It made the swap as simple as it could be, as he goes through every single piece you need to purchase from Harley or otherwise. With the exception of a few. The THOROUGH list is below. That video is here:
So, that being said I highly recommend you check that video out start to finish like 2-3 times before attempting this so you're super familiar with the process, if you haven't done this type of thing before, and ESPECIALLY if you haven't dug into your primary, which I have done before on several occasions but still was a great refresher. And with that out of the way... here's a list of things you will need going from forward controls on your Dyna to mids, or further forward mids. I won't show the part numbers for the parts that could differ on your particular model, cuz I don't want to be responsible for foul ups. haha!! *KEEP IN MIND* I have a 2009 FXD. DOUBLE CHECK any part numbers to make sure you have the right stuff. Either with your local HD... or some online dealer that sells parts. I use Ronnie's HD in Mass. They have a GREAT online microfiche catalog and its super easy to add to cart, etc. SHIFT SIDE Mid Control Kit. This can be either standard mids, or the Further Forward kit that Harley sells. Interestingly, if you want standard mids you'll have to grab yourself a catalog and get all the parts you need separately. No kit for this, unless you go aftermarket. I went with an eBay set of Further Forward Mid Controls, from V-Twin, thinking I'd save the $120 or so as the HD ones are pricey. Looking back I think I would've gone with the HD ones and I'll show you why. I had them powdercoated black at a local yocal. Shifter Linkage: This can be HD's or aftermarket. There's a **** TON of aftermarket customs of these that are very adjustable. I went with HD's simple rod, and painted it black. Shifter Shaft: Drag Specialties makes one that's literally identical to HD's but I went with HD's when I bought the bits and bobs I needed from Ronnie's HD in Mass (they were the only ones that have the online microfiche so you can verify all the parts you need for your model). It was cheap enough. This is the piece that goes THROUGH your primary and sticks out so you can mount a shifter arm to it. Painted it black. Shift Lever: You will need one of these because the shifter arm for forward controls is a bit different than that for Mids. I went with Drag Specialties, because they're smart unlike Harley, and realize that some of us want black parts and not CHROME ONLY. That part number is Drag Specialties 1602-1047 and fits '97 to '13. Comes with a nice new stainless steel bolt too. Genuine James Primary Gasket Kit Part #: JGI-60547-06-K: Now if you're smart, unlike me, you'll just get this kit, and not buy all these things separately like I did. Yes, there's 1 or 2 things in here you WONT need, but this will make your life simpler and more cost effective. Just buy this friggin kit and shut it. It contains all the gaskets and bits needed, some of which you can get away with reusing old ones, but, what the hell, if you're in there, why not replace? Inner Primary Gasket HD# 34934-06. I would go down to Harley for this one, because the one they supply is really excellent quality, not to mention you can get it in silver or black, and yes, enough of it will be showing to matter. This part number is for the silver. Starter O-Ring HD#27444-00Y. This is another one of those... hey you're in there... just replace it. It's like 5 bucks. Shift Shaft Seal HD#11000101. This is another one that's recommended if you have an older bike, as you will have pretty close access to it. But, it's not required, just a handy time to do it. I actually did not, as mine looked to be in good shape, no leaks. I'll probably regret that. hah Shift Arm Spacer HD #7078. Small, but incredibly necessary. 32oz Bottle of Chaincase Oil. Use any you like, I used the SYN3 from Harley, simply because I didn't feel like going to O'Reilly's to get something cheaper. Drain Plug O-Ring HD#11105: your foolish not to replace this while doing this for the $1.99 it costs to do. Get extras while your there for the next oil change too! BRAKE SIDE: Brake Rod HD#42502-90B: So this is a pain in the ***. Harley does NOT sell this separately for some ludicrous reason, it comes as an ASSEMBLY, with the brake pedal. Which, if you bought further forwards mids like me, you don't need, so you'll be selling it on eBay. I recommend giving the finger to Harley on this and just go fishing for one on eBay or go aftermarket. Jam Nut HD#7744: You can probably reuse your old one from your forwards, but mine looked pretty crusty so I just bought this new one for a whopping $1.49 from HD. Clevis Pin HD#42460-80B Cotter Circle HD#51938-04 Lockwasher Spring HD#7003 Retaining Ring HD#11005 SPECIALTY TOOLS YOU'LL NEED
- Torque Wrench Capable of going to 140 pounds feet. If you don't have one, I recommend getting one and keeping on hand for working on the bike. O'Reilly's sells a cheap one that goes to 170 for like $30. Sure not the best quality but if you're only a weekend wrencher like me, it'll do the job.
- Torque Wrench for pounds inches. You need this for your primary case. Smaller version of the above. Grab one from O'Reilly's cheap if you don't already have one.
- Blue and Red Loctite.
- a 2x4 block cut to exactly 8 inches. You need this to jam up your primary when you're getting your inner primary on and off. Or, you could go with the official HD tool for this which costs like $49.99. But it's made from steel and I don't like the idea of putting metal on metal when it comes to the pins on the chain sprocket.
- a 21mm deep-ish socket
- a 30mm deep-ish socket (you won't find either one of those in your ordrinary socket set they're friggin HUUUGE)
- breaker bar. Get one, if you don't already have one for your car. Otherwise you'll need like 3 people to yank on those one or two large bolts.
- a set of larger zip ties.
- a small and large set of snap ring pliers for the retaining rings you'll need to deal with.
TIPS and PITFALLS:
*Check your mounting bolts with your new mid controls. My torx bolts from my forward controls were too big and didn't fit in the little seats on the mid controls on the brake side. I went down to Home Depot and got 4 new stainless steel hex bolts that fit identically, that did the job beautifully. AND they're stainless so they'll last! You should probably do this anyways.
*Check the spacing between your frame and the mount on your shift-side mounts. I bought aftermarket mounts for the further forward mids, and they didn't have enough clearance to NOT hit the primary case!!! I drilled a 1/2inch hole in 2 quarters, and used those as spacers. Thanks Uncle Sam! They worked perfectly and provided a nice space of clearance without messing with the fitment.
*Get good quality zip ties. Mine broke several times. PITA!
- Be sure to grease the connection between your new mounts and your footpegs for nice smooth operation.
- When mounting the brake rod, set the jam nut to HALFWAY down the thread for a great starting point. Then set to taste after test ride.
- Check for leaks when you finish the primary side. don't continue until you resolve any.
- When replacing the inner primary seal, *DO NOT* do what I did and use a wrench to pry that thing out. Do it the right way with a puller of some kind. Unless you're SUPER, SUPER careful. I gouged the bore on my inner primary doing that, and i'm just waiting for that thing to start pissing oil some day. GOD DAMN IT! So far though, it hasn't, knock on wood.
- TORQUE. EVERYTHING. DOWN. TO. SPEC. Don't skimp on this. This is not a part of your bike you want to mess with, particularly the inner primary stuff.
So minus the specialty tools, prepare to spend about $450-750 on this project if you don't have the necessary parts like me. The higher end of that will be if you need the buy the specialty tools. And if you don't have a primary cover that has the necessary hole you'll need a new one... add $250 if you go through HD.
In other words, MAKE SURE you want to do this. I was skeptical and took a big risk on it as I wasnt sure I'd like it, but after the 2nd day of riding I'm starting to see why folks like it and feel more in control with it. I still have to get used to it though. Can't wait to ride this summer!!
And in the next post, i'll post pics of the results!
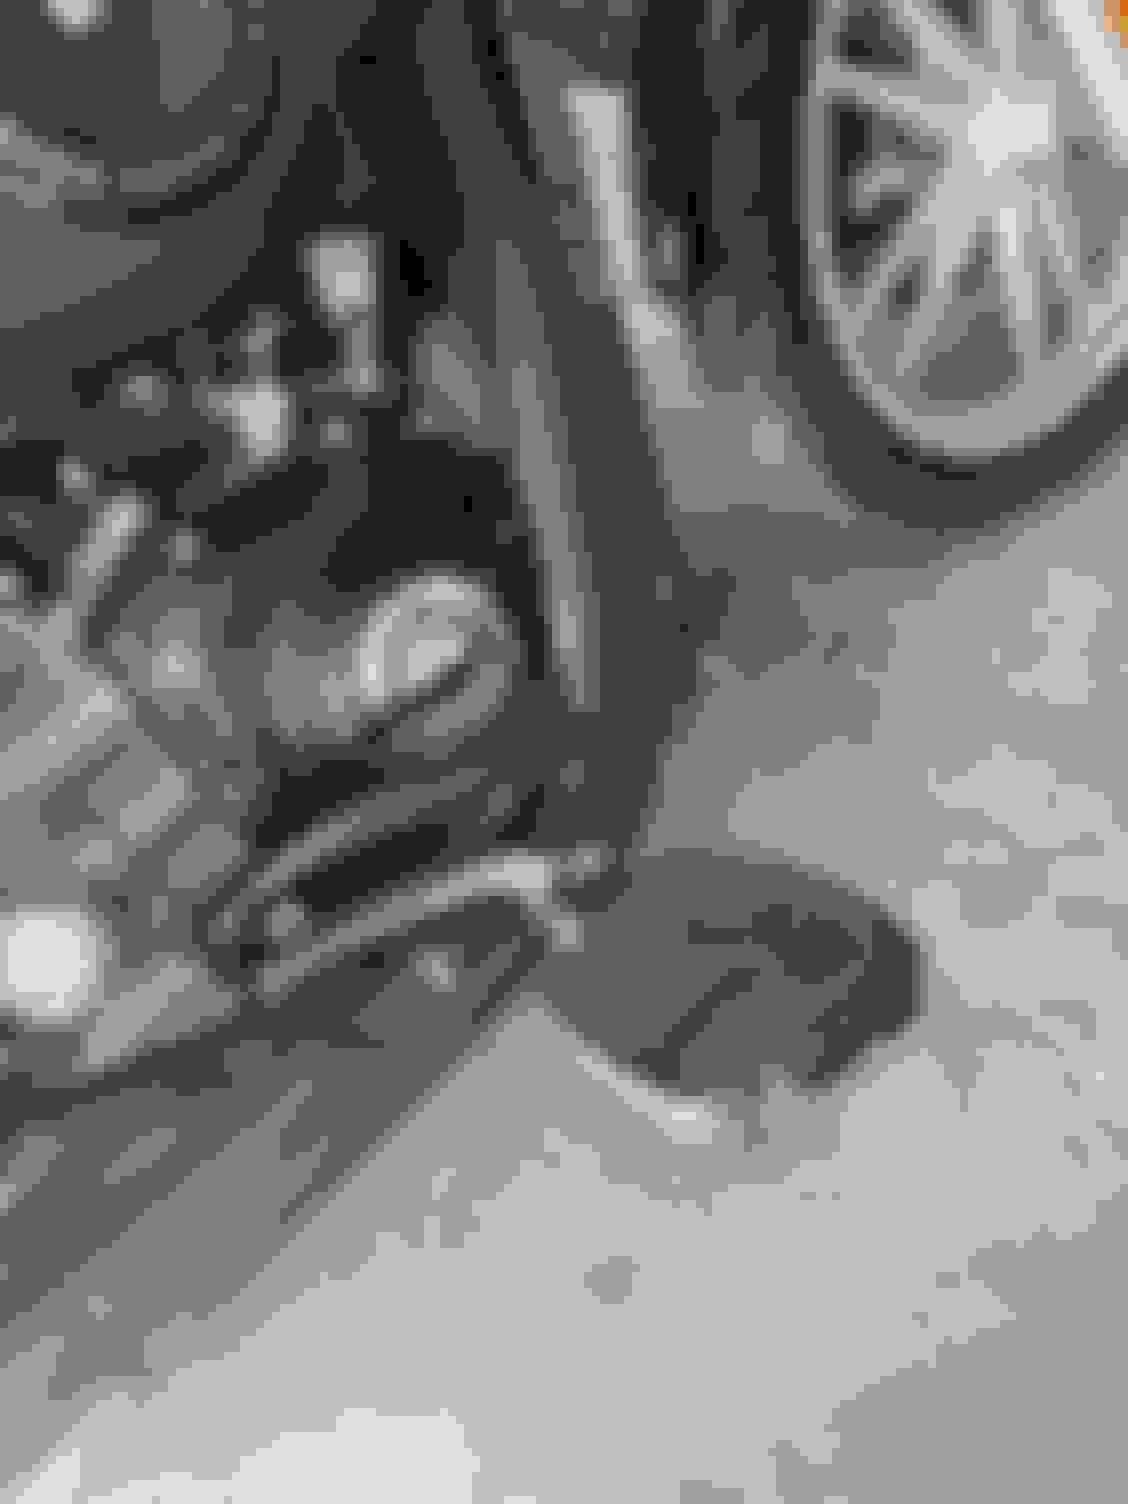
Not sure if you can see it, but this pedal seems to me to be too far of an inwards-bend. Almost like the brake pedal was bent or damaged... is this normal?
You can see it again here... almost like the brake pedal is TOO FAR to the left of the footrest. So I kinna have to bend my right foot inwards to get a good hold of it. If this isn't normal, I'm going to replace with an OEM one if I can.
Pretty sure it�s not right, I bought the kit from HD and mine doesn�t sit anywhere close to that far in. Here is a pic of the brake arm from the further forward mids installed before I had them powder coated:
 02-26-2021 | 11:41 AM