Dyna Glide ModelsSuper Glide, Super Glide Sport, Super Glide Custom, Dyna Glide Convertible, Super Glide T-Sport, Dyna Glide Police, Dyna Switchback, Low Rider, Street Bob, Fat Bob and Wide Glide.
Hey all! I'm switching from forward controls to mid controls on my 99 FXD(SC), and i figured I'd do a write up for anyone else looking to do the same. Hopefully this helps someone now or in the future. After LOTS of google searches, and research, I haven't been able to find a good write up on how to convert back to mids on the older dynas. HDPilot did a write up like this a few years back, but his write up applies to the newer Dynas. His thread actually helped me tremendously, but while the procedure is similar, there are some differences, and differences in parts as well for the pre 96 models.
Disclaimer: I am not a motorcycle mechanic. I simply REFUSE to pay anyone $100+ / hr to do something that I am 100% capable of. With that said, if anyone has any advice, tips, tricks, critiques, or sees anything I did wrong, please chime in. Disclaimer: I am not a sales person of any kind, or affiliated with any parts or manufacturing company beyond being a consumer. Any links I post are simply for reference, and for educational purposes.
Exploded diagrams can be found here here https://shop.suburbanharley.com/oem-parts with part #s and reference #s. Their online ordering system does not work, so you can either order by phone, or just pull parts numbers and order them elsewhere.
So first I picked up a mid controls kit from TCBros. I paid $400 for their kit WITH pegs. You can definitely find a cheaper kit somewhere else, or wait for some to come up on ebay, but I went with this kit because of the quality, customer service, and that they're made in USA. They also have a list of additional parts needed for when going from fwd to mids (with HD part numbers). Keep in mind that the parts supplied with the kit replace some HD part #s that I wont list. Make sure you do your own research, use the link to the diagrams posted above, and order what YOU need.
(Additional) Parts List: The following parts list can be referenced off of the "Gear Shifter" diagram on SuburbanHarley.
Ref 30: 33715-85A shifter rod lever
Ref 2: 856A screw, 5/16-24x1 hex socket cap gr.8
Ref 19: 11150 retaining ring
Ref 8: 6497HW washer 7/16x1-1/8x3/64
Ref 22: 12045 seal
Ref 31: 33728-90B shifter rod NOTE: I ordered this part from http://www.bungking.com/. They sell a nice one with heim joints on both ends. I found this from a recommendation from a member in HDPilot's thread.
Ref 9: 6316HW washer 5/16x5/8x1/16
Ref 12: 7507 acorn nut 5/15-18x11/16x1/2 hex gr.2 chrome (optional)
The following parts list can be referenced off of the "primary housing" diagram on SuburbanHarley.
Ref 21: 60529-90A inspection cover with shifter hole
Ref 24: 60567-90C inspection cover gasket
Ref 18: 33318-85 locking tab (for inner primary fasteners) QTY.3
Ref 13: 11147B o ring (inner primary)
Ref 22: 60539-94B gasket primary cover
Ref 14: 12052A seal NOTE: I should have ordered the retaining rings (2): 60678-85, and bearing: 9135, or just ordered a kit with all 4 items, and I may still do that before I jump into it. I am still waiting on a couple parts as is.
There are a few more things that you can replace once you've got your primary all apart. Just look at the diagrams and see what else you think you want to order. Starter oil seal: 12066A might be a smart one to get, as well as o-ring clutch cover: 25416-99C, and whatever other various hardware you want to replace.
Thats all Ive got for now, but once I get the rest of my odds and ends together, I'll be jumping into the project, and going through the procedure as per the FSM. I should have all my parts before next weekend, so I should finish the job, and the write up in about a week.
So as a quick update, I�ve received most of my parts, and basically all I�m waiting for now is the primary inspection cover with the hole in it. Luckily, my bike (and I assume all pre �06 dynas) have an inspection plate in the primary cover, so instead of potentially having to buy a new primary cover with the hole, we can save some $$ and just get the new inspection cover.
Here is the �odds and ends� order I placed. They came labeled with part #s, but I went ahead and wrote the reference numbers that coincide with the exploded diagrams from suburban Harley (posted above). With so many small pieces, hopefully this helps me stay organized during the install, and hopefully helps any readers as well.
I received the TC Bros mid control kit as well, and while waiting for the rest of my parts, I started the install on the brake side. This should be the easy side, and very straight forward, but I�m currently at a stand still due to fitment issues. The brake lever is making contact with the cam chest cover at about 60% of its throw.
The instructions state that the brake rod should have a minimum of 5/16 thread engagement on both ends. I think the newer dynas FSM states at most, 9 threads should be showing on both ends, and my FSM states no more than 6.
I�ve been back and forth with the company for the past 3 days and their customer service on this issue has not been very impressive. They assure me that they�ve installed this kit on an identical Dyna, and with no issues, but seem to be unable to pinpoint the issue in my case, even after sending them detailed photos of my install and issue.
I will say that I really like the oiled bronze washer/bushing for the brake pivot, and I do like the heim joint on the brake rod.
I do not like having to deal with a mysterious fitment issue, and I do not like the quality of powder coating, as it has cracked and is flaking off after torquing the peg mount bolts to spec.
I finally spoke with someone at TCBros who knew what they were doing (thanks Tyler), and he shipped me out a new brake lever, or what they call a �brake pivot�. Tyler said that that piece has the potential to have had an error in manufacturing, and I was sent a new one. The new one is the same as the old one, and still makes contact with the cam chest cover. I�m gunna roll with it for now, and if once I get the bike running again, if it is still a cause for concern, I will come up with a more creative solution.
Aside from that, I finally started some work on the primary side.
Start by draining the primary fluid, removing the inspection cover, and then the primary cover or outer primary.
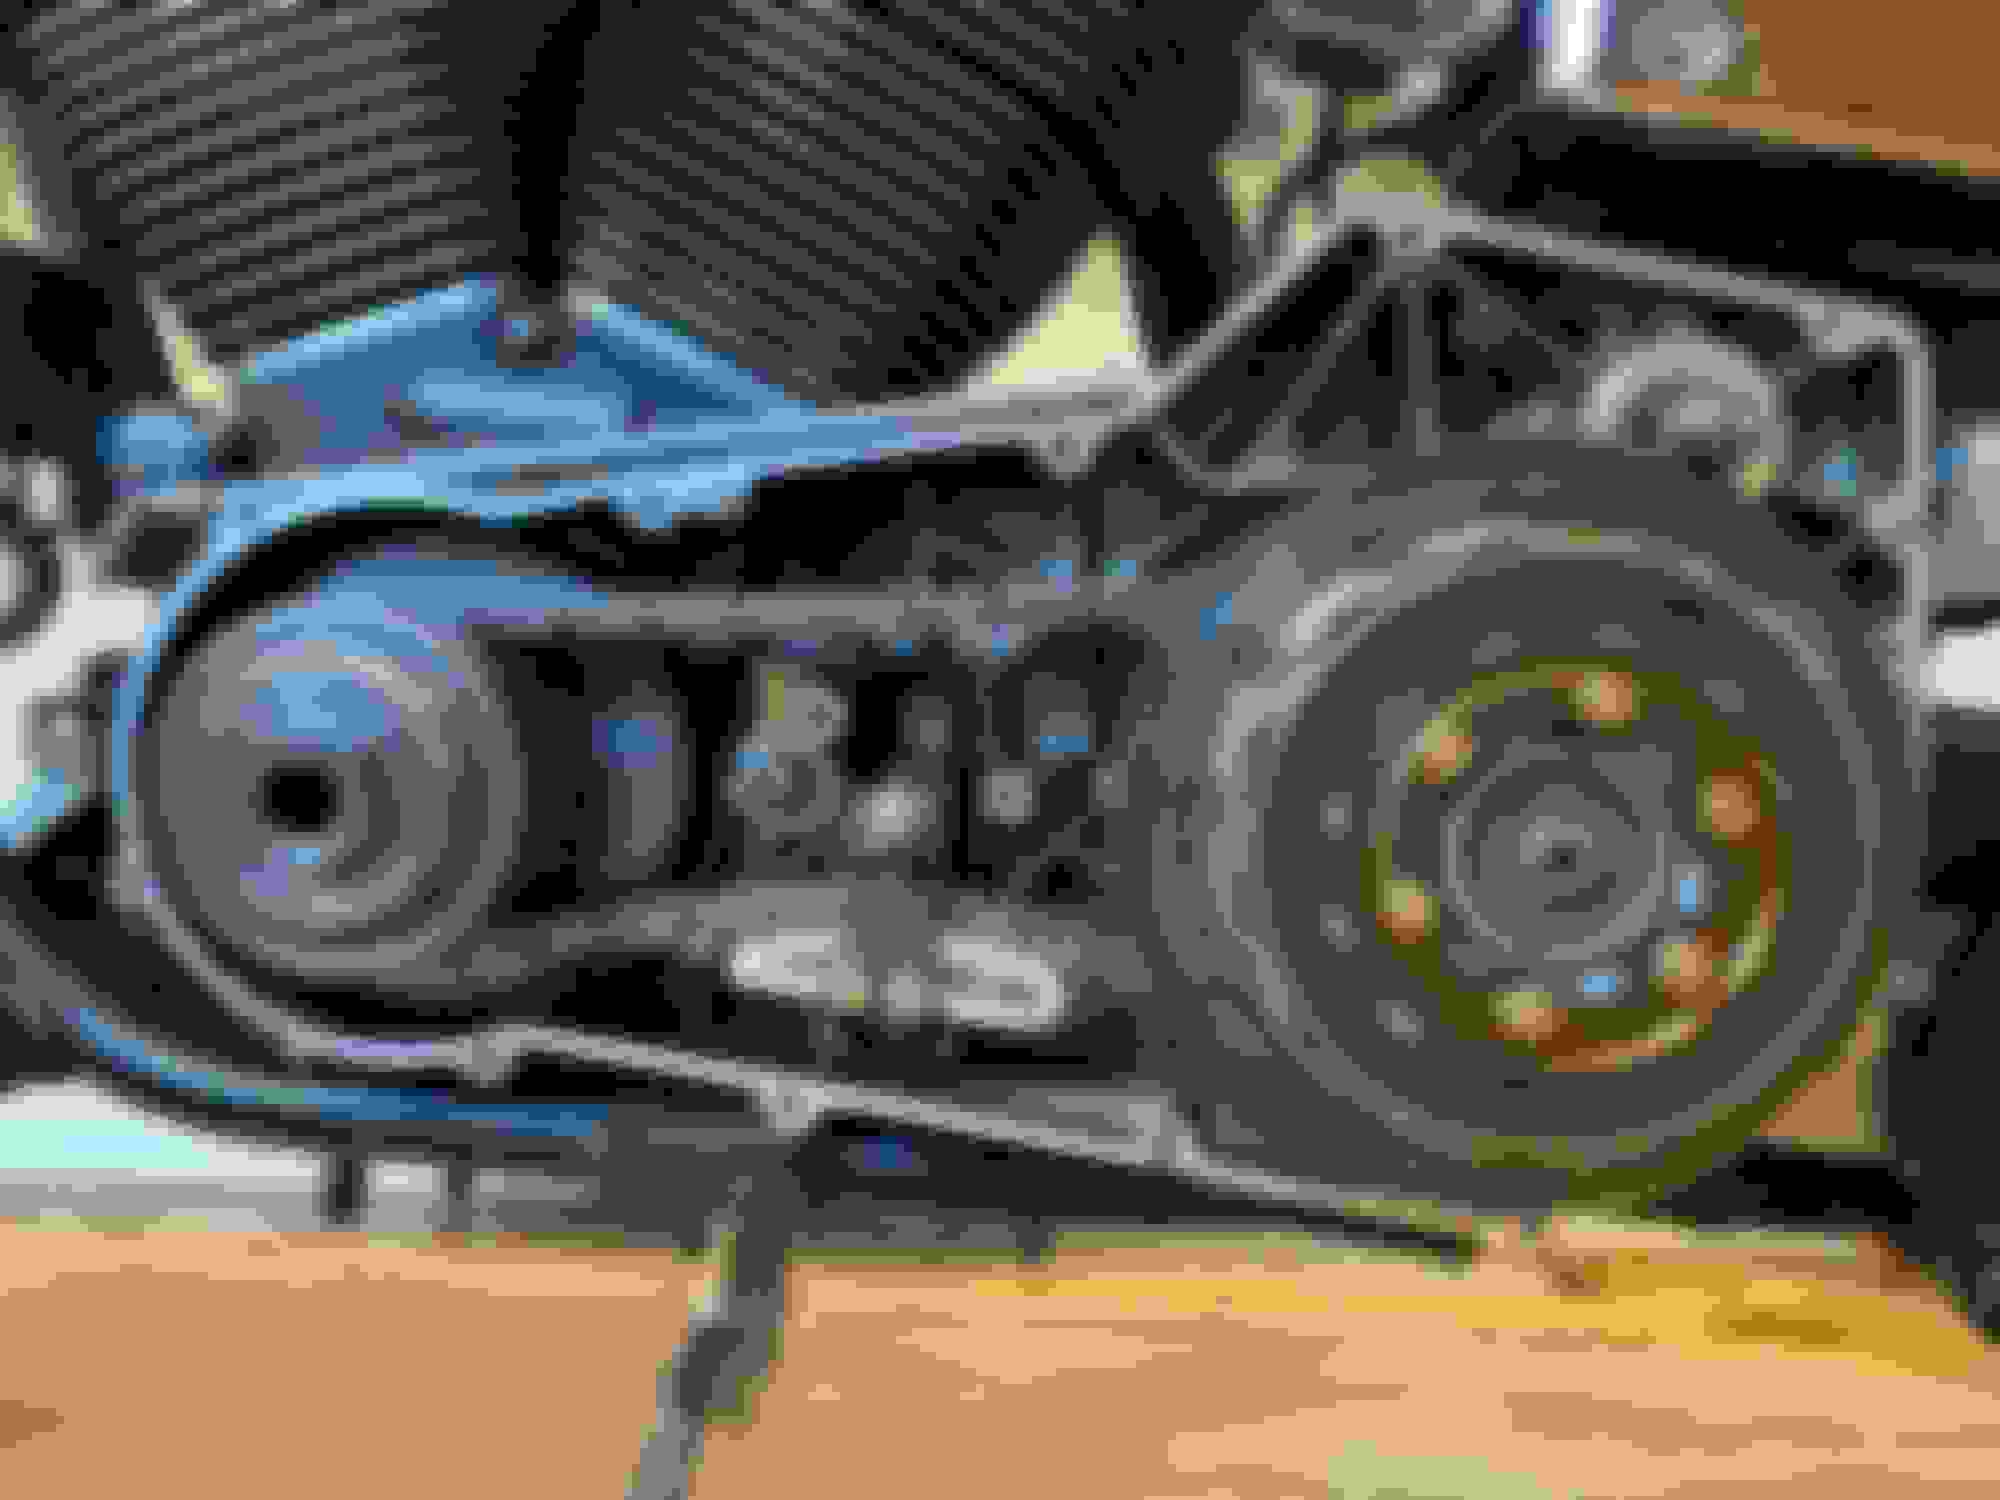
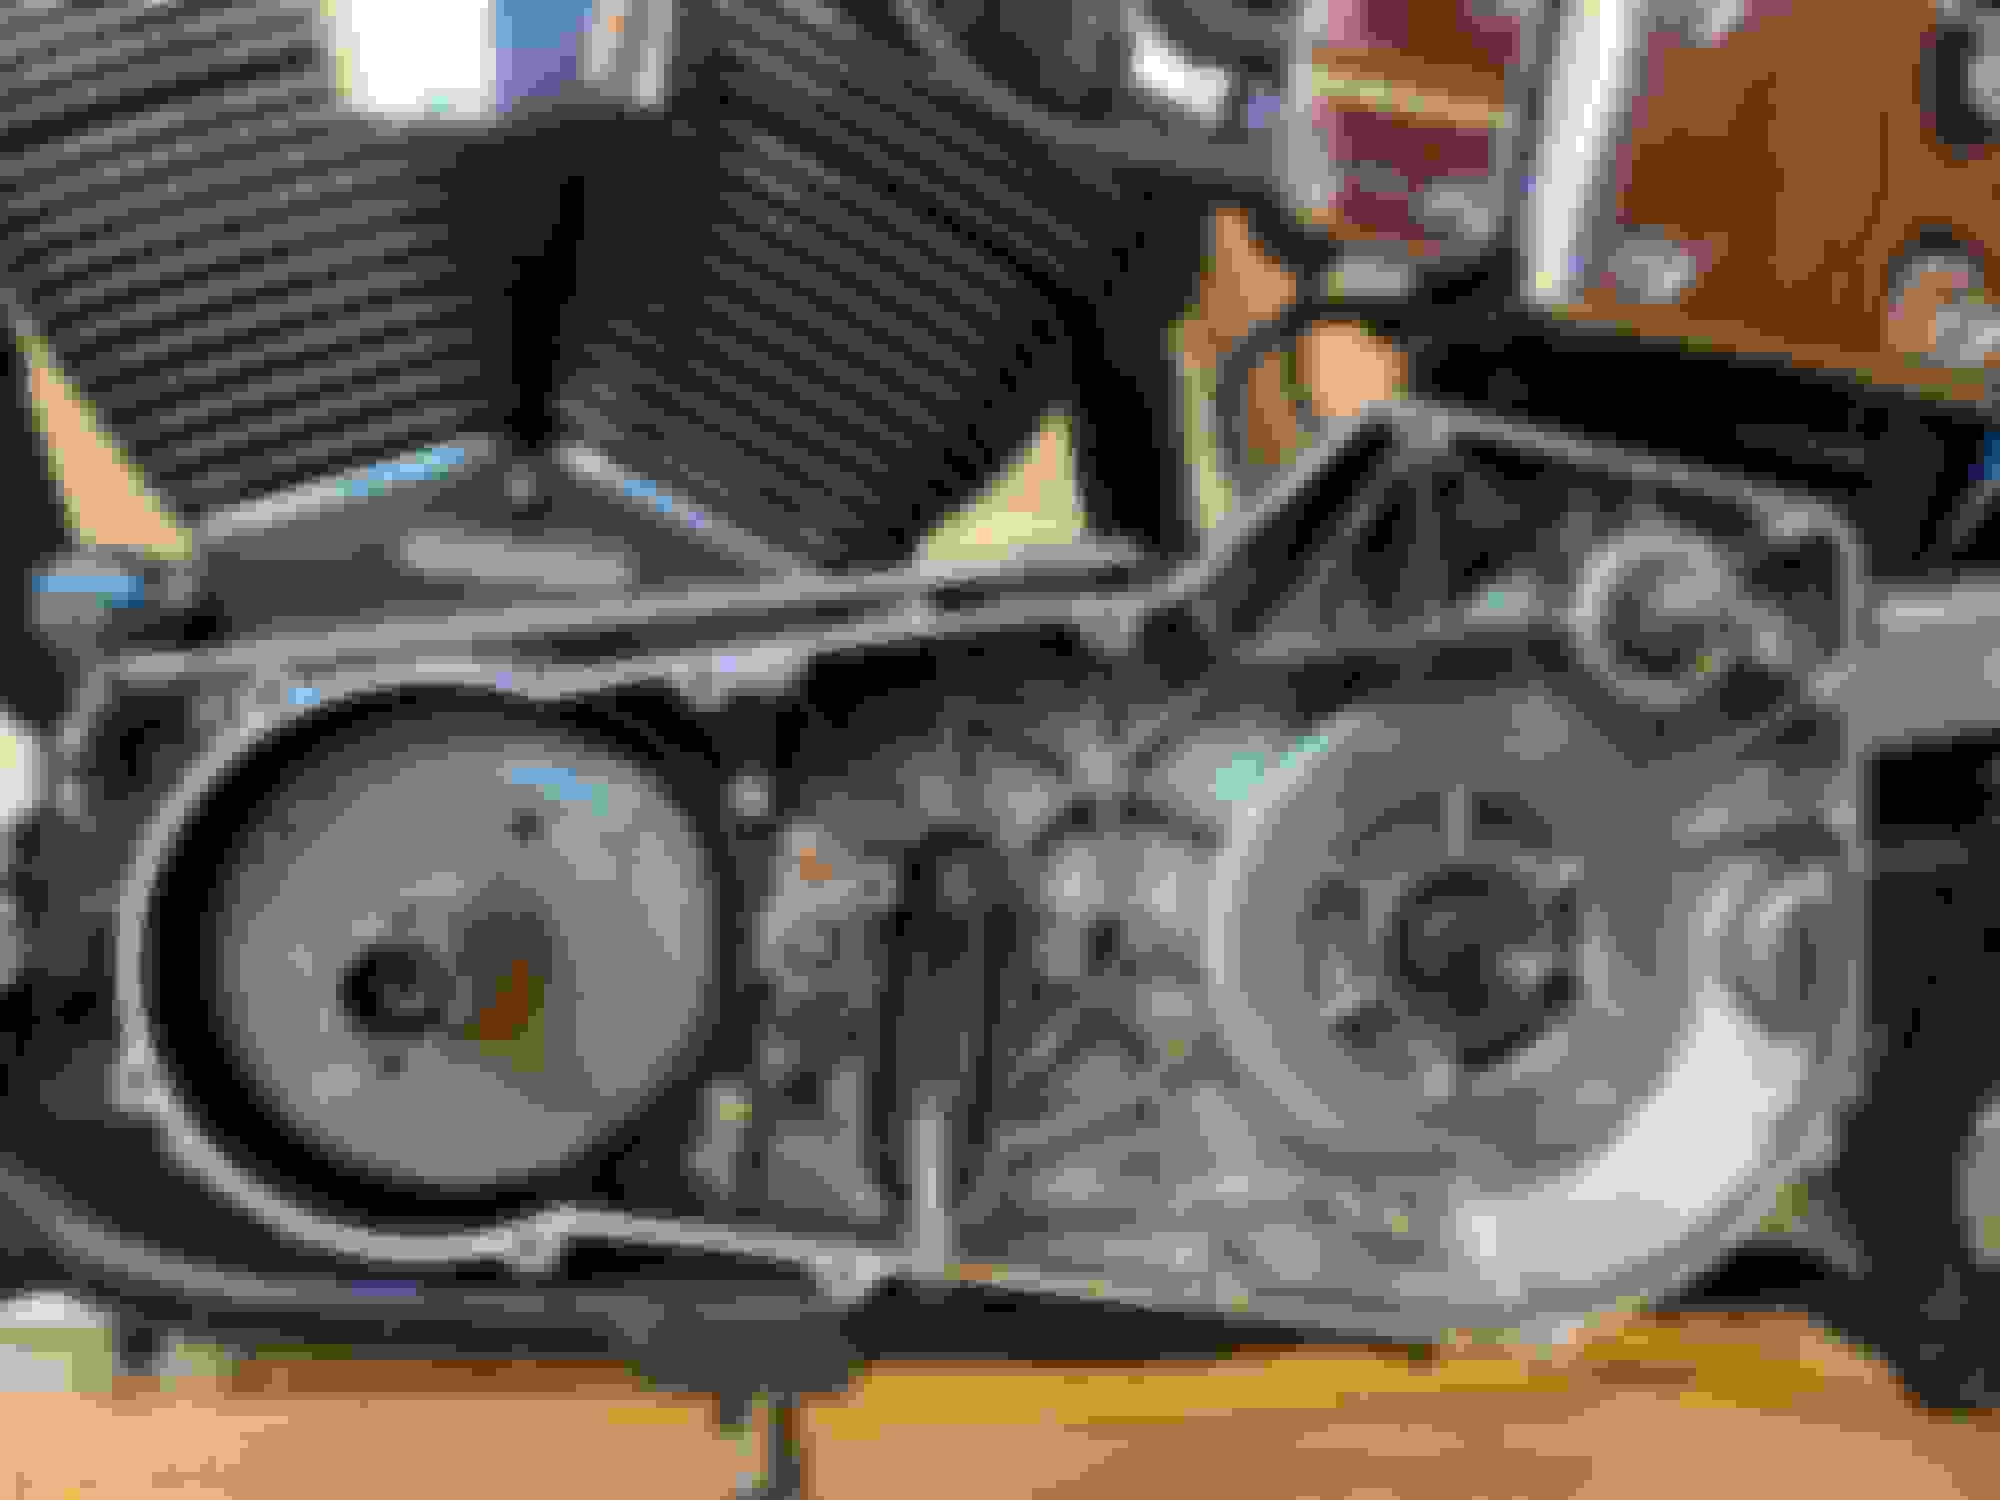
Then remove the drive components: First, remove the top bolt from the chain tensioner, and let it hang from the chain. Then loosen the jam nut, and remove the adjuster screw, c clip, and release plate from the clutch basket. Then remove clutch hub main shaft nut (1 3/16� socket and LEFT HAND THREADS). Last, remove the compensating sprocket (1 1/2� socket). NOTE: Both the clutch hub mainshaft nut and compensating sprocket nut are on there tighter than a nuns ***, and should have red loctite, so an impact gun, heat, and a big breaker bar should do the trick. You�ll also have to chock the sprocket(s) so you don�t just rotate the whole assembly. HD sells a locking tool, as well as others. I used a block of hardwood. Remove the entire assembly and you should now look like this:
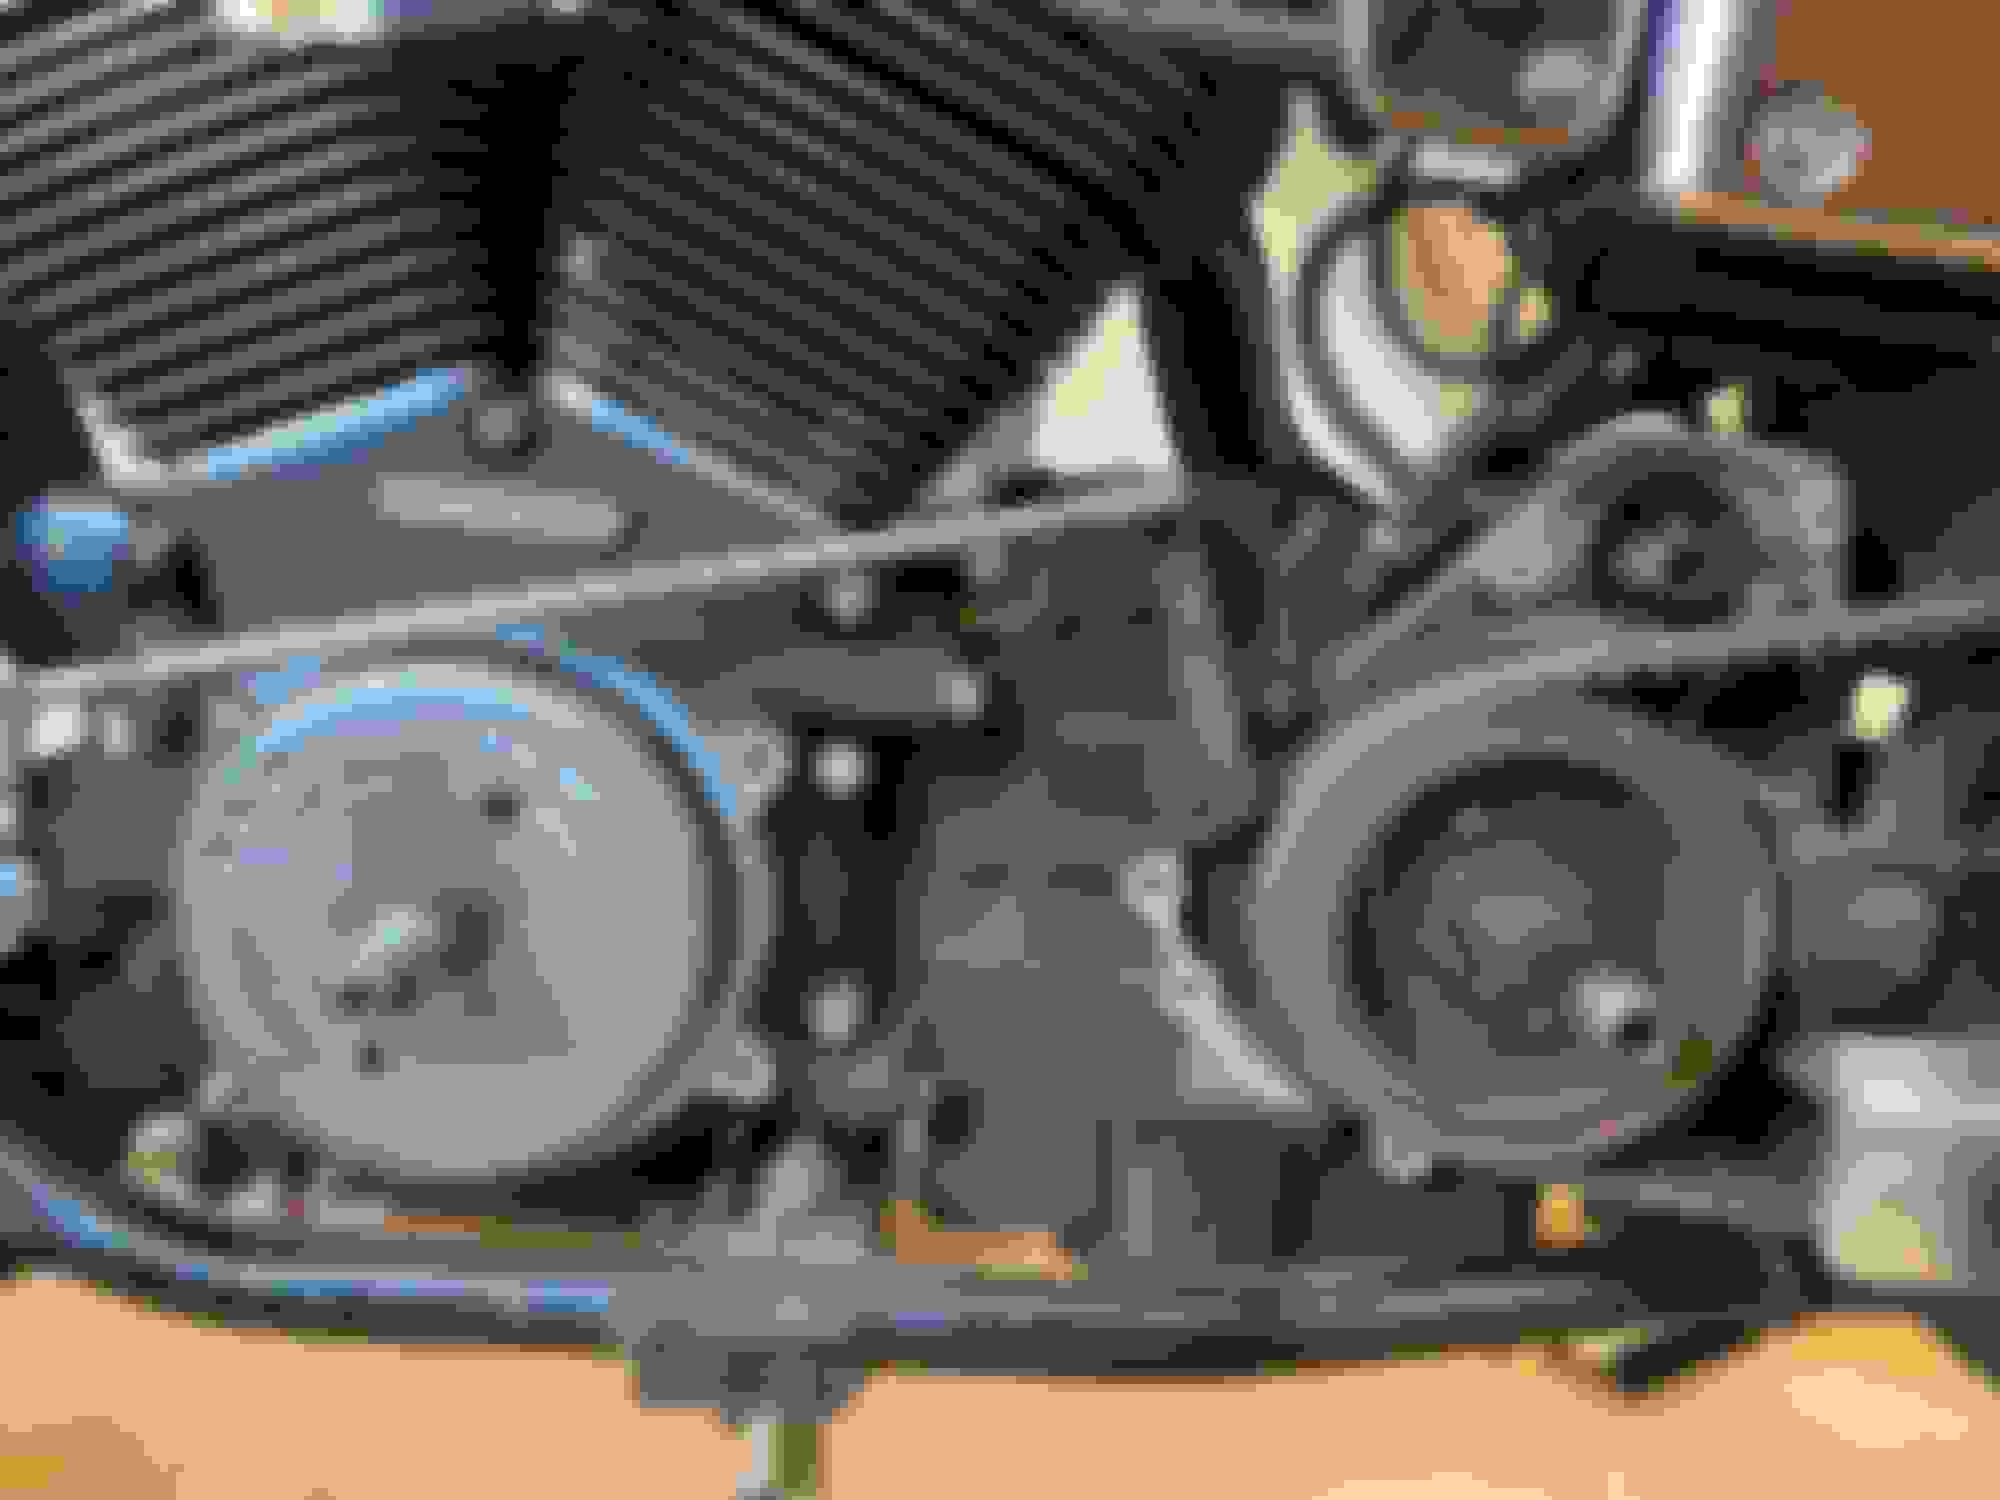
Onto removing the inner primary: First remove the two starter mounting bolts from the right side of the bike. Removing the battery and battery box makes this much easier.
Also remove the starter jack shaft assembly. It�s a 5/16 bolt with a locking tab. Wrap the sprocket with a rag and hold with channel locks to keep it from spinning while you loosen the bolt.
Next, remove the 5 inside bolts by bending the locking tabs back first. Also remove the two outside bolts (Figure 6-2). These bolts are all different lengths so keep them organized. You should now be free to remove the inner primary.
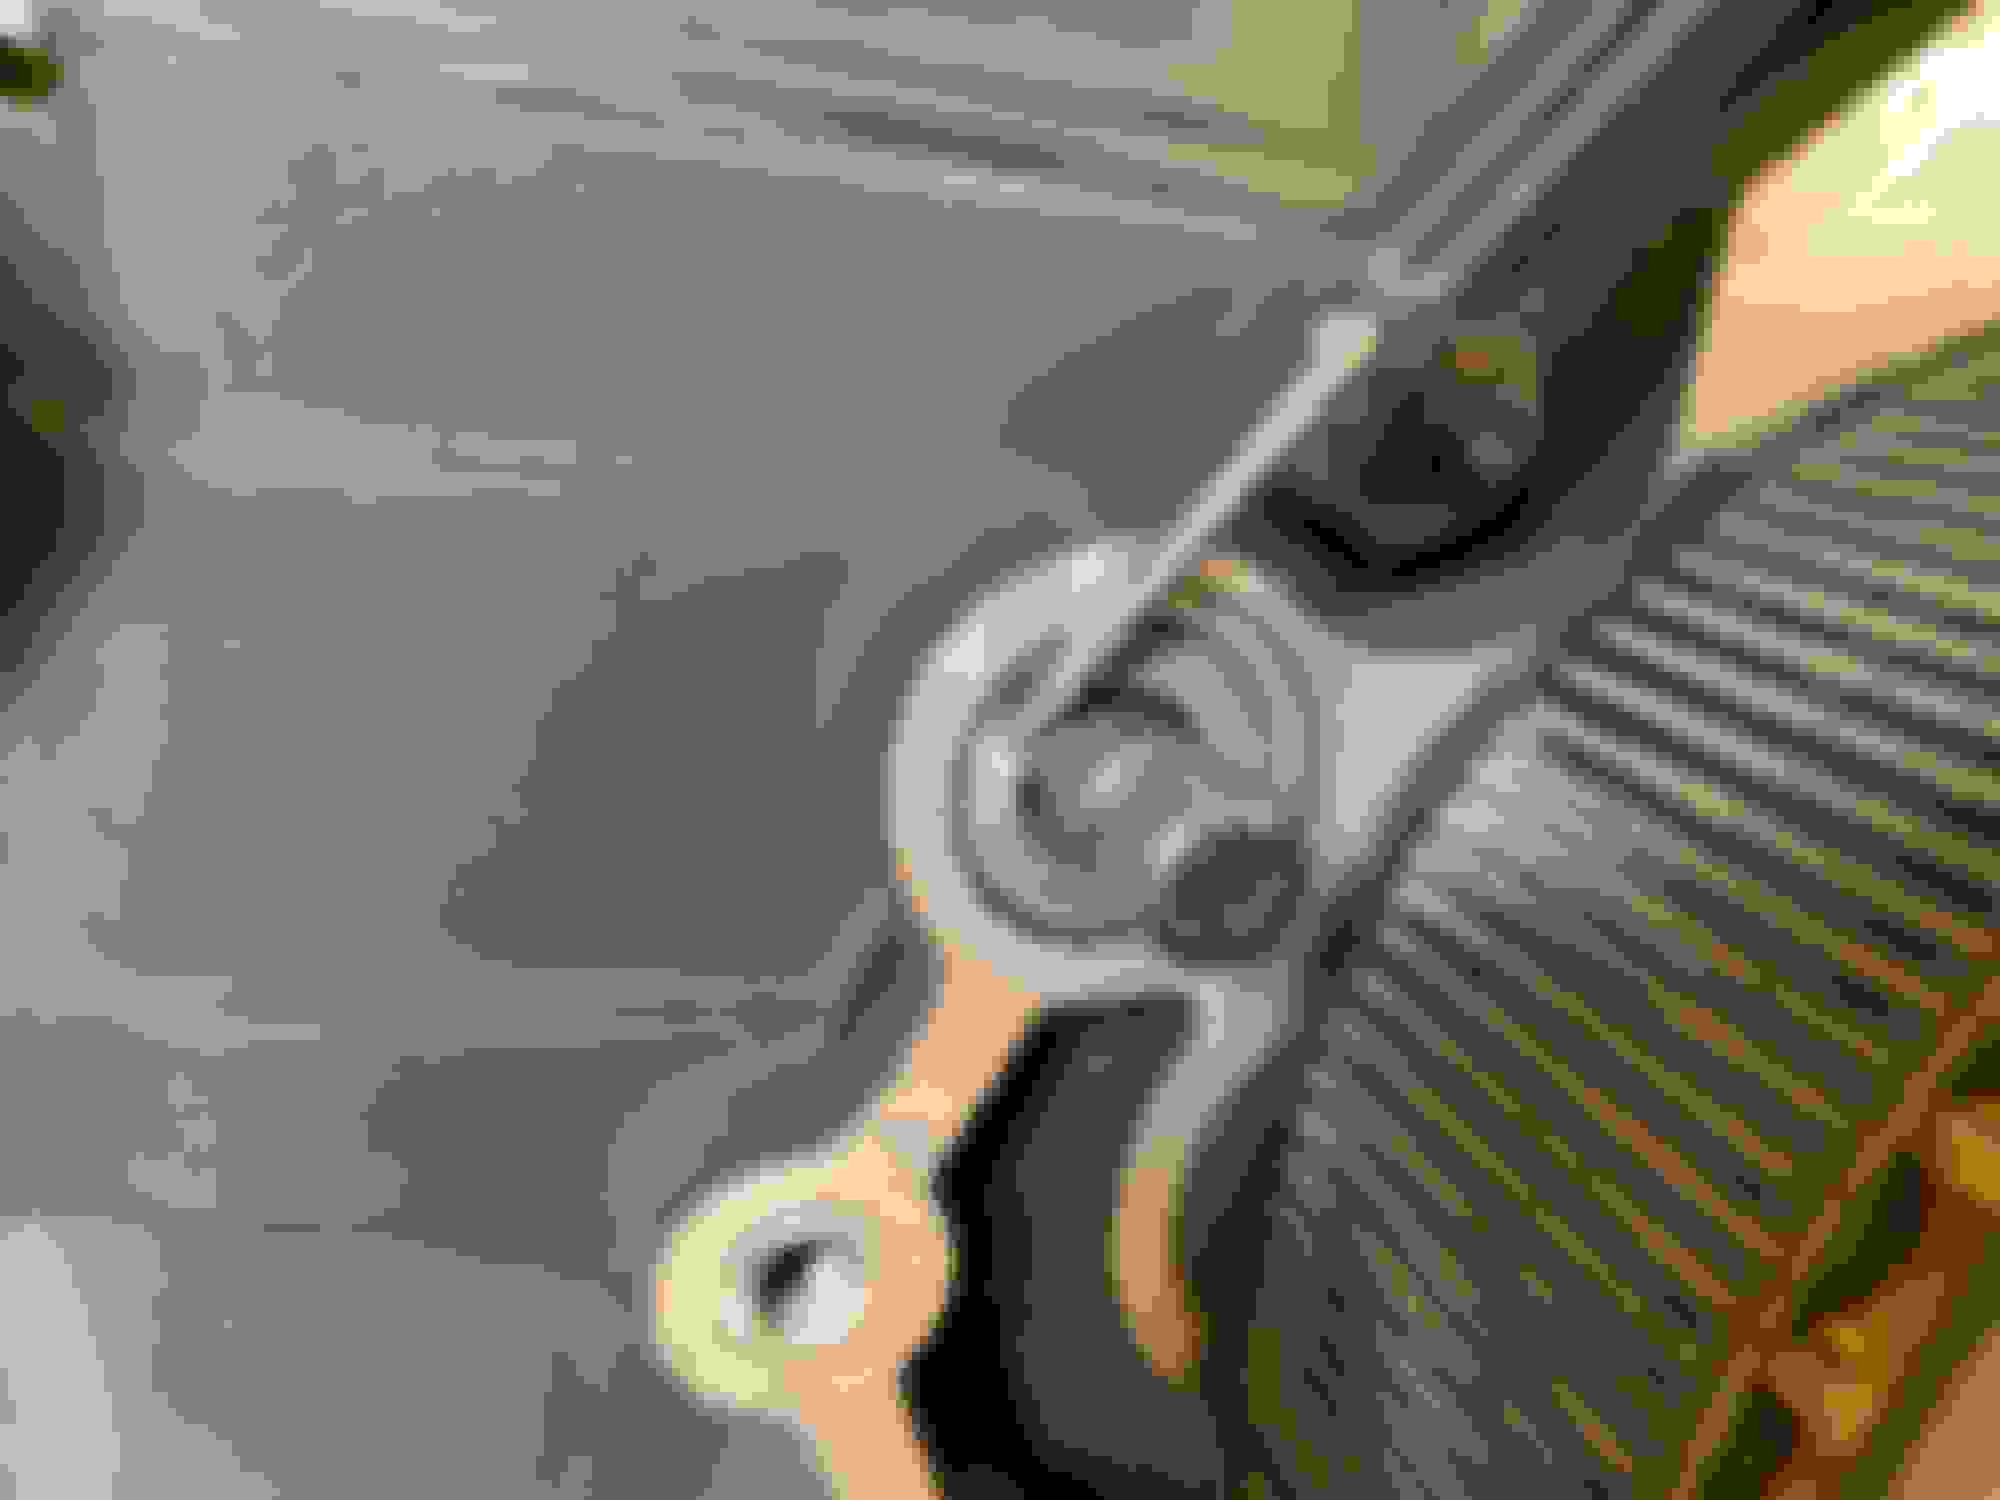
The next thing I did was remove the shifter lever and replace the shift shaft seal. Note the position of the lever by marking the end of the shaft with a sharpie or paint marker (and then promptly remove the reference mark as soon as you start spraying things with brake cleaner 🤦♂️).
Remove the pinch bolt and slide the lever off. Remove the washer and c clip from the shaft. With a small punch or pick tool, puncture the outside of the seal and pry out, all the while considering keeping collateral damage to a minimum (I put a couple nicks in the trans case, neither of which are critical, but you know...)
Then put a layer or 2 of electrical tape over the shifter shaft splines so as to not damage the new seal on installation. Use enough tape to protect the seal, but not so much tape that the seal stretches on installation. Install new seal, washer, and retaining clip. I oiled the new seal with clean primary fluid before installing. NOTE: While I�m sure there is a recommended depth for Installation on this seal, I couldn�t find it. I installed it about a fingernail past flush. I can�t imagine this depth is critical to within a 1000th of an inch, but what is critical is that the seal goes on EVENLY. Again, they make tools for this, but I used a socket and light taps with a hammer until it was where I wanted it.
I also did the inner primary bearing oil seal part# 12052A. Just pry it out with a flat blade screwdriver.
My bearing looked great luckily, because I didn�t order a new one.
Oil new seal with new primary fluid, find a flat plate (I used my old inspection cover) and pound da buggah in. As with any seal, make sure it goes in evenly. As for depth of installation, I just copied what it looked like before and installed it a red one past the chamfer.
The next thing I did was I put a few wraps of electrical tape on transmission main shaft to protect the seal when installing. Since I was doing the new seal, I waited until now to tape it up, but if you�re not going to replace the seal, tape the shaft before removing the inner primary.
Install the new shift rod lever (33715-85A) on the shifter shaft and secure with pinch bolt and blue loctite.
Then install the shift rod. I�m using the bungking shifter rod with chromoly heim joints. Since the stock rod is a bit of a different setup, I can�t find proper torque values, so 20�lbs with blue loctite will work. Keep in mind that after everything is set up, we�ll have to make an adjustment to the shifter rod length so only loctite and torque the aft heim joint fastener. The forward end will have to be disconnected to make the adjustment.
Attach the shift lever (34621-90) to the forward end of the shifter rod. This is the fastening that we will wait to loctite.
It�s important to not forget to put the wave washer on the shift lever at this point. It sandwiches between the inboard side of the inner primary and the shift lever to pull the slop out of the assembly.
(Gotta love oxidation on bran new parts 🤦♂️)
Now before we install the inner primary case, we have a few more new parts to install. This seems to be the area where the older bikes differ from the newer bikes. We have to install the shift lever sleeve(34632-84B) with 3 o rings(11117A), and the sleeve locator plate(34561-84).
The end of the shifter sleeve with 3 grooves goes inboard with the o ring on the first one, and the sleeve locator plate indexing onto the middle one. The third one stays empty, but I think may be used depending on your bike. The end with two notches goes outboard and gets 2 o rings. I can�t find a torque value for the sleeve locator plate fastener, but it threads into the aluminum case, so I went to 15�lbs with blue loctite.
BEFORE installing the drive components, install the starter jackshaft assembly.
On installation, make sure the lock plate keys into the jack shaft properly.
Install the inner primary case. I think the fasteners for the newer bikes are one time use because of some sealant that comes on them from the factory, but my manual says to use the original ones. It does say to put a bit of silicone sealant around the bottom two. I put a bit on all of them as cheap insurance.
Slap a new o ring on here as well.
Installation procedure:
Then install the drive components assembly (clutch, comp, chain, tensioner). Clean the threads with solvent, use red loctite, and torque to spec.
And check your primary chain alignment:
So the clutch needs to be adjusted, and the primary chain tension needs to be set. Apparently I�m missing those pages out of my manual, but for the primary chain, you�re looking for 5/8-7/8 max deflection with the chain cold (3/8-5/8 if it�s hot). Rotate the assembly and measure in a few different spots. Pull the spark plugs to remove compression if your having a hard time turning the assembly otherwise.
To adjust the clutch, first loosten the clutch cable adjustment so there�s lots of play in your lever. Then the internal adjustment is made at the clutch itself. By hand, thread in the adjuster screw until you feel a bit of resistance. At that point back the screw off 1/2 turn, and tighten the jam but to lock it in place. Install the clutch release plate, and retaining ring.
They�re not in the list in the first post, but you�ll need two tower gaskets as well (63859-95B). Install tower gaskets, outer primary, clutch cover, and inspection cover (with hole).
I think I posted this earlier, but here�s the page with the torque specs and patterns:
Get your shifter lever (pedal) on, and secure with pinch bolt. Adjust shifter rod and tighten jam nuts. When adjusting the shifter rod, it�s important to make sure that everything moves freely, the heim joints don�t bind, and watch out for contact between the shift lever (the one that does through the primary) and the crank case.
Install peg mounts and pegs.
Here�s what the brake side looks like. Pretty self explanatory. Loctite everything, torque to spec., adjust brake rod to account for pedal height preference and fitment.
All in all it is a pretty straight forward job. It�s quite a bit of labor, but as long as you�re organized, have diagrams, and all the parts you need, it�s manageable. I just took it around the block and it feels like a completely different bike. It shifts great, it�s WAY more comfortable than before, and I can actually lift my *** off the seat! Finally I can absorb speed bumps and speed humps with something other than my spine. I can�t wait to see how it feels in the twisties.
Hopefully this helps someone. Good luck and safety third!
Nice write up. Is the shifter shaft sleeve the plastic OEM one?
It was suggested to me to get the aluminum one by Vulcan Engineering as that would eliminate the slop at the pedal/shifter. I could tell the difference.
Nice write up. Is the shifter shaft sleeve the plastic OEM one?
It was suggested to me to get the aluminum one by Vulcan Engineering as that would eliminate the slop at the pedal/shifter. I could tell the difference.
Thanks! Ya I used the plastic one. I learned about the one from Vulcan after I placed my orders. If I were to do it again, I�d get the billet one, especially since it�s only about a $22 price difference. I imagine the fit is much better since I�m sure it�s turned on a lathe instead of coming out of a mold like the plastic one. With that said, the plastic one actually fits great, with no leaks and no radial or axial play as far as I can tell. 👌🏼 Don�t worry though, I�ll abuse the **** out of it and we�ll see how long it lasts.
 07-18-2020, 04:19 PM