Dyna Glide ModelsSuper Glide, Super Glide Sport, Super Glide Custom, Dyna Glide Convertible, Super Glide T-Sport, Dyna Glide Police, Dyna Switchback, Low Rider, Street Bob, Fat Bob and Wide Glide.
Had "trigger finger" surgery on the middle finger on my throttle hand on Wed, (I'm convinced it was caused by overuse :-) and while I'm sure I could ride, I've agreed with my girl that I would give it a week. It's only a scratch, but I'd hate to be in a situation where I needed to put a lot of pressure on the hand (hard braking, etc.).
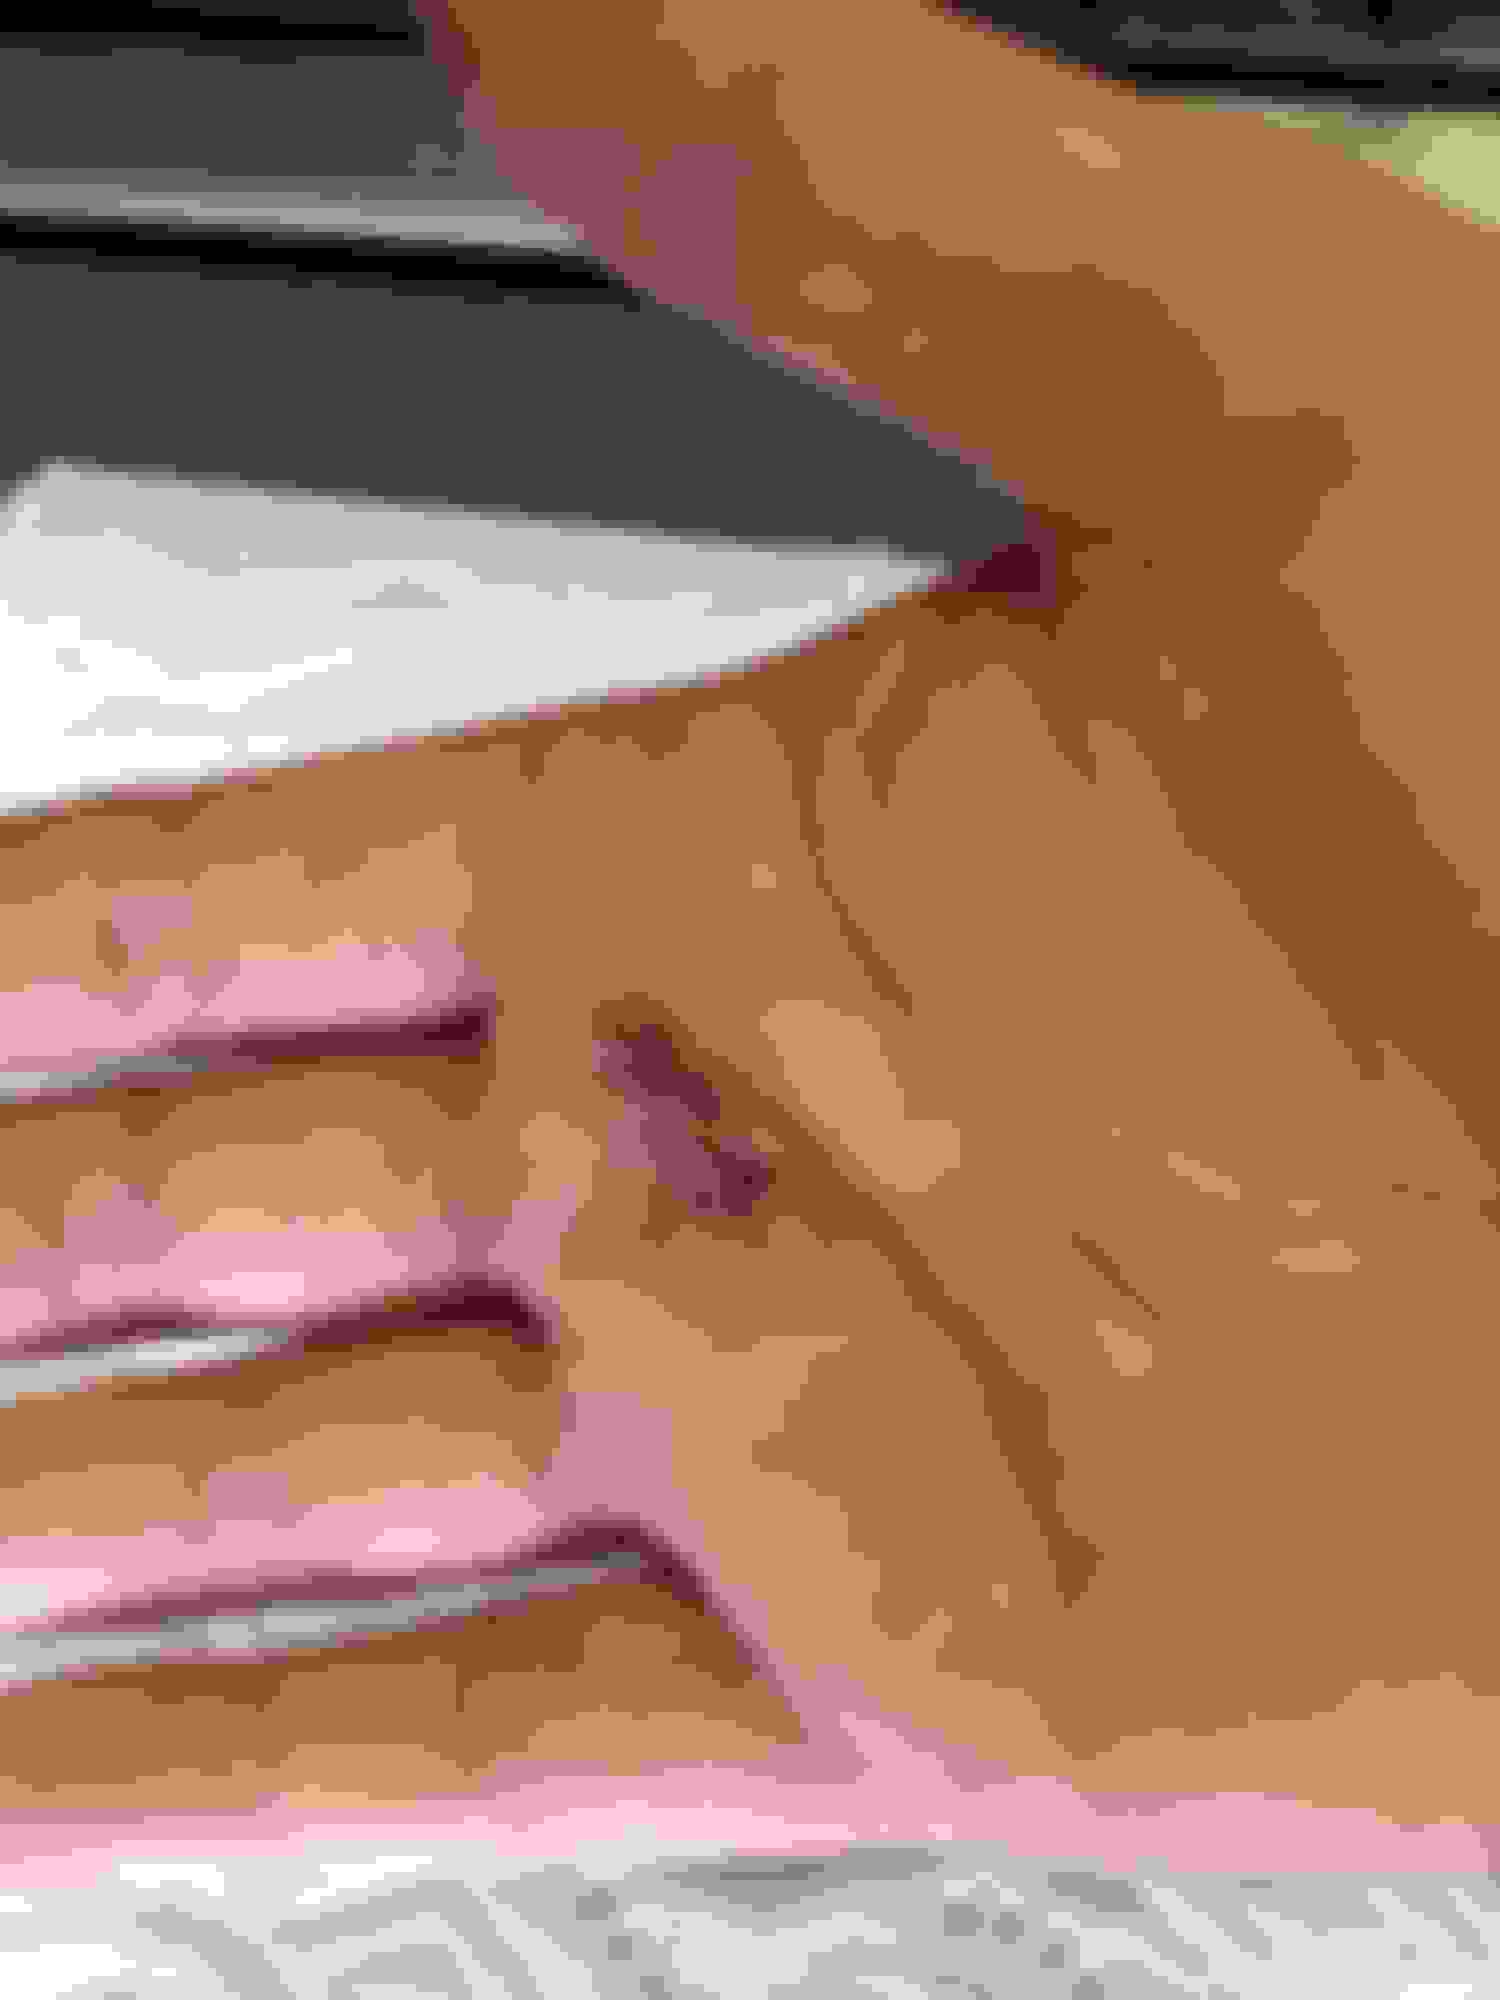
So since I have absolutely nothing to do today, I decided at least I could install the flush mount cap and gauge that arrived from Surdyke the day I had the hand job done.
Took all of 10 min, probably could have been done in 5 if I wasn't being careful of my right hand, and also didn't spend 5 min trying to depin the existing connector on the old gauge, before getting pissed and just cutting it off.
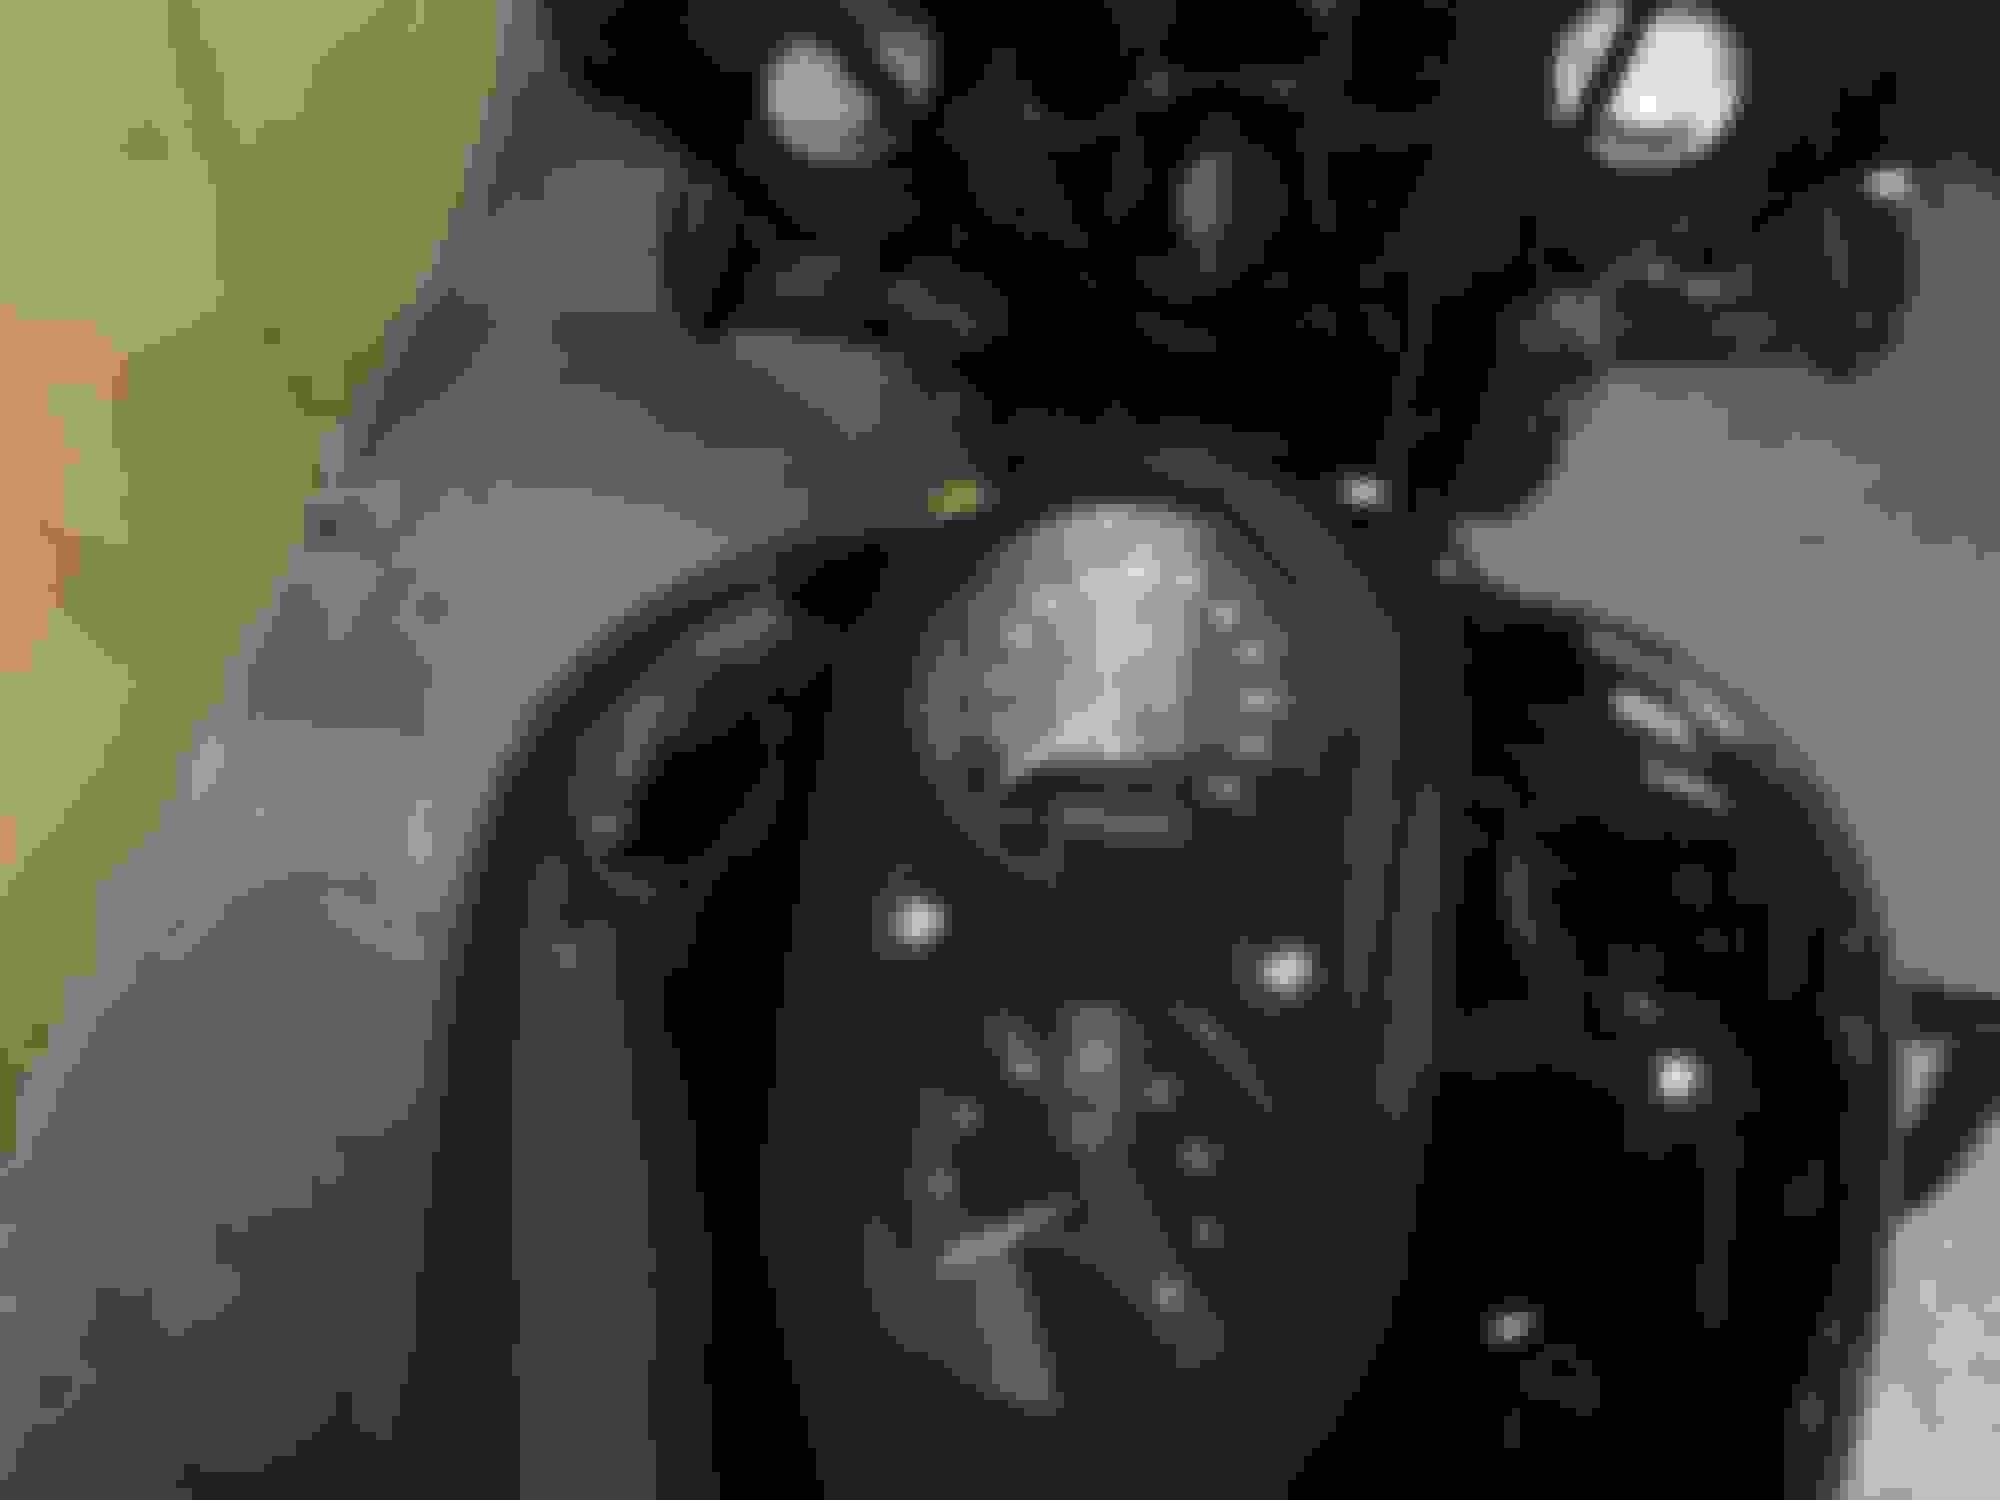
Looks so much better then the damn chrome nonsense they put on an otherwise all black from the factory bike. (Still can't understand why they did that, and the fork caps in chrome)
Not really sure why I didn't take a photo of it on, but I didn't. When it's on you see a little blue gas pump icon and a semicircle of LED's along the aft side of it. When it's off its completely black.
The fuel cap is flush mount, you press and rotate a half turn and it pops up so you can remove it like any other cap.
Pretty nice looking setup. Goes good with the bike.
The flush mount gas cap and gauge look great! I did the same on my 07 SB and it was worth it (although I had to repin it). Hope your hand heals quick and just a bit of advice, you don't have to treat it like it owes you money.
So since I have absolutely nothing to do today, I decided at least I could install the flush mount cap and gauge that arrived from Surdyke the day I had the hand job done.
hehe, you said "hand job"
Looks great. Definitely something I plan for eventually (and once I decide what I want for paint).
Same here, not riding for so long is killing me. Need to find a day where I can leave early and get out of town into cooler weather.
I finally received my Arlen Ness rotor and pads, plus some mirrors I bought from Suede. So now I can get the bike up and remove the wheels for the new tires I've been sitting on, do the work etc but of course the garage is 100+ degrees!
I mounted those on my S model yesterday, had them on a Road King. I agree they go with the style of the bike and I was no big fan of the huge chrome caps.
I just did those on my SB a couple weeks ago. What a difference they make. I was doing the install in my driveway at night and I spent about 45 mins trying to de-pin the stock unit in the dark. I finally gave up and packed everything up and that's when I found out that the kit came with a new plastic connector housing .... I felt like a tool and finished it up in 5 mins the next morning
Don't ask me how I know, but if you get frustrated and cut the wires to remove the connector, that fuel gauge is toast. You can not solder them back together and reuse that gauge for any other reason. The impedance is changed and the gauge will not read properly.
 07-17-2016, 01:07 PM