Dyna Glide ModelsSuper Glide, Super Glide Sport, Super Glide Custom, Dyna Glide Convertible, Super Glide T-Sport, Dyna Glide Police, Dyna Switchback, Low Rider, Street Bob, Fat Bob and Wide Glide.
What light pod is that? I have an 04 fxd and my pods have a 5/8" nut on them and mount to a male adapter under the hand controls. Looks like your pod would just have a 1/4" threaded male on it correct?
Its aftermarket, the bolt screws into the light housing itself. I'm not even sure where I got it from, its been 5 years.
I figured I'd do my part to keep this thread going since it was super helpful for me when deciding if it was worth ditching my repop T-Sport fairing for this guy and, if so, which brand was the best for my situation.
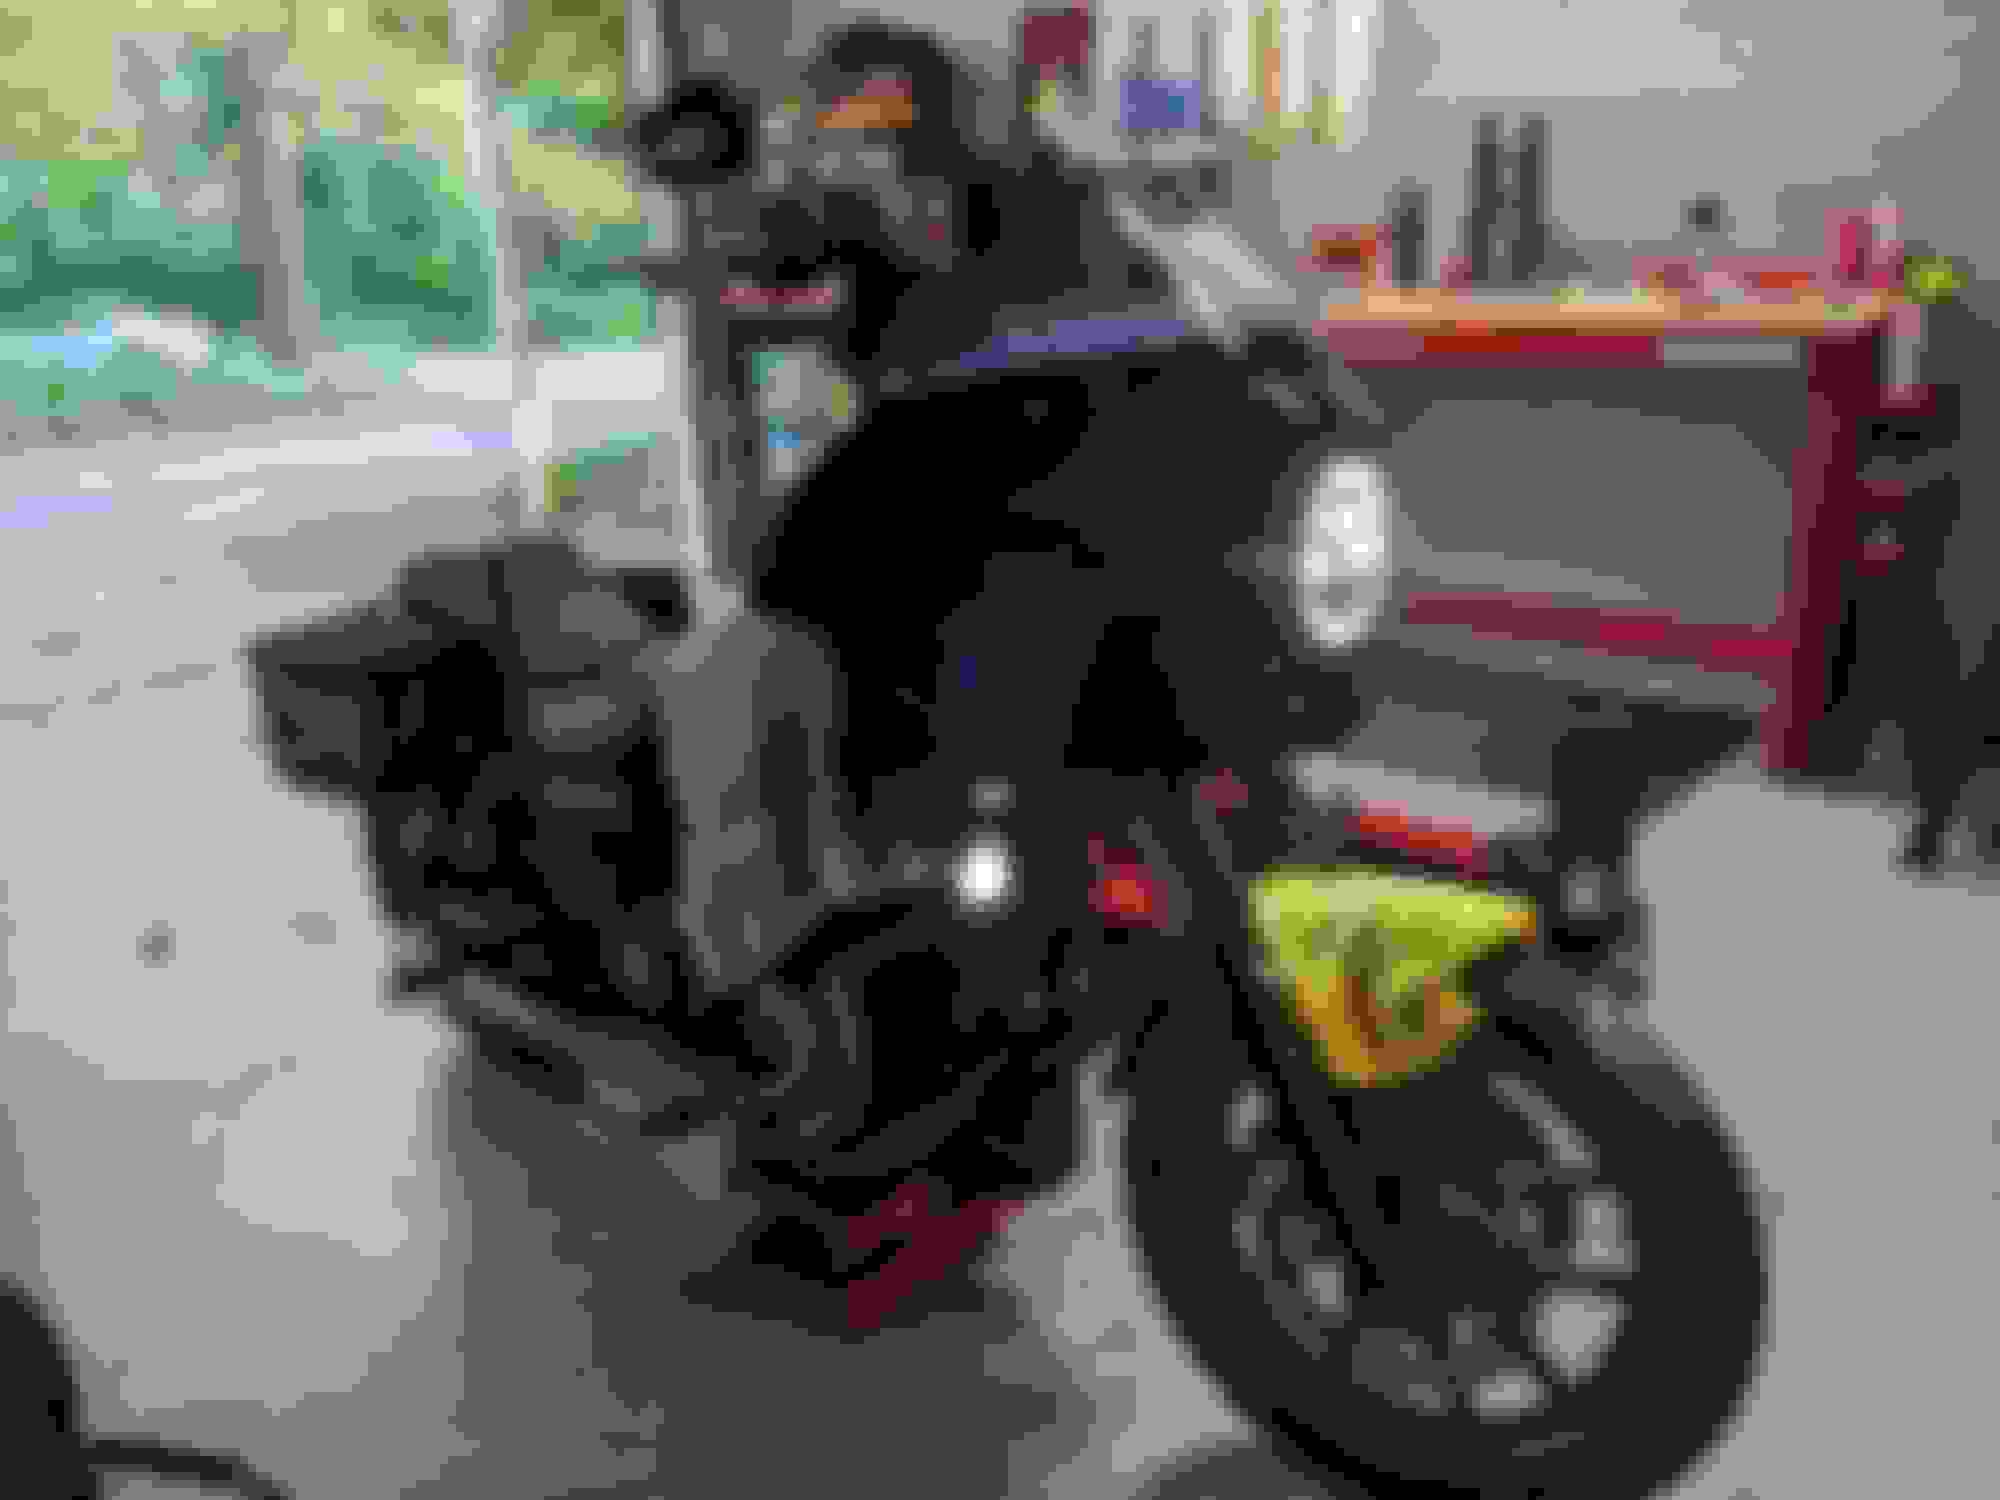
Anyway, this is the brand spanking new V2H or Villain2Hero FXRT / FXRP fairing. I apologize for the pictures not being the best since most of them are mid-install, but I plan on posting some more along with a full write-up/review after I get it all squared away.
To start, though, I went with this kit because it was the most affordable option to get a pre-painted Vivid / Gloss Black fairing and the wrap-around style clamp cleared my GPR Stabilizer mount.
I did take it for about an hour-long test ride, and I love it. I had to experiment a lot with my FXDXT style fairing to avoid buffeting. Even then, at high speeds, if I wasn't wearing my Icon Airflite compared to a Simpson Ghost Bandit, I couldn't avoid it.
However, this thing is awesome. I threw on a Klock Werks recurve windshield right out of the gate, so I don't know how much that makes a difference over a stock style, but it's like you're in a little bubble when riding.
There's definitely air moving around you; you know you're on a motorcycle, but it's just a lot smoother. Also, I'm 5' 8", and I went with the 9" windshield, so your mileage may vary.
I figured I'd do my part to keep this thread going since it was super helpful for me when deciding if it was worth ditching my repop T-Sport fairing for this guy and, if so, which brand was the best for my situation.
Anyway, this is the brand spanking new V2H or Villain2Hero FXRT / FXRP fairing. I apologize for the pictures not being the best since most of them are mid-install, but I plan on posting some more along with a full write-up/review after I get it all squared away.
To start, though, I went with this kit because it was the most affordable option to get a pre-painted Vivid / Gloss Black fairing and the wrap-around style clamp cleared my GPR Stabilizer mount.
I did take it for about an hour-long test ride, and I love it. I had to experiment a lot with my FXDXT style fairing to avoid buffeting. Even then, at high speeds, if I wasn't wearing my Icon Airflite compared to a Simpson Ghost Bandit, I couldn't avoid it.
However, this thing is awesome. I threw on a Klock Werks recurve windshield right out of the gate, so I don't know how much that makes a difference over a stock style, but it's like you're in a little bubble when riding.
There's definitely air moving around you; you know you're on a motorcycle, but it's just a lot smoother. Also, I'm 5' 8", and I went with the 9" windshield, so your mileage may vary.
hey man bike looks great! I see your front signals are located under the fairing. Can you post up some pics or message them to me showing what you used to make it work?
hey man bike looks great! I see your front signals are located under the fairing. Can you post up some pics or message them to me showing what you used to make it work?
Thanks! Sure thing; it's super easy.
Assuming you have stock Harley-Davidson front turn signals like mine, they're internally threaded 5/16"-24.
All I did was get a 1-1/2" long 5/16"-24 button head cap screw, drop it in from above, and then lock it down with a nyloc nut with washers on each side.
Then, the factory jam nut went on, followed by the turn signal itself.
When you're putting everything on, leave the nyloc nut a little loose, so you can still rotate the cap screw.
Then thread the jam nut on, and then you can rotate the entire screw assembly to tighten the turn signal down.
This will prevent you from having to spin the turn signal on, wrapping the wire harness all around itself.
Tighten the nyloc nut against the fairing, adjust the direction of your turn signal, and then lock it down with the jam nut.
Depending on how your lower mounts are, you could probably skip the double nut process and just tighten the turn signal housing down directly.
I didn't want to put the stress of the fairing mount on the turn signal housing, and I wanted to keep the ability to adjust the pointing direction of my turn signals.
right on thanks man that's exactly what I was looking for
 04-08-2020, 09:49 PM