Dyna Glide ModelsSuper Glide, Super Glide Sport, Super Glide Custom, Dyna Glide Convertible, Super Glide T-Sport, Dyna Glide Police, Dyna Switchback, Low Rider, Street Bob, Fat Bob and Wide Glide.
Do you make a lot of short trips? If everything doesn't get hot enough to remove the moisture in the mufflers, rust can happen. Ethanol in the gas doesn't help either, as it attracts moisture. Just a couple of thoughts on the matter. tp dd50
I bought this bike in January and no telling what the previous owner did. My rides vary anywhere from a 30 minute loop to out riding around all day. I do use Ethanol-free gas, unless I start running low somewhere I don't know any EF stations. Interesting to know that rust can happen like that up inside exhaust and it sure is making it a pita to get the baffles out.
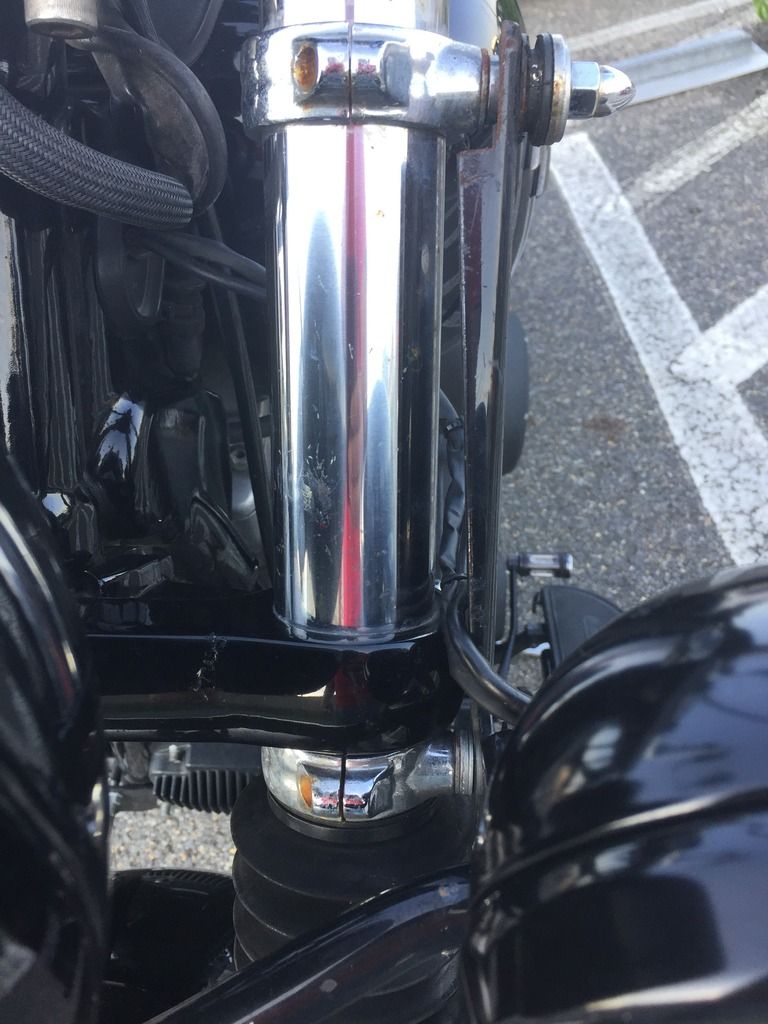
First off, you'll need to have either the Wide Glide or Fat Bob trees to obtain the width needed for this setup.
Started with two sets of Kuryakyn Two-Piece Fork Mounts , I got mine from a forum member and without the studs, so I got new bolts and insetted them as the stock studs would have been, put a nut on and tightened it down and then ground down the head of the bolt to fit the radius of the clamp to fit the legs. I located one clamp sets just below the bottom tree and used it for the bottom mount on the Light Bar from Drag Specialties part #2001-0804 for Black or #2001-0371 for Chrome and located the other clamps to line up with the top hole on the bar between the top and bottom tree. I located spacers/washers to fill any gaps between the clamp and the bar. The passing lamps are Drag Specialties #2001-0558 Black or #2001-0101 Chrome and the turn sigs are also from DS #2020-0567 Black Set of two or #2020-0391 Chrome set of four. The sigs are mounted with DS #2020-0565 Black or #2020-0599 Chrome.
I am considering moving the bar and head lamp up higher and pulling the light in closer to the trees, just need to figure out a method so my fairing doesn't come up to high making the flow look bad.
Thanks dudes
On the road....Again. ND bound this go round. Horn is in between the frame rails below the seat. There's a nice little pocket down there for it.
These Condor chalks are awesome btw!
That and two straps is all you need. I did bolt it to the floor though 😊
went for a short road trip, a van broke down and spilled oil all over the asphalt, But ABS saved me from a potential crash. first time i experienced a ABS event on my dyna superglide
Working on installing some DK Custom Thunder Torque Inserts. So far its Day Two and I've managed to get the heat shield and exhaust removed, and one baffle removed. Thanks to TinCup for the advice and encouragement.
Seems to be a lot of rust on the baffle. Does that seem normal for five years and 7,500 miles?
::: snip :::
Wow! That sure explains a few things That baffle is nasty; they do rust, though. My latest set of Big Shots Staggered new in the box the baffles were showing rust already, I have no idea what V&H makes those things out of.
First off, you'll need to have either the Wide Glide or Fat Bob trees to obtain the width needed for this setup.
Started with two sets of Kuryakyn Two-Piece Fork Mounts , I got mine from a forum member and without the studs, so I got new bolts and insetted them as the stock studs would have been, put a nut on and tightened it down and then ground down the head of the bolt to fit the radius of the clamp to fit the legs. I located one clamp sets just below the bottom tree and used it for the bottom mount on the Light Bar from Drag Specialties part #2001-0804 for Black or #2001-0371 for Chrome and located the other clamps to line up with the top hole on the bar between the top and bottom tree. I located spacers/washers to fill any gaps between the clamp and the bar. The passing lamps are Drag Specialties #2001-0558 Black or #2001-0101 Chrome and the turn sigs are also from DS #2020-0567 Black Set of two or #2020-0391 Chrome set of four. The sigs are mounted with DS #2020-0565 Black or #2020-0599 Chrome.
I am considering moving the bar and head lamp up higher and pulling the light in closer to the trees, just need to figure out a method so my fairing doesn't come up to high making the flow look bad.
Got it back on the road after killing the ECM for a few days. Gave it a bath and looked for areas for more improvement. Front engine mount, oil filter relocation, head bolt covers, trying to figure out how I want to add aux lights to the forks without having to cut my windshield.
I polished the front half of the front fender a little(not that you can tell with my fuzzy pictures), I then placed a piece of front fender trim on the fender to see how it looks. I have not attached it at this time.
I polished the front half of the front fender a little(not that you can tell with my fuzzy pictures), I then placed a piece of front fender trim on the fender to see how it looks. I have not attached it at this time.


 05-19-2017, 06:20 AM


 That baffle is nasty; they do rust, though. My latest set of Big Shots Staggered new in the box the baffles were showing rust already, I have no idea what V&H makes those things out of.