
Project under way... '13 FLTRX audio install with pics
#1
 09-05-2013, 10:33 AM


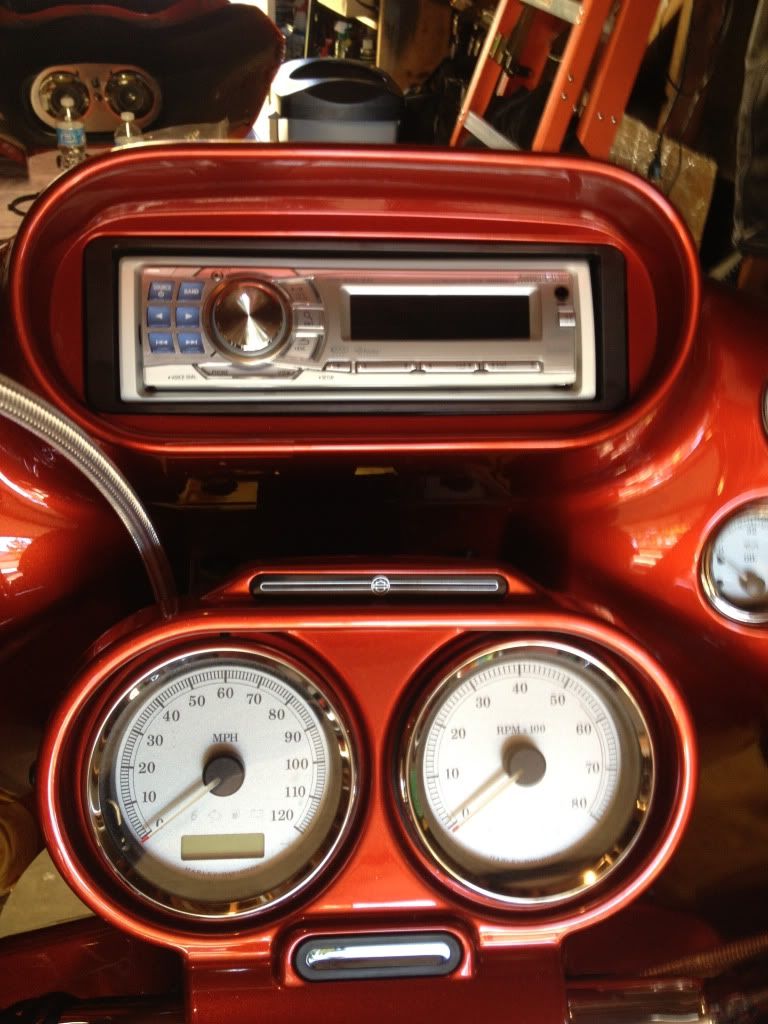
Started off with an Alpine CDA-9886 and Hawg Wired adapter. Only bummer is the white trim around the deck, but I think my buddy has a black one from another Alpine deck I can swap.
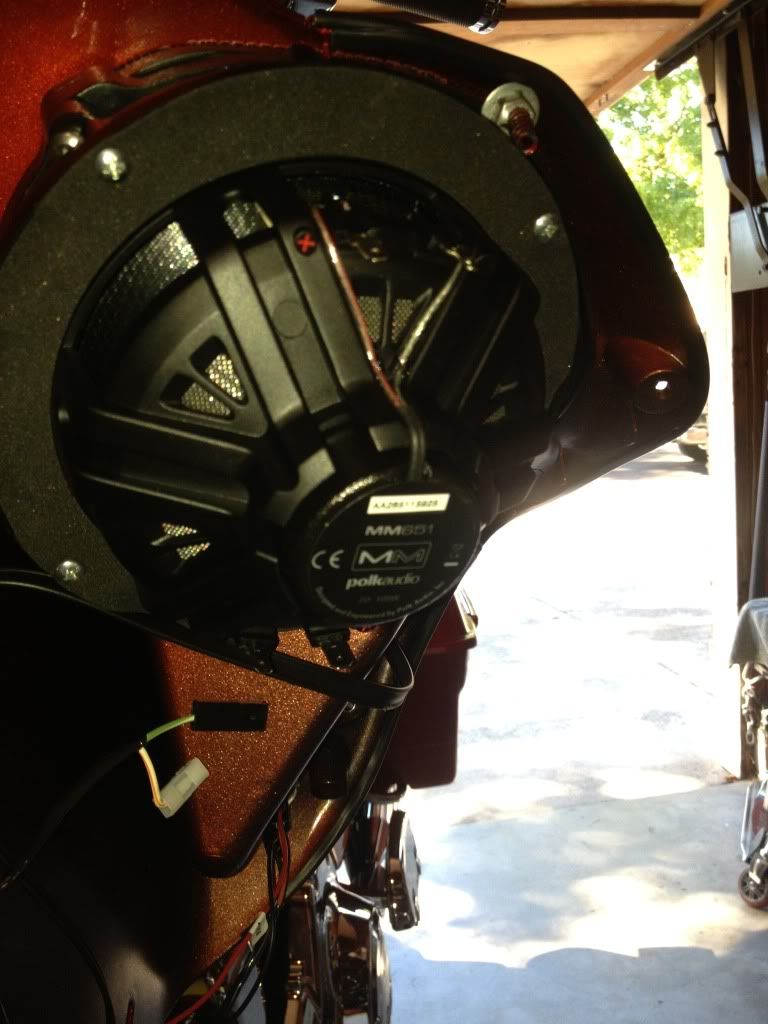
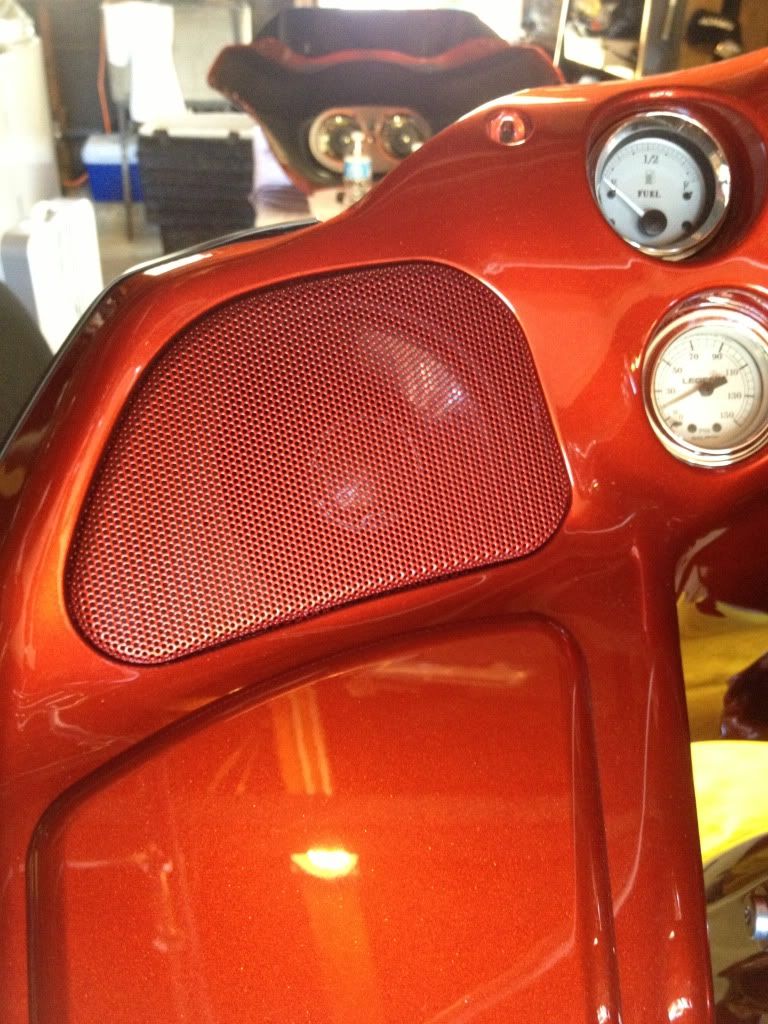
I installed some Polk MM651's in the fairing using some Hawg Wired speaker rings. These are badass, way better quality than my Dragonfly rings I installed in my '10 FLHX. I also used some Hogtunes metal speaker grills.
In the rear I used the Yaffe version of the Cycle Sounds lids. Basically these are garbage. The quality leaves a lot to be desired. And the Headache Eliminator Kit does not eliminate any headaches without modifications, which I figured out AFTER the install.
-Two slots need to be ground with a Dremel cutting wheel and the insert bent a little to allow them to bite the plastic lid and keep from spinning.
-The screw holes do not line up properly so a couple are at an angle
-The gasket material is weaker than the stock HD material, so the bag latches don't snap closed as securely.
-The lid strap does not fit properly
-The speaker grills themselves aren't made very well and bend easily (unlike the Hogtunes grills in front)
My other issue is that I used TS-A9665R's instead of TS-D6902R's and I can't change them out without a lot of work. I'm leaving them in there for now.

Other items I'm working on:
-I'm installing a Bluetooth module so I can stream Pandora and Spotify to the Alpine deck. I will not be installing a microphone. I do not take calls when I'm riding, I ride to get away from phone calls among other things.
-MM651's in color-matched lower fairings. I'll be running the wiring through the crash bar
-I'm mounting a PN4.520D on the left side of the fairing using a home-made bracket. Additionally I'm making a bracket for the right side that can either fit a PN4.520D or two smaller amps. Right now I'll install a PN2.350D to run the 6x9's, but there's enough room to later mount a PBR300X2 to run a pair of speakers in my tour pak.
-I'm trying to decide whether to install some HID lights, or just wait until I can buy the Daymakers
More pics to come...
More pics of my pile of junk to be installed:
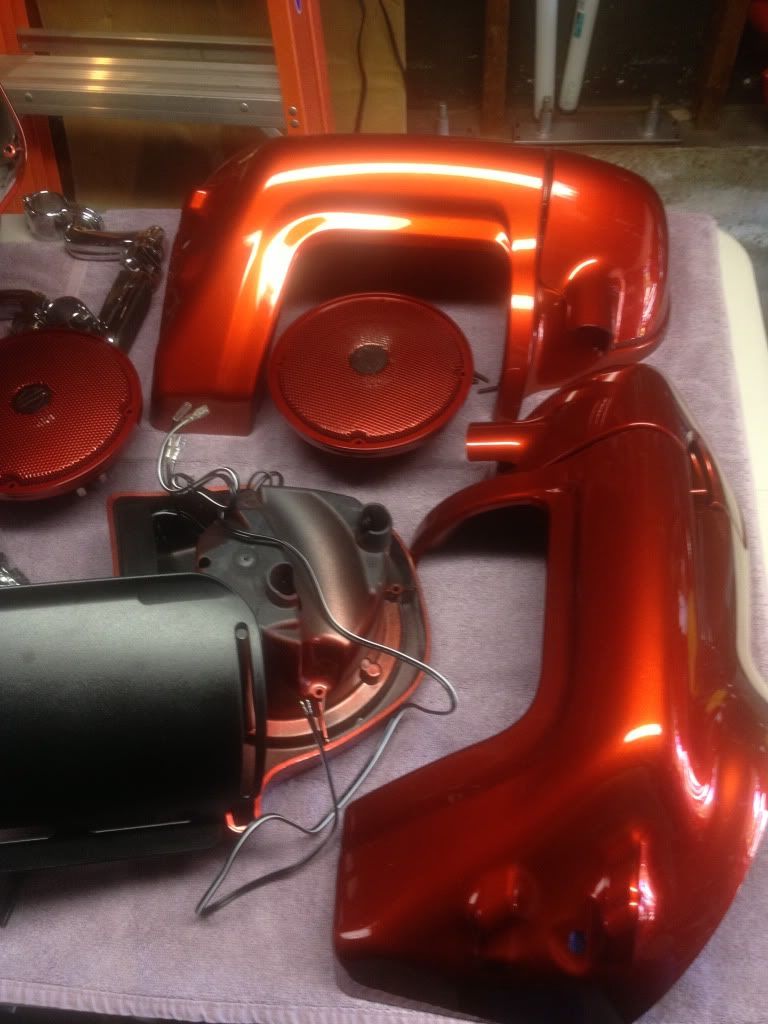

I installed some Polk MM651's in the fairing using some Hawg Wired speaker rings. These are badass, way better quality than my Dragonfly rings I installed in my '10 FLHX. I also used some Hogtunes metal speaker grills.


In the rear I used the Yaffe version of the Cycle Sounds lids. Basically these are garbage. The quality leaves a lot to be desired. And the Headache Eliminator Kit does not eliminate any headaches without modifications, which I figured out AFTER the install.
-Two slots need to be ground with a Dremel cutting wheel and the insert bent a little to allow them to bite the plastic lid and keep from spinning.
-The screw holes do not line up properly so a couple are at an angle
-The gasket material is weaker than the stock HD material, so the bag latches don't snap closed as securely.
-The lid strap does not fit properly
-The speaker grills themselves aren't made very well and bend easily (unlike the Hogtunes grills in front)
My other issue is that I used TS-A9665R's instead of TS-D6902R's and I can't change them out without a lot of work. I'm leaving them in there for now.

Other items I'm working on:
-I'm installing a Bluetooth module so I can stream Pandora and Spotify to the Alpine deck. I will not be installing a microphone. I do not take calls when I'm riding, I ride to get away from phone calls among other things.
-MM651's in color-matched lower fairings. I'll be running the wiring through the crash bar
-I'm mounting a PN4.520D on the left side of the fairing using a home-made bracket. Additionally I'm making a bracket for the right side that can either fit a PN4.520D or two smaller amps. Right now I'll install a PN2.350D to run the 6x9's, but there's enough room to later mount a PBR300X2 to run a pair of speakers in my tour pak.
-I'm trying to decide whether to install some HID lights, or just wait until I can buy the Daymakers
More pics to come...
More pics of my pile of junk to be installed:


Last edited by JCleary; 09-06-2013 at 10:38 AM.
#2
09-05-2013, 02:42 PM
bike is sweet looking and I really like the way the install kit you're using mounts the radio flush in the dash.. looks sharp.
On the rear bags.. I too had all kinds of issues from the ordering process to shipping to quality to install but I went directly to CS for them. Never again. I wound up throwing away the CS lid seals and went to HD and picked up a set of seals that work much better.
On the rear bags.. I too had all kinds of issues from the ordering process to shipping to quality to install but I went directly to CS for them. Never again. I wound up throwing away the CS lid seals and went to HD and picked up a set of seals that work much better.
#3
09-06-2013, 06:36 PM
Right on, thanks UltraNutZ. I'll probably end up going to HD and getting some gaskets...
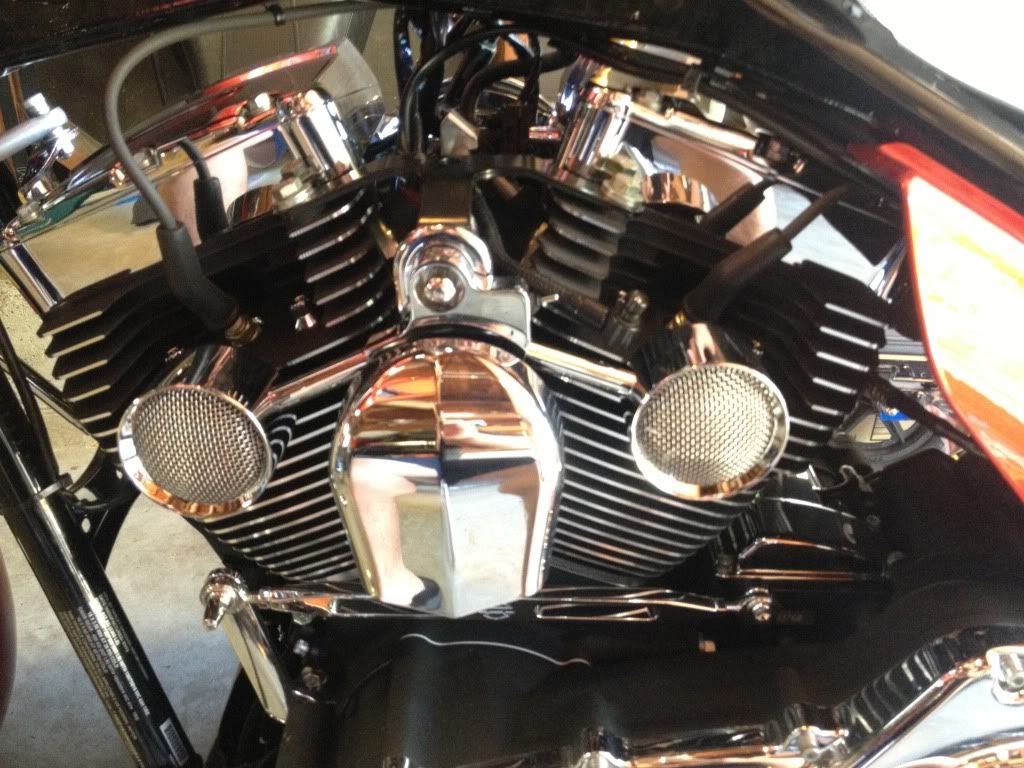
Alright, got my Wards fans installed:
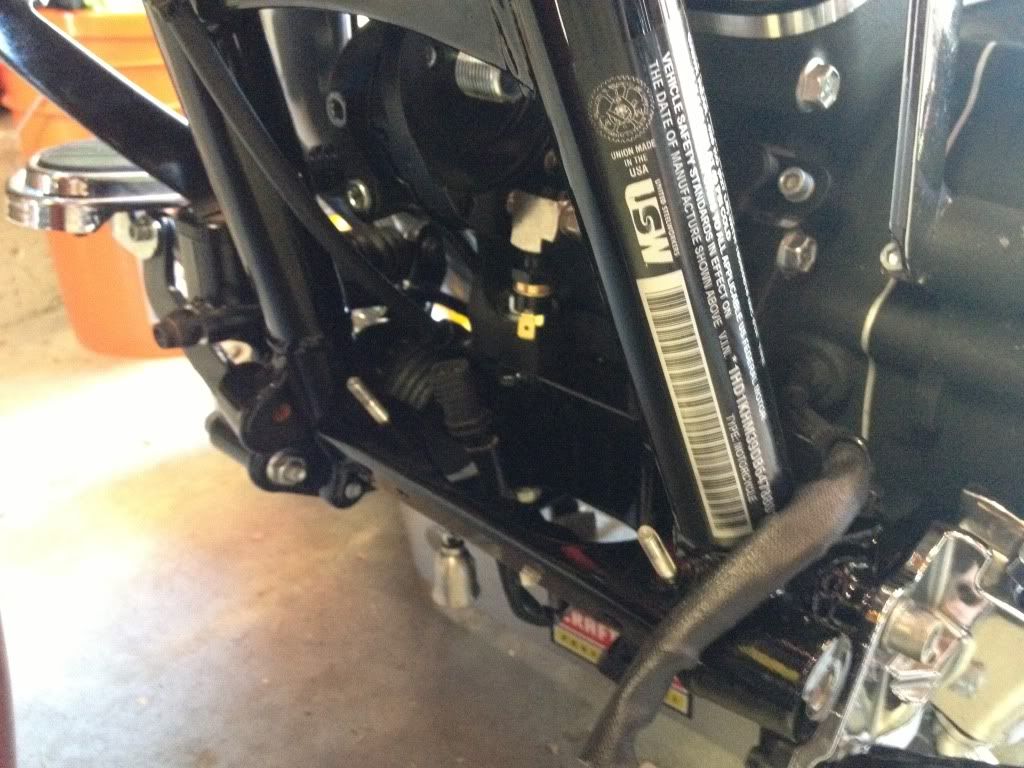
Now working on the Jagg 10-row fan-assisted oil cooler:
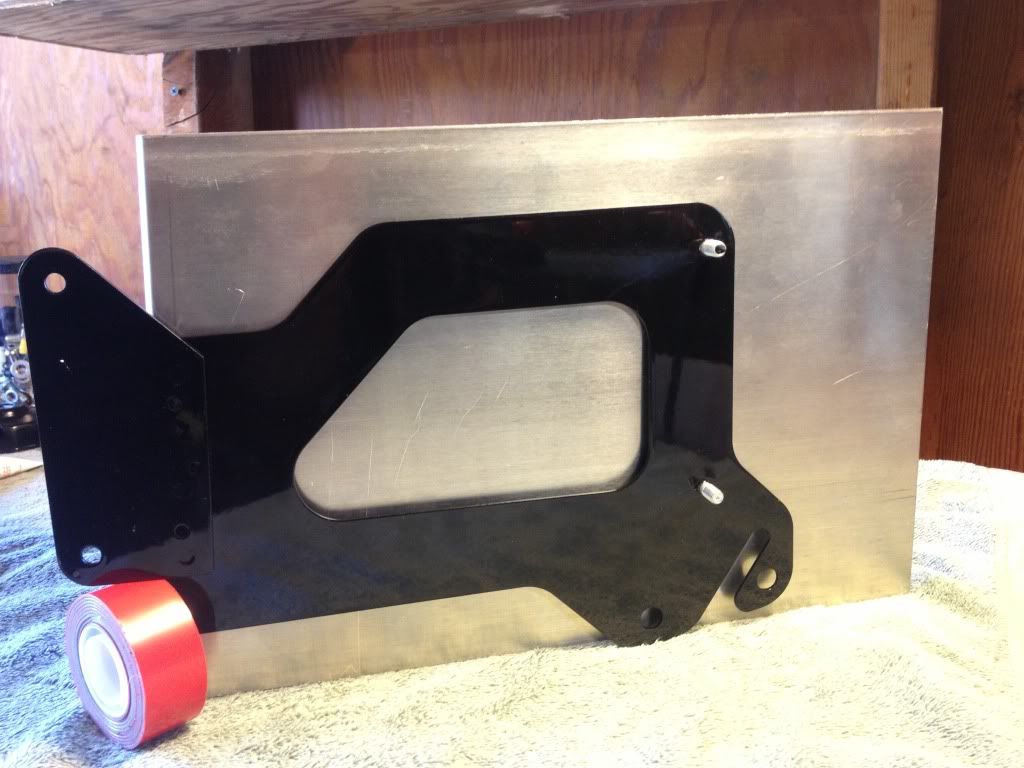
The local HD dealer loaned me a bracket from the Boom! amp kit:
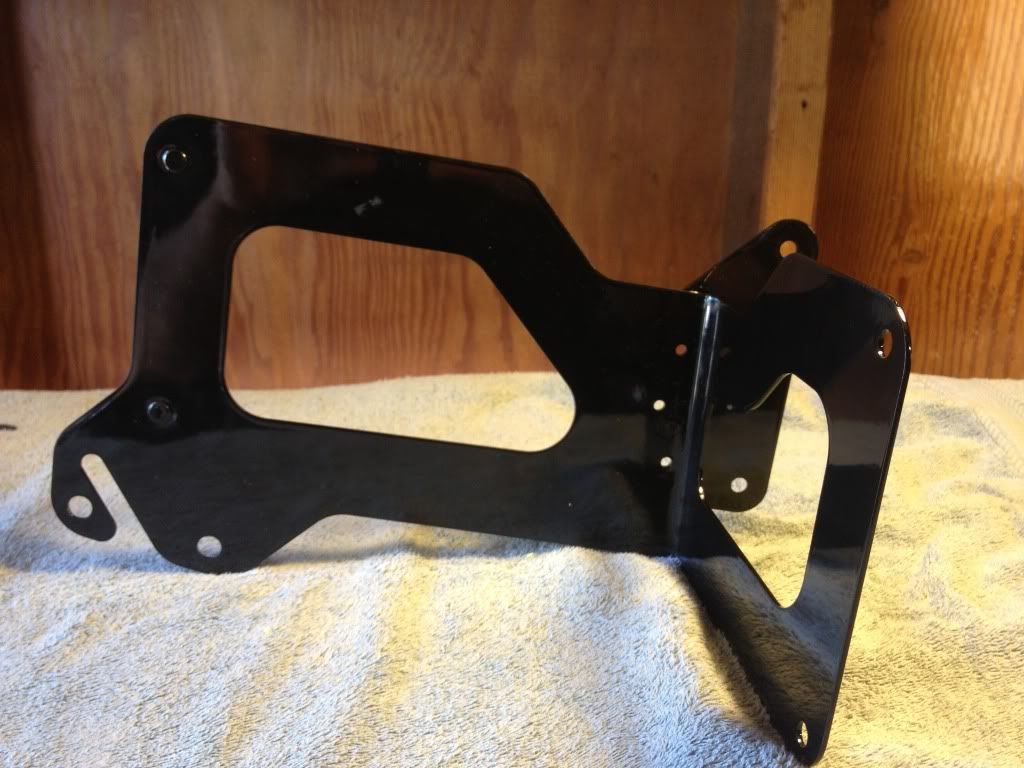
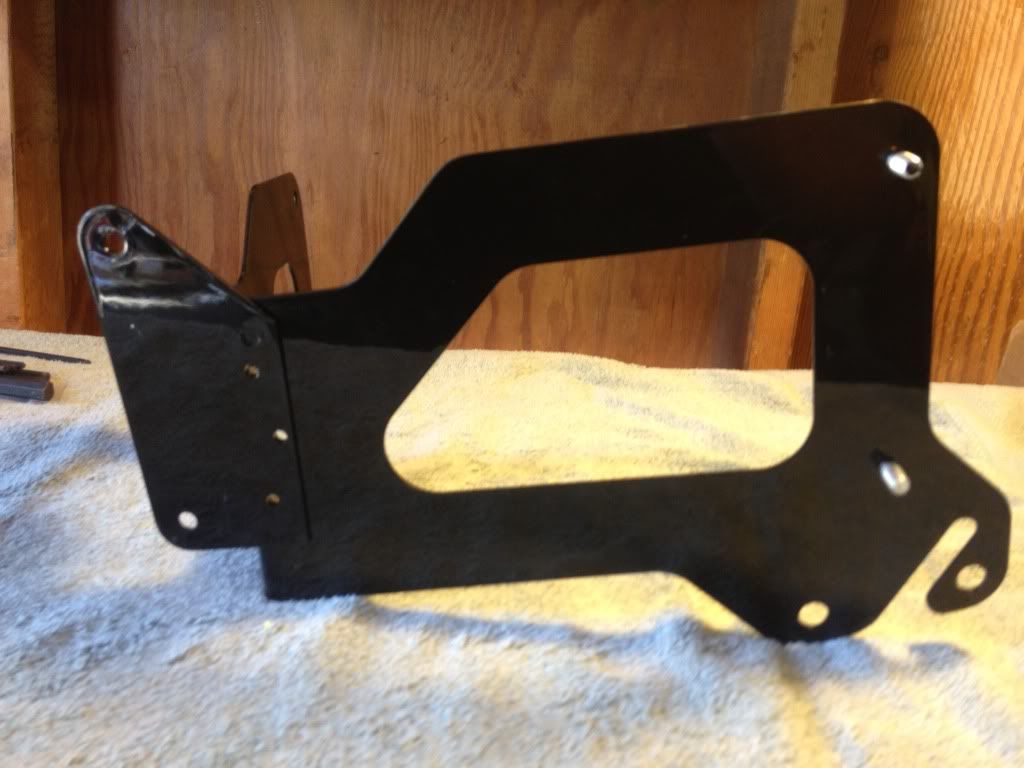
And the PN4.520D fits the bracket perfectly. But I'm not paying $400 for a bracket!

So I went and purchased some aluminum, and had a sheet metal shop match the bend and angles on the stock bracket, and reverse the angles for the right side:
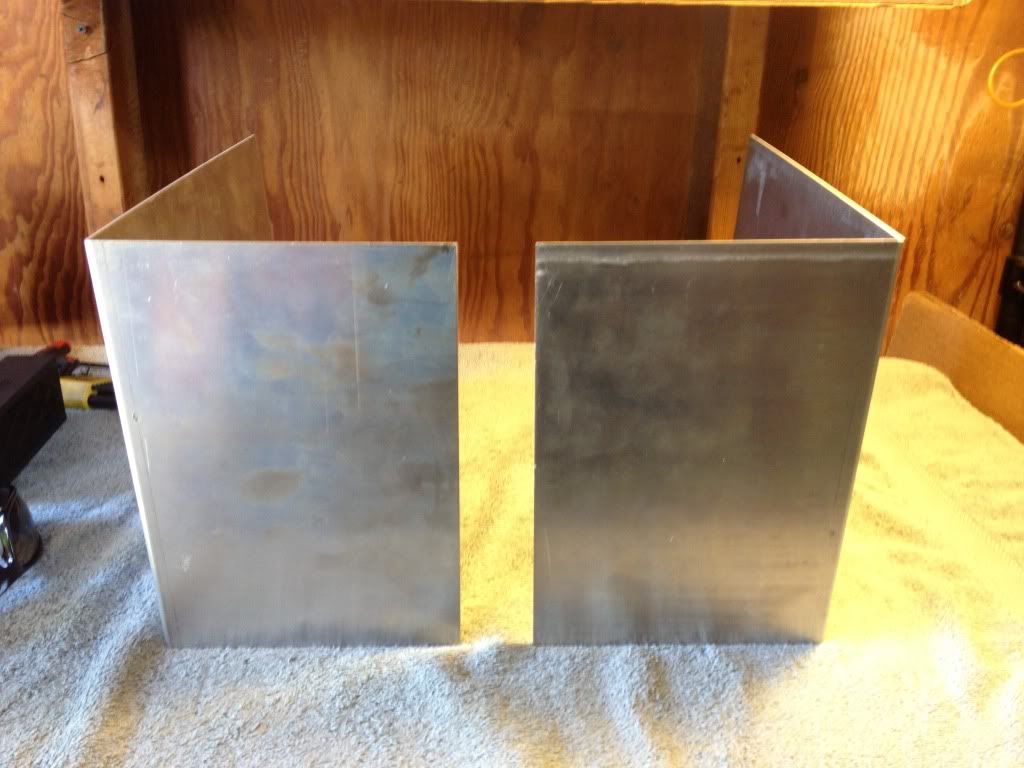
My plan is to put the 4.520 on the left side, and use a 2.350 for the 6x9's in the bag. Then, later on when I order speaker pods I'll run Tour Pak speakers off the PBR300x2. My Tour Pak is detachable, so the remote turn-on for the Fosgate will come from my accessory switch:
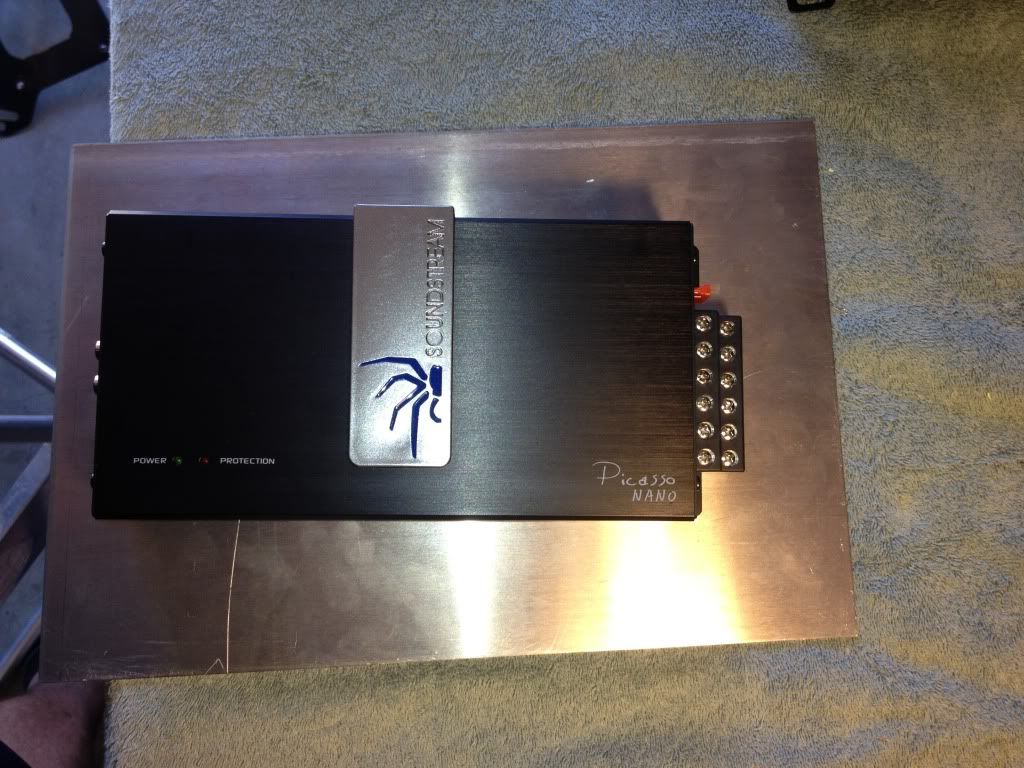
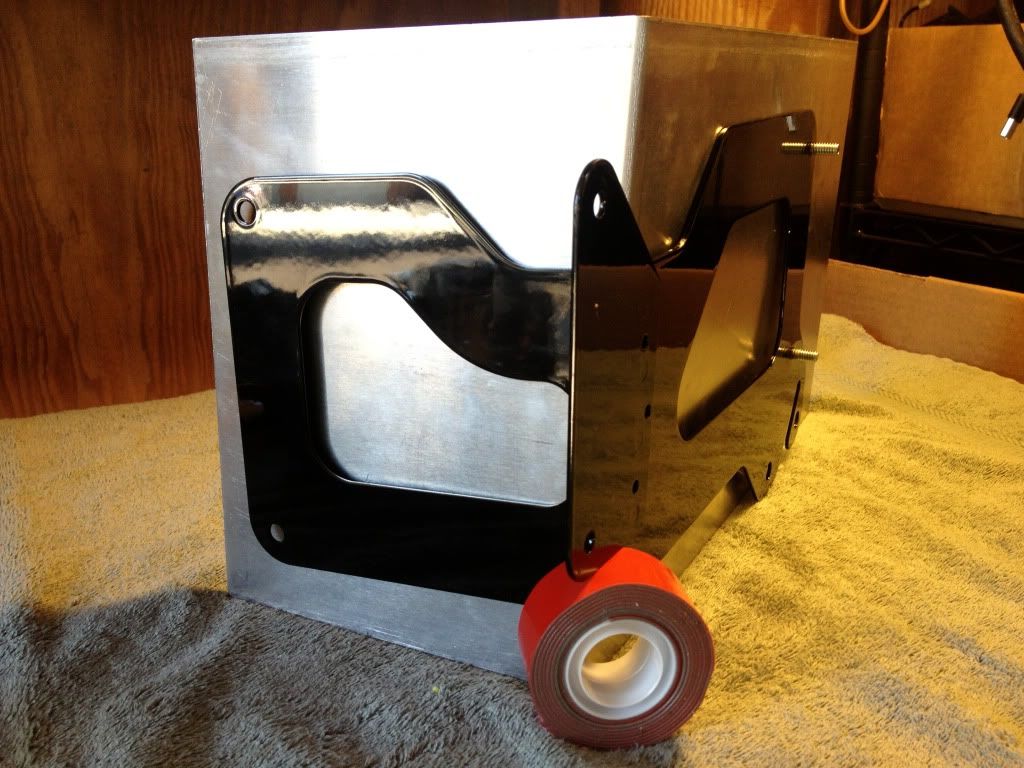
Now I need to start making a template and trimming. I'm not going to add the "ear" sticking out of the HD amp, I'm going to move the amp back. But I need to make sure I get the clearance correct:
I plan to mount the power distribution blocks and maybe the MM651 Crossovers to the front part of the bracket:
Alright, got my Wards fans installed:

Now working on the Jagg 10-row fan-assisted oil cooler:

The local HD dealer loaned me a bracket from the Boom! amp kit:


And the PN4.520D fits the bracket perfectly. But I'm not paying $400 for a bracket!

So I went and purchased some aluminum, and had a sheet metal shop match the bend and angles on the stock bracket, and reverse the angles for the right side:

My plan is to put the 4.520 on the left side, and use a 2.350 for the 6x9's in the bag. Then, later on when I order speaker pods I'll run Tour Pak speakers off the PBR300x2. My Tour Pak is detachable, so the remote turn-on for the Fosgate will come from my accessory switch:


Now I need to start making a template and trimming. I'm not going to add the "ear" sticking out of the HD amp, I'm going to move the amp back. But I need to make sure I get the clearance correct:

I plan to mount the power distribution blocks and maybe the MM651 Crossovers to the front part of the bracket:

Last edited by JCleary; 09-06-2013 at 06:41 PM.
#4
09-06-2013, 08:08 PM
Outstanding HDF Member
#5
09-10-2013, 11:19 AM
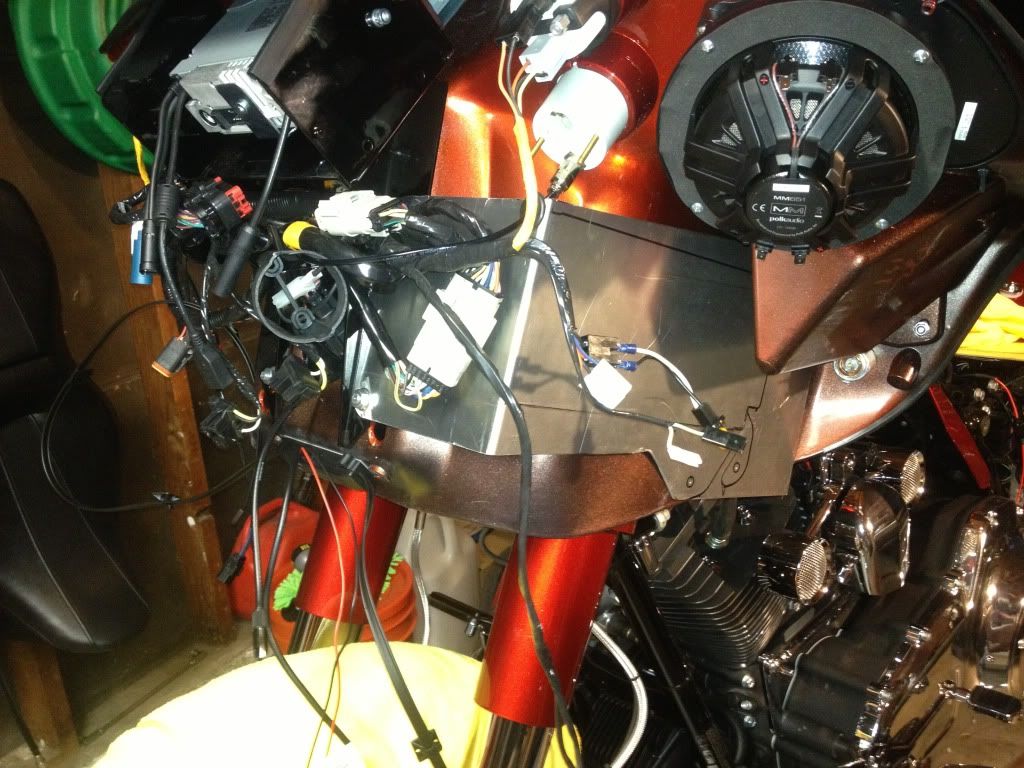
Thought I was so smart, had it all worked out...
Except I s*** the bed and measured wrong. After 4 hours of measuring, cutting, fitting, measuring and cutting I discovered that I placed the template too low. My bracket won't fit, period.
So, I ditched the SS project. Clearly I am not a fabricator! If I had access to the equipment in my employers shop in Saint Louis I'd start over. But I live on the West Coast and don't have access to a shear, a break, laser cutter or anything else to do the job right. All I have is a jigsaw (borrowed), a cordless drill and a Dremel LOL.
Anyway, I ditched the SS project, on to my contingency plan. Two PBR300X2's to drive the 4 MM651's and a SS PN2.350D to drive the 6x9's in the bags. I'll update some more pics on Friday hopefully.
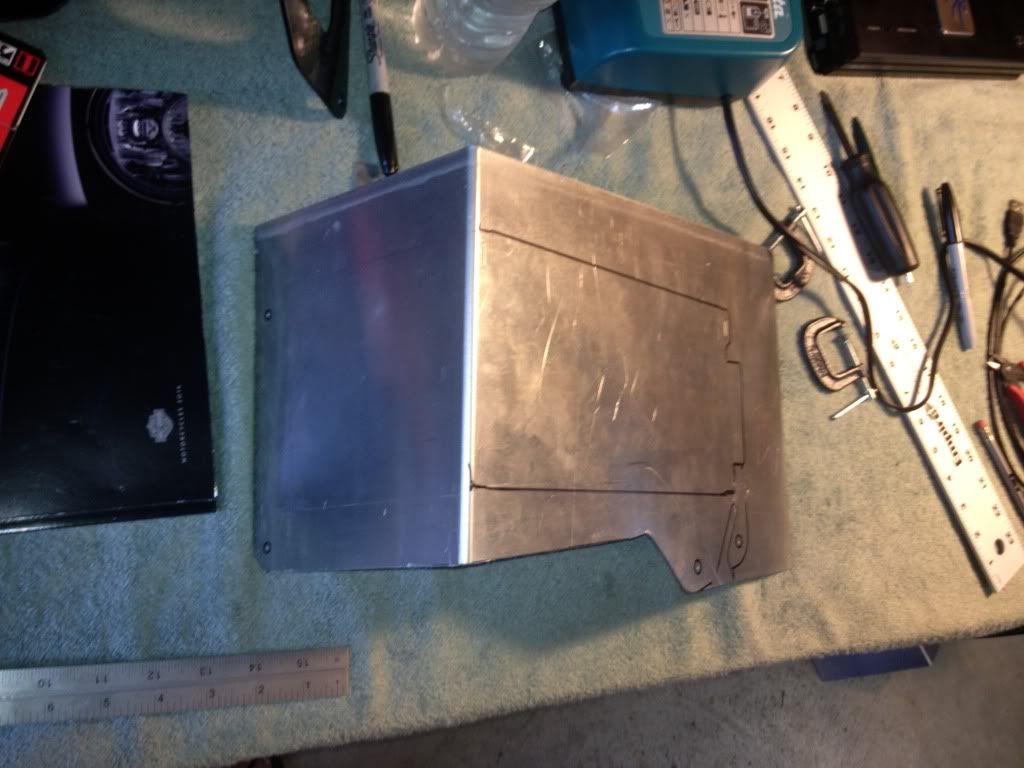
I shouldn't have bothered with the HD Boom amp template. It had the correct angle (or so I thought) of a bend, so that's what I had the sheetmetal shop copy. Turns out I should have just done a right angle bend and cut the excess to fit. Although I think my biggest mistake was doing all the test fitting prior to reinstalling my crash bar. That changed the alignment of everything:
Except I s*** the bed and measured wrong. After 4 hours of measuring, cutting, fitting, measuring and cutting I discovered that I placed the template too low. My bracket won't fit, period.
So, I ditched the SS project. Clearly I am not a fabricator! If I had access to the equipment in my employers shop in Saint Louis I'd start over. But I live on the West Coast and don't have access to a shear, a break, laser cutter or anything else to do the job right. All I have is a jigsaw (borrowed), a cordless drill and a Dremel LOL.
Anyway, I ditched the SS project, on to my contingency plan. Two PBR300X2's to drive the 4 MM651's and a SS PN2.350D to drive the 6x9's in the bags. I'll update some more pics on Friday hopefully.


I shouldn't have bothered with the HD Boom amp template. It had the correct angle (or so I thought) of a bend, so that's what I had the sheetmetal shop copy. Turns out I should have just done a right angle bend and cut the excess to fit. Although I think my biggest mistake was doing all the test fitting prior to reinstalling my crash bar. That changed the alignment of everything:

Last edited by JCleary; 09-10-2013 at 11:21 AM.
#7
09-10-2013, 05:28 PM

Trending Topics
#8
09-10-2013, 08:45 PM
The color is Candy Orange.
I paid $1000 plus paint to have the lids painted, along with the fairing lower speaker boxes, six speaker grills, the cowbells, front fender and headlight trim. Lots of small parts, so overall I don' think it was a bad deal for the SF Bay Area.
I'm sure it can be done cheaper elsewhere. Sorry I don't have a number for just the lids.
#9
10-05-2013, 12:57 AM
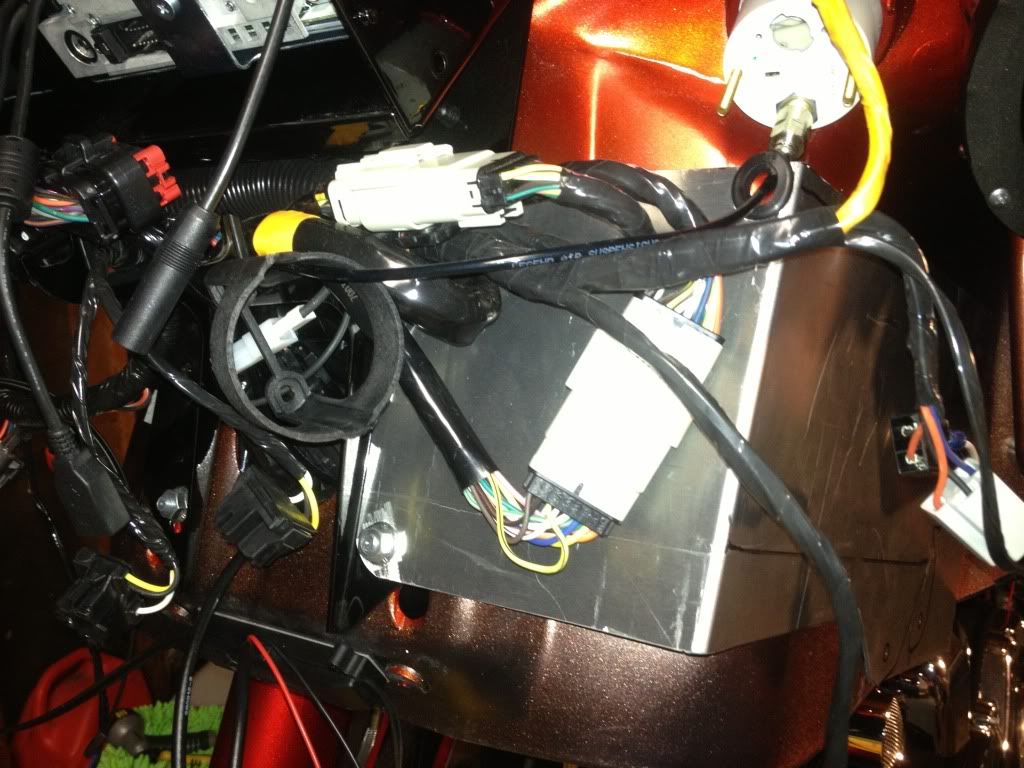
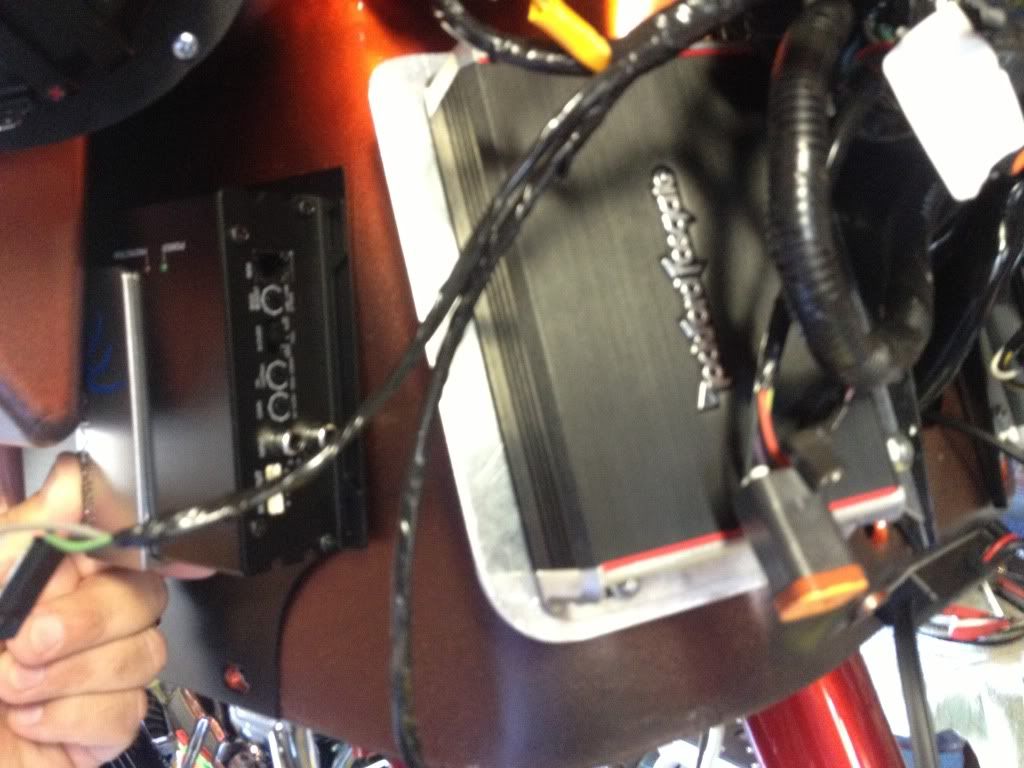
After fighting with fabricating my custom brackets I decided to bail on the two SS amps. I had test fit everything without the crash bar in place, not thinking that it would have an effect on the relationship between the two sets of fairing brackets. Rather than start over, I changed the program completely:
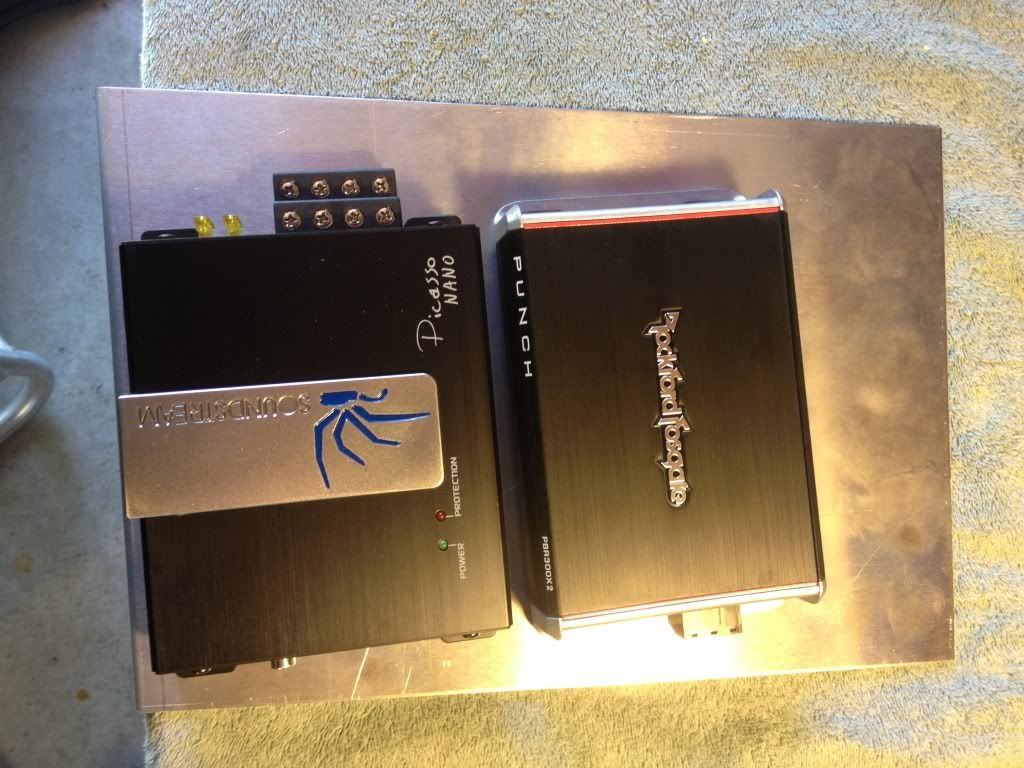
Ooops. Shoulda centered the amp, not placed it toward the bottom Turns out the way I cut I do not have enough material at the bottom to meet up with the crash bar bracket.

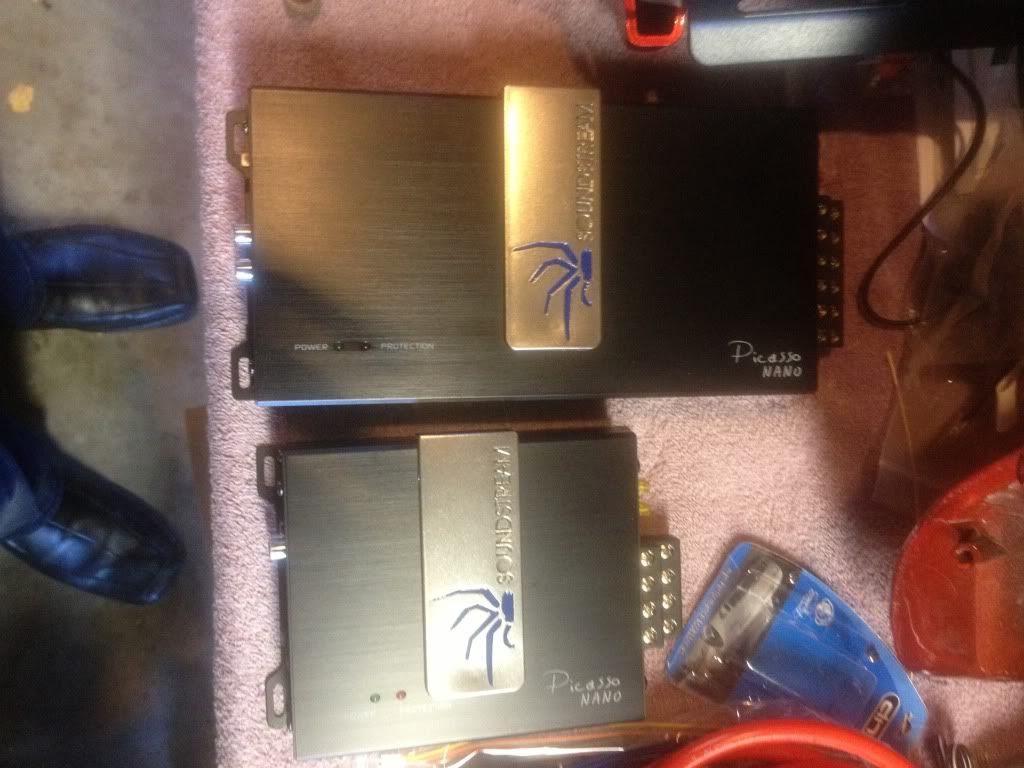
So, I used two brackets I bought from a forum member and two RF amps:
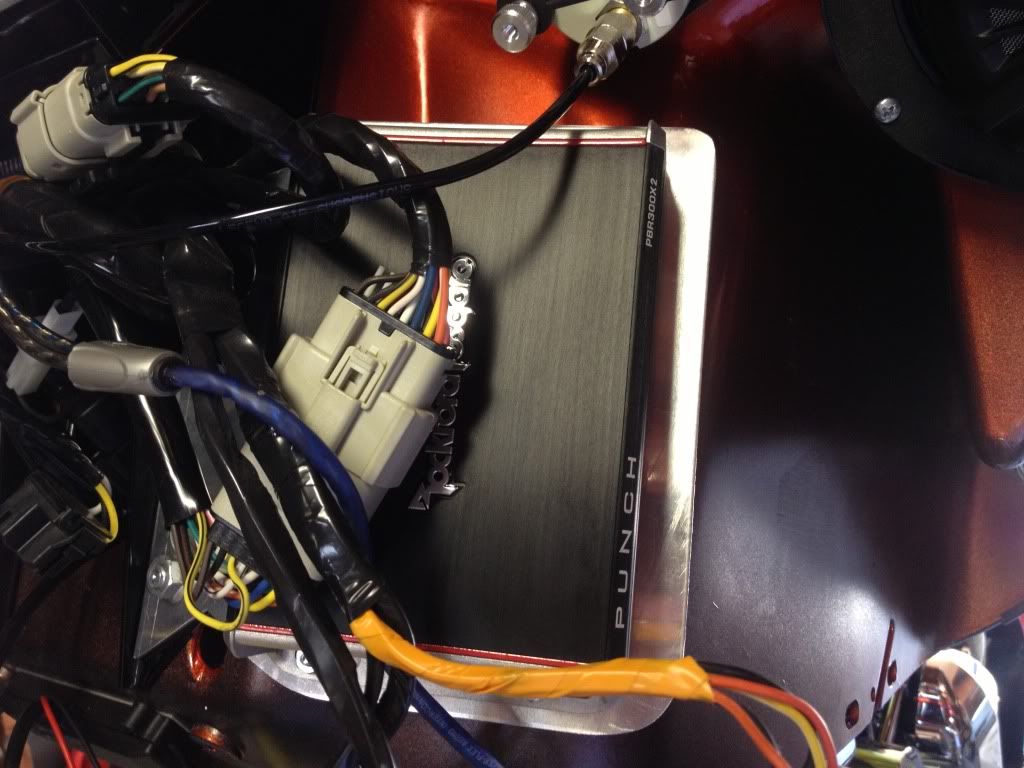
Oh, and a Hogtunes 4-channel bracket for a SS PN2.350D to drive my 6x9's:
Ooops. Shoulda centered the amp, not placed it toward the bottom Turns out the way I cut I do not have enough material at the bottom to meet up with the crash bar bracket.

So, I used two brackets I bought from a forum member and two RF amps:

Oh, and a Hogtunes 4-channel bracket for a SS PN2.350D to drive my 6x9's:


