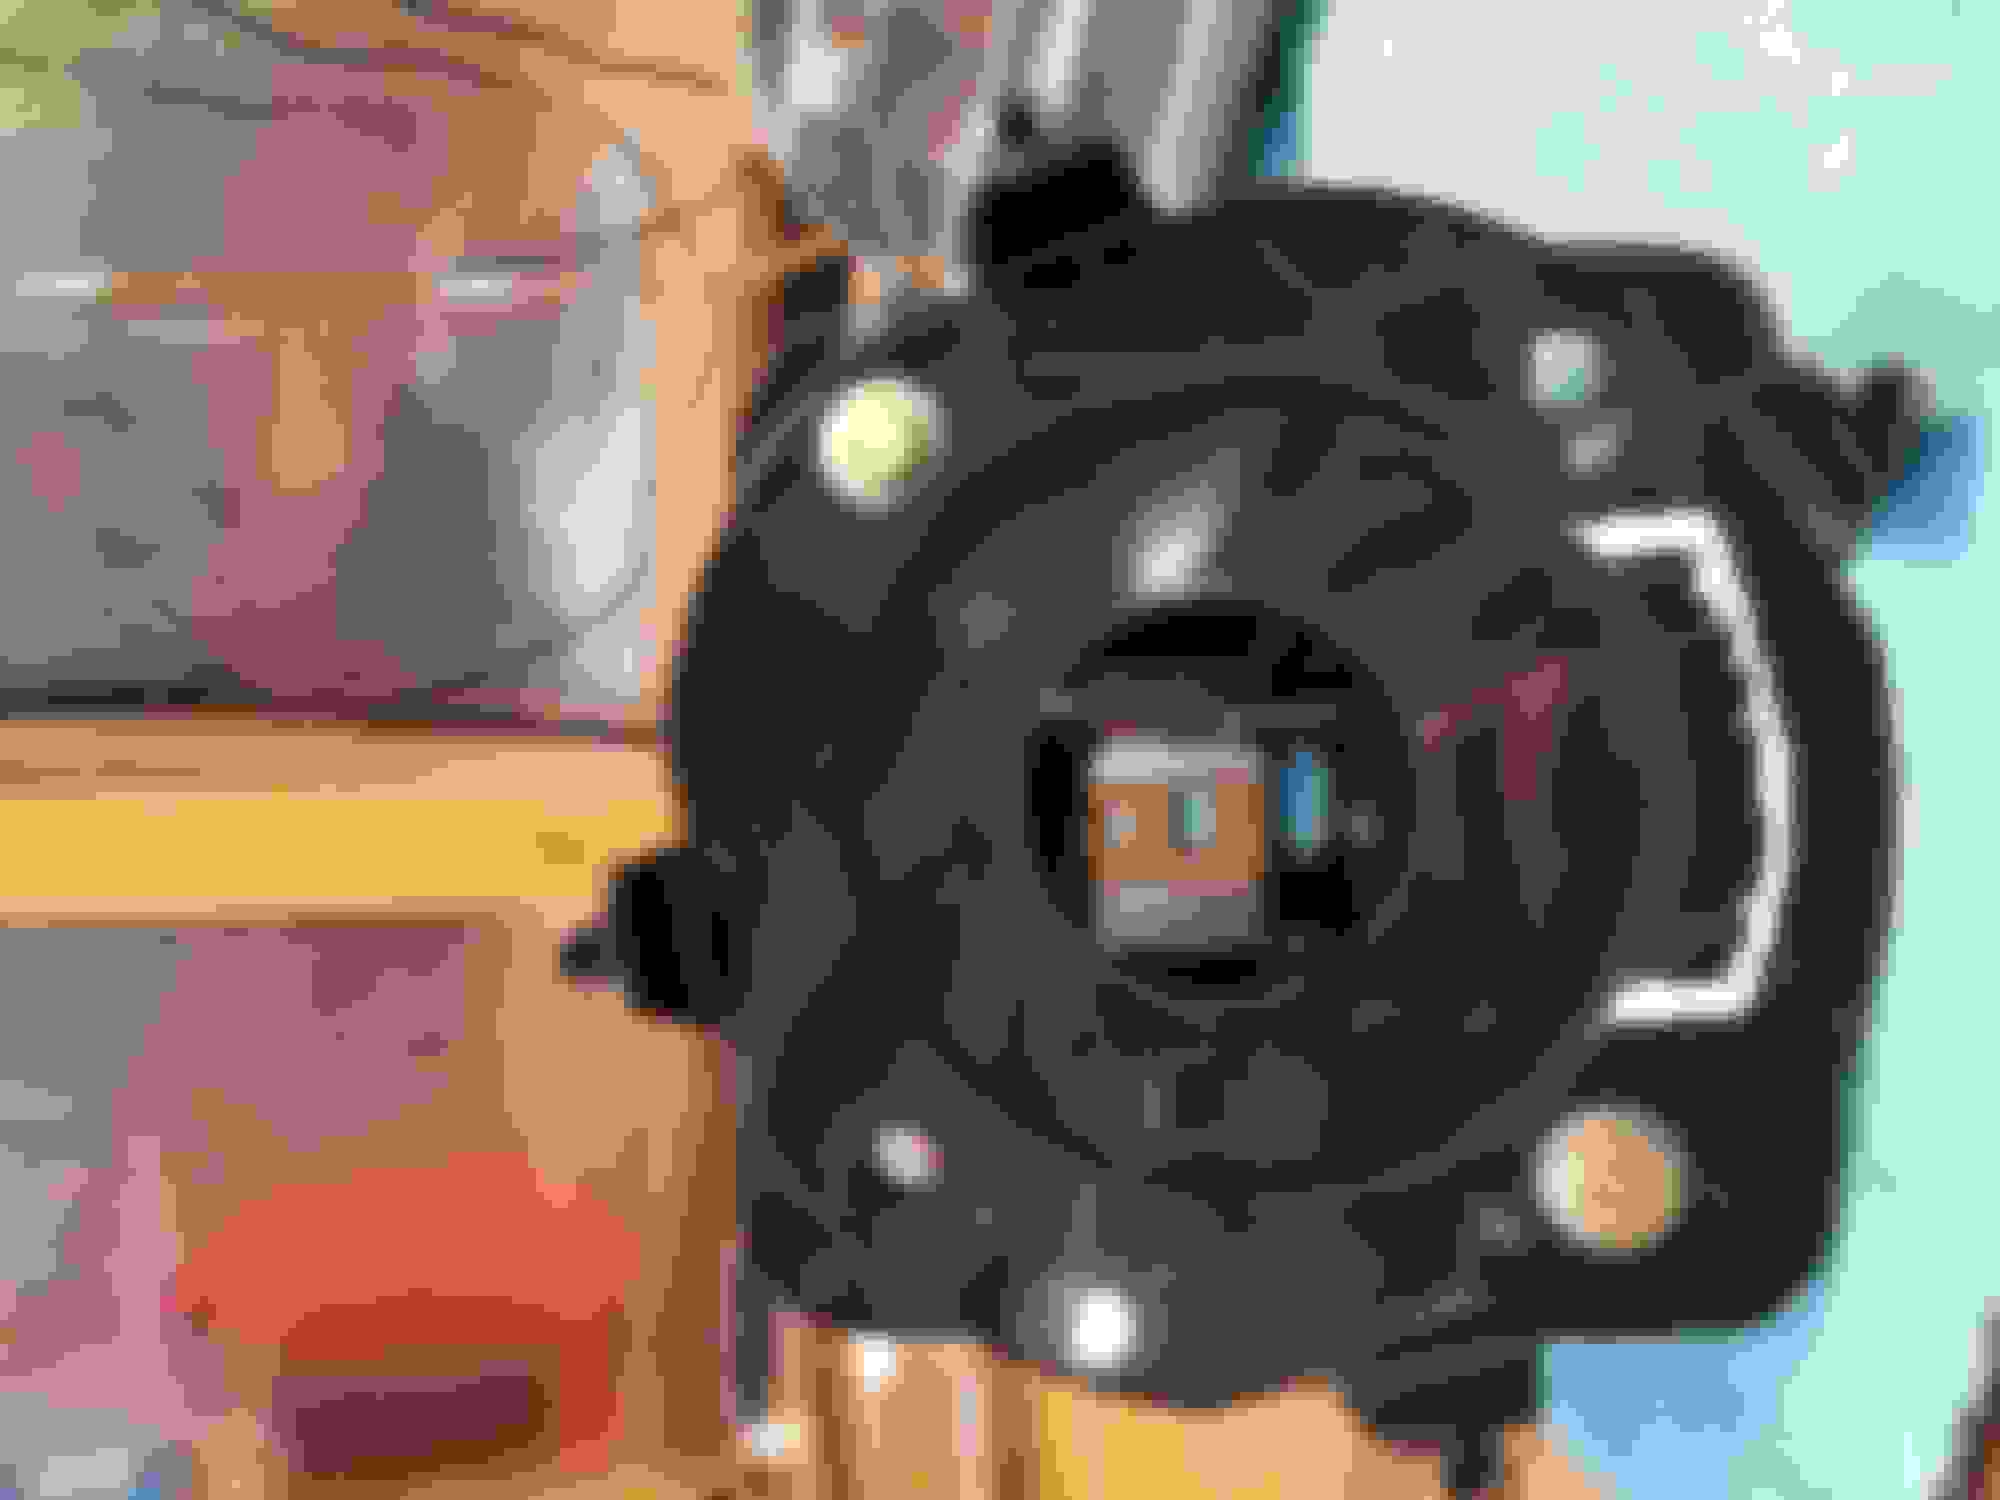
Here outside of the fairing's headlight bucket, you can see the aluminum heatsink body up against the mounting bracket prohibiting the headlight from setting all the way in. Some guys I've talked to on facebook used spacers to shim the headlight mounting ring up off the mounting bracket. This wouldn't work for me as the fairing's headlight cover won't fit if the headlight isn't down inside the bucket deep enough. The other solution would be go cut some of the heatsink fins down.
After I got the brackets all sorted, I assembled the brackets onto the fairing and opened up the hole in the fairing's headlight bucket to match the ID of the brackets. A Dremel tool with a 1/2" drum sander made quick and clean work of the fairing.
The notch on the left-hand side of the mounting bracket was cut in to allow clearance for the headlight's electrical connector.
It was nice to see the headlight finally mounted in the bucket. Unfortunately the headlight sets a little crooked (about 5� rotated), but I'll sort that out at final assembly by slotting the headlight ring mounting holes and rotating as needed once I see the final angle.
In other news...2" riser extensions, longer riser bolts, extension wires, and longer brake line is installed. I did a test fit-up with the 2" riser extensions and it looks like I have good clearance with the fairing (I didn't have the windshield installed, though). I need to get a transmission cover gasket before I swap out the clutch cable. I'm due for my 30k mile service and a change in transmission fluid, so I'll just drain the transmission when swapping the clutch cable.
I had to do quite a bit more gunsmithing on the side plates that bolt to the frame. I had to grind the outer diameter of the side plate mounting bosses to properly fit into the frame holes. During my fitting tests, I noticed that the right-hand side plate wouldn't set flush against the side of the frame. I realized there is a rectangular raised area on the side of the frame, and the side plate crosses over top of that area. I had to cut a corner in the side plate to clear that geometry.
On the main mounting plate, I again noticed the side plates not mounting flush to the side surfaces. I found several areas were the welds were too thick and not letting the plates mount flat. I ground these down.
After I get done with the final fit-up test and everything is good to go, I'll disassemble everything and touch up the paint on the the brackets I've cut and ground on.
It'd be interesting to know what some of these folks are doing for turn signals. I don't see them in most of these pics.
The '85 FXRT I owned had the turn signals neatly imbedded in a flush light on the fairing body if I remember correctly.
ETA: that pic in post #19 shows it
ETA2: My 85 FXRT was that color. I rode it all over the South. I could smoke a cigar at 65 mph and it wouldn't blow the ash off. You sat in a bubble of calm air. Why why why did I sell it dagnabit?
Last edited by panheadache; 02-13-2021 at 09:22 AM.
Because they spent 10 years learning that no one wanted them. 82-92, it was the bike you could buy leftover and the Harley that depreciated the most, even more than the Tour Glide. When dealers took them in trade, they removed the faring to make them into a regular Low Rider in order to sell them.
Times sure have changed.
Yep, it didn't sell well. Was before it's time I guess.
I had to do quite a bit more gunsmithing on the side plates that bolt to the frame. I had to grind the outer diameter of the side plate mounting bosses to properly fit into the frame holes. During my fitting tests, I noticed that the right-hand side plate wouldn't set flush against the side of the frame. I realized there is a rectangular raised area on the side of the frame, and the side plate crosses over top of that area. I had to cut a corner in the side plate to clear that geometry.
On the main mounting plate, I again noticed the side plates not mounting flush to the side surfaces. I found several areas were the welds were too thick and not letting the plates mount flat. I ground these down.
After I get done with the final fit-up test and everything is good to go, I'll disassemble everything and touch up the paint on the the brackets I've cut and ground on.
Wonder if the other reproduction fairings like RWD etc have these same fitment issues?
 02-12-2021, 09:27 PM