
CVO dash appliqué - install ?
#1
 06-04-2014, 04:54 PM


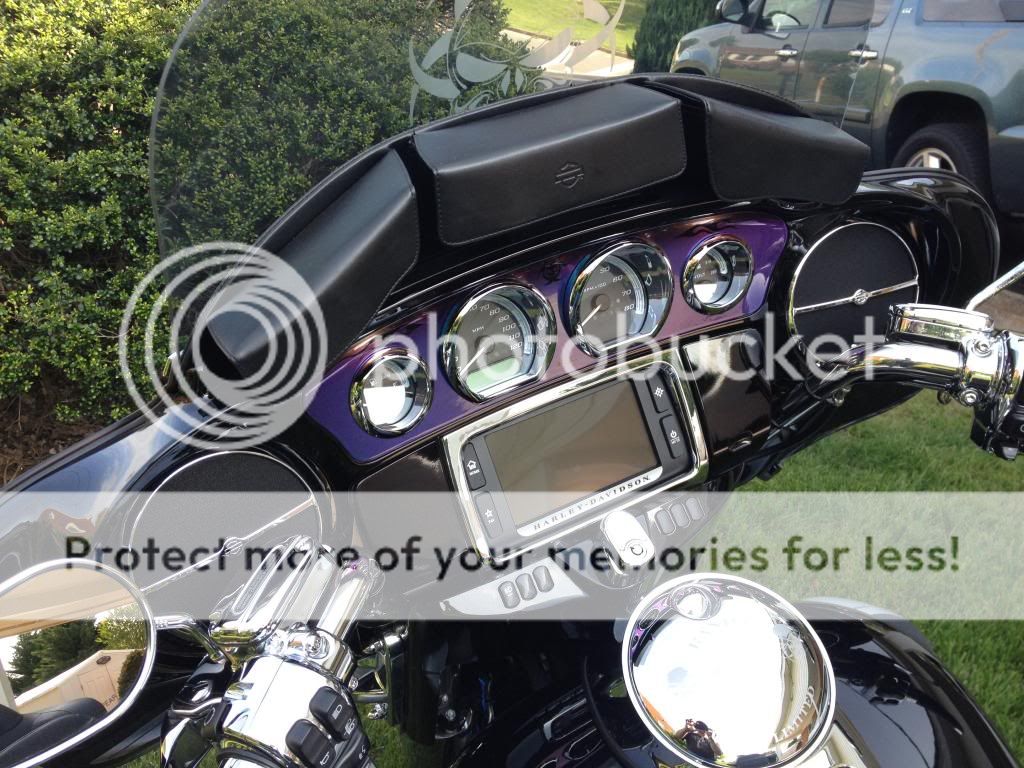
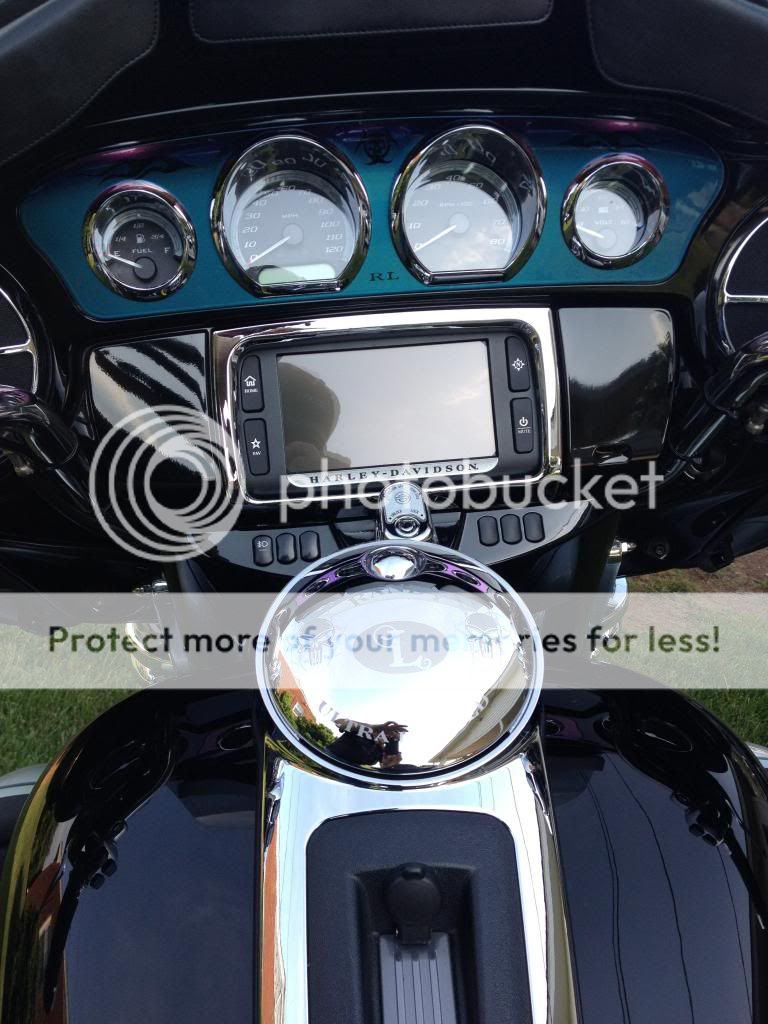
I just ordered the CVO dash thingy. Comes standard on CVO Limited. Looks like aluminum plating. Anyway, anyone that has installed this, how did you do it? I was thinking about taping it in place from the top, then lifting up and peeling off all the backing at once and then lay in place. Any ideas thoughts on this would be appreciated. Thanks.
#2
06-04-2014, 05:14 PM

Same technique as applying clear film. Use a one liter spray bottle with distilled water and 3-4 drops of Johnson's baby shampoo. Spray the dash and the sticky backing liberally with the solution. Lay the piece in LIGHTLY and you can slide it into position. Once in position press firmly in all areas to extrude the water mixture. Do not cut corners by using regular water or "purified" water. It must be steam distilled water, available at most drug stores. Pick up the baby shampoo at the same time.
#3
06-04-2014, 07:26 PM

You are smart being concerned. The first time I installed the trim panel I started on one side, working to the other; it was the wrong method. It was good on one side but off on the other. It was a pain to remove and cost me another panel. I wimped out and had my dealer install the second panel along with the matching tank trim.
#4
06-10-2014, 08:09 PM
I'm ordering mine soon. Whenever I put on stickers, I only remove one side of the backing about an inch or so at a time. Therefore, if I mess up, I can easily pull off and start over again. But once it is in place on one edge, I slowly keep pulling off the backing and pressing as I go from one side to the other. Never had a problem.
#5
06-10-2014, 09:27 PM
Tourer
Same here as above. Positioned the dash in place before removing any tape and noted spacing all the way around indented lip. Then scored the tape with a little exacto knife to have smaller pieces to remove. I actually started at the bottom, lining up across the lower lip and had no troubles and went on easily.
#6
06-11-2014, 11:30 AM
6th Gear
Join Date: Apr 2014
Location: ILLINOIS
Posts: 10
Likes: 0
Received 0 Likes
on
0 Posts
Rockgeezer I sent you a pm
Same here as above. Positioned the dash in place before removing any tape and noted spacing all the way around indented lip. Then scored the tape with a little exacto knife to have smaller pieces to remove. I actually started at the bottom, lining up across the lower lip and had no troubles and went on easily.


#7
06-11-2014, 11:39 AM
Tourer
Trending Topics
#8
06-11-2014, 03:22 PM
Same technique as applying clear film. Use a one liter spray bottle with distilled water and 3-4 drops of Johnson's baby shampoo. Spray the dash and the sticky backing liberally with the solution. Lay the piece in LIGHTLY and you can slide it into position. Once in position press firmly in all areas to extrude the water mixture. Do not cut corners by using regular water or "purified" water. It must be steam distilled water, available at most drug stores. Pick up the baby shampoo at the same time.
#9
06-11-2014, 03:32 PM
#10
08-18-2014, 10:23 PM

Intermediate

