
Ohlins 2-2A and FKC 102 Cartridge Installation
#11
 05-13-2016, 12:00 PM

With all of the guts removed from your fork tube, lightly lube the fork tube bushing with fork oil and install. The same with the slider bushing and seal spacer. Coat the oil seal in seal grease (non-petroleum based) and install it with the spring toward the spacer, then the seal lock spring.
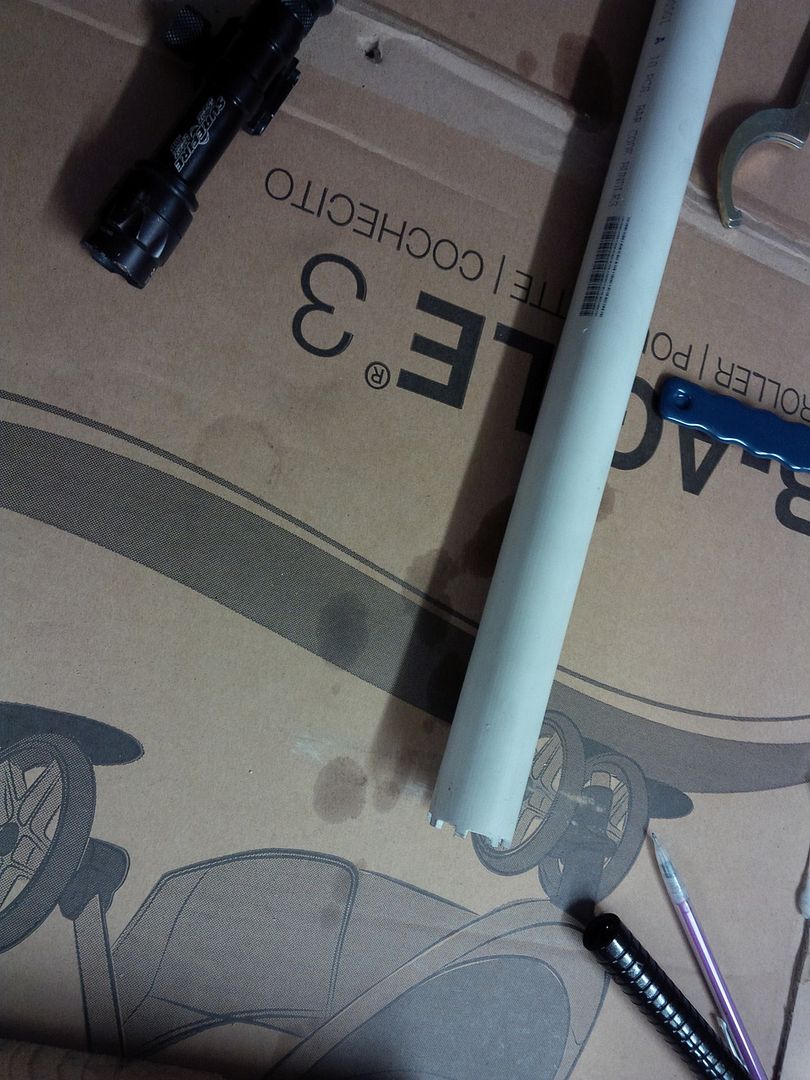
If you haven't purchased the tool to thread the cartridge into the slider, now is the time to make one. Again, someone may have an easier, or better way, but I made mine from 1" PVC since I don't have a Bridgeport laying around my garage, unfortunately. The negative recesses in the cartridge are 5mm. I cut mine as tight as I could and then rounded the inside corners just a touch with an X-Acto blade. You have to use common sense when using it obviously. I used a strap wrench with it and tightened top of the cartridge well, but not gorilla tight.
If you haven't purchased the tool to thread the cartridge into the slider, now is the time to make one. Again, someone may have an easier, or better way, but I made mine from 1" PVC since I don't have a Bridgeport laying around my garage, unfortunately. The negative recesses in the cartridge are 5mm. I cut mine as tight as I could and then rounded the inside corners just a touch with an X-Acto blade. You have to use common sense when using it obviously. I used a strap wrench with it and tightened top of the cartridge well, but not gorilla tight.
Last edited by FNGonaRK; 05-17-2016 at 09:01 AM.
#13
05-13-2016, 06:04 PM
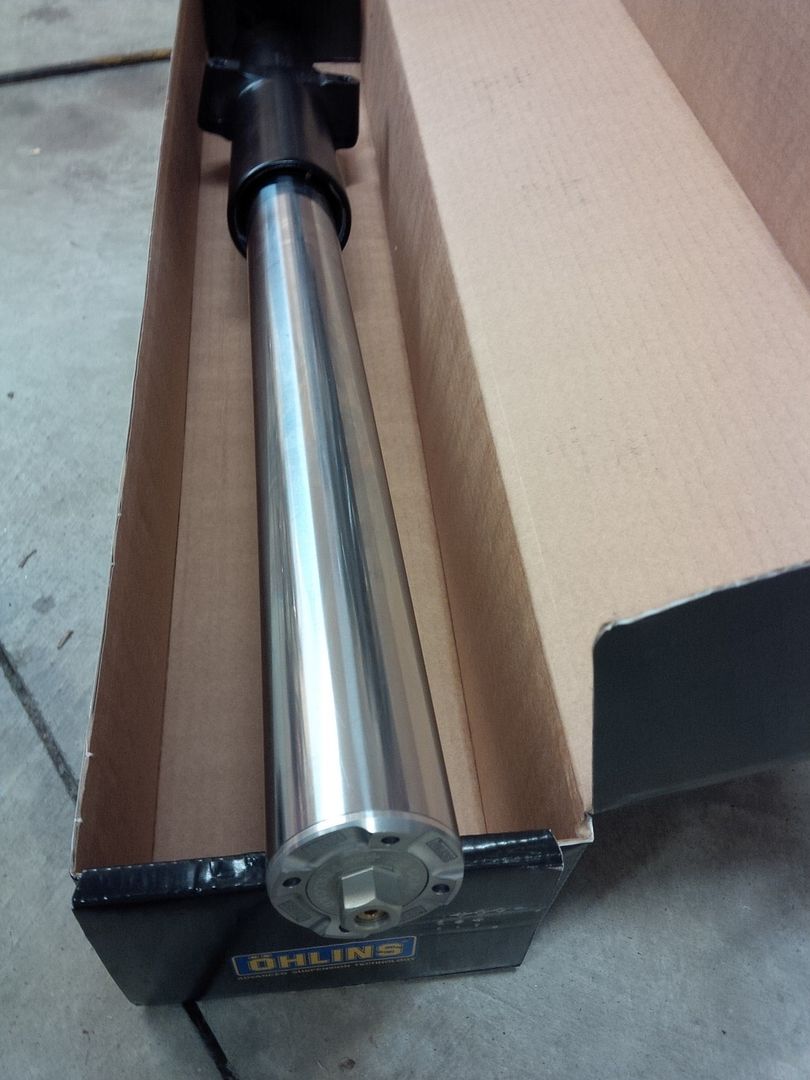
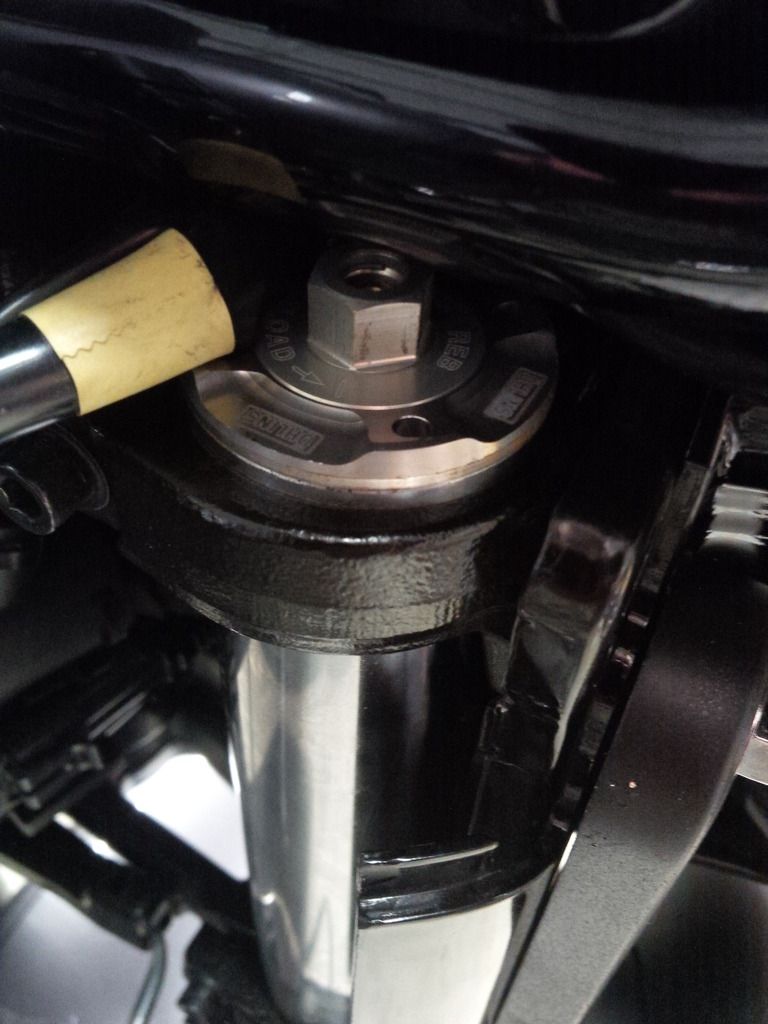
Then remove the guts from your new cartridge and install the oil lock (non-functional, but seats the cartridge in the slider), and the cartridge tube. Compression side goes into the left fork. Use a 17mm hex head socket on a series of long extensions to tighten the cartridge body to the 12mm hex bolt and copper washer. I taped my extensions together thoroughly, along with the socket on the 17mm side to make certain I didn't leave anything behind when I pulled it out. Those washers are single use, so a new one should be used.
This is what it looks like going into the slider:
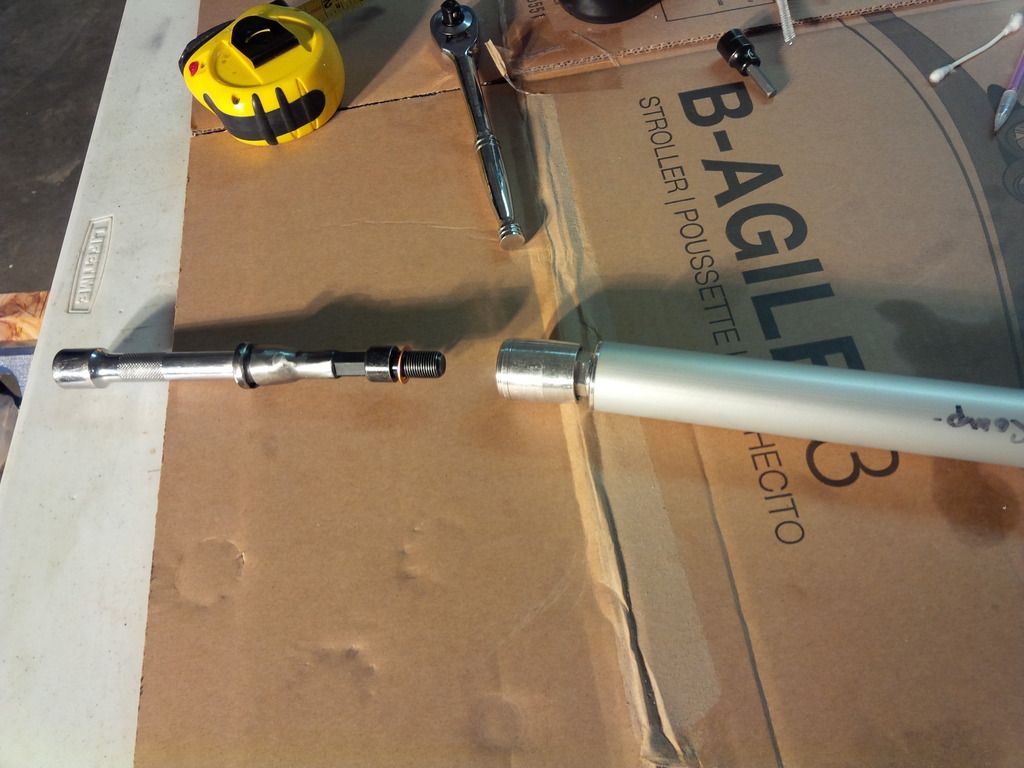
Then install the guts.

This is what it looks like going into the slider:
Then install the guts.
Last edited by FNGonaRK; 05-17-2016 at 09:26 AM.
The following users liked this post:
'05Train (05-13-2016)
#14
05-17-2016, 08:19 AM
Install the spring preload tube and damping rod tool (from Motorcycle Metal). Then fill with Ohlins fork oil and prime the cartridge. This is very important. I primed it until I couldn't see any more bubbles being formed on the surface and then let it sit for a few minutes and then did it again. That may be overkill, but I wanted to be certain I got all of the air out. Set your fork oil level gauge at 200mm and draw out any excess.
Install the spring and spring support. It's helpful to have an extra set of hands for this part, even unskilled hands will work. I gave my wife a flat bladed screwdriver. I pushed down on the spring and spring support. She lifted up on the damping rod tool and inserted the screwdriver under the lip of the nut and held it while I removed the tool and installed the cap. I pressed down on the spring again and she slid a 19mm wrench onto the nut and I tightened the cap with a 14mm wrench. She was then released to go watch her shows.
Install the spring and spring support. It's helpful to have an extra set of hands for this part, even unskilled hands will work. I gave my wife a flat bladed screwdriver. I pushed down on the spring and spring support. She lifted up on the damping rod tool and inserted the screwdriver under the lip of the nut and held it while I removed the tool and installed the cap. I pressed down on the spring again and she slid a 19mm wrench onto the nut and I tightened the cap with a 14mm wrench. She was then released to go watch her shows.
#15
05-17-2016, 08:26 AM
I wasn't given a recommended sag for our bikes. The manual says that it should be between 20-30mm without a rider. I set it at 25mm. I went with 12 clicks on each leg as a starting point for the set up.
You should choose your initial setting prior to fully installing the forks. Once they were seated I was unable to get the 3mm hex key into the top.
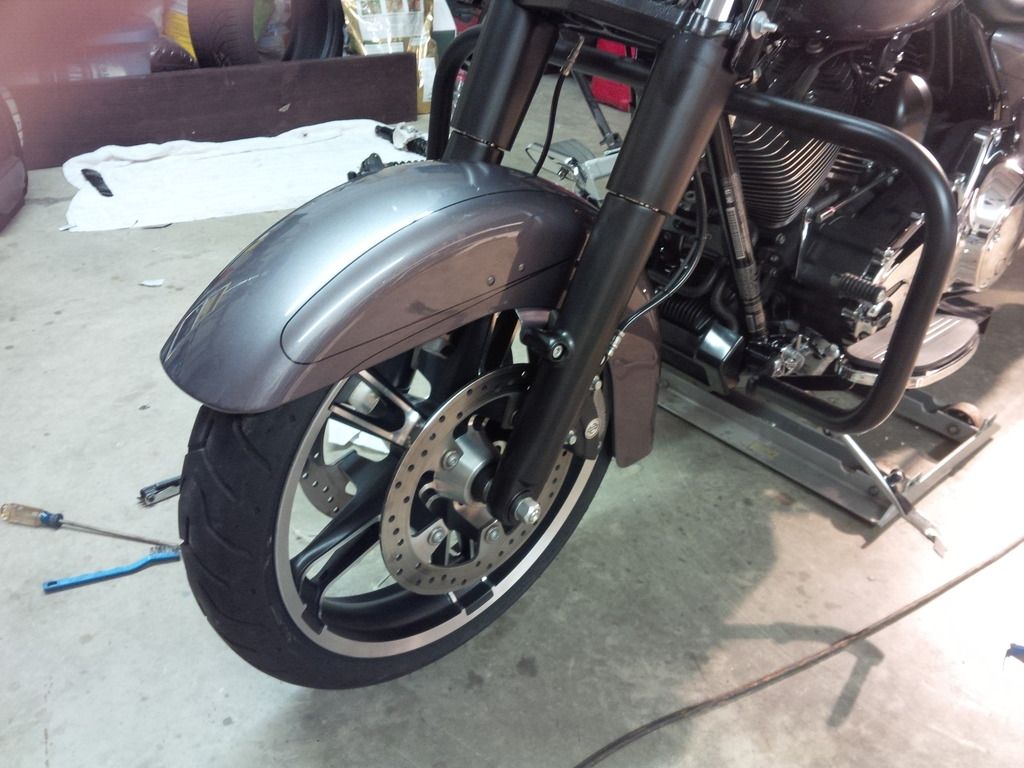
This is where we're at now. I still have to set the sag for the rear. I'll do that when the wife gets home and then take it for a test ride. It was 2AM when I got everything buttoned up and now it's raining like crazy out.
I'll update with a ride report soon. I'm headed out for a road trip, so it may be a week, or so before I get to give a full review of how they feel.
You should choose your initial setting prior to fully installing the forks. Once they were seated I was unable to get the 3mm hex key into the top.
This is where we're at now. I still have to set the sag for the rear. I'll do that when the wife gets home and then take it for a test ride. It was 2AM when I got everything buttoned up and now it's raining like crazy out.
I'll update with a ride report soon. I'm headed out for a road trip, so it may be a week, or so before I get to give a full review of how they feel.
Last edited by FNGonaRK; 05-17-2016 at 10:04 AM.
#16
05-17-2016, 12:30 PM
Looked out the window and it had stopped raining so I jumped on the bike for a quick test ride. The front feels amazing!
The rear stepped out on me under acceleration on the wet road and seemed to bottom out over some larger bumps, so I have some work to do there dialing it in. Overall, I'm pleased. I'm sure it will get even better as I keep tweaking on it.
The rear stepped out on me under acceleration on the wet road and seemed to bottom out over some larger bumps, so I have some work to do there dialing it in. Overall, I'm pleased. I'm sure it will get even better as I keep tweaking on it.
#17
05-20-2016, 02:06 PM
Ride Update: The handling with this set up is amazing! I think they may be set up a little on the tight side at the moment. The ride is much better than stock, but the rear still needs to be tweaked a little. I think it can ride smoother than it is currently.
One tuning tip. I initially dialed the forks fully open (all of the way counter clockwise) and counted clicks clockwise. This is not the correct way. Run them down clockwise and count backwards. Adjusting the forks is a little bit of a pain in the ***, because of my bars. I have to drop the forks down in order to change the valve settings. It won't be much of an issue once they are dialed in.
One tuning tip. I initially dialed the forks fully open (all of the way counter clockwise) and counted clicks clockwise. This is not the correct way. Run them down clockwise and count backwards. Adjusting the forks is a little bit of a pain in the ***, because of my bars. I have to drop the forks down in order to change the valve settings. It won't be much of an issue once they are dialed in.
#19
05-20-2016, 09:14 PM
#20
05-21-2016, 08:30 AM
My scoot is 2014 CVO limited, must be a little different as I got just a little more space (not much) but the hex seats fine..it's short (the hex). Mine is 13 clicks for now and might go to 14. Doin a cross country in mid June with baby bride on back so want it REALLY dialed in. Does your setup make hydraulic kinda noise on depression? The boys at Ohlins tent in Daytona said normal but it still bugs me.