Cutom Dynamics LED turn signals and Dual Plazma Rods 2014 Road Glide (lots of pics)
HDForums members,
here is my way of setting Custom Dynamics LED turn lights and Custom Dynamics Dual Plasma 8" Rods on my new 2015 Road Glide Special.
All parts together:
Everything you need for this build, no tools required.
All the price tags as they come from Custom Dynamics. Eastern Performance Cycles beat those by mile.
Parts used:
GEN200-AW-1157 ($89.95 pair)
GEN200-R-1157 ($89.95 pair)
GEN-MPLASMA-DC-PR ($179.95 pair)
GEN-TSD ($74.95)
pair of clear stock lenses ($4)
pair of smoke lenses ($6)
NOTE: GEN-TSD is needed for latest Touring models, I think from 2014 and later. Don�t take my word for it, and give Custom Dynamics a call, and check out with them (very helpful on advice, not on discounts. Will discuss this later in the post.).
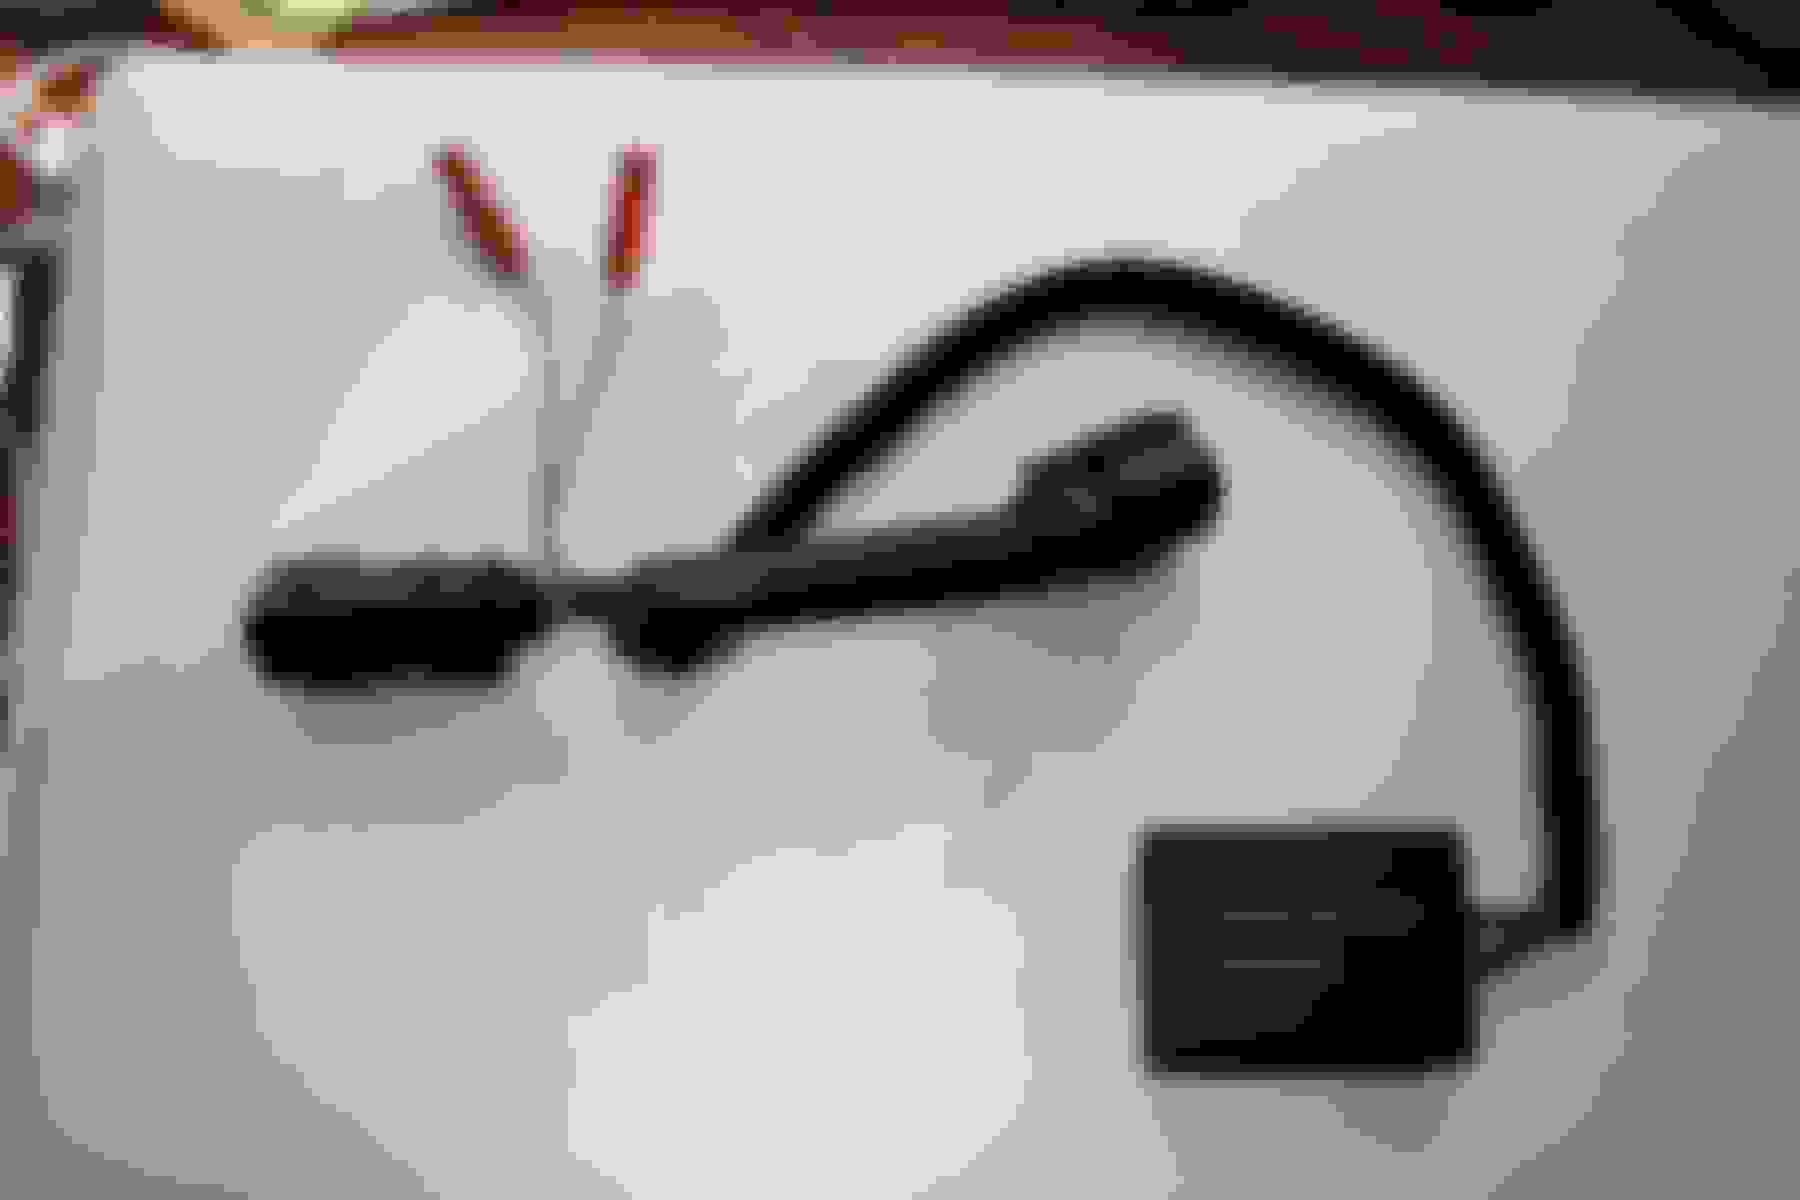
GEN-TSD
POSI locks for the left and right turn.
Brown with the red stripe on the GEN-TSD for right turn and the purple with the red stripe for left turn.
My 2015 model has 1157 style light sockets, which is for dual intensity lights. When you purchase your LEDs check out the connector of your stock lights and decide which ones fits your bike.
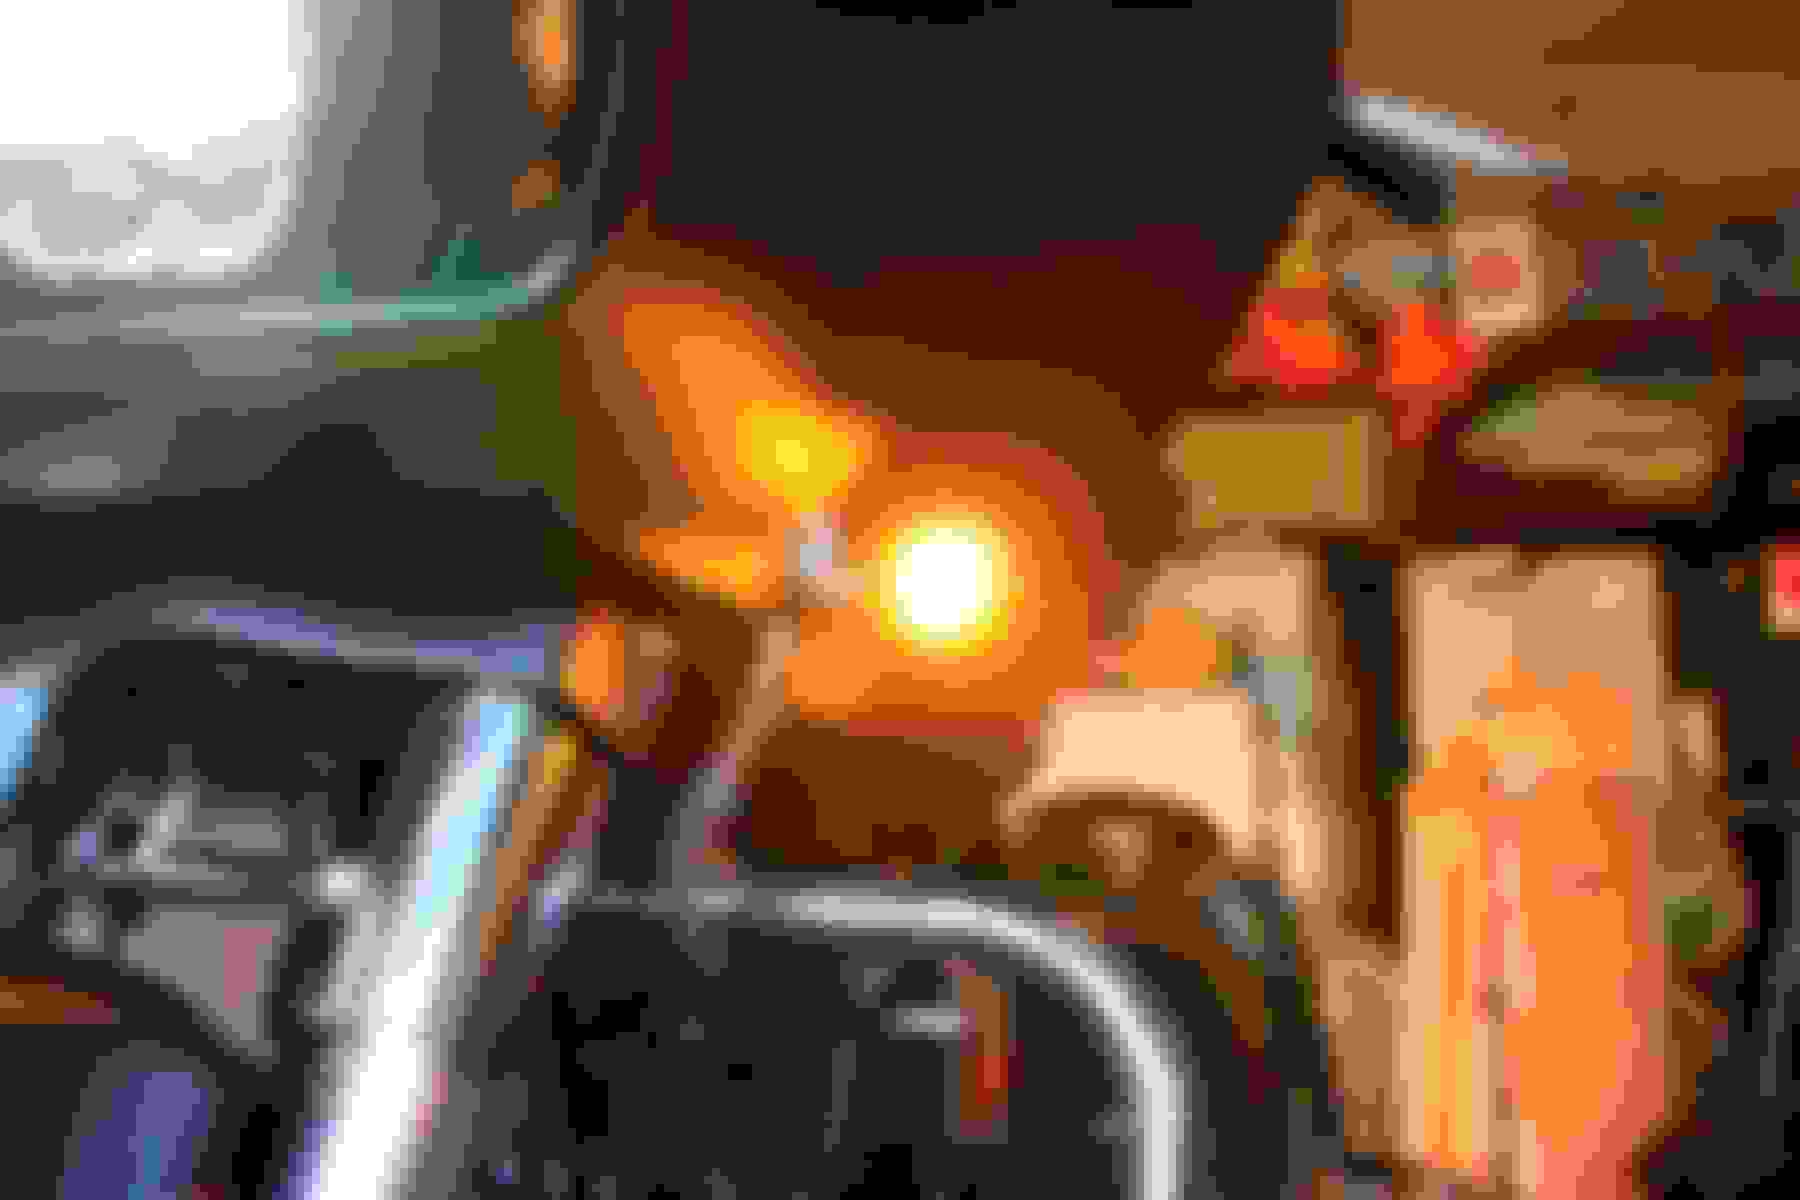
Stock light on. Look at the reflection in the fearing and compare it with the LED ones later.
Most of the pictures where the lights are on are made with same settings on the camera, to avoid what the camera can compensate when recalibrating the shot. All aperture and f-stop setting were the same.
Total cost for this upgrade is ~$445. Now the fun part, I have called couple of times Custom Dynamics, with questions about all the parts I need for the build, and of course every time I asked to get at least some type of discount. I wonder if their business is doing so good, but I was declined any discount every time. As every dollar counts, I looked elsewhere, and I am not sure was I lucky or not, but I have found Eastern Performance Cycles (not affiliated with anyone in this post), http://www.easternperformance.com/, and I saw they had the parts in stock, so I decided to give them a call.
I talked with Derrick, or Dominic, I am sorry, but I forgot the name. He had found all the items from the above list, and put me on hold to make a quote for me. A minute later he gave me a price of $365.80 shipped. WOW. I haven�t even asked for discount, and I got $80 off. I asked him is he really sure that we are talking same parts, from CD not from someone else, and he said, �I am giving you a good price, since you already have paid a lot for your bike� .
I got $17 off each pair of signals, $40 off the rods, and $5 off the decoder, free shipping, no tax.
Back to the assembly process.
The LED turn light installation was a breeze. Pop out the lenses with small coin, take out the stock bulb, and insert the LED light in. Per Dennis, from CD, the dielectric grease that is already there should be enough, so no need to put any on the LED light connector, but a thin coat will not do any harm, if you feel too.
My camera caught a nice ghost image of the LEDs which gives you a nice view of which leds are lighted and which not.
A lot of reflection from the white ones even that the pattern is not grouped.
I had changed the camera settings to auto to get the better picture of the LED cluster.
I got clear and smoke lenses just to try which I will like more, since I was told that on the rear light it�s better to be left as stock (red), which I did. (Note, my back lights are dual intensity red lights, not red/amber).
When on, smoke lenses are not reducing any noticeable amount of light, so I decided to go with them since they look better with my bike's denim black paint.
Rear light, half way done, for comparison.
Rear view
With that done, I can say the difference is significant, even that the pictures may not show it properly.
Next, rods installation time, where I have made my own custom solution. I have seen couple of approaches, one recommended by CD, one done by HDForums member �14 FLHX�, one with using a wooded quarter circle profile rod behind the fender wall, etc.
What I did is I have made my own design out of aluminum. It is thin, non corrosive, light, and I have made it out of computer housing from an old Apple laptop. You can use any thin aluminum piece 10� high and 2� wide. If anyone is interested I can send them my pdf file with the dimensions. Cutting was easy, since it is very thin, and then I have used black enamel paint, except the area where the rod will be glued.
Using the included primer, gluing was done off the bike, and was very easy. What I like about my design is that the whole light is in the open, not partially hidden behind the rear fender, like in one of the above mentioned mounting ways. I have used 1/4�- 1� long screws with lock nuts, but I have added a little blue Loctite (just in case).
Note: test the lights before any wire routing. If something is off, or malfunctions you want to catch that upfront.
Wiring:
This is where the things can get tricky and complicated, or not,depends on you and how thorough you want to be.
With included POSI locks it is very easy and requires no tools, except a couple of zip ties. Based on CD recommendation, I have put the Turn Signal Decoder on the harness beneath the seat. The rear harness is black in color, next to the gray harness connector.
Left is front. One part of the harness connector is moved down the hole.
On the GEN-TSD, turn signal decoder, before mounting, I have added the POSI locks on the blue, black and red wire (one on each).
Blue is for braking, black is ground, red is positive (running) light. What you can do is pair the same color wires for each of the rods and add them to the same POSI lock.
The only wires that are getting a separate POSI lock are the turning wires (yellow) from the rods. Brown with the red stripe on the GEN-TSD for right turn and the purple with the red stripe for left turn.
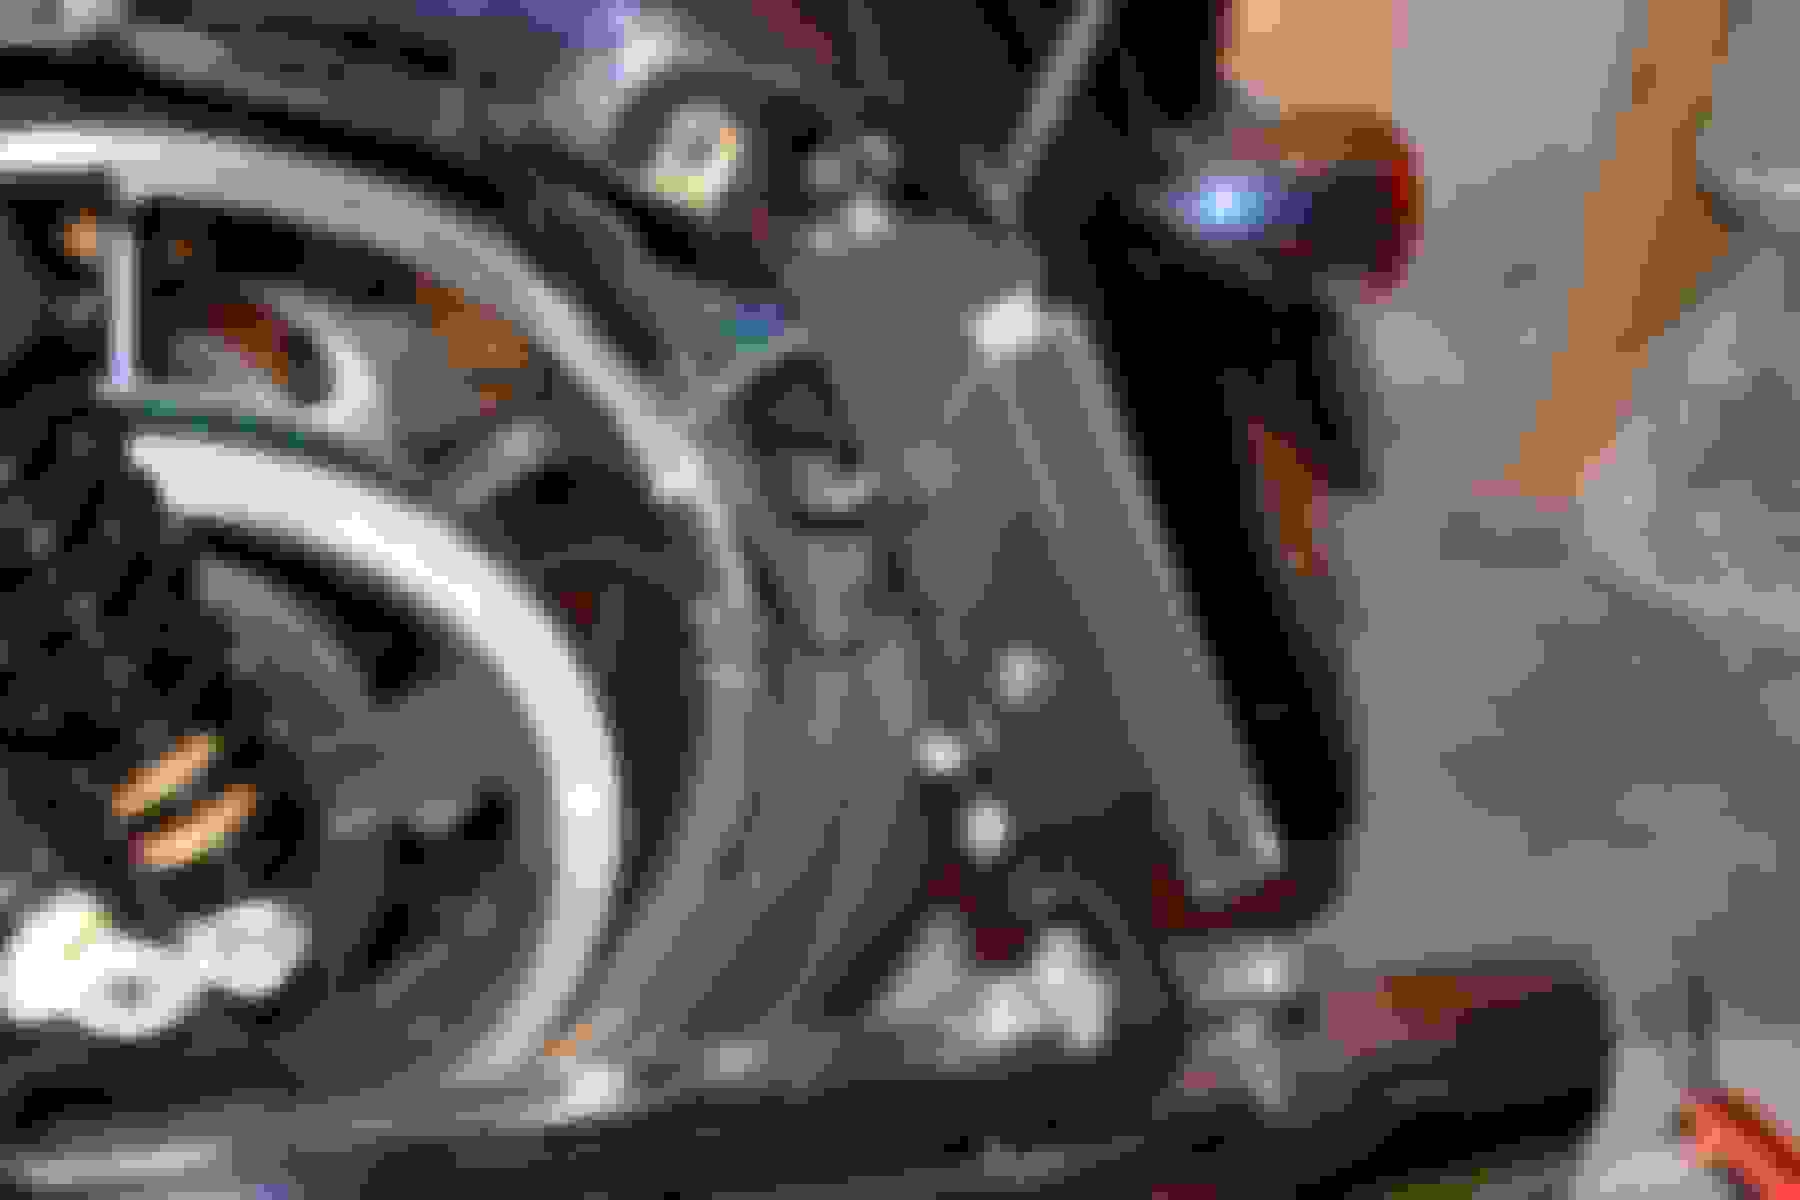
Routing the wires from the back to the seat was secured through the small holes on the frame and zipties.
One mod I had made was taking the screw from the antenna, and using my 1/4� 1� long screw, which fortunately used the same thread as the antenna mounting bracket. I used the lock nut to secure it even more on the other side.
The contour is following the rear fender line as close as possible. The insert on the bottom is getting into the groove at the frame, to make it more stable.
1/4"-1" long screws with lock nuts were used.
Antenna's stock screw was removed and 1/4"-1" long screw with lock nuts was used to secure both the antenna bracket, and the rod aluminum bracket.
Included cable organizers on the antenna's side were used for the rod cable, what made the installation neat and easy.
I have also used the wiring mesh on the GEN-TSD for the rods wires, too. It worked perfectly for me, to keep all the wires out of sight and protected.
After this it was all about taking photos of the difference with the stock lights on on one side and LED lights on the other, and at the end of all LED and rods lights on.
Rear lights as running lights.
Rear lights as running as break.
Rear lights with saddle bags installed. Nothing from the bike is obstructed the rods.
Very happy with the results, with my purchase, with the support, and with the look of the bike.
Take care, ride a lot, and ride safe.
See you around.
I was working on this for some time, and the webpage made me do the changes couple of times. Finally I thing I got it somewhere decent.
dansflhti
Regarding your question:
Newer versions of the touring Harely's are having only one wire for the turn signals. So the GEN_TSD is splicing that one wire programmatically into two, to give you a chance to attach the signal wires from each rod. If you don't have it, you will be adding both wires onto the one signal wire, and I think both of your rods will blink when signaling, like hazardous lights, regardless of which turn signal button is used.
One additional note.
On 2013 and older bikes, you will need a load equalizer, just because the LEDs have very low energy consumption, so when you take the stock lights out, the system will think the light needs to be replaced and will blink twice or triple faster. 2014 and newer bikes don't need this, but they need the GEN-TSD.
Quote:
Low Intensity Red Running, High Intensity Red Brake, High Intensity Yellow Turn Signal - All in one Sleek Plasma Rod
Dual Converters Included, No Modules Required
Red Running or Brake will turn completely off when the corresponding turn signal is activated giving turn priority over running and brake.
Wiring is a Simple as Connecting Orange Wire to Running Light, Red Wire to Brake Light, Yellow Wire to Turn, Black to Ground Note: 2014-2015 Street Glide, Street Glide Special, and 2015 Road Glide/Road Gide Special Special require our Turn Signal Decoder
BTW, where did you connect the turn wires from the rods, since (at least on mine) there is only only one turn wire?
Anyhow, what's done is done, I am not taking it out. I am glad that we have similar taste in motorcycle lights.
These were installed by the dealer, since all the wiring goes inside the handlebar. They charged for labor as much as the part costs, but I am not that good in messing with this bike's electronics.

 03-07-2015, 03:31 PM


 WOW. I haven�t even asked for discount, and I got $80 off. I asked him is he really sure that we are talking same parts, from CD not from someone else, and he said, �I am giving you a good price, since you already have paid a lot for your bike�
  .
.