
2014 Half-Assed HD Garage Door Opener Install 91558-01B
#1
 02-10-2015, 09:24 PM


This is to help people install the garage door opener on their 2014 Touring bikes. The write up is a bit of an afterthought so I didn't take as great a pictures as I would have liked, hence the "Half-Assed" part. This was done on my 2014 Street Glide Special. No need to post about other openers, or what's cheaper, better, worse.
The directions for the 2014 Touring bikes are somewhat confusing since you would think the harness would be fairly plug and play; not to mention made for the 2014 Touring. This kit is really meant to be HD's jack of all bikes universal kit. I ended up having to extend the black ground wire with the included black wire that came in the bag, and shorten almost all the white wire.
I started by pulling the sheathing off the harness, as it doesn't do any good to be on at first. I then soldered the black wire from the garage door opener kit (bag) on to the garage door opener harness. It's now approximately 3' long. I cut almost all the white wire off the harness as I only needed 6-8" of it. I then soldered part of the white HD garage door opener harness wire to the blue/white headlight wire. I put male/female connectors on the white wire to disconnect it from the headlight later if needed. As shown in pic of leftover parts I didn't use. This left me with the orange wire & black wire I soldered on to the HD garage door opener harness. I then fed these two wires back through the sheathing (takes a little work).
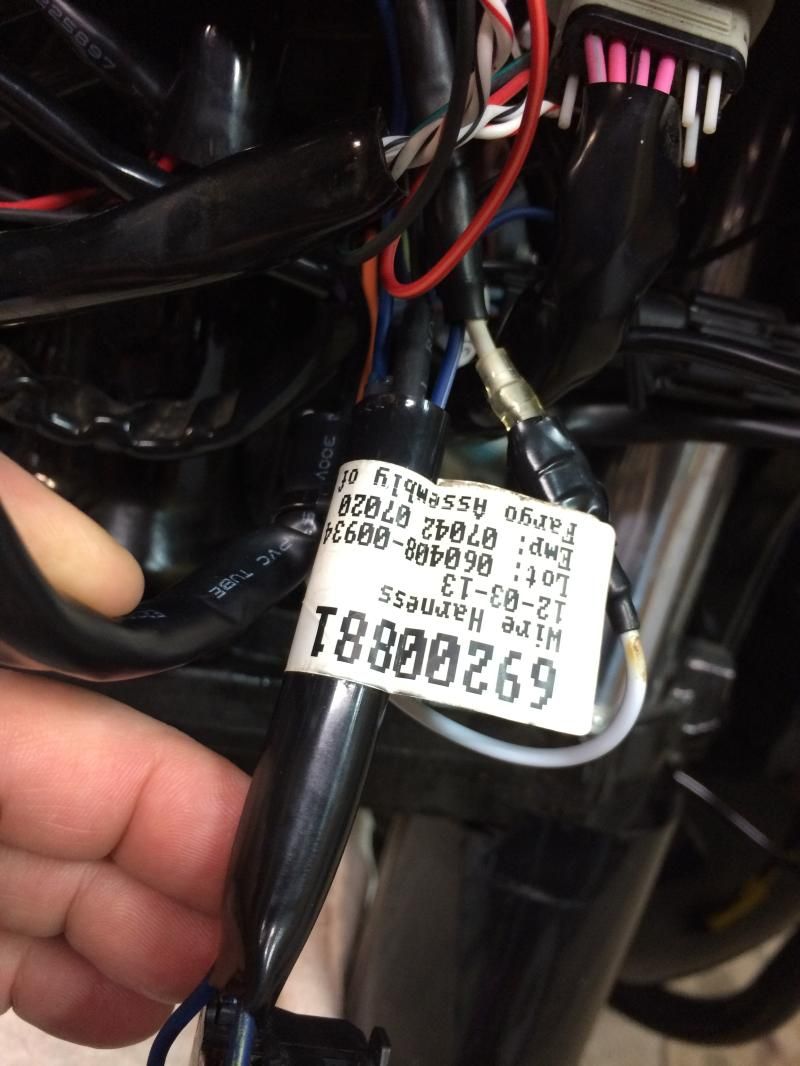
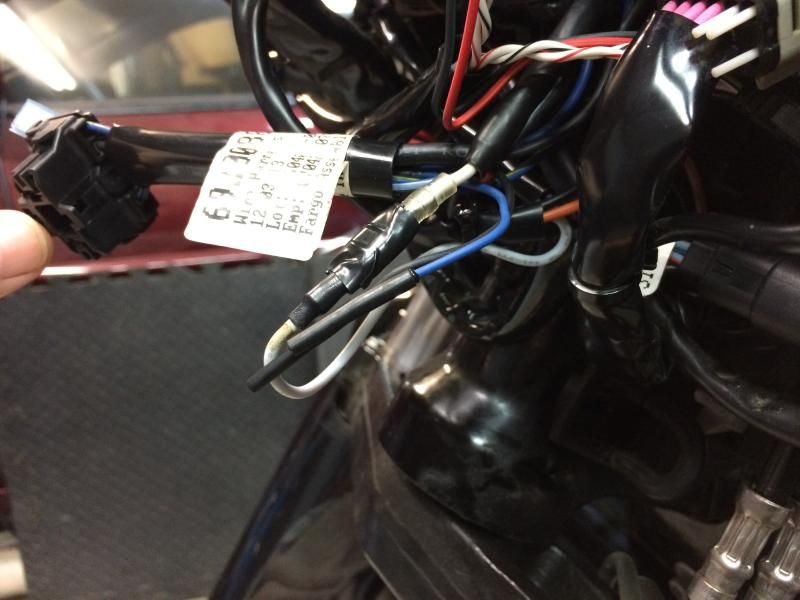
Harness already installed under the outer fairing (3 pics):
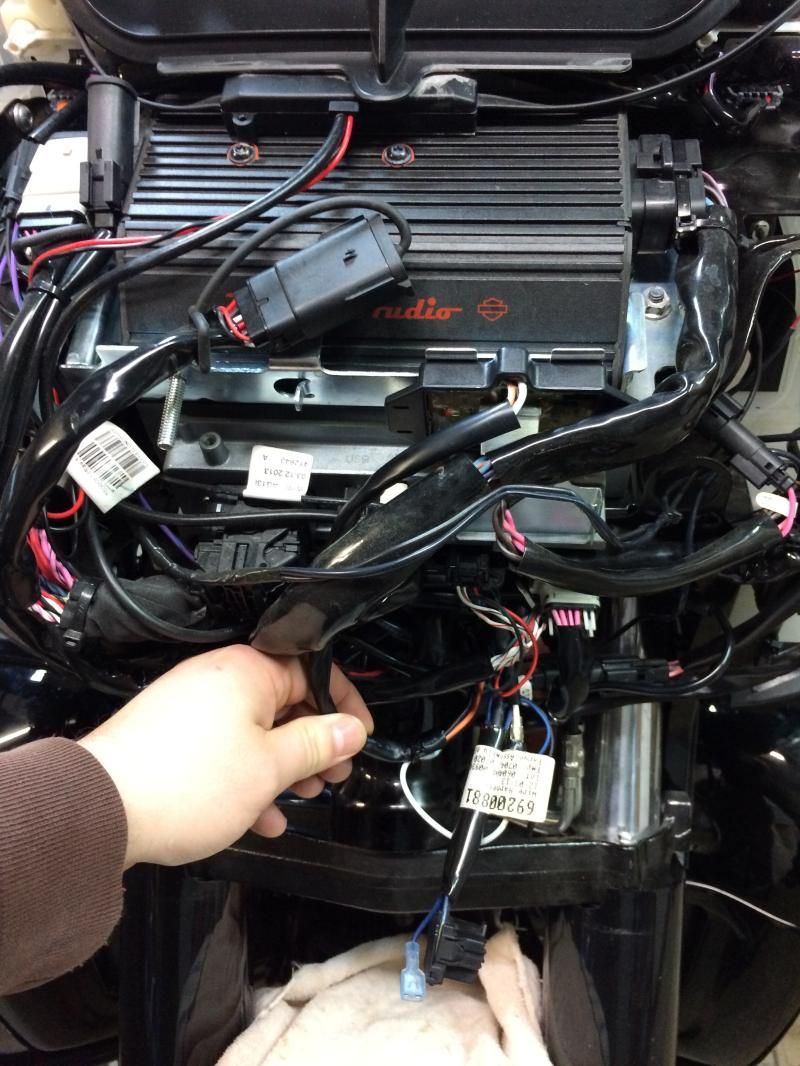
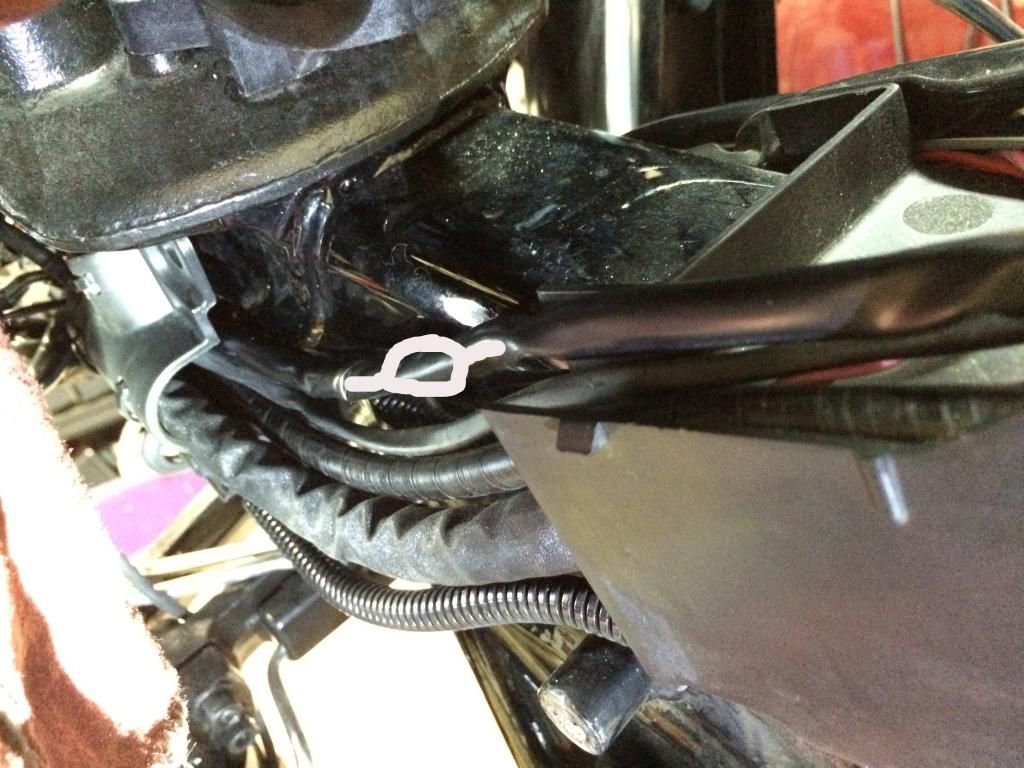
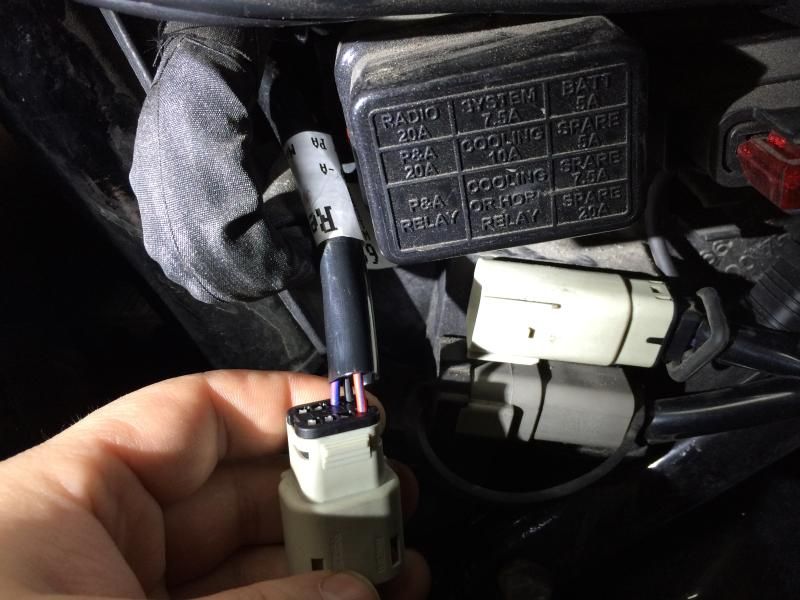
Run the harness wires (now in a sheath) back down through the wire tray towards the left side cover. They will connect to the accessory plug wires that run up from the left side cover. First pic is the circled black & orange wires that are heading back to the wire tray on the neck of the bike.

Pic from the wire tray side showing wires in the sheath:
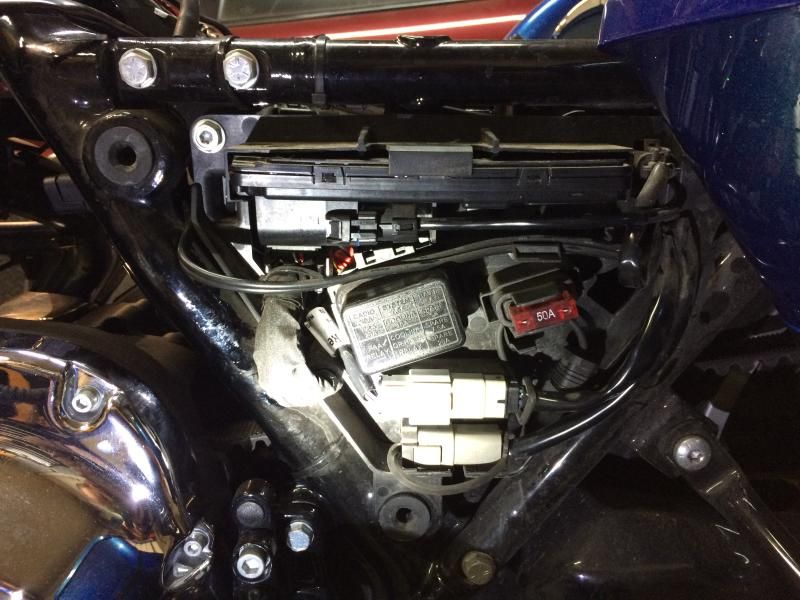
Left side cover removed. Pic's showing how & where the accessory plug goes (plugs in to the top port):

Accessory plug snapped in to place:
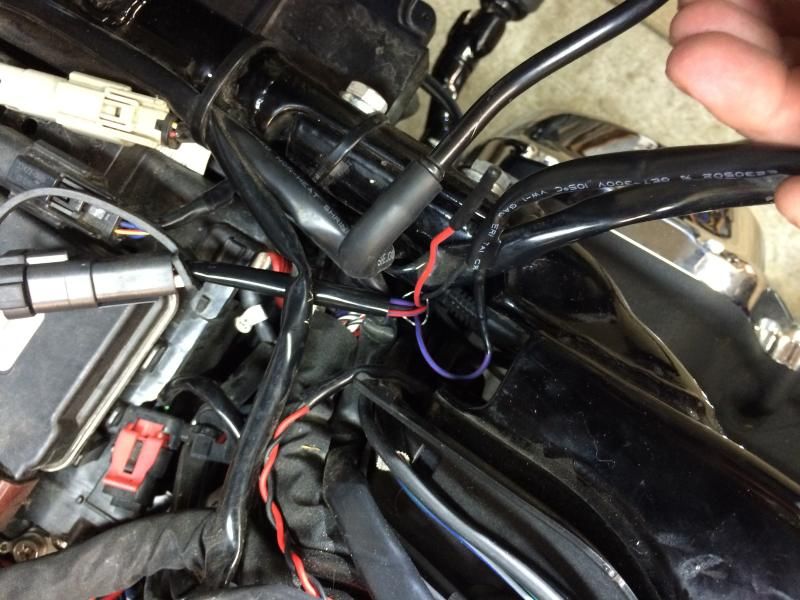
Pic's of the orange & black ground wire at the bottom of the wire tray. This is where they have to be connected to the accessory plug wires from the left side cover. I soldered my connections, but the HD kit came with crimp butt connectors. The orange wire was not quite long enough as I had accidentally shortened it I think. So all you see is the shrink tubing & black tape coming out of the wire sheathing. The orange wire gets connected to the violet W/blue stripe accessory plug wire. Then harness black wire to accessory plug black wire. The last wire just stays loose with the factory made cap on it. You will now have an extra HD accessory plug that sits in the battery compartment area for future use since the loose wires were connected to the HD garage door harness.
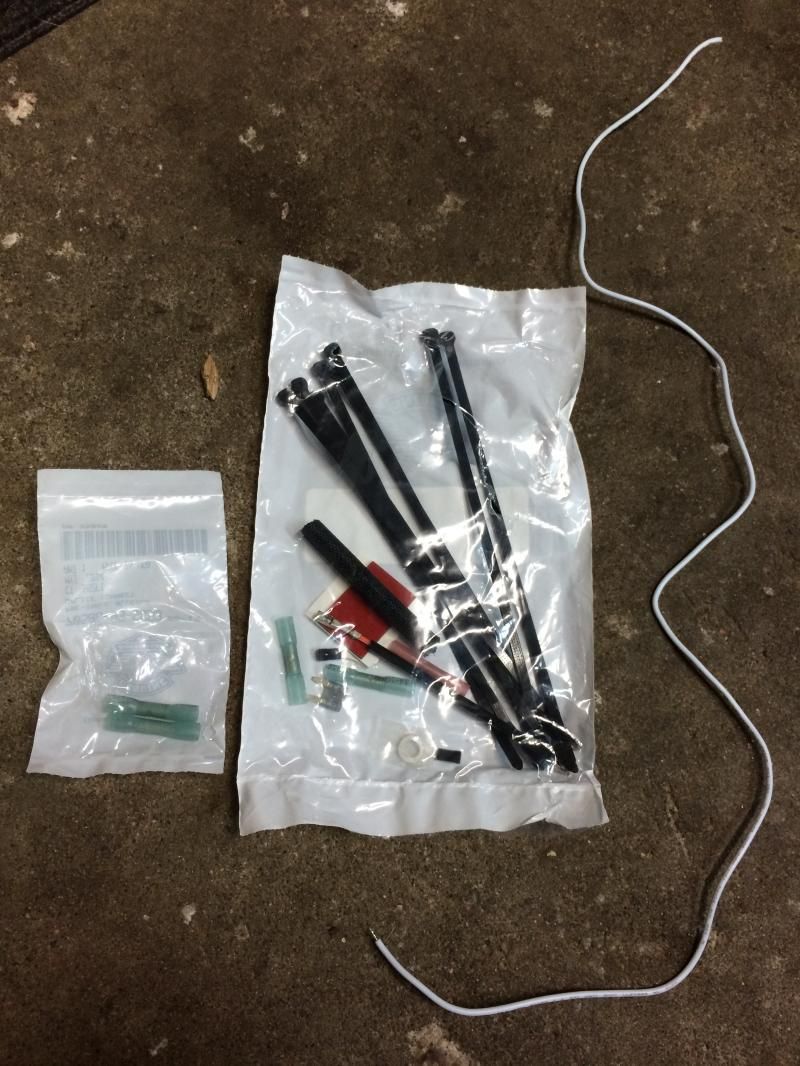
All the extra parts I didn't use (I soldered, instead of crimping), including all the extra white wire that I cut off:
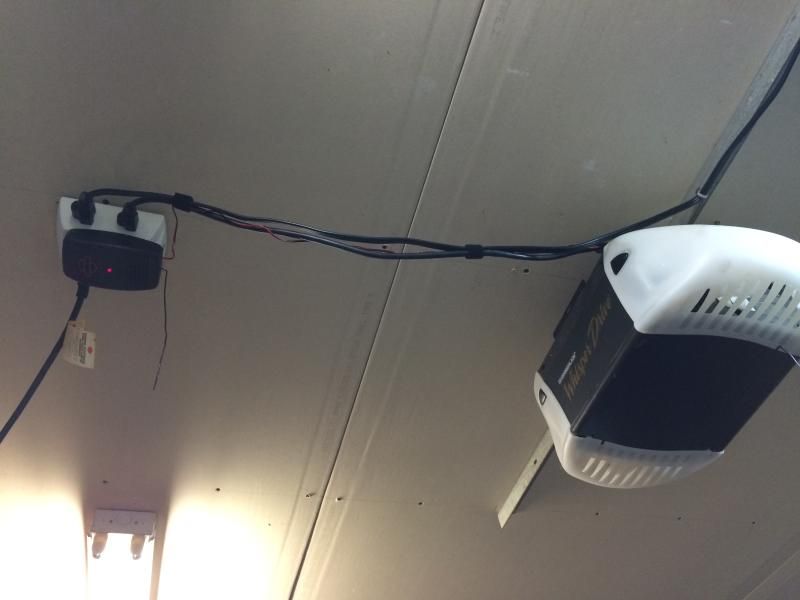
The garage door receiver mounted in place. It connects to the same wires that are run over to my house garage door button located next to the man door going in to the house. The wire that my garage door opener used are harder wire, & HD's kit is stranded wire, so make sure you get it in the wire hole good. I at first wasn't making a decent connection since I was twisting the stranded wire around the other & it kept pushing out. Once I made a good connection, all was well.
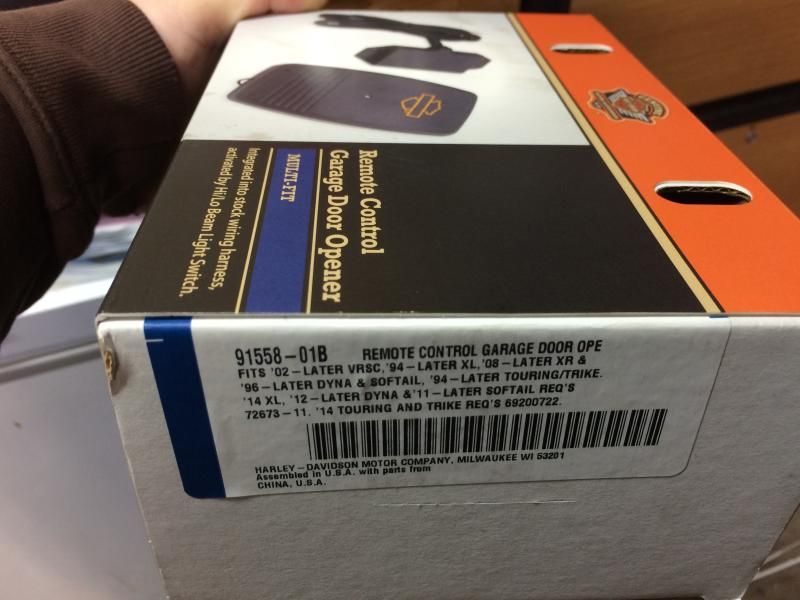
The actual box with part number the HD garage door opener came in. Don't forget the accessory plug (not pictured):
Here's the link to the HD Garage Door Opener: http://www.harley-davidson.com/store...oor-opener-kit
Here's the link to the HD Accessory plug: http://www.harley-davidson.com/store...ion-update-kit
More (pic's) to come in this post.
The directions for the 2014 Touring bikes are somewhat confusing since you would think the harness would be fairly plug and play; not to mention made for the 2014 Touring. This kit is really meant to be HD's jack of all bikes universal kit. I ended up having to extend the black ground wire with the included black wire that came in the bag, and shorten almost all the white wire.
I started by pulling the sheathing off the harness, as it doesn't do any good to be on at first. I then soldered the black wire from the garage door opener kit (bag) on to the garage door opener harness. It's now approximately 3' long. I cut almost all the white wire off the harness as I only needed 6-8" of it. I then soldered part of the white HD garage door opener harness wire to the blue/white headlight wire. I put male/female connectors on the white wire to disconnect it from the headlight later if needed. As shown in pic of leftover parts I didn't use. This left me with the orange wire & black wire I soldered on to the HD garage door opener harness. I then fed these two wires back through the sheathing (takes a little work).
Harness already installed under the outer fairing (3 pics):


Run the harness wires (now in a sheath) back down through the wire tray towards the left side cover. They will connect to the accessory plug wires that run up from the left side cover. First pic is the circled black & orange wires that are heading back to the wire tray on the neck of the bike.

Pic from the wire tray side showing wires in the sheath:

Left side cover removed. Pic's showing how & where the accessory plug goes (plugs in to the top port):


Accessory plug snapped in to place:

Pic's of the orange & black ground wire at the bottom of the wire tray. This is where they have to be connected to the accessory plug wires from the left side cover. I soldered my connections, but the HD kit came with crimp butt connectors. The orange wire was not quite long enough as I had accidentally shortened it I think. So all you see is the shrink tubing & black tape coming out of the wire sheathing. The orange wire gets connected to the violet W/blue stripe accessory plug wire. Then harness black wire to accessory plug black wire. The last wire just stays loose with the factory made cap on it. You will now have an extra HD accessory plug that sits in the battery compartment area for future use since the loose wires were connected to the HD garage door harness.

All the extra parts I didn't use (I soldered, instead of crimping), including all the extra white wire that I cut off:

The garage door receiver mounted in place. It connects to the same wires that are run over to my house garage door button located next to the man door going in to the house. The wire that my garage door opener used are harder wire, & HD's kit is stranded wire, so make sure you get it in the wire hole good. I at first wasn't making a decent connection since I was twisting the stranded wire around the other & it kept pushing out. Once I made a good connection, all was well.

The actual box with part number the HD garage door opener came in. Don't forget the accessory plug (not pictured):

Here's the link to the HD Garage Door Opener: http://www.harley-davidson.com/store...oor-opener-kit
Here's the link to the HD Accessory plug: http://www.harley-davidson.com/store...ion-update-kit
More (pic's) to come in this post.
Last edited by load97; 02-12-2015 at 05:22 AM.

#4
03-28-2015, 04:47 PM
#5
03-28-2015, 09:53 PM

I don't use my cigarette lighter so I just used the cigarette lighter wires for power.
#6
03-28-2015, 10:18 PM
#7
03-29-2015, 01:41 AM
Road Master
The following users liked this post:
blap (01-04-2020)
Trending Topics
#8
03-29-2015, 05:45 AM


#9
03-29-2015, 06:04 AM

Cheers
#10
03-29-2015, 06:30 AM

Good write-up...can't blame a member for being thorough and crafty. I installed both of my garage doors when we built the place so having four of the openers made it easy to do the McGruber install w/button in batwing to opener stuck inside. Same concept as OP's deal, but no need for the little wireless interface module for mating to your opener.